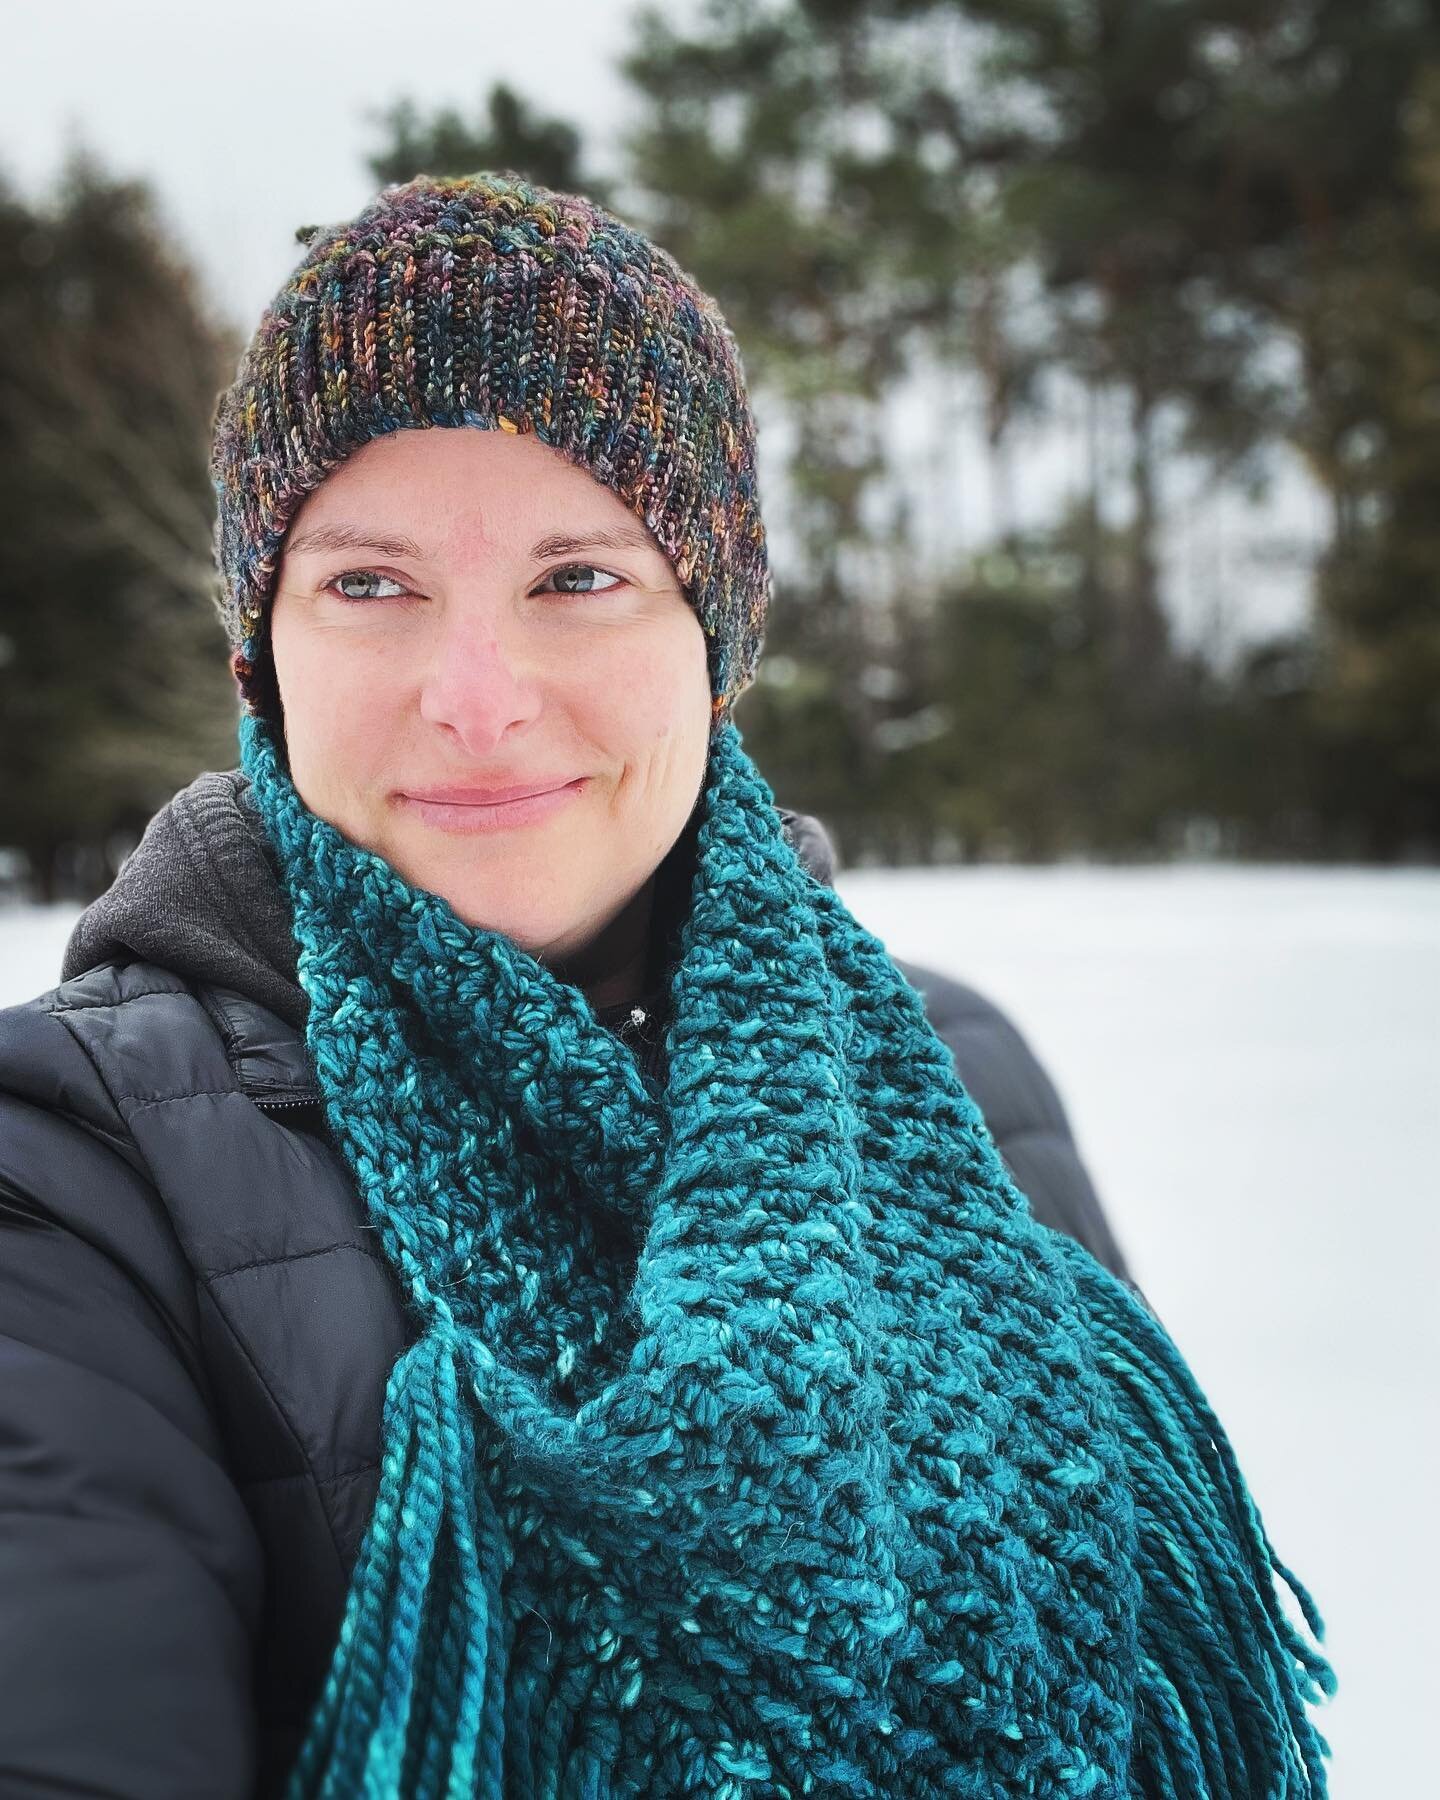
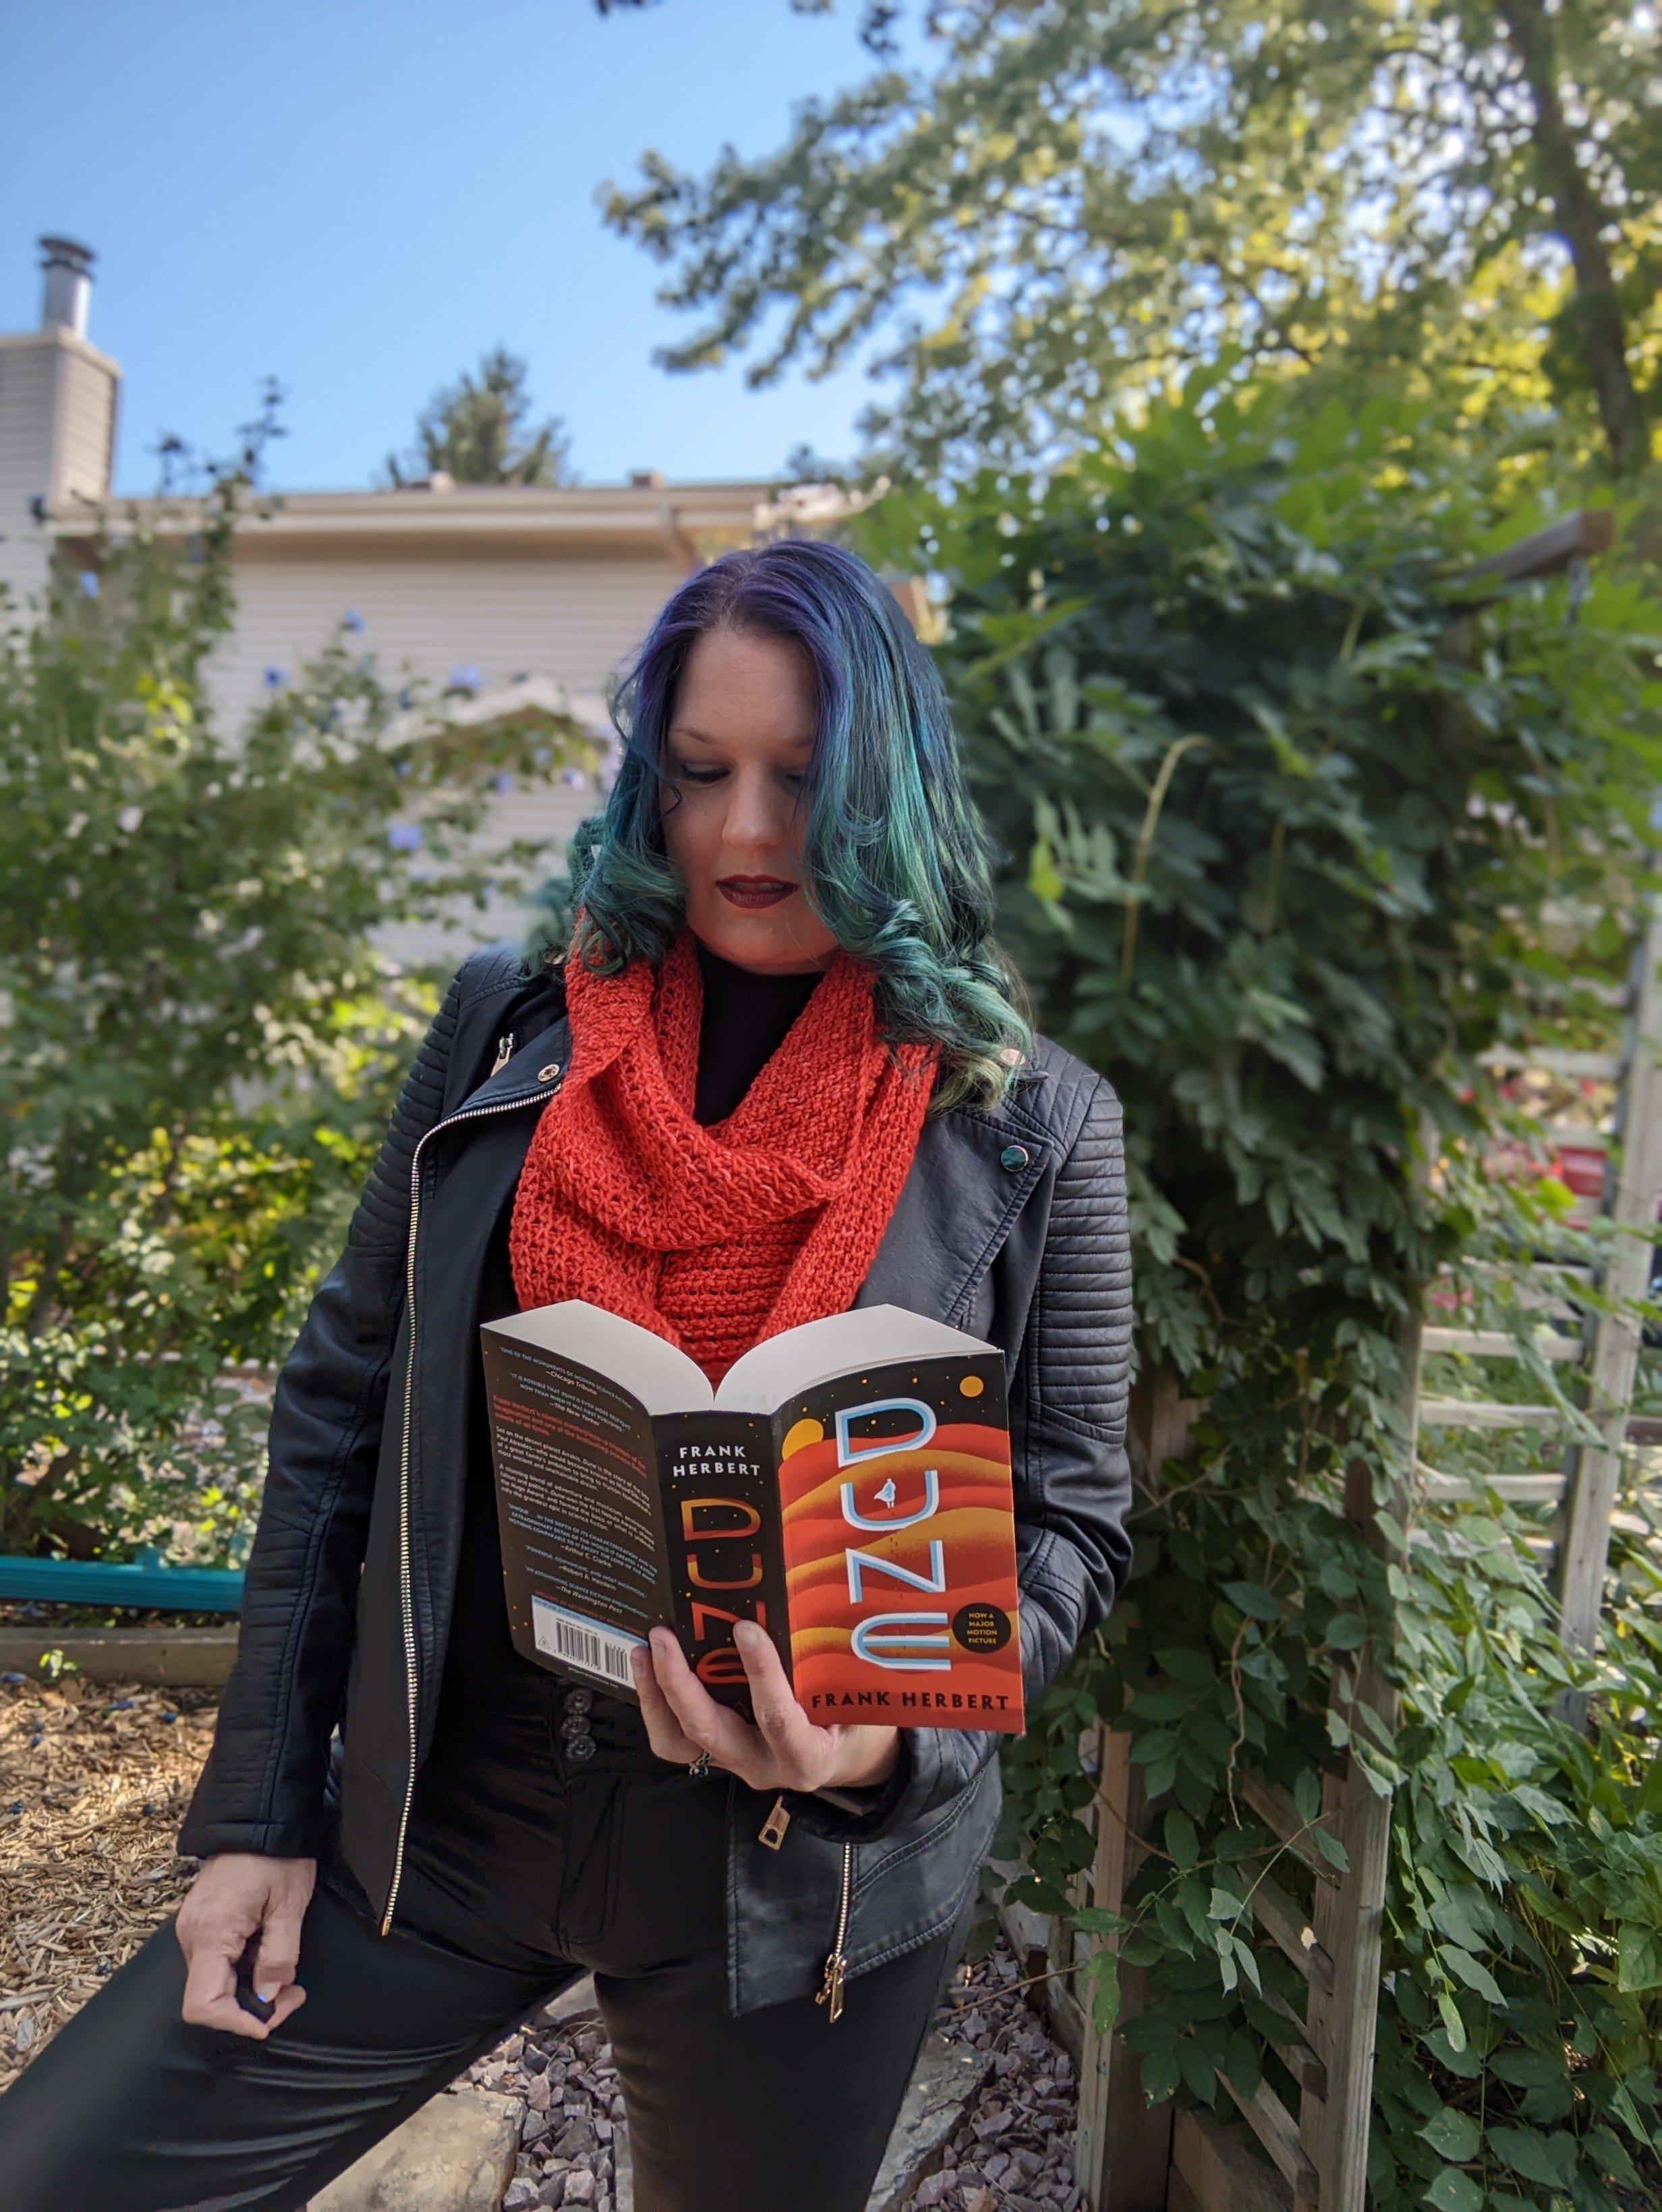
Arrakeen Infinity Scarf
/This post may contain affiliate links, meaning that if you click through and make a purchase, I earn a small commission at no extra cost to you. This helps support my business and makes it possible for me to bring you free content.
The spice extends life. The spice expands consciousness.
~ Frank Herbert, Dune
I have recently become completely enamoured by the Dune series, originally written by Frank Herbert. The 2021 movie remake is so well done, filled with amazing imagery from the first book in this series. It takes place almost exclusively on a planet called Arrakis, a desert planet. The main “city” is Arrakeen, a stone fortress surrounded by miles and miles of desert sand. It is that landscape that has inspired today’s free pattern - the Arrakeen Infinity Scarf.

Wait - how did a desert planet inspire someone to make a warm and cozy infinity scarf?
Good question! This is a case of the yarn telling me what it wanted to be. I’ll tell you all about that in just a second…
Have you been following the Scarftober series here on the blog? Every day this month, I have been sharing a new featured design by some of my favourite designers (and yours!). Check out the round-up page for more details!
This pattern will always be FREE here on the blog, but if you prefer to work from an ad-free PDF, pop over to my Ravelry or website shop.

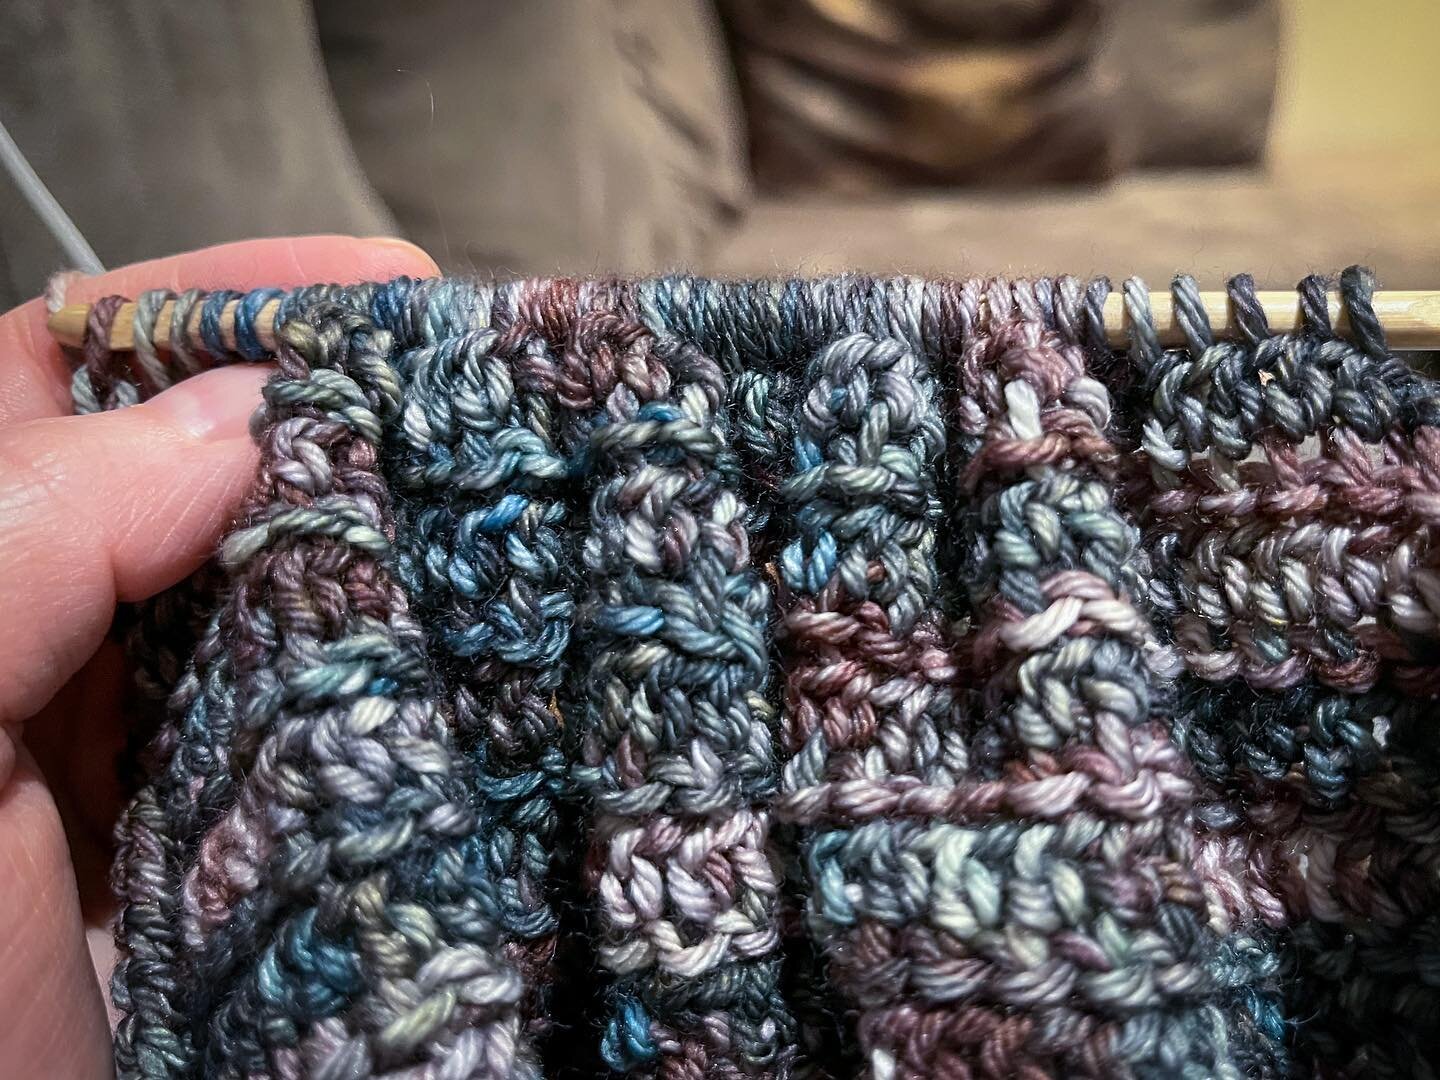
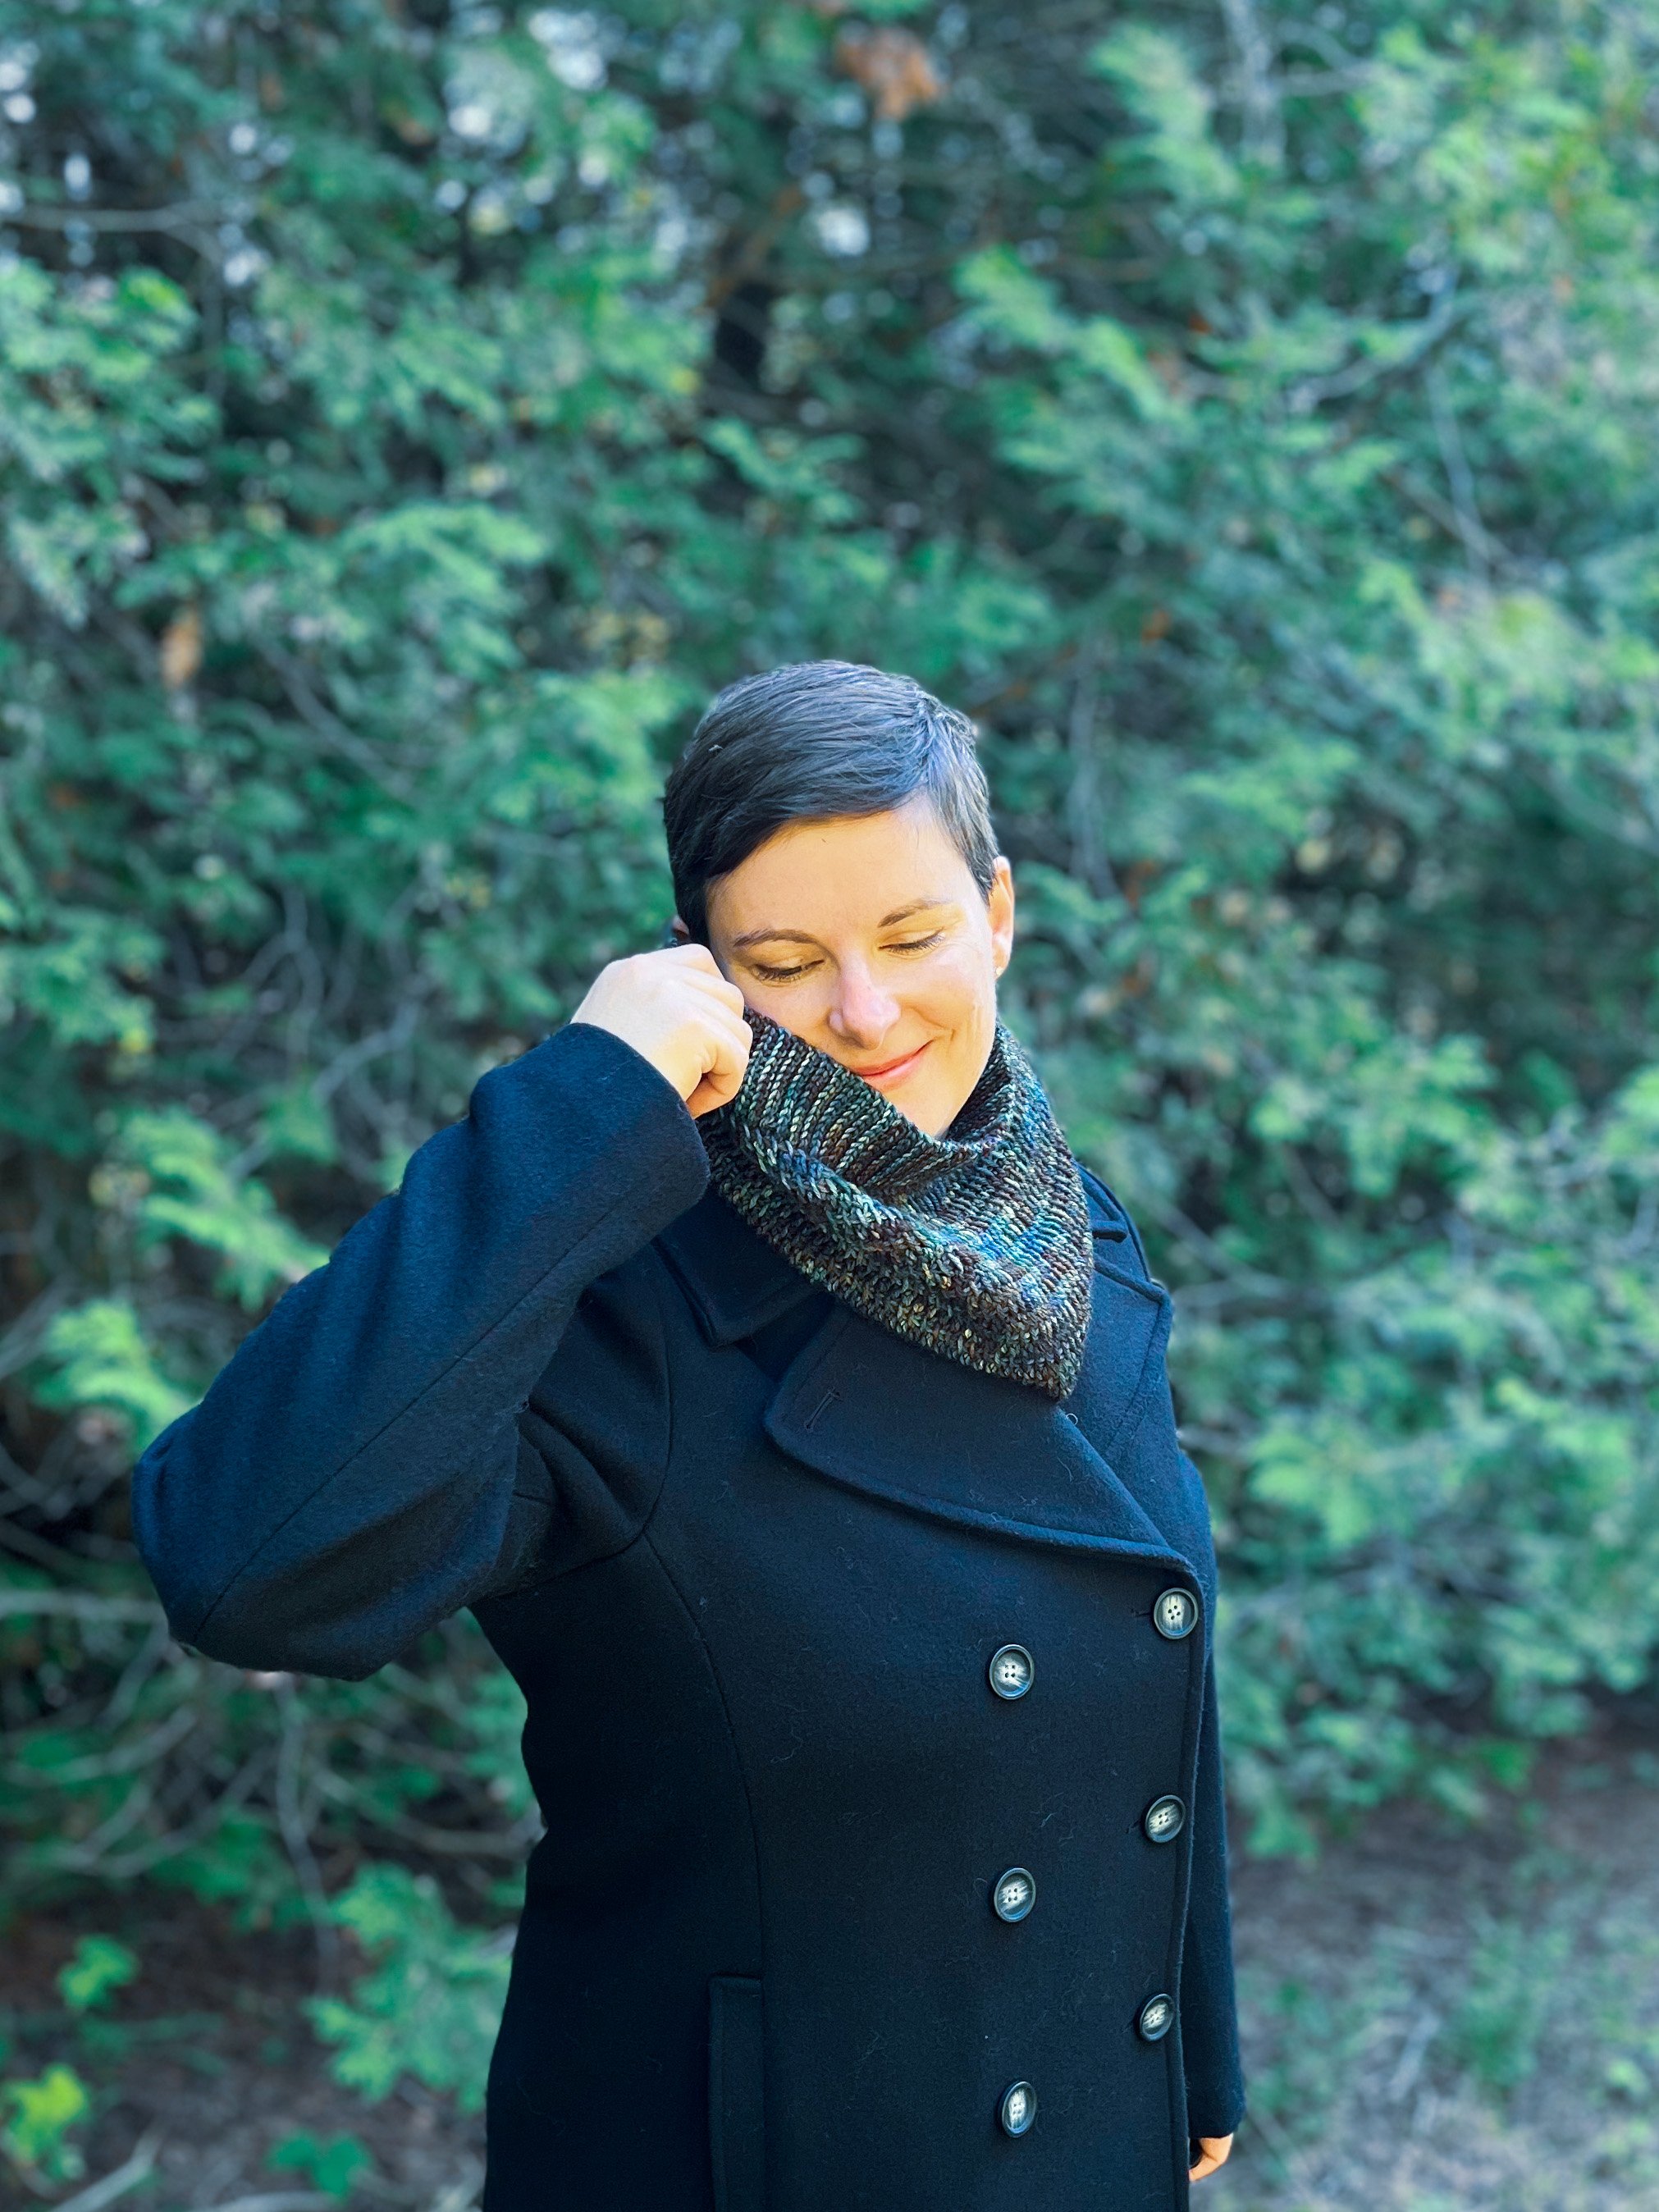
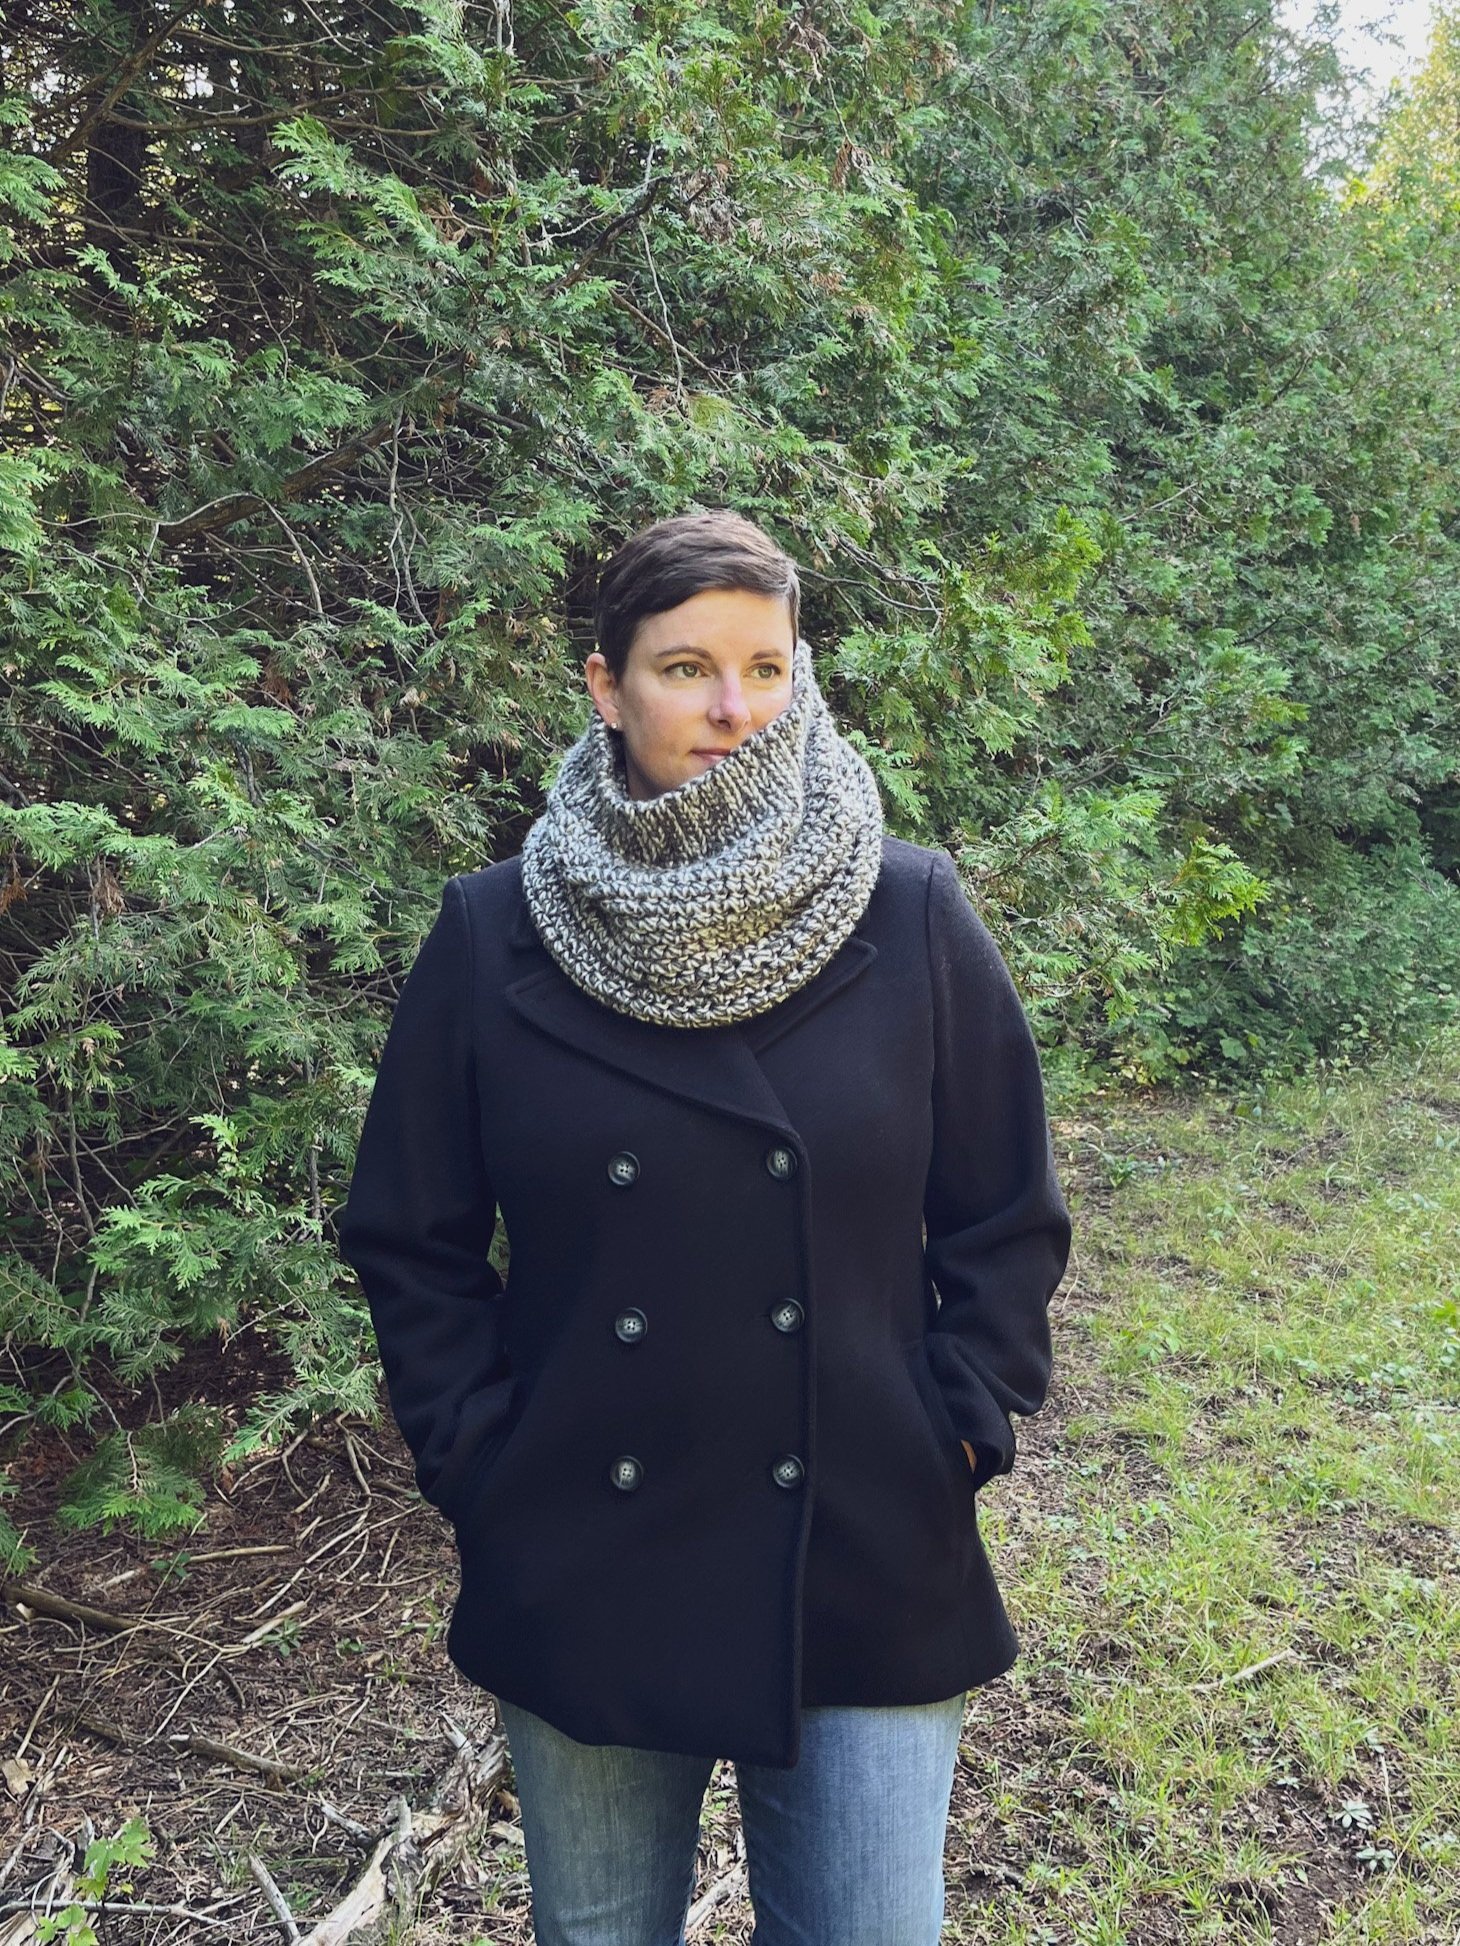
Ok, back to the yarn! I received this gorgeous yarn in one of my Knitcrate subscription boxes. As soon as I opened it up and saw the colour, I associated it with Dune! As I was swatching up this pattern, the lines reminded me of the imagery in the movie - the rolling dunes are both bold and comforting. I find the texture of this pattern invokes the same feelings as the open desert scenery in the movie and book.
Check out Knitcrate for yourself! Use the code CAPITAL to get a $40 bonus in the first month of your subscription, as well as big savings in the Members Only shop!

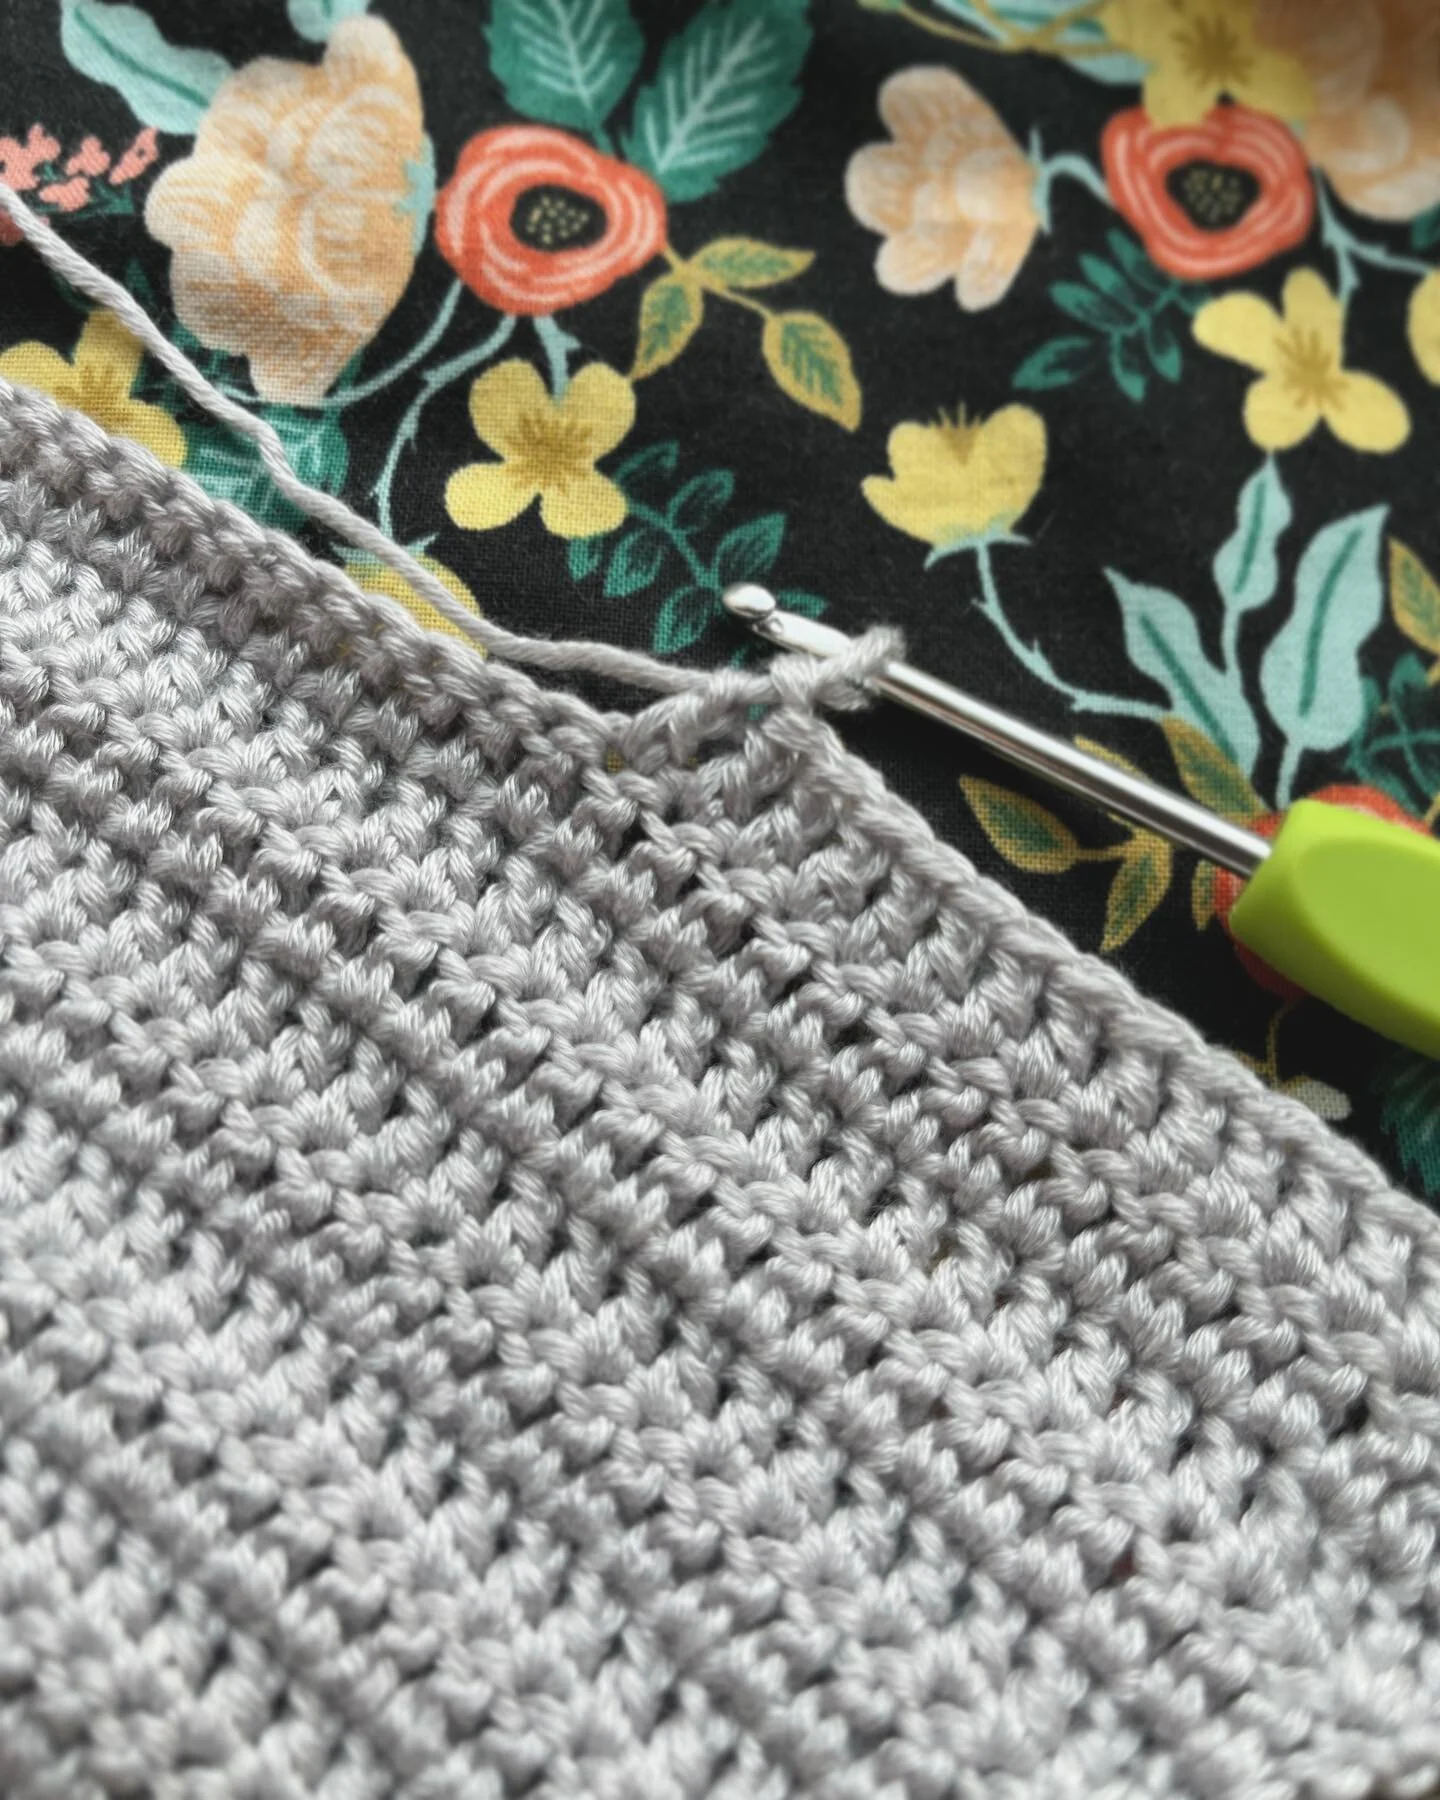
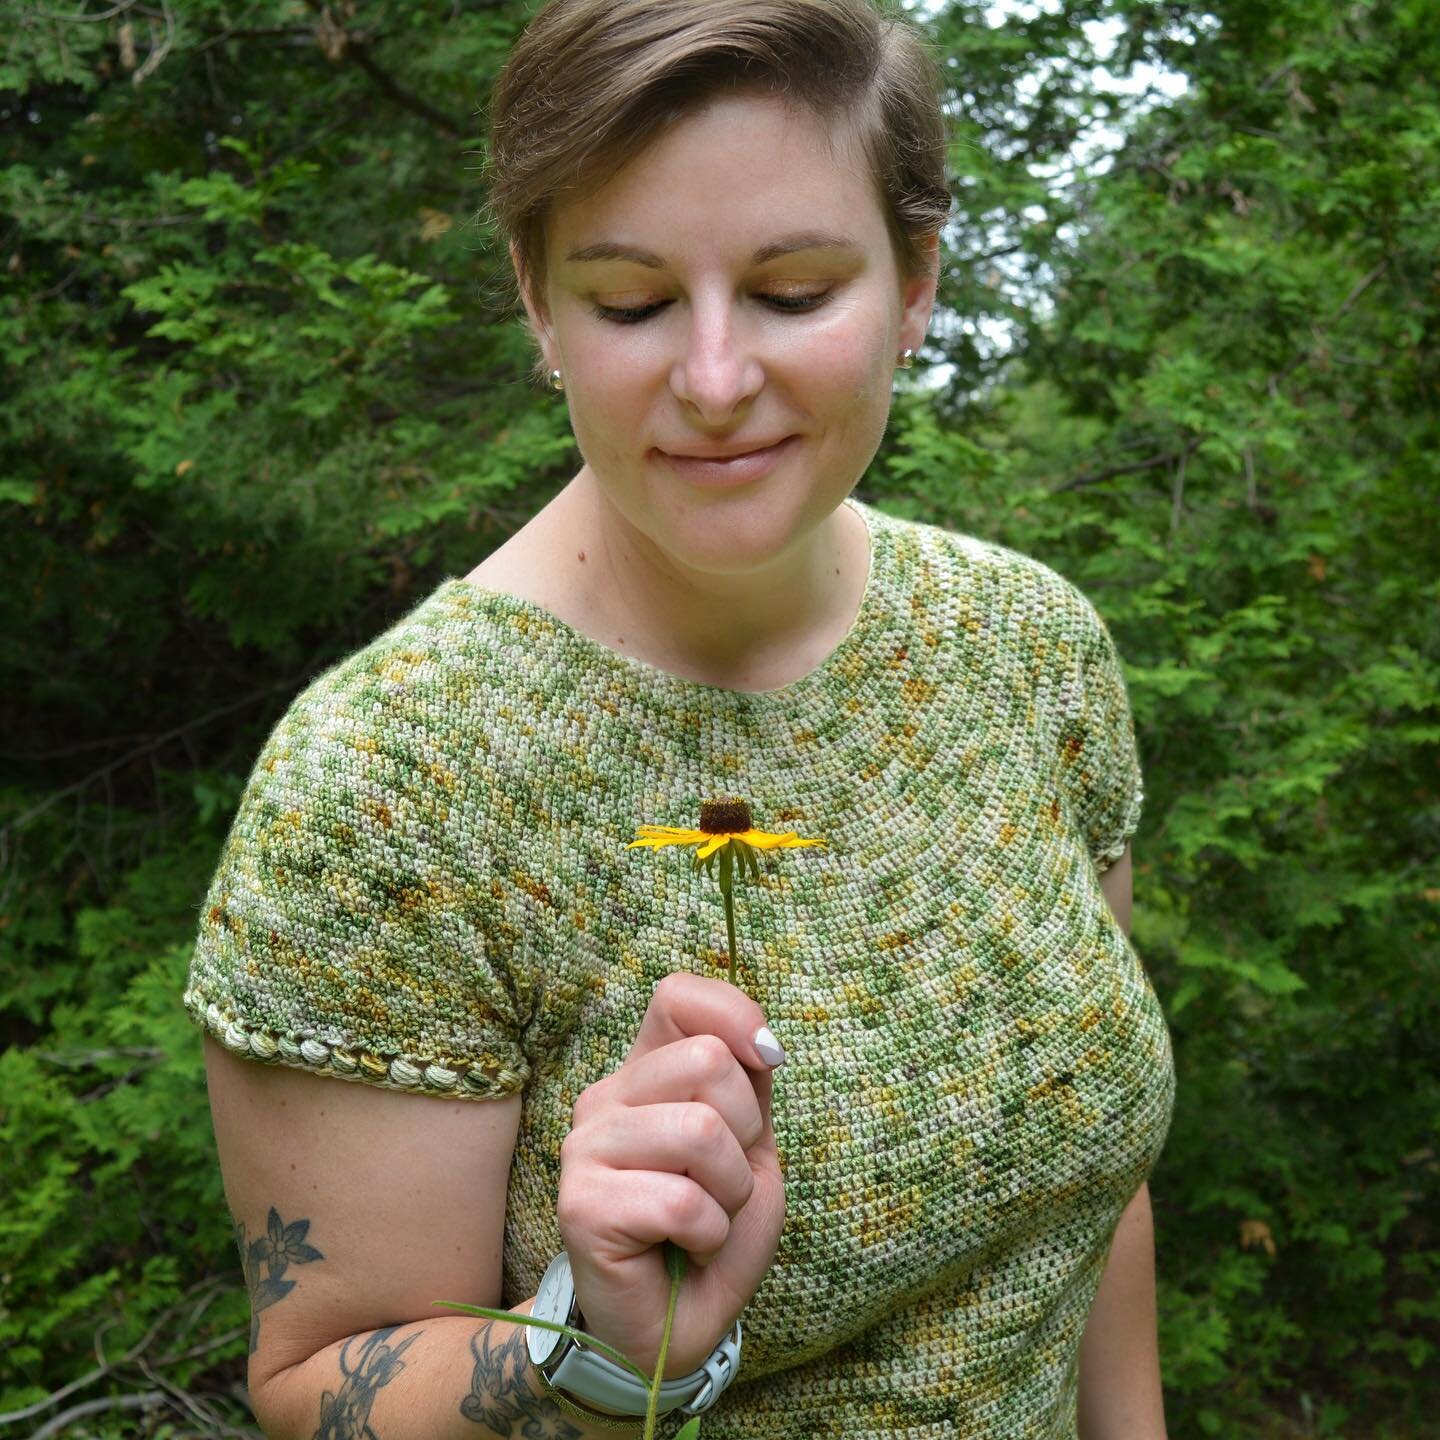
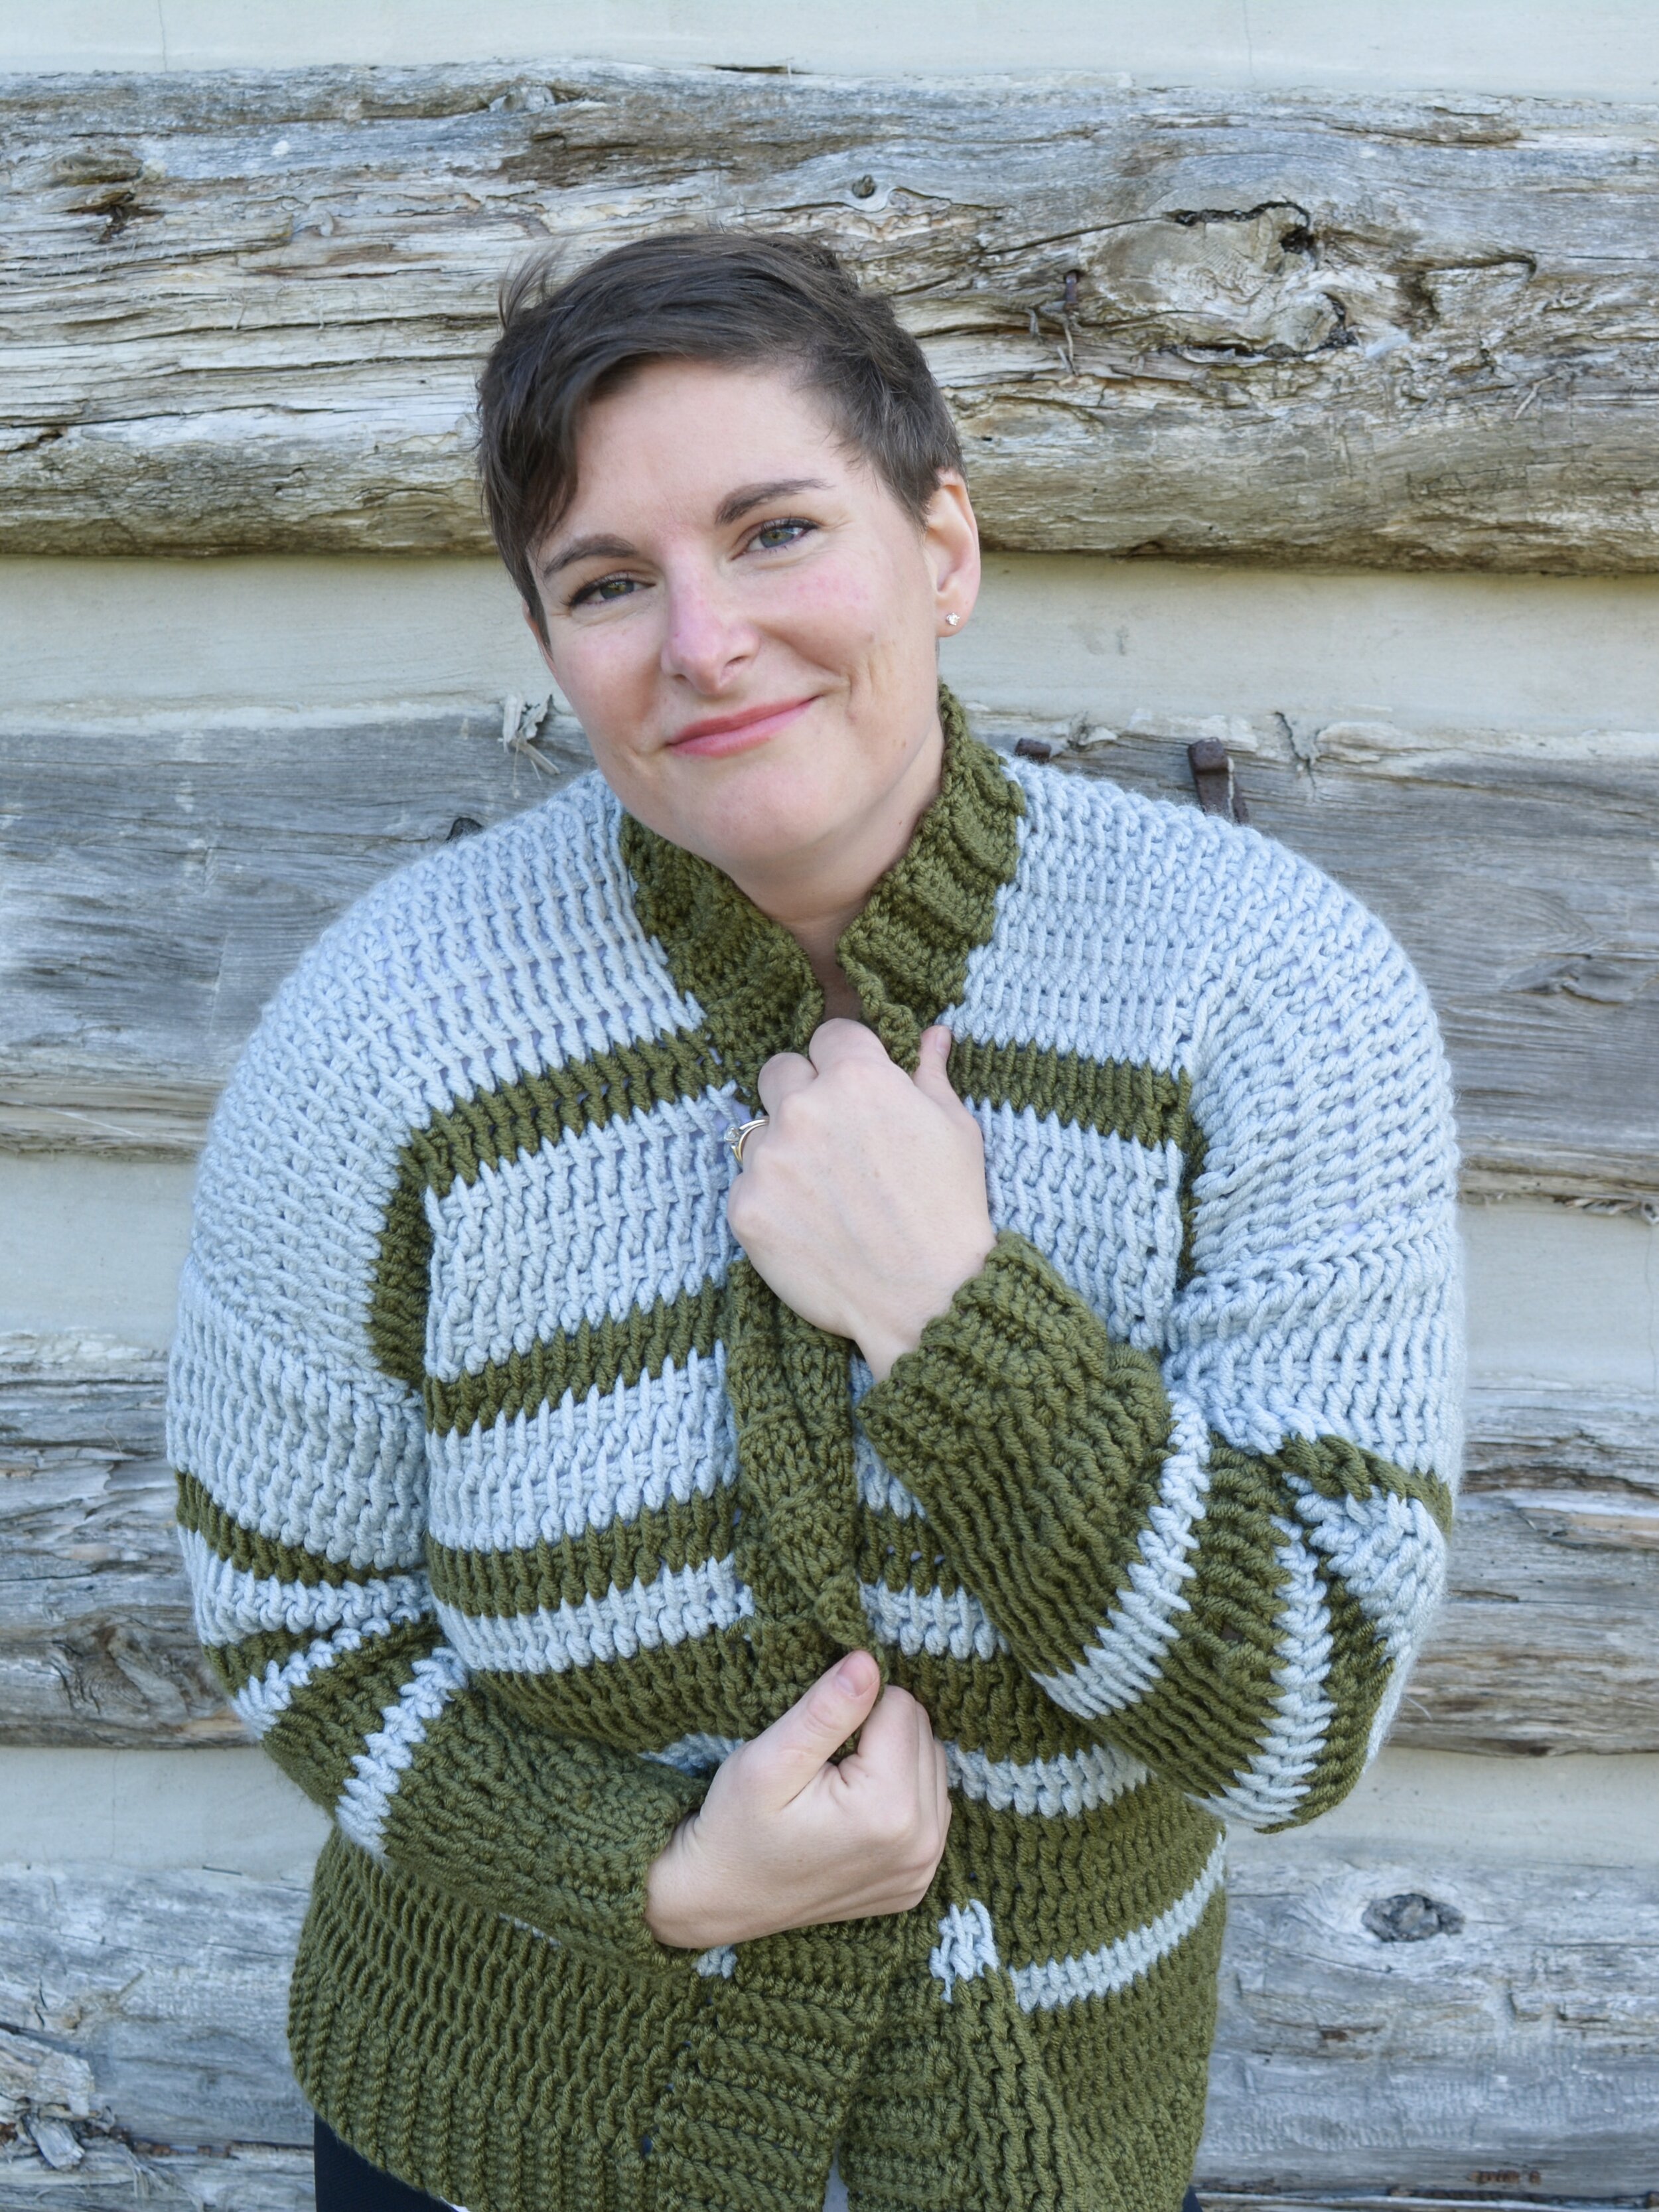
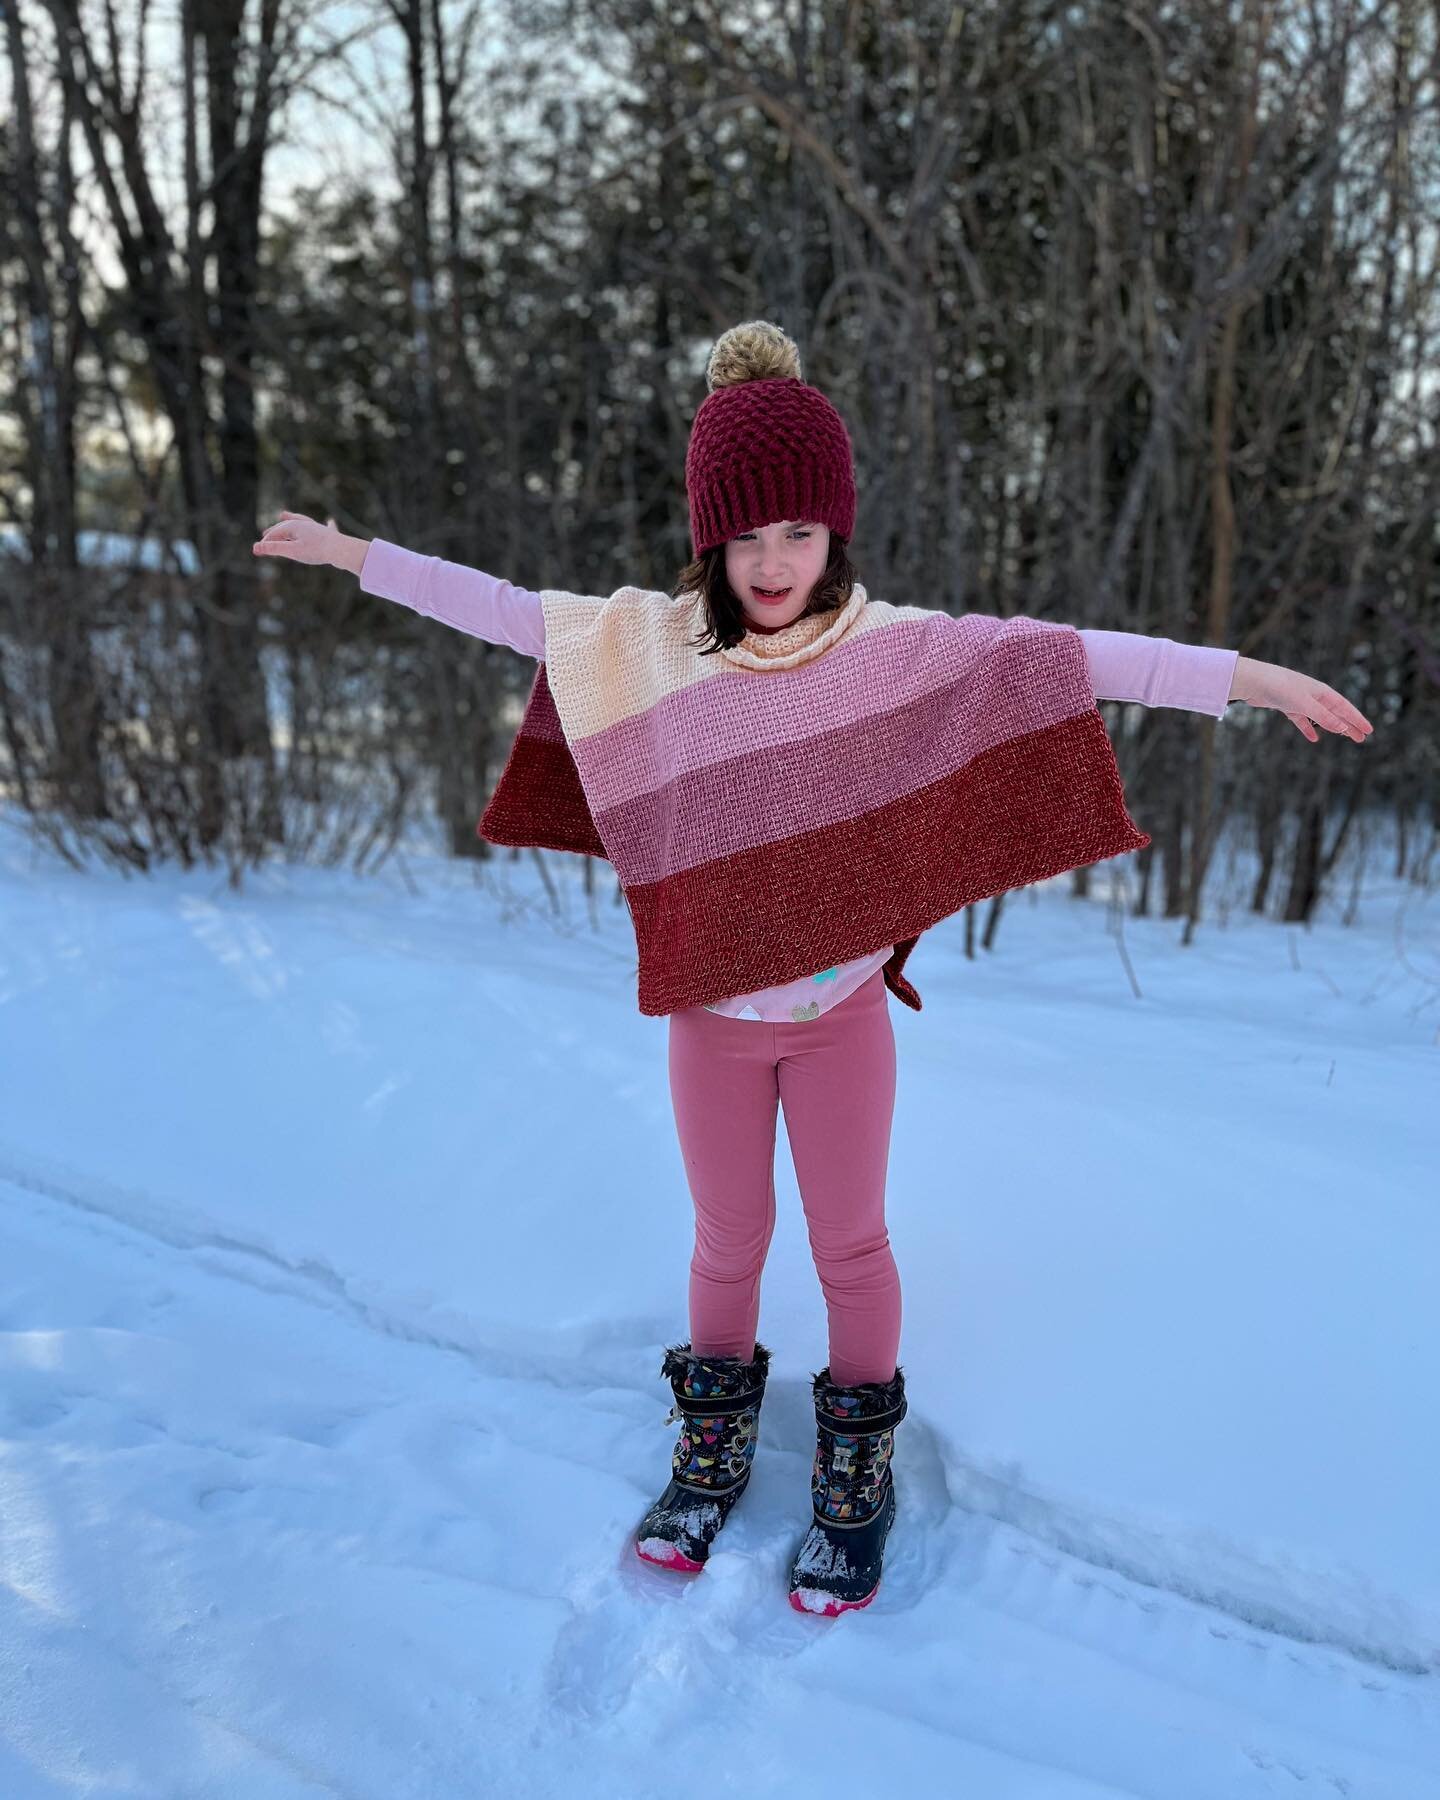
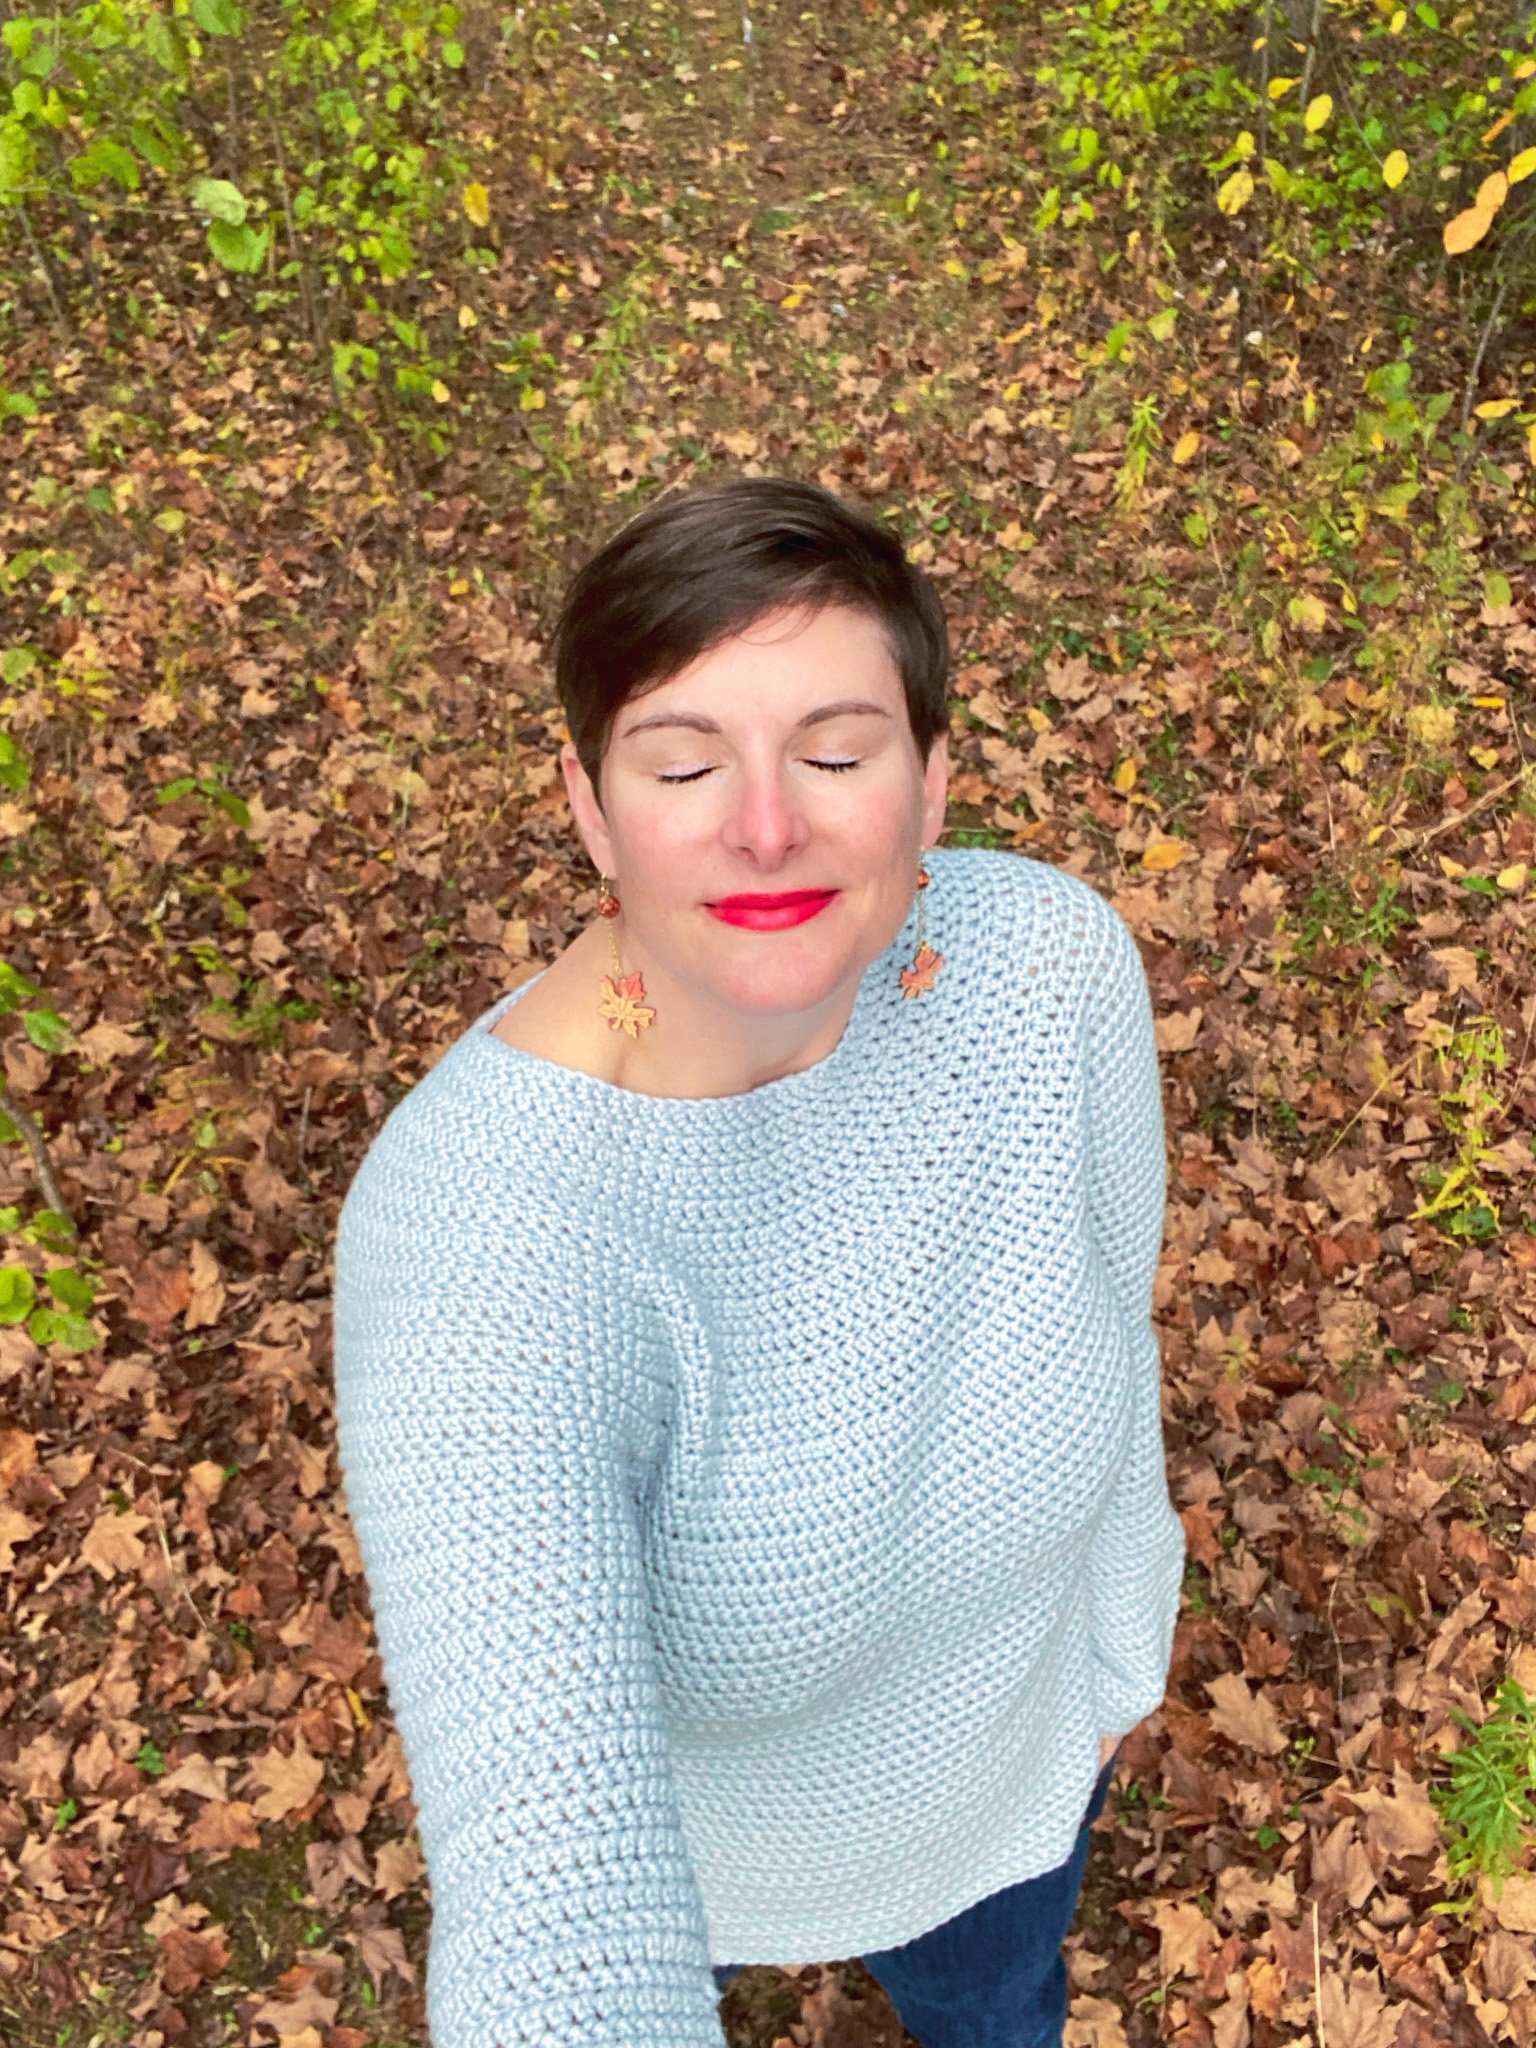
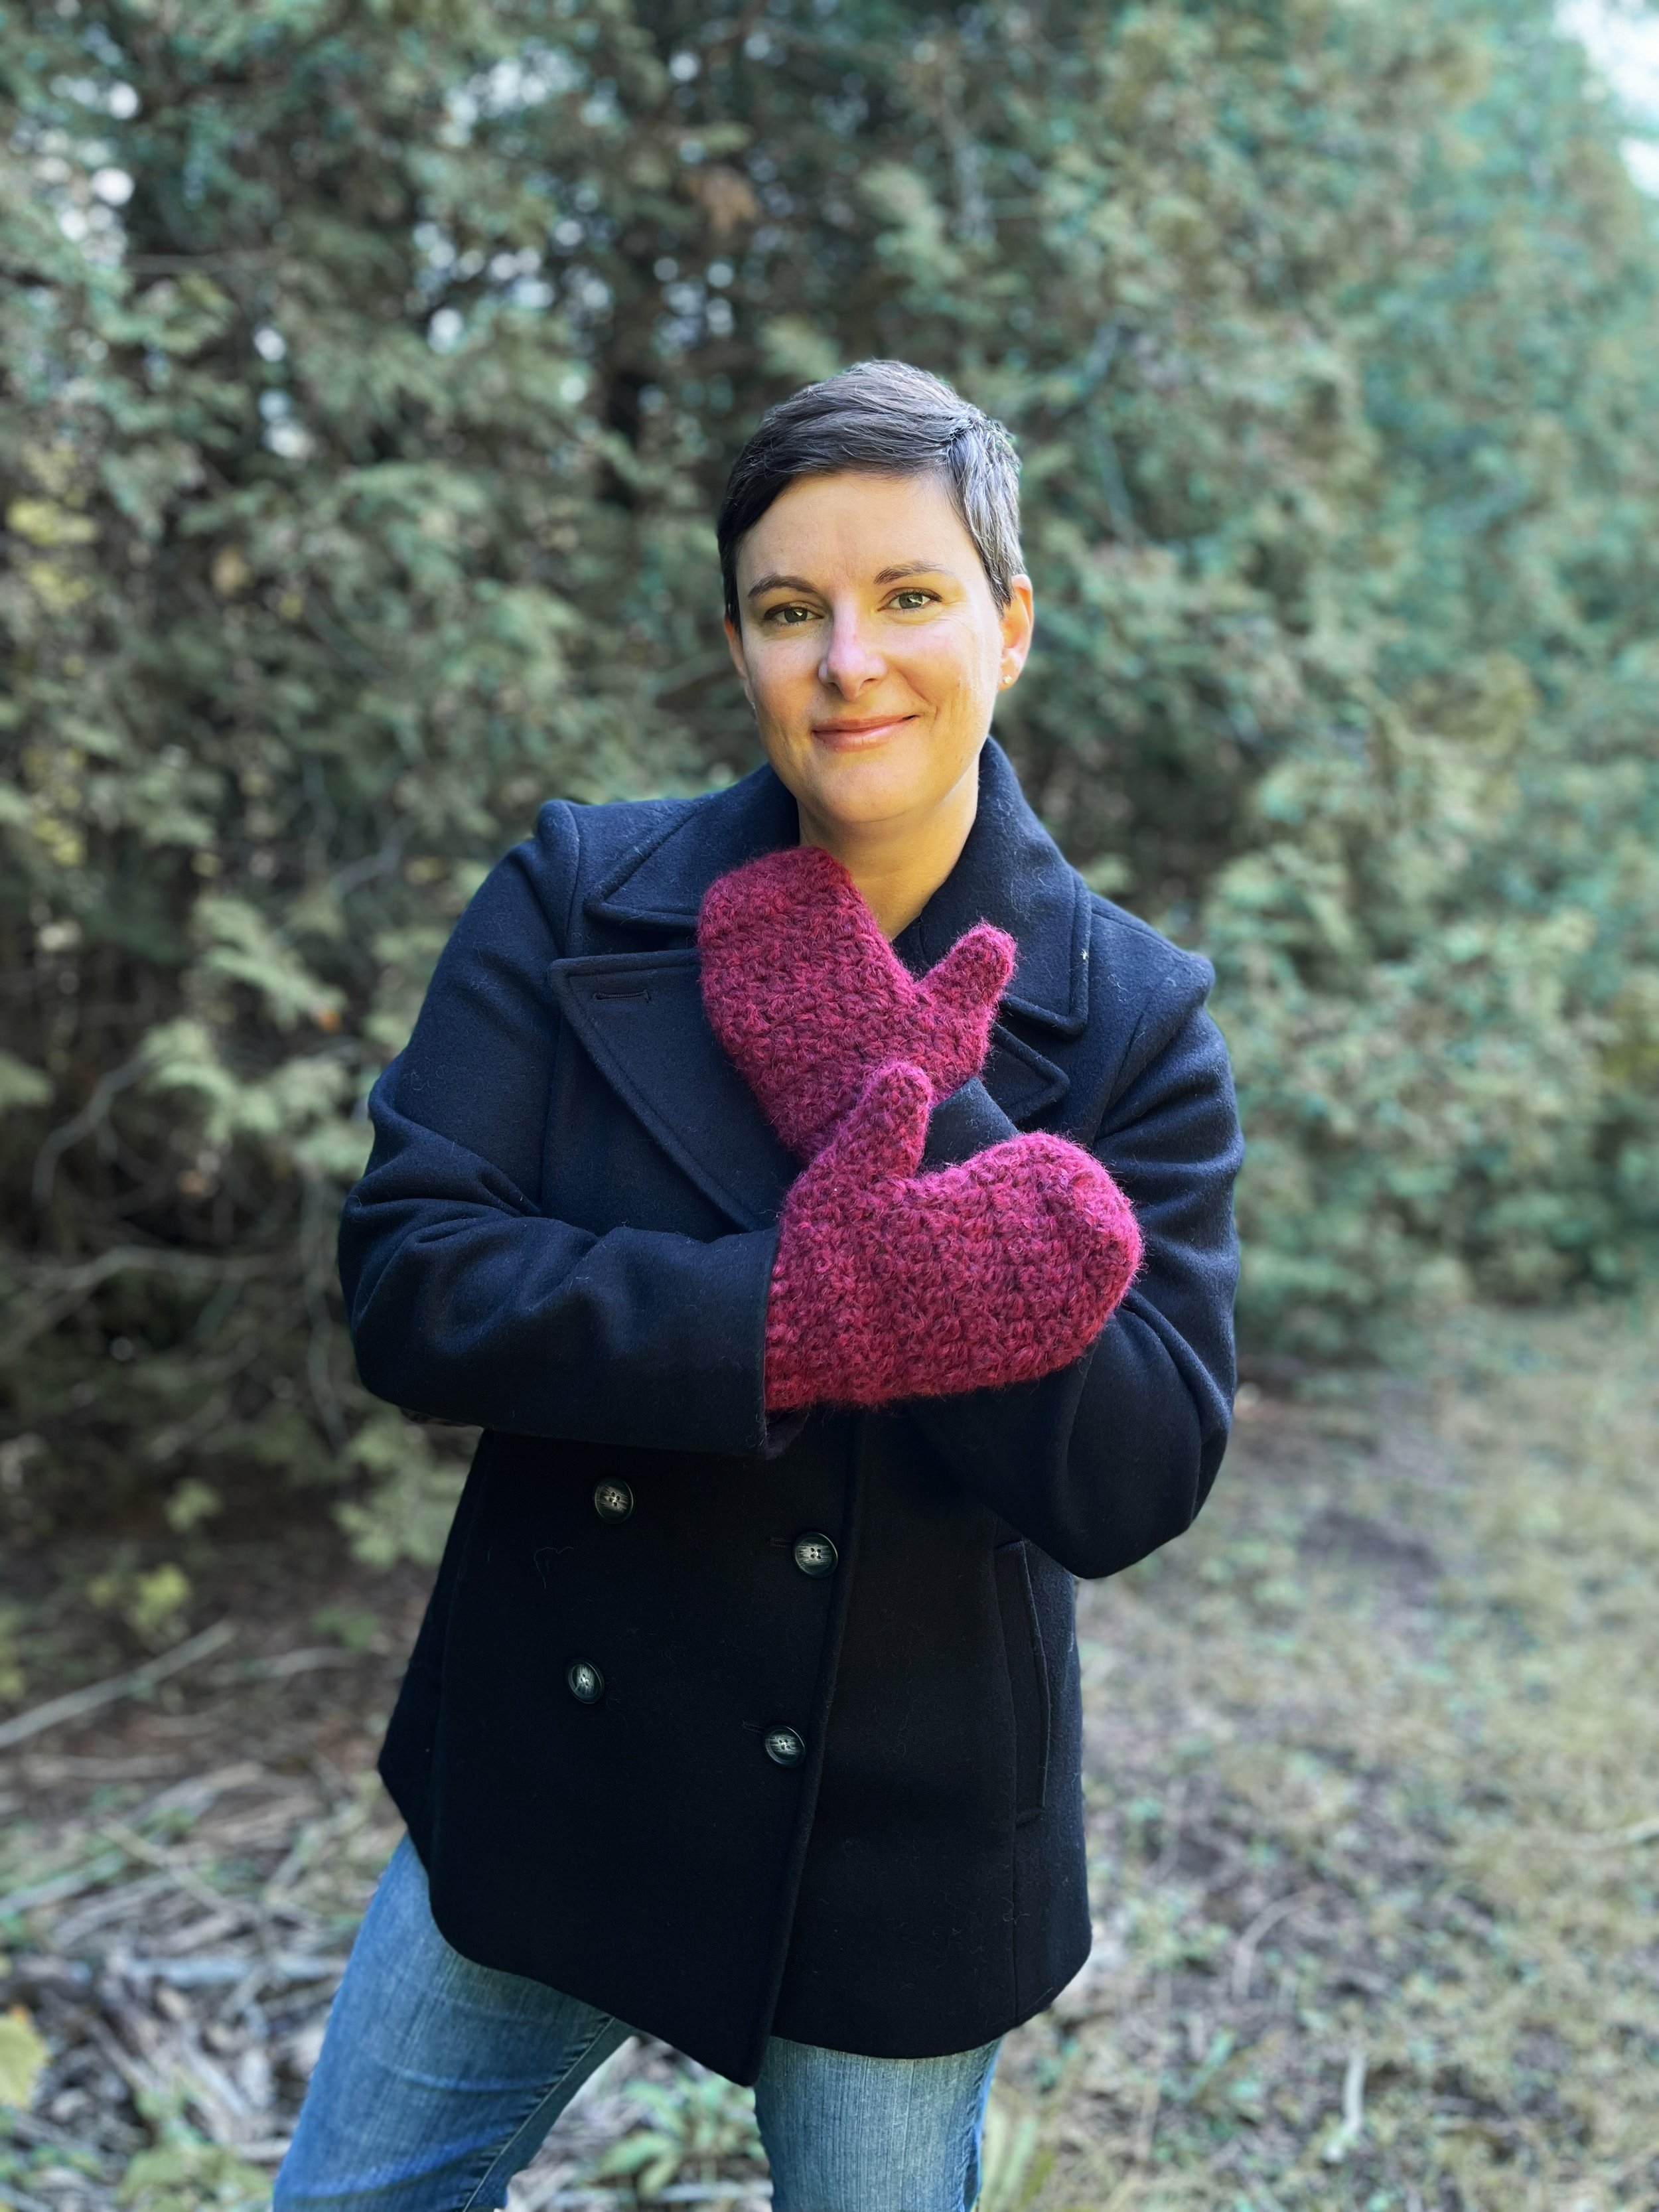
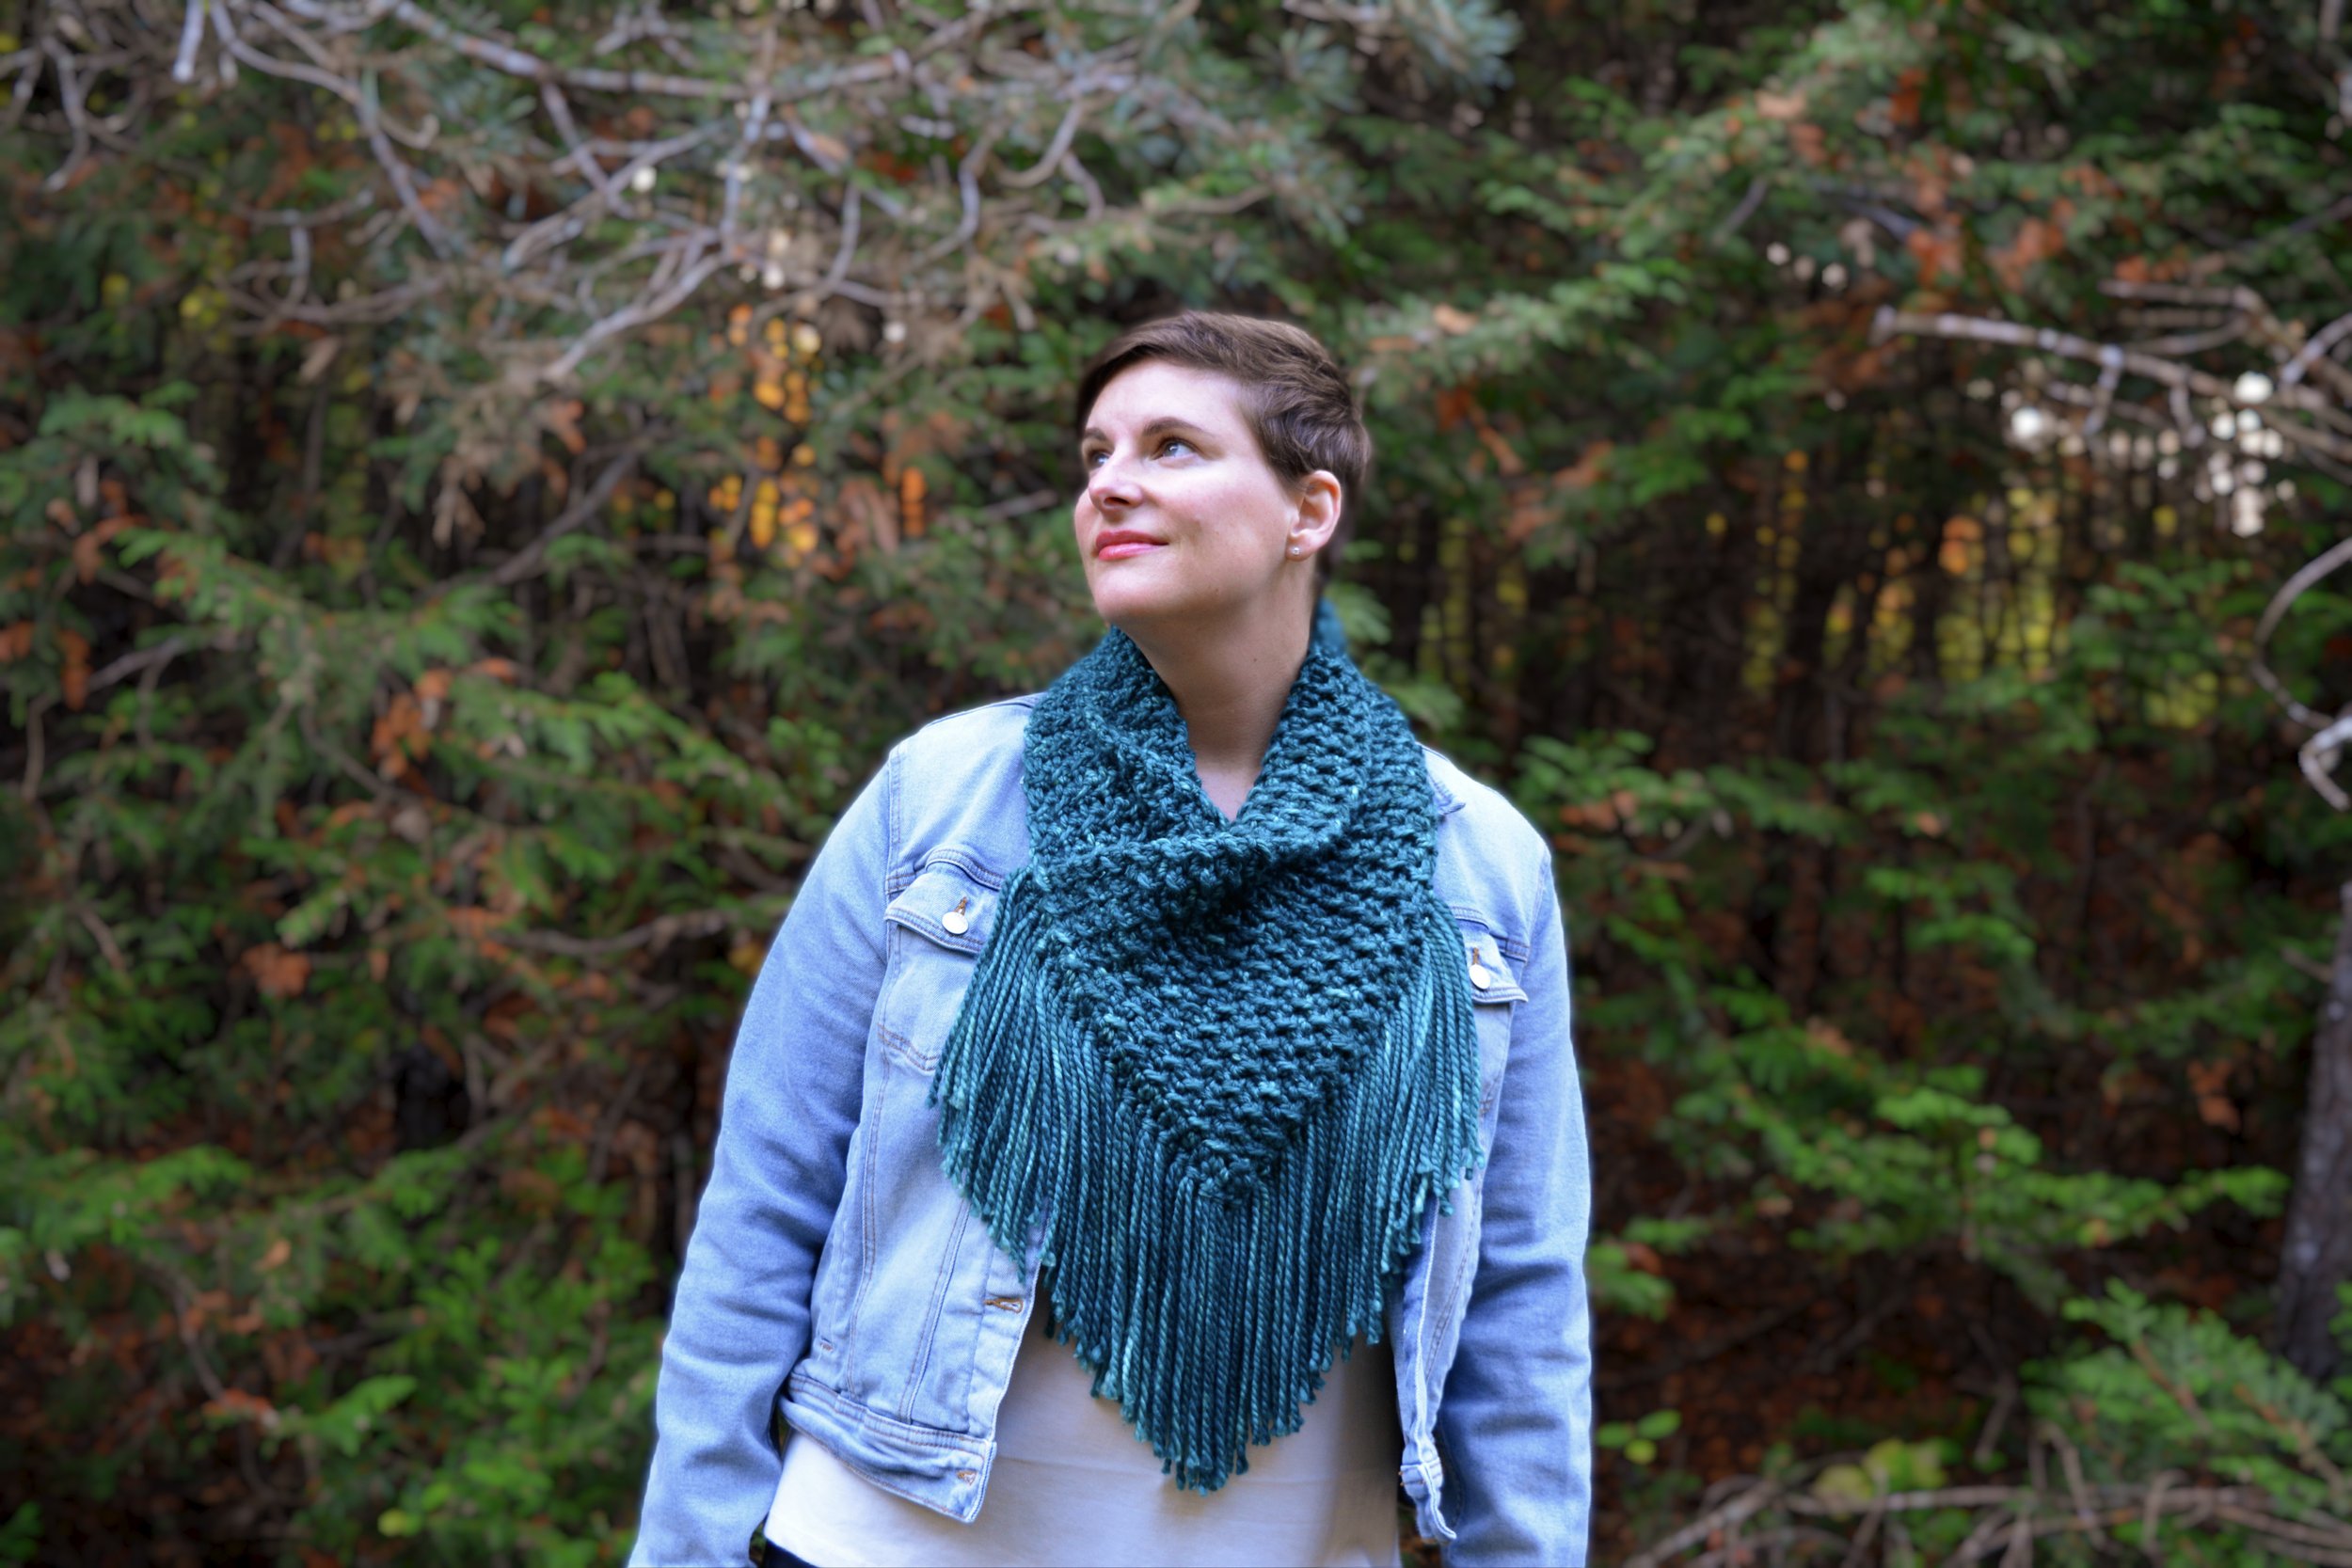
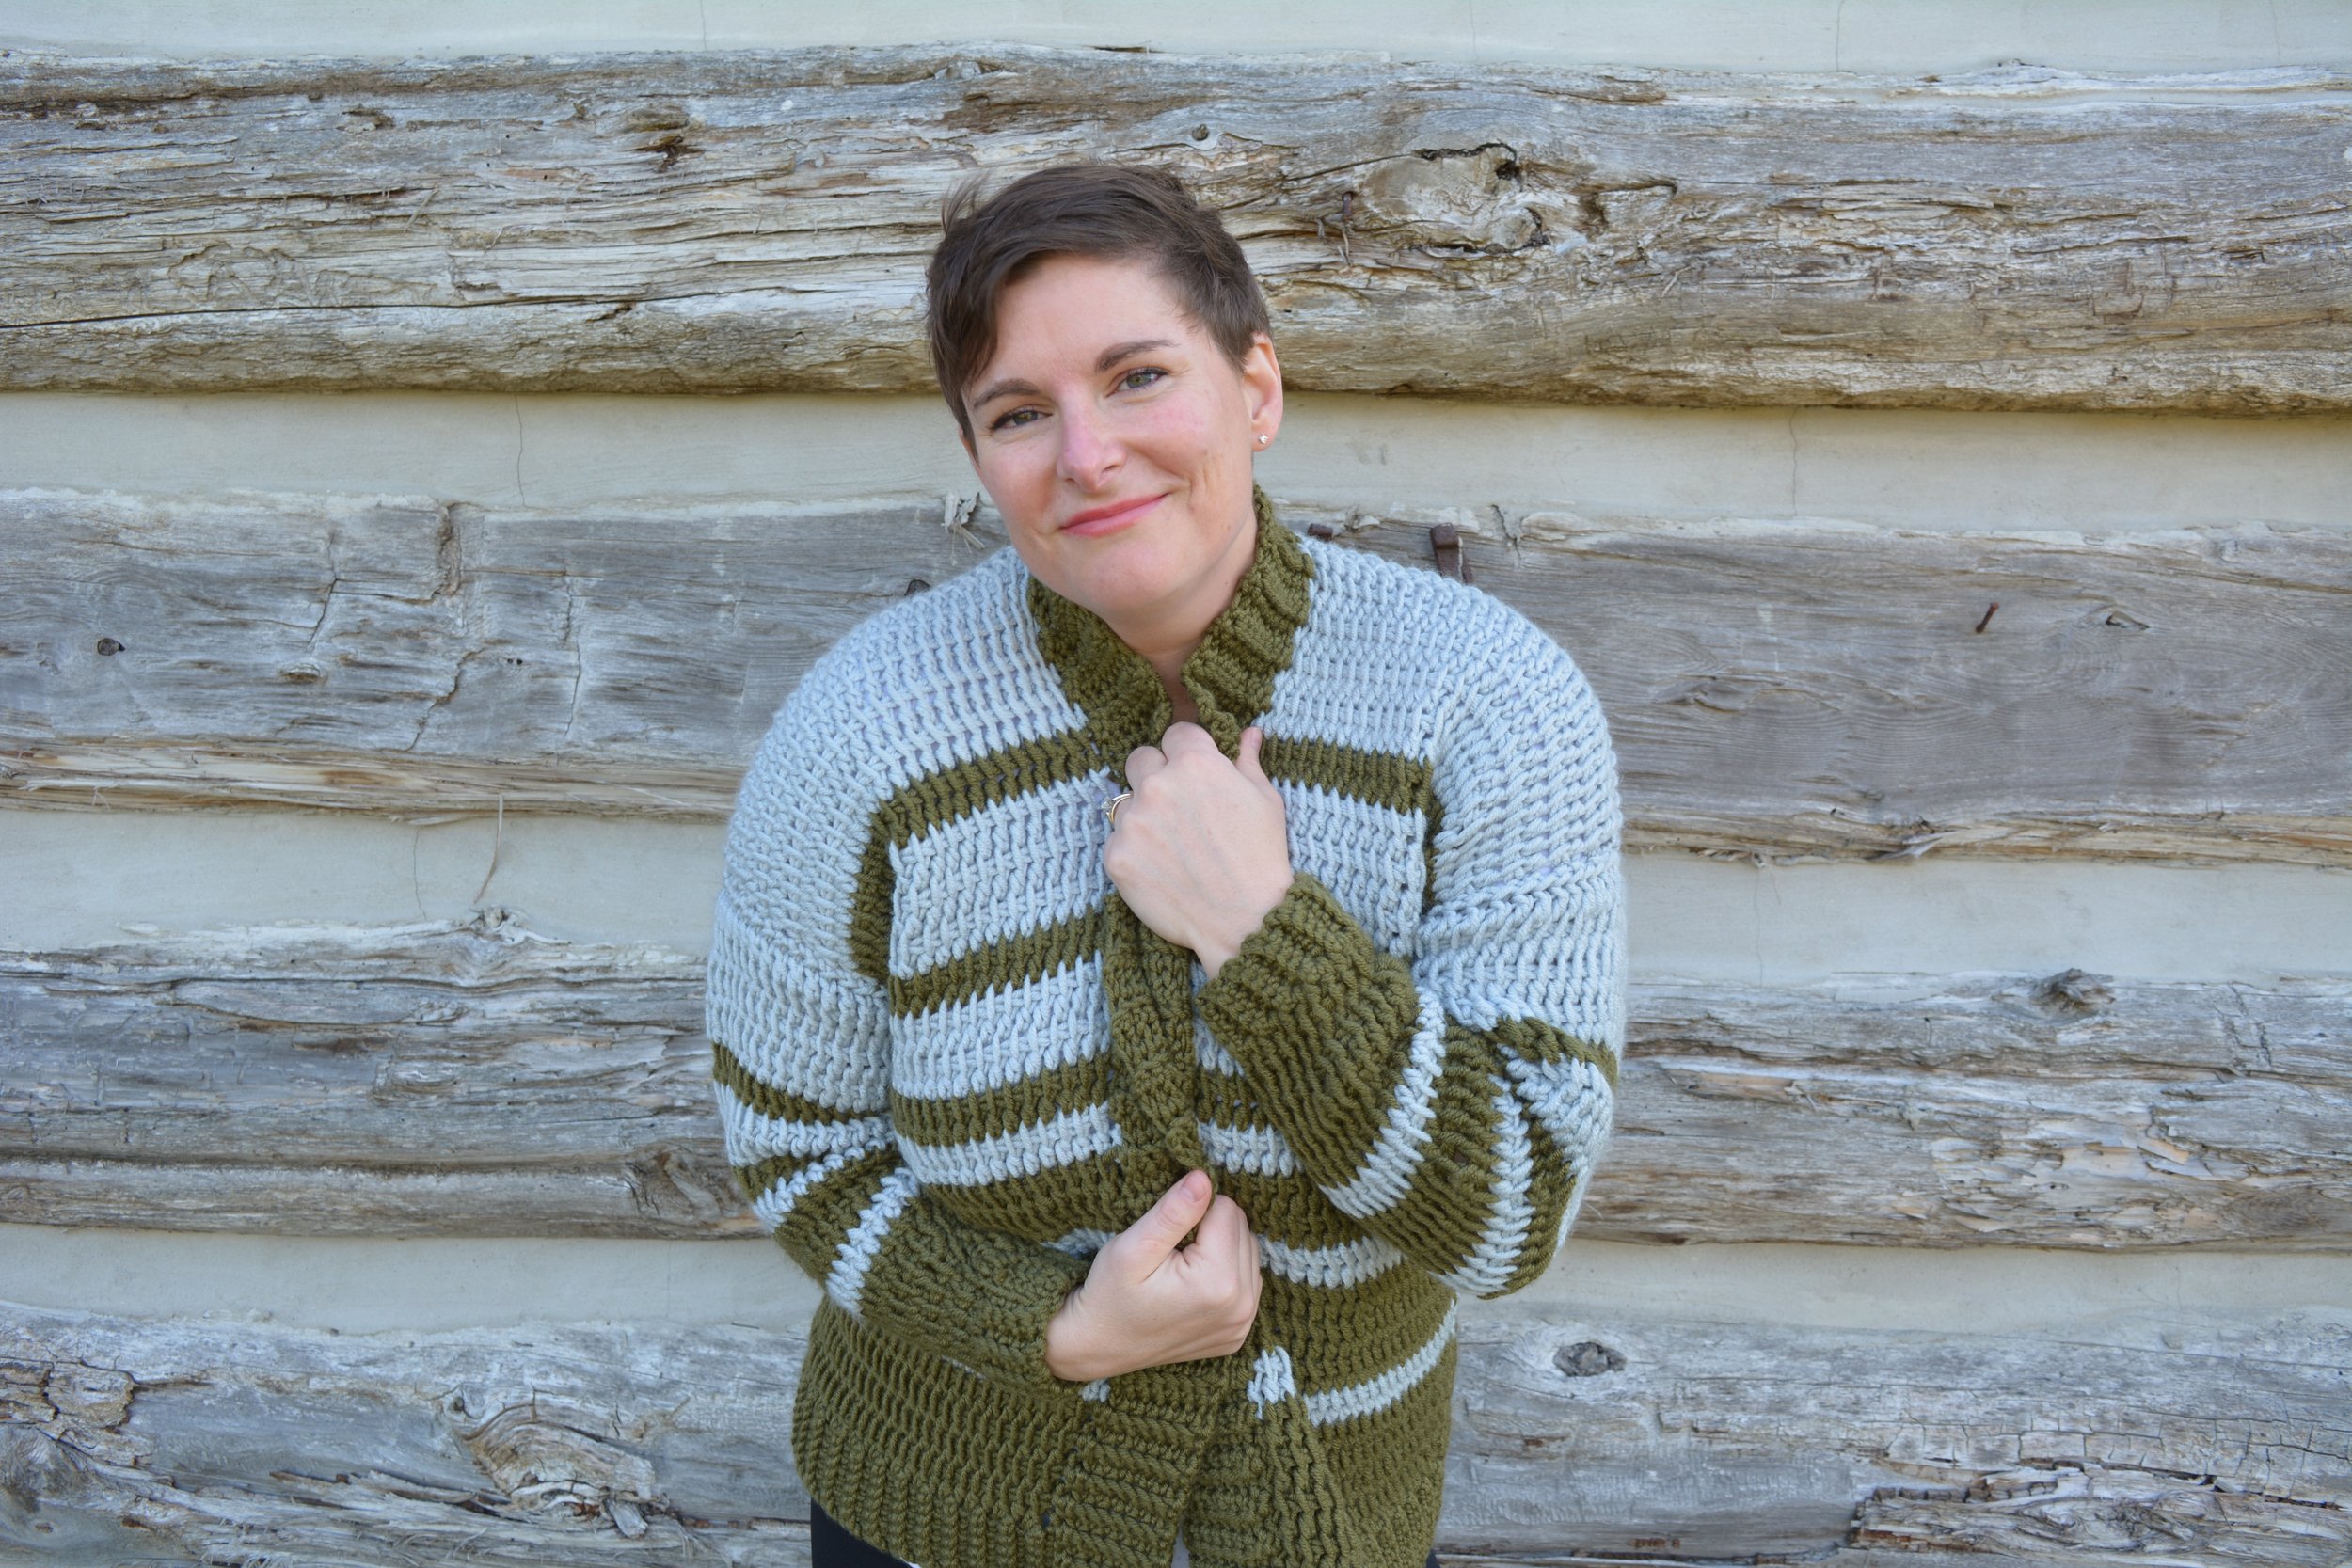
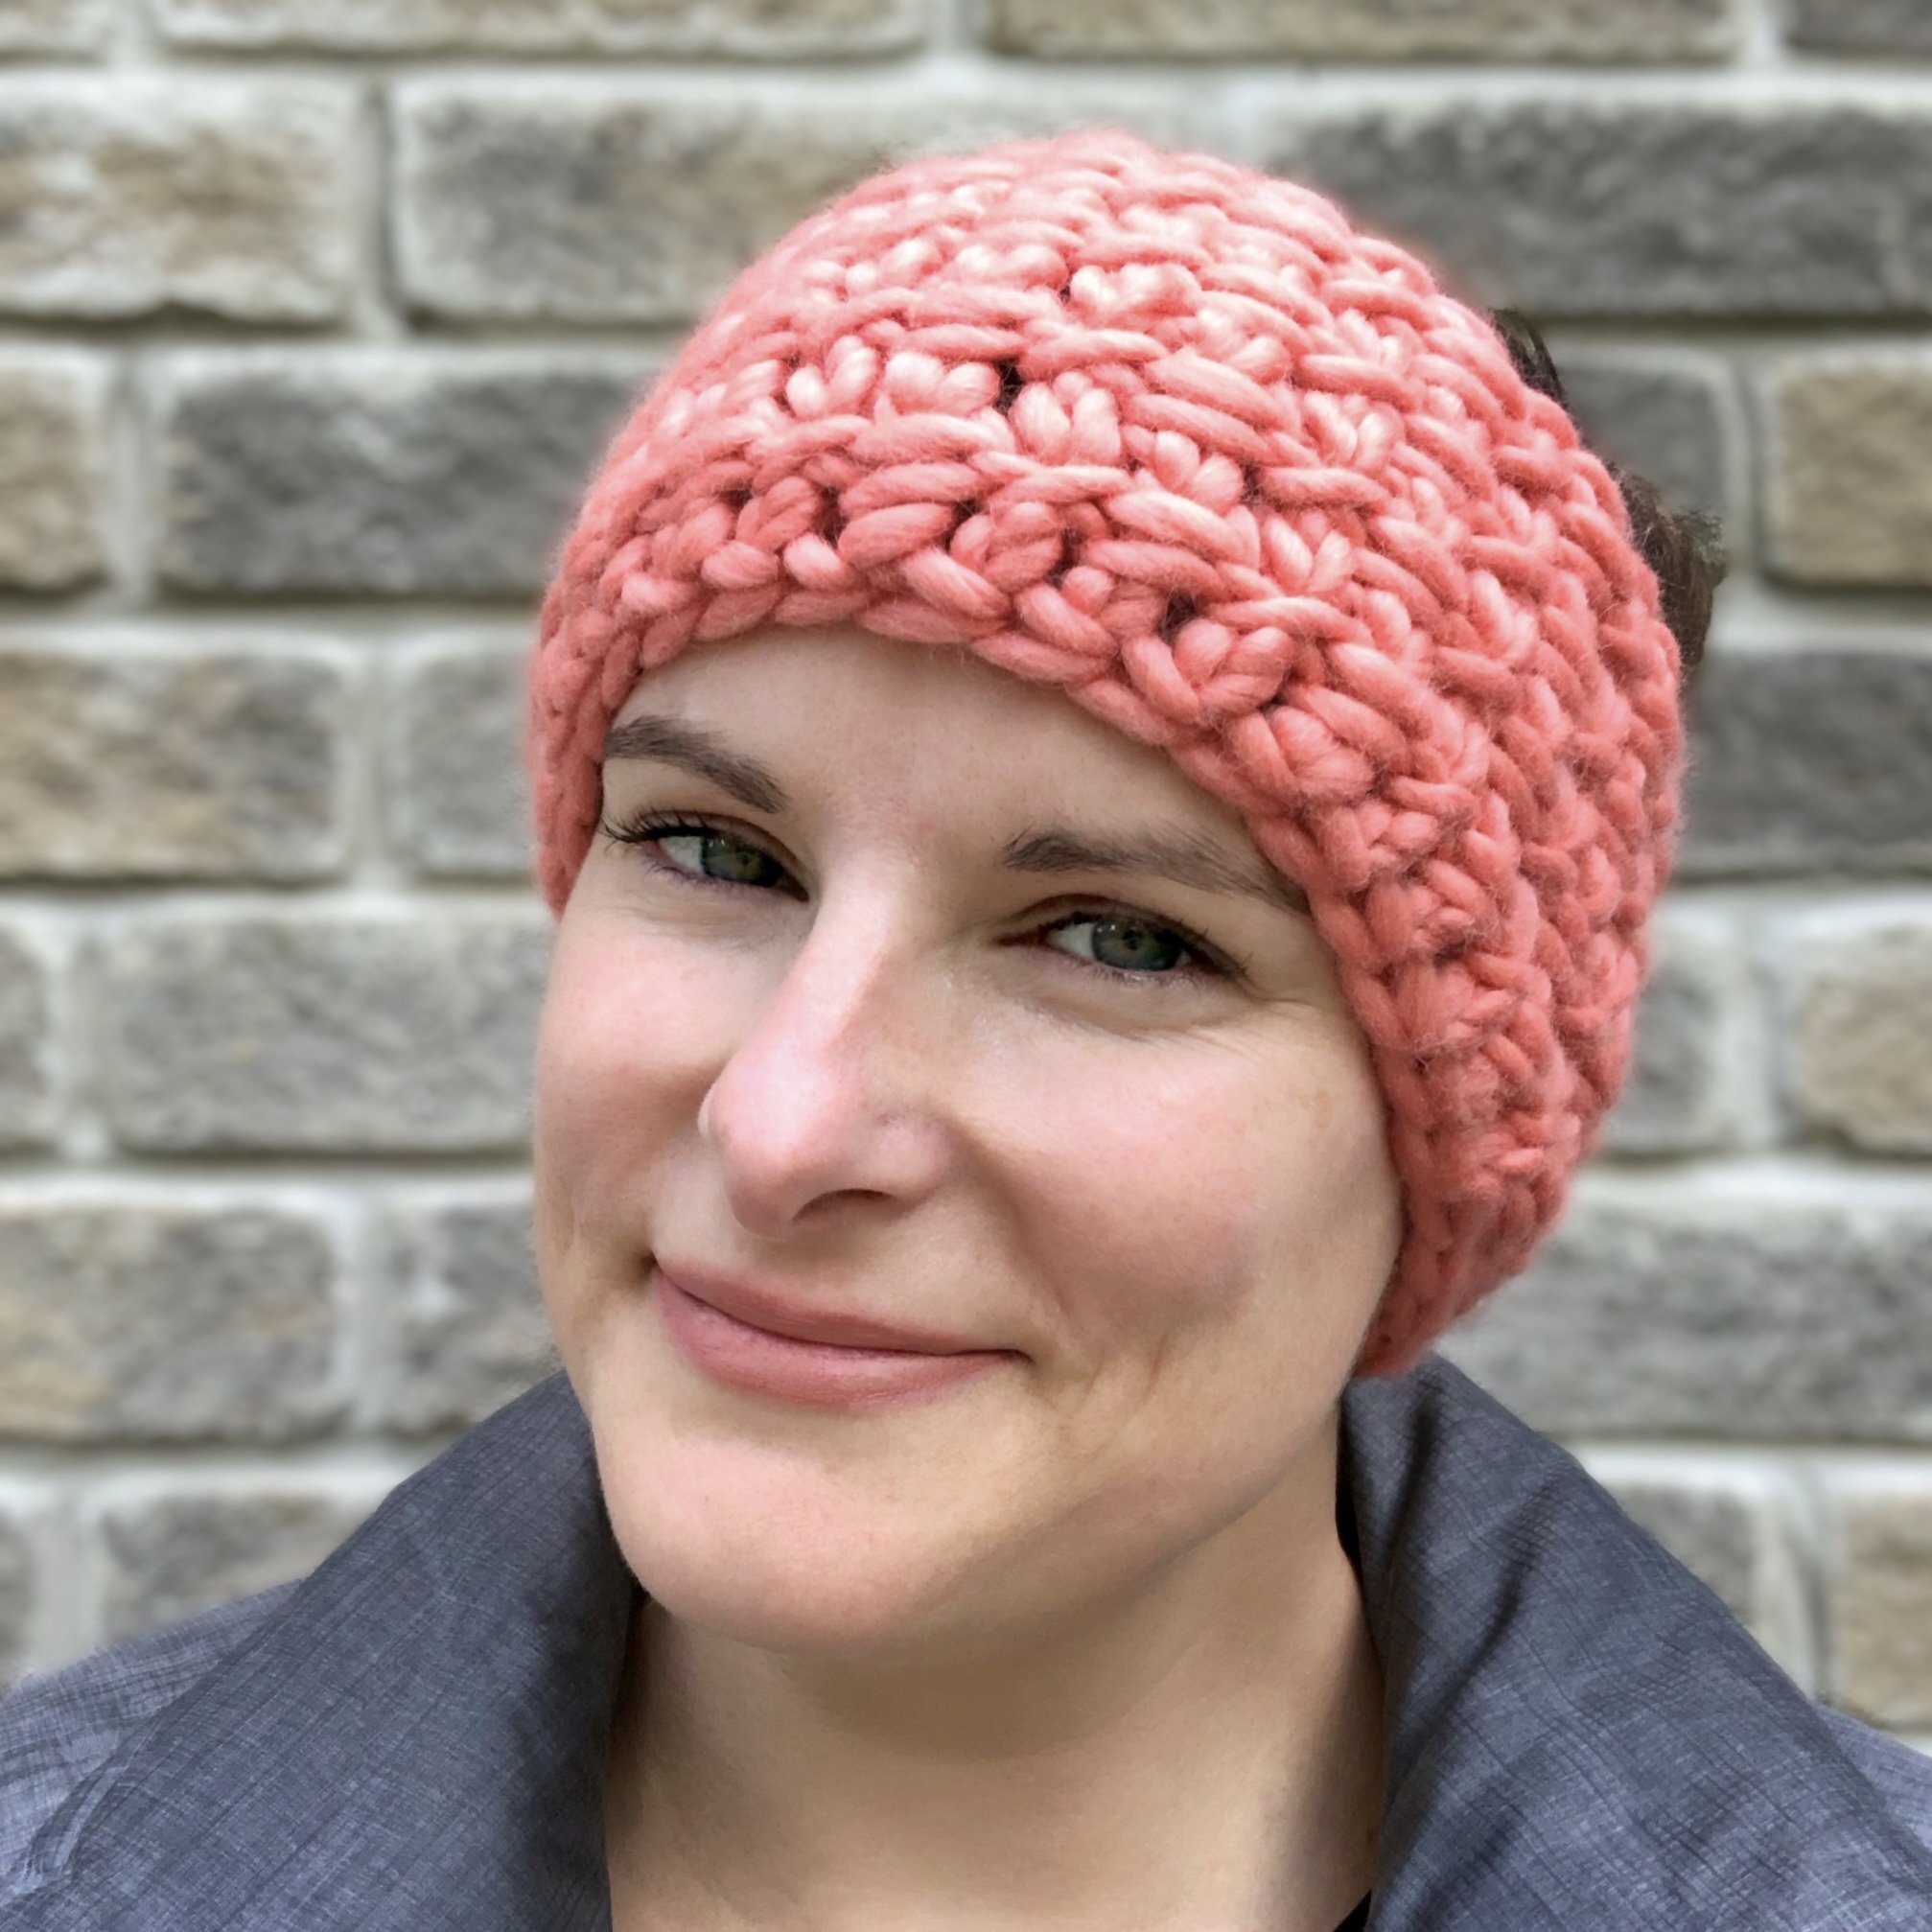
Testers used a variety of different yarns and got great results. Click on their pictures scattered throughout this post to see their Instagram pages, and check out the Ravelry project page for more details on their projects.


Materials
Yarn: DK (3) weight, approximately 480 yds/439m. Sample was made with Knitcrate Vidalana Oasis in the colour Sahara (Alpaca and merino wool blend, 250 yds/229m, 100g per skein).
Hook: US H/5mm Tunisian crochet hook with short cord attached, or size needed to meet gauge (if using different weight yarn, size up or down accordingly)
Notions: measuring tape, scissors, yarn needle, blocking mat and pins (optional)
Terminology/Abbreviations
This pattern uses standard US terms as detailed by the Craft Yarn Council:
ch: chain
Lts: last Tunisian stitch (insert hook under both vertical loops)
RetP: Return Pass (ch 1, *yarn over, pull through two loops, repeat from * until 1 loops remains on your hook)
sl st: slip stitch
st(s): stitch(es)
Tks: Tunisian knit stitch
Tss: Tunisian simple stitch
Tss2tog: Tunisian simple stitch two together (insert hook under next two vertical bars, pull up a loop)
Notes
The pattern is written for one specific size, as listed in the Sizing section. To modify the width, start with any even number of chain stitches. To modify the length/circumference, simply work repeats of Rows 2 and 3 until your desired length is reached.
The first loop on the hook is included in the stitch count, but is never worked in the instructions.
See this helpful video for an example of how to Sl St Bind Off.
The two-row repeat used in this pattern is commonly called the Arrowhead Stitch.
Sizing
Finished Measurements: 6.5”/17cm wide, 74”/188cm long (before sewing the short ends together to make it an infinity scarf).
Note: This length allows me to wrap the scarf around my neck three times for a snug fit. Feel free to customize the length to get the fit you want. Keep in mind that changing the measurements and/or the yarn weight will alter the required yardage.
Gauge: Do not skip this step! This pattern is gauge-forgiving, but you should always make a swatch so that you can see how your yarn works up and blocks out. This will give you an idea of how the stitches will look and how the scarf will drape (some fibres may give you a stiffer fabric).
Note: This swatch is made using the yarn listed in the Materials section. Different weight yarns will give different gauge.
19 sts x 13 rows = 4”/10 cm blocked in 2 row repeating pattern (Rows 2 and 3 below)
To make your swatch:
Row 1: Ch 24 and turn. Starting in the second chain from hook and working into the back bumps, pull up a loop in each ch (24 loops on hook), then work a RetP.
Row 2: *Tss2tog, yarn over. Repeat from * across, Lts and RetP.
Row 3: *Tss next st, tks next st (into the “hole” created by the yarn over in Row 2). Repeat from * across, Lts and RetP.
Repeat Rows 2 and 3 until you’ve worked 15 rows total (end on a Row 3 repeat).
Sl st bind off and fasten off. Block your swatch and when it is completely dry, lay it flat and measure your gauge in the centre of the swatch.
If there are more than 19 sts or 13 rows in 4”/10cm, your gauge is too tight; try using a bigger hook.
If there are less than 19 sts or 13 rows in 4”/10cm, your gauge is too loose; try using a smaller hook.
Pattern Instructions
Row 1: Ch 30 and turn. Starting in the second chain from hook and working into the back bumps, pull up a loop in each ch (30 loops on hook), then work a RetP.
Row 2: *Tss2tog, yarn over. Repeat from * across, Lts and RetP.
Row 3: *Tss next st, tks next st (into the “hole” created by the yarn over in Row 2). Repeat from * across, Lts and RetP.
Repeat Rows 2 and 3 until your work measures approximately 67”/168cm, or desired length, taking into account the results of your blocked swatch. End on a repeat of Row 3. If your swatch grew a lot or not much in length, make sure to account for this when measuring when to stop. For example, my scarf grew by 7”/18cm in length after blocking.
Bind off: Sl st bind off and fasten off, leaving a 15”/38cm long tail for seaming (or 6”/15cm if you plan on leaving the scarf as is). Proceed to Finishing section.


FINISHING
Block your scarf by soaking it for 20 minutes in a sink or tub of cool water and a non-rinse soap like Soak or Eucalan. Drain and lay it out on a towel, then roll it up and step on it to squeeze out all excess water. Then lay your scarf out to dry on blocking mats or another protected flat surface. You shouldn’t need pins, but if you do use them, take care not to overstretch. Make sure that the width of your scarf is the same along the entire length.
Note: this stitch has a tendency to lean, so you may notice that your rows seem to be on a bit of a slant when the scarf is laid out flat. If this concerns you, try your best to straighten it out while it is wet. You may wish to use pins to achieve this; make sure not to overstretch. A little slant does not affect the overall look of the pattern.
Once your scarf is completely dry, match up the two short ends and use the long tail from the end of your work to seam them together. I suggest the mattress stitch for a low-profile seam that is easily hidden, but feel free to use the seaming technique that you prefer. Weave in all ends to the wrong side of your work, and voila, you’re finished!

Don’t forget to grab your PDF copy of the pattern!
Don’t forget to add this pattern to your Ravelry queue, and make sure to add your scarf to the project page!
Can’t make it right now? That’s totally ok, I know how busy this time of year can be! Pin this one to your Fall or Crochet Pinterest board so you’ll be able to come back to it later.


Congratulations on finishing your Arrakeen Infinity Scarf! I cannot wait to see the yarn you choose and how you style this one! Share your scarf on Instagram using the hashtags #ArrakeenInfinityScarf, #Scarftober, #CapitalCrochet and tag me, @capital.crochet!
I really hope you enjoy making this as much as I have enjoyed designing it! You may sell finished items made from this pattern, but please credit me as the designer by linking back to this blog post.


If you enjoyed this pattern, why not check out some of my other Fall patterns! Make sure to use the bundling codes on my website or on Ravelry to save more when you buy more patterns.

Thank you so much for your support! If you’d like to be the first to know about new patterns in this series and other blog posts, make sure to subscribe to my newsletter below.
Let’s hang out on social media! Follow me on Instagram and Pinterest, where I share all about my projects and my other hobbies, too!