Lichen Lace Wrap - the perfect Summer crochet pattern!
/This post may contain affiliate links, meaning that if you click through and make a purchase, I earn a small commission at no extra cost to you. This helps support my business and makes it possible for me to bring you free content.
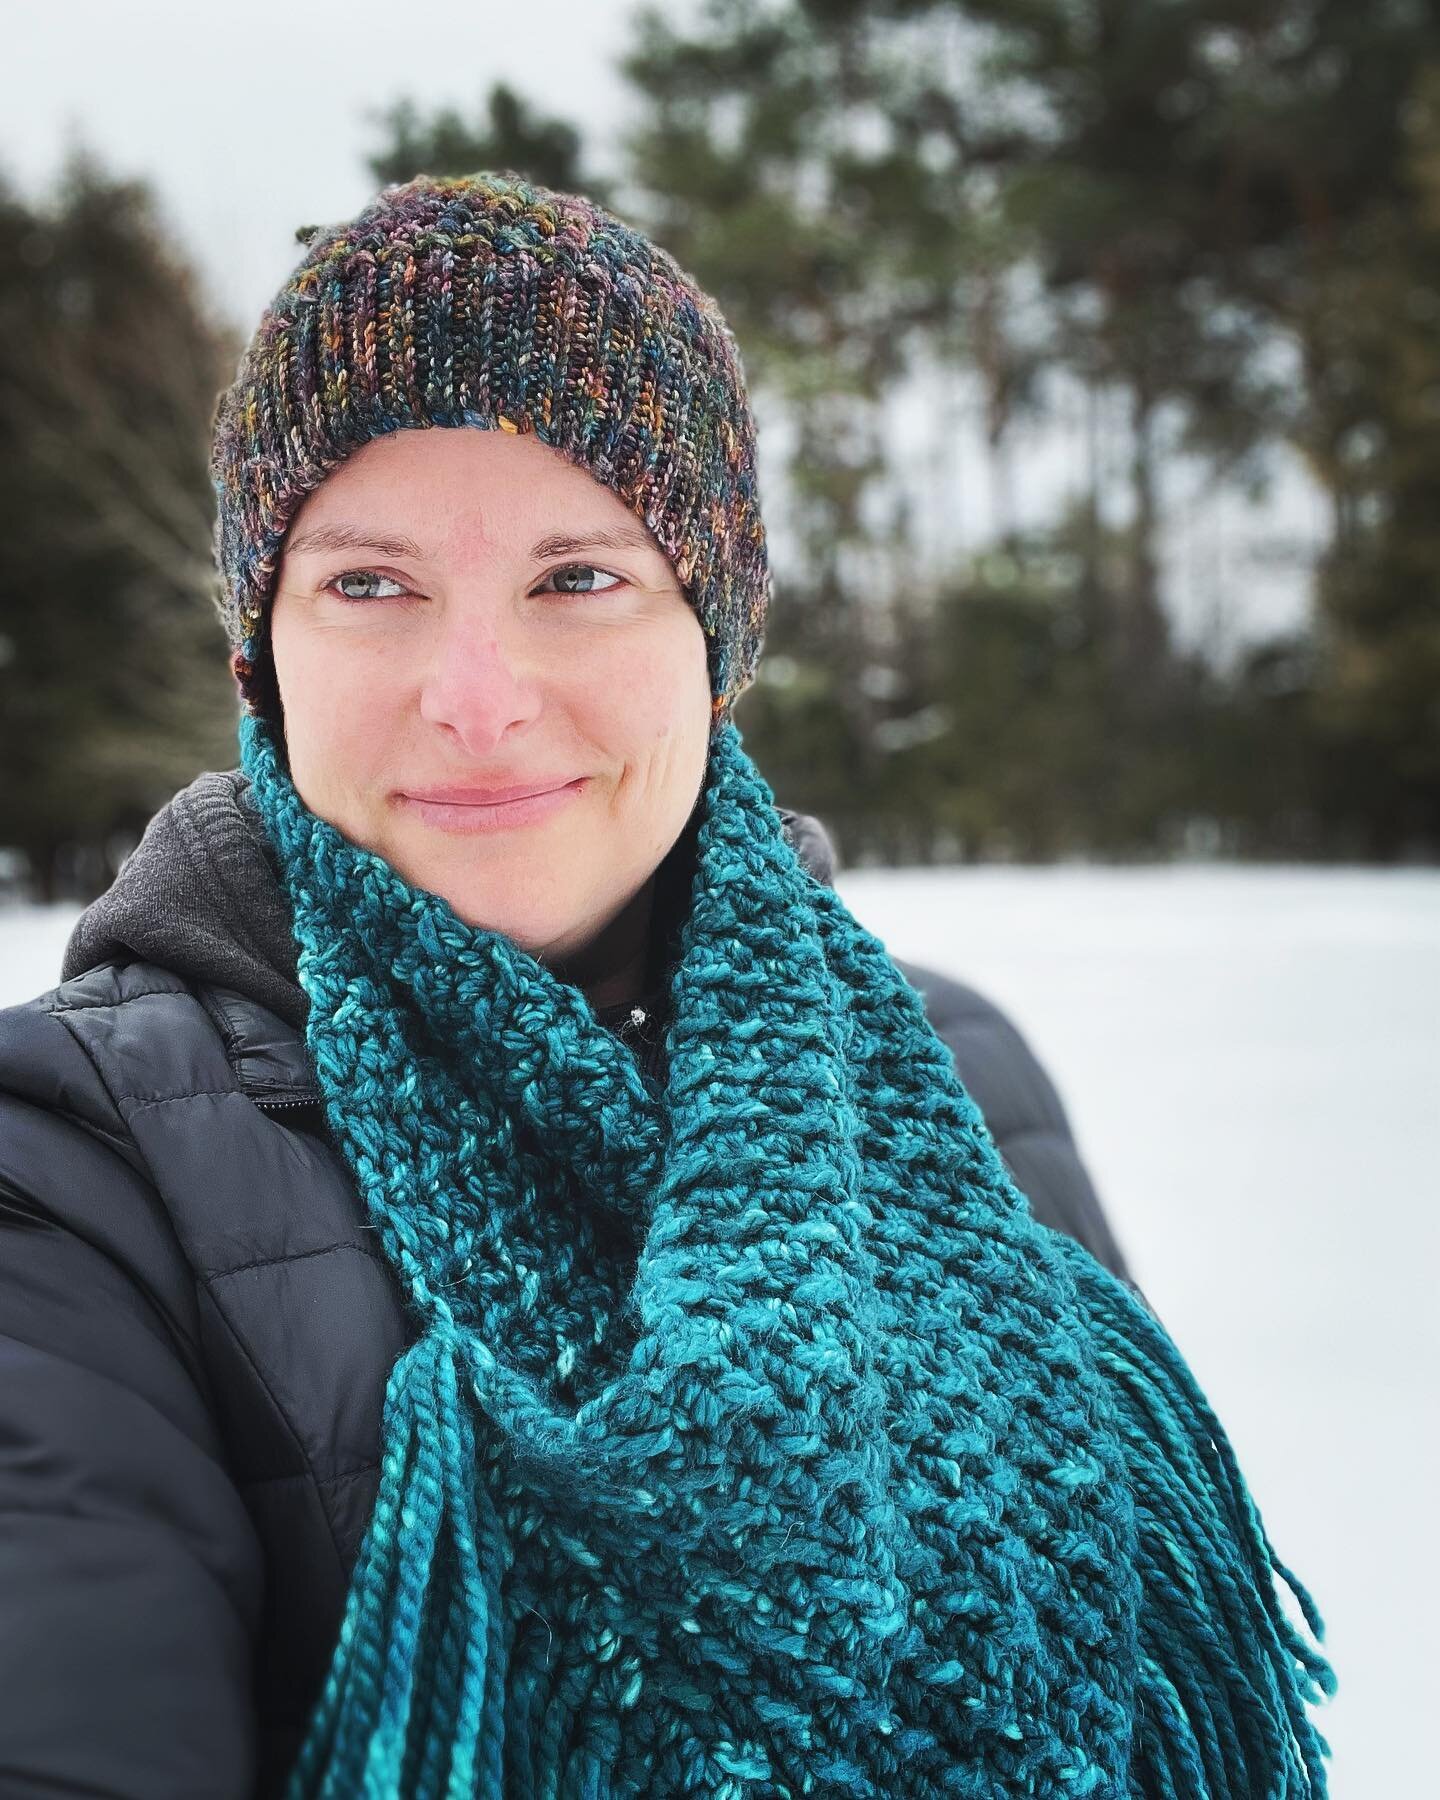
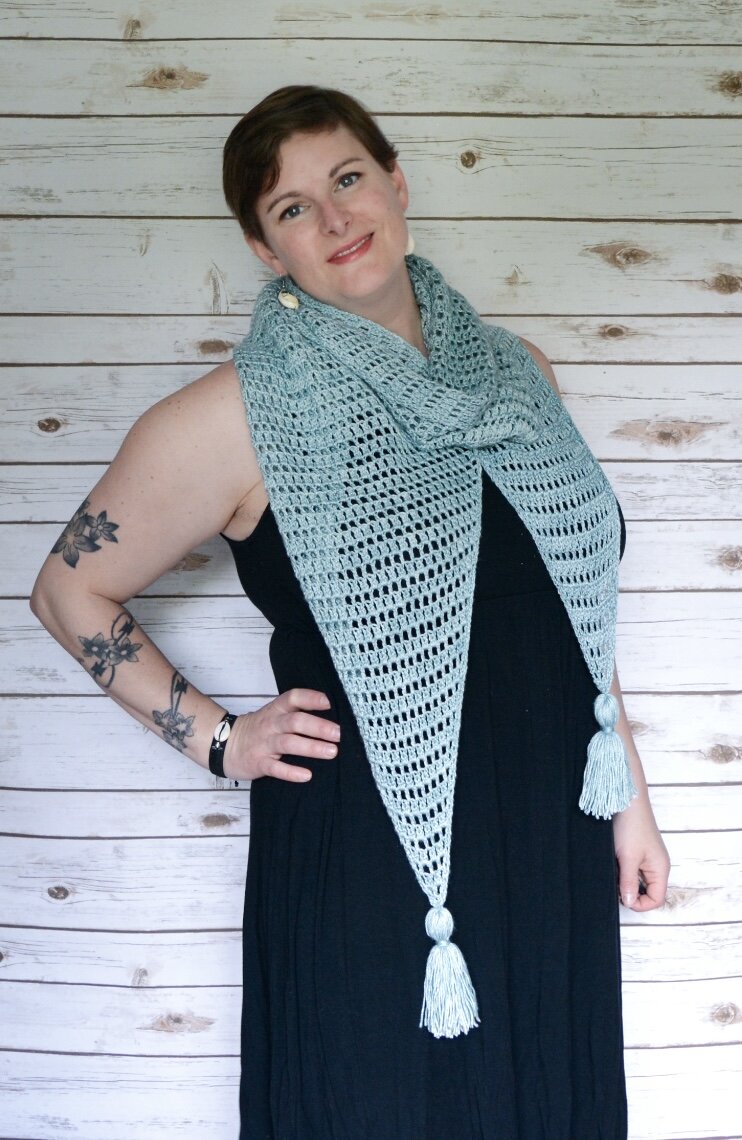
We often associate crochet and yarn crafts with the cooler time of year - big, comfy sweaters in the Fall, oversized scarves and cozy toques and beanies in the Winter. My latest pattern, the Lichen Lace Wrap, is here to show you that crochet can be cool all year ‘round!

Photos used with permission. Clockwise from top: @cotlynscrochet, @haleyhandcrafted, @thecraftycrochetier
This light and airy wrap is the perfect summer accessory. The open, lacy fabric is delicate and breezy, giving you coverage without a lot of weight or warmth. It’s great for wrapping around your shoulders in a cold office or at that outdoor wedding reception as the sun goes down. Style it as a scarf around your neck, or drape it over your arms for a dramatic fashion statement - there are so many possibilities!
The simple, two-row repeat ensures you don’t have to concentrate too much, but also that you won’t get bored working a sea of the same stitch over and over again. Another bonus - both the length and the width of this pattern are totally customizable, so you can get the exact look you’re going for.

I was lucky enough to use a beautiful 50/50 blend of superwash merino and silk, generously gifted to me by Ashley of Dye2Spin. The yarn glides across my hook with ease, and feels amazing against the skin. Make sure to check out Dye2Spin on Etsy and Facebook, especially the live dye sessions - so much fun!
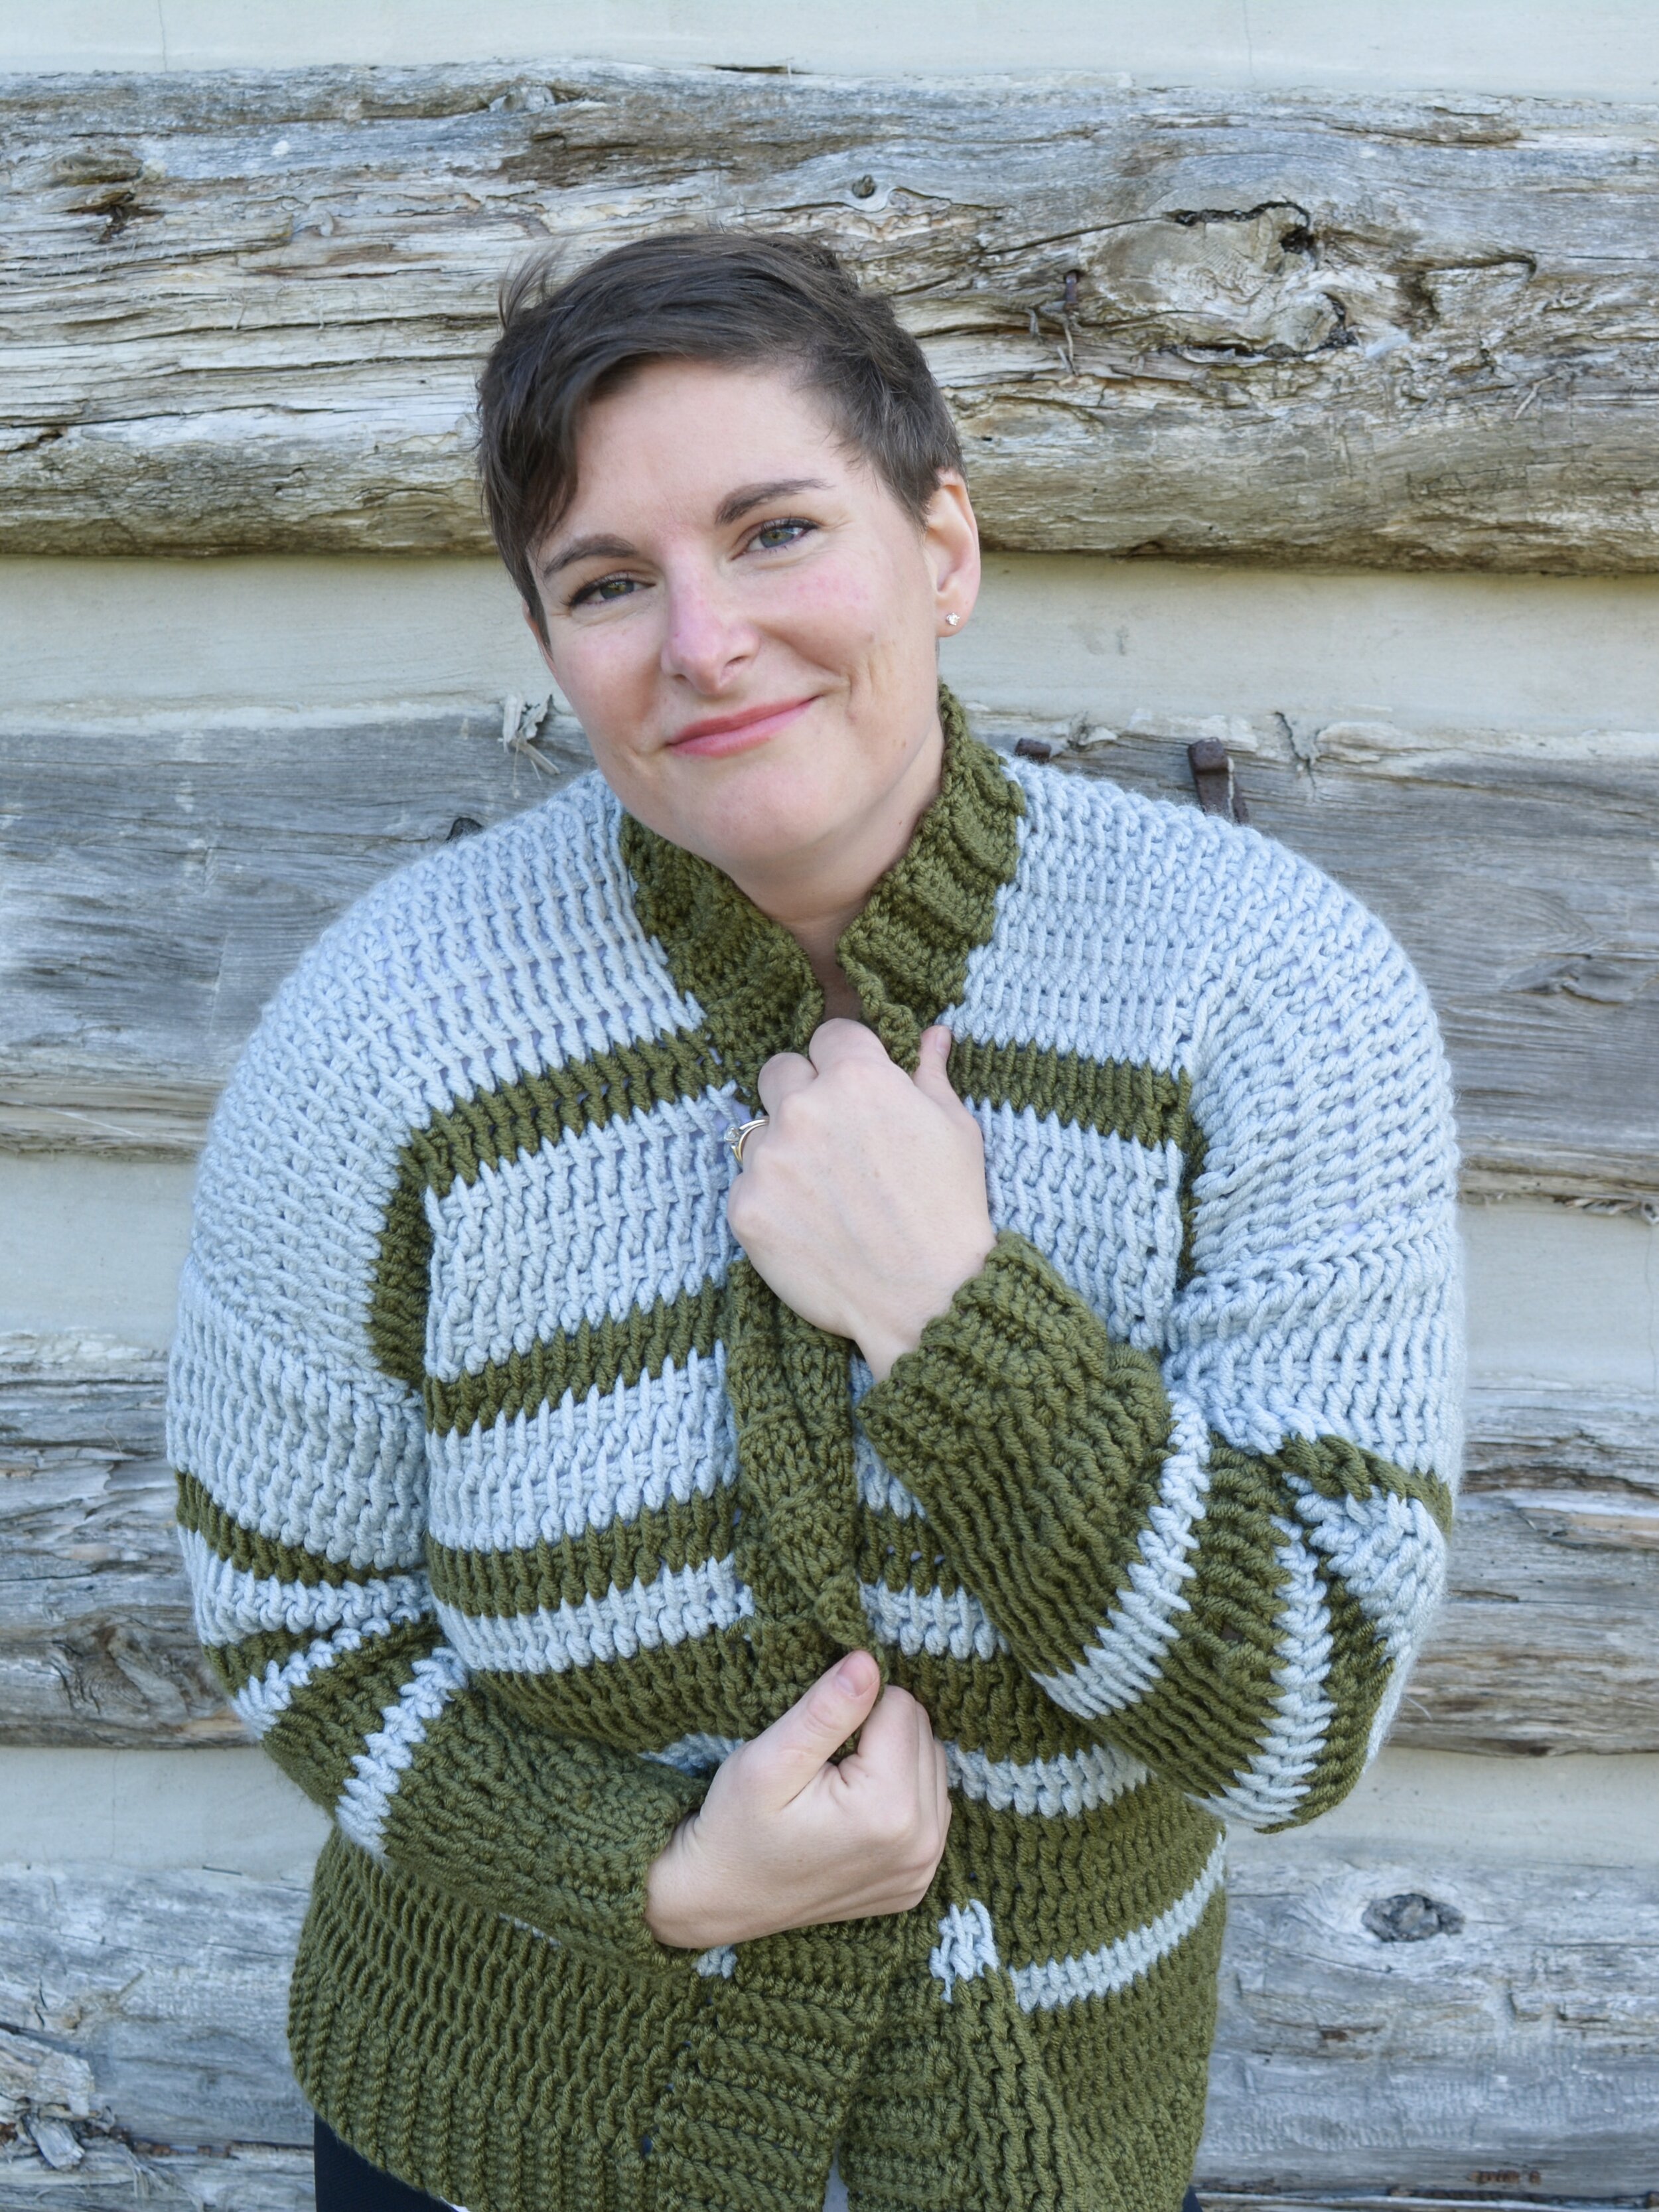
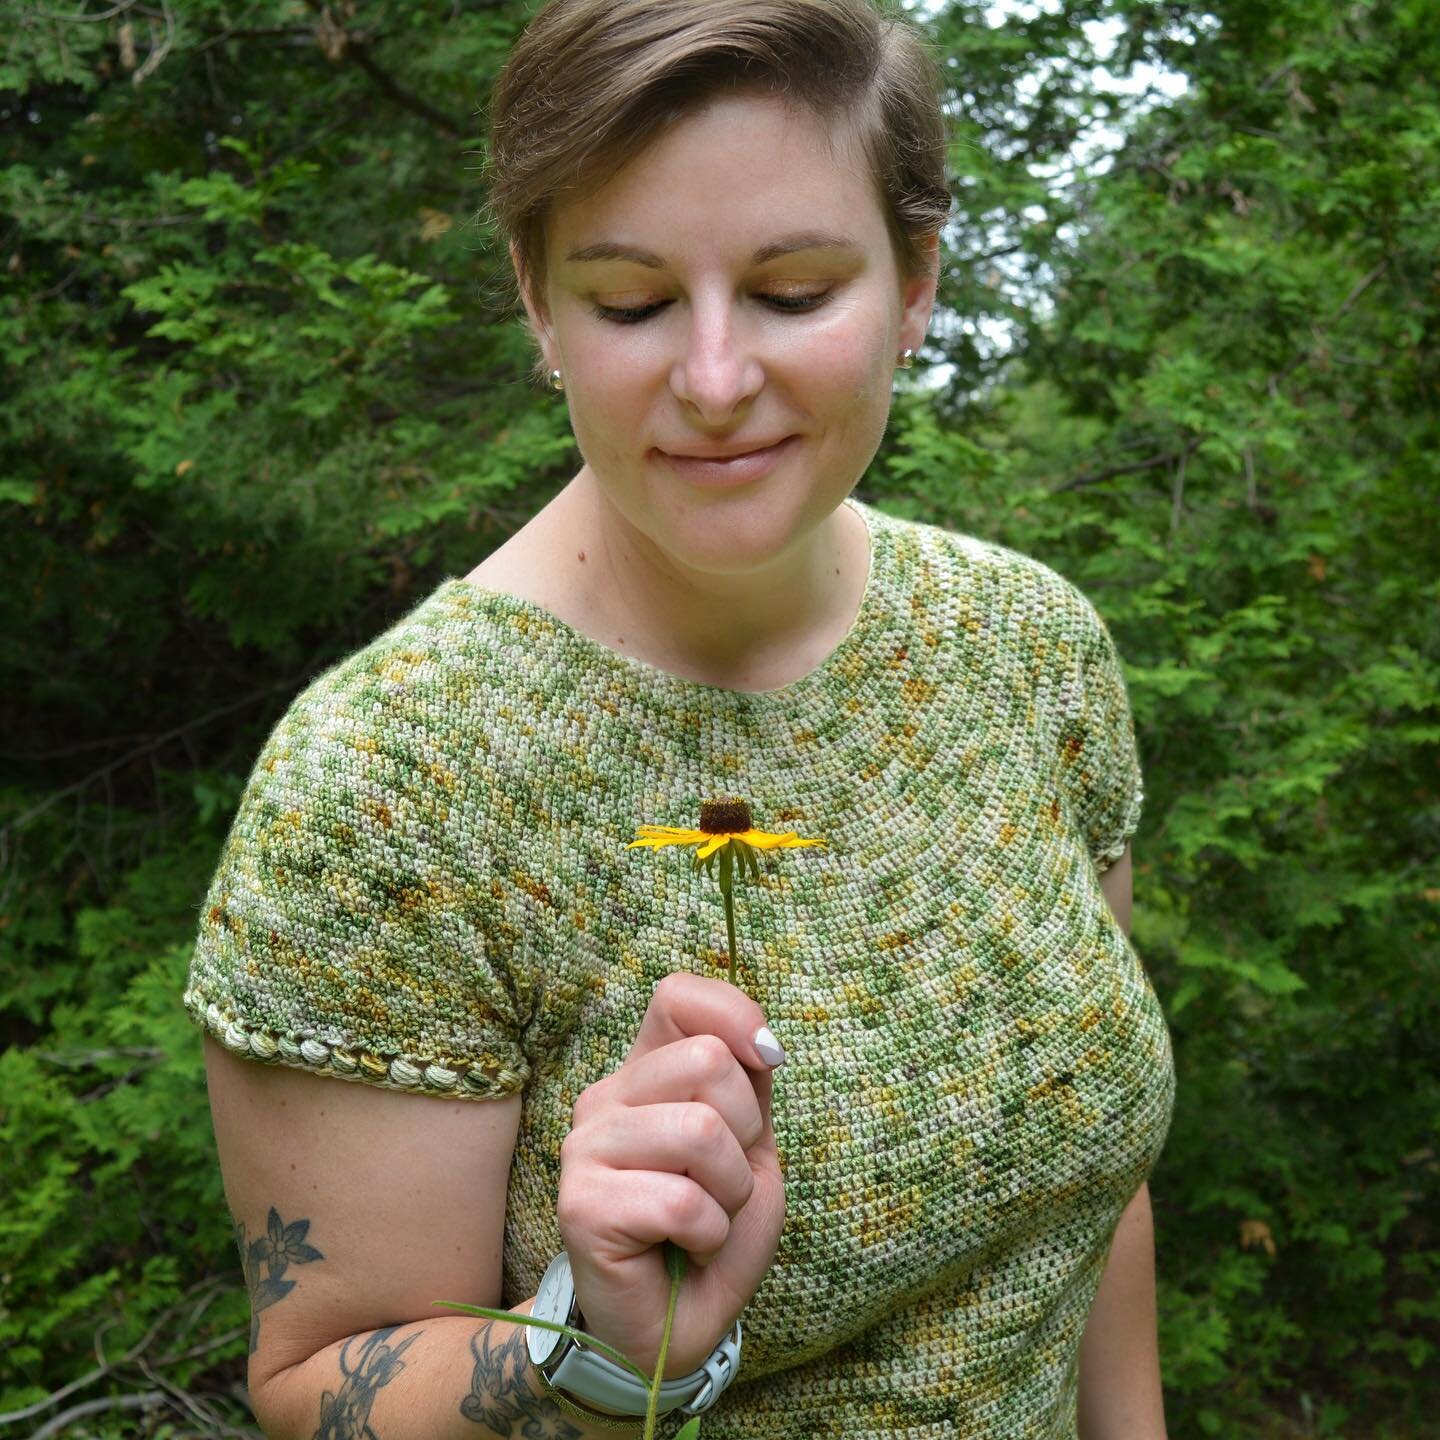
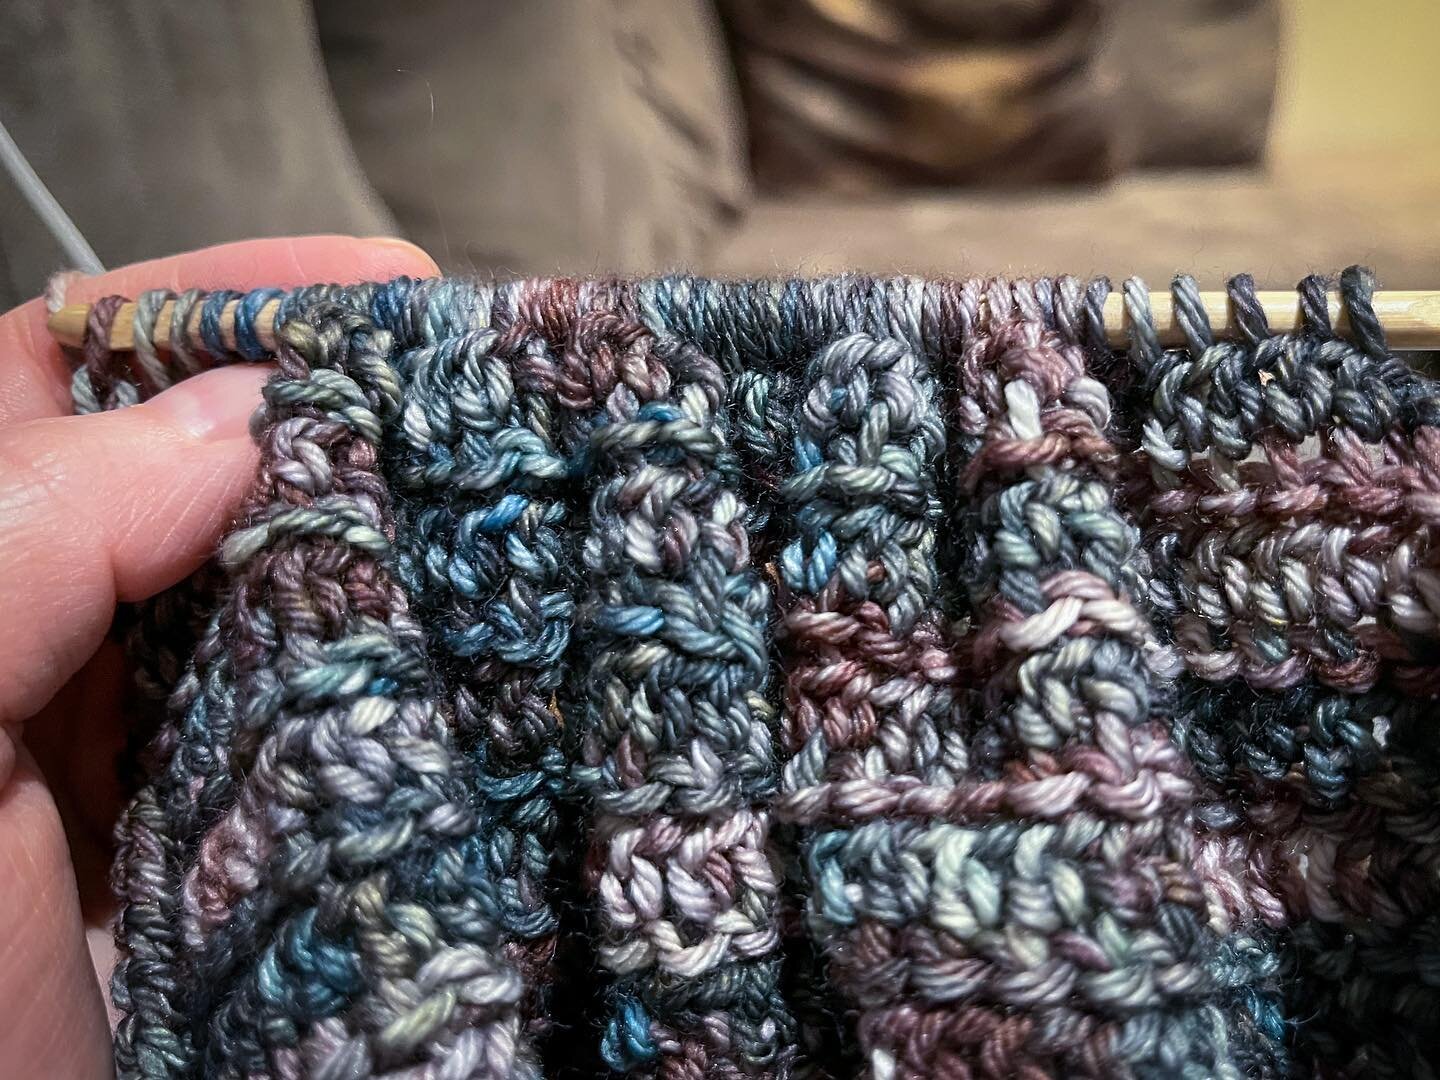
Throughout this post you will see photos of my amazing testers, who demonstrated that this wrap can be made with any yarn - fades, cottons, bamboo, you name it, this pattern brings your yarn to life! Make sure to show them some love by clicking on their pictures and following them on instagram. I am so grateful for beautiful folks like this group who help me polish up my patterns before they’re published - they’re the real MVPs of pattern design!


Materials
Hook - US F/3.75mm, or size needed to meet gauge (see Note below).
Yarn - approx. 925 yds/846m of fingering (1) weight yarn. I used Dye2Spin 50/50 superwash merino/silk, and testers used yarns like Scheepjes Whirl, Hobbii Twirls, Hikoo CoBaSi and WeCrochet Chroma.
Notions - scissors, tape measure, yarn needle, blocking mats and pins, tassel maker or piece of sturdy cardboard (optional).
I also recommend an inexpensive kitchen scale like this one to measure your yarn - this allows you to accurately measure how much yarn is left to ensure you have enough to finish the decreases.
Terminology/Abbreviations
This pattern uses standard US terms as detailed by the Craft Yarn Council:
Ch(s) - chain(s)
Chsp(s) - chain space(s)
CL - cluster (see Special Stitches section)
Dc - double crochet
Dc2tog - double crochet 2 sts together as one (see Special Stitches section)
St(s) - stitch(es)
* - repeat instructions as directed
Special Stitches
CL: Yarn over, insert hook into next st and pull up a loop. Yarn over and pull through the first two loops on hook. Yarn over, insert hook into same st and pull up a loop. Yarn over and pull through first two loops on hook, yarn over and pull through remaining 3 loops to finish the stitch.
Dc2tog: *Yarn over, insert hook into next st and pull up a loop. Yarn over and pull through first two loops on hook. Repeat from * once more (3 loops on hook). Yarn over and pull through all 3 loops to finish the stitch.
Sizing
Gauge - 22 sts x 9 rows = 4”/10cm in pattern stitch after blocking (chsps count as sts).
To make your gauge swatch:
Row 1: Ch 29. In the fourth ch from hook, dc (first 3 chs count as first dc). *Ch 1, skip 1, dc in next ch. Repeat from * until 1 st remains. Dc in last st and turn. < 15 dc, 12 chsp >
Row 2: Ch 4 (counts as a dc + ch 1), skip next dc. *CL in chsp, ch 1, skip next dc. Repeat from * until 1 st remains. Dc in last st and turn. < 12 CL, 13 chsp, 2 dc >
Row 3: Ch 3, dc in chsp. *Ch 1, skip next CL, dc in chsp. Repeat from * until 1 st remains. Dc in last st and turn. < 15 dc, 12 chsp >
Repeat Rows 2 and 3 until you’ve worked 12 rows.Fasten off, block your swatch and measure your gauge in the middle of the swatch (chsps count as sts).
Finished measurements - approx. 14.5” wide x 88” long / 37cm wide x 223.5cm long.
Notes
Ch 3 to start rows counts as a dc.
Gauge is not critical for this pattern as it is not a fitted garment. However, if yardage is a concern, you should try to meet blocked gauge as closely as possible to ensure you will have enough yarn to finish your wrap.
Adjustments can be made to the length by working more or fewer repeats in the Main Body section. Make the wrap wider or narrower by working more or fewer repeats in the Increase section.
The pdf version of this pattern has a detailed stitch chart that is easy to follow. It is a paid version available in my pattern shop, Ravelry store or on Etsy.
To get maximum use of your yarn (especially if using a beautiful fade cake!), keep in mind that as written, the decrease section will use approximately 110-130 yds/101-119m of yarn. You may also wish to make your tassels first, so that you can safely use every last bit of yarn in your wrap!


Pattern Instructions
INCREASES
Row 1: Make a magic ring (see this helpful tutorial video). Ch 3, (dc, ch 1, 2 dc) into the ring, tighten to close it up and turn. < 4 dc >
Row 2: Ch 3, dc in same st. Ch 1, skip next dc, dc in chsp, ch 1, skip next dc, 2 dc in last st and turn < 5 dc >
Row 3: Ch 3, dc in same st. Ch 1, skip next dc, *CL in chsp, ch 1, skip next dc. Repeat from * until last st, 2 dc in last st and turn. < 2 CL >
Row 4: Ch 3, dc in same st.Ch 1, skip next dc, *dc in chsp, ch 1, skip next CL. Repeat from * until last chsp. Dc in last chsp, ch 1, skip next dc, 2 dc in last st and turn. < 7 dc >
Repeat Rows 3 and 4 18 more times, then repeat Row 3 once more for a total of 41 rows. Your last row will have 40 CL. Proceed to Main Body section. You may adjust the width of your wrap by working more repeats of Rows 3 and 4 here.
MAIN BODY
Row 1: Ch 3, dc in same st. Skip next dc, dc in chsp. *Ch 1, skip next CL, dc in chsp. Repeat from * until 2 sts remain. Skip next dc, 2 dc in last st and turn. < 45 dc >
Row 2: Ch 3, dc in next st.*Ch 1, skip next dc, CL in chsp. Repeat from * until 3 sts remain. Ch 1, skip next dc, dc in last 2 sts and turn. < 40 CL >
Repeat Rows 1 and 2 49 more times, for a total of 100 Main Body rows. You may adjust the length of your wrap by working fewer or more repeats in this section. Keep in mind that any adjustments made will alter the yardage required. Proceed to Decreases section.
DECREASES
Row 1: Ch 3, skip next dc. *Dc in chsp, ch 1, skip next CL. Repeat from * until last chsp. Dc in chsp, sk next dc, dc in last st and turn. < 43 dc >
Row 2: Ch 3, skip next dc, dc in chsp. Ch 1, skip next dc, *CL in chsp, ch 1, skip next dc. Repeat from * until 1 chsp remains. Dc in chsp, sk next dc, dc in last st and turn. < 38 CL >
Repeat Rows 1 and 2 18 more times (if you adjusted the number of increase rows, you will have a different number of repeats here). Your last row of the repeats will have 2 CL.
Next Row: Ch 3, sk next dc, dc in chsp. *Ch 1, skip next CL, dc in chsp. Repeat from * once more, skip next dc, dc in last st and turn. < 5 dc >
Last Row: Ch 3, skip next dc, dc in chsp. Dc2tog over next chsp and last st of the row (skip the second last dc). < 3 dc >
Fasten off and proceed to Finishing section.


Finishing
BLOCKING
Soak your wrap in lukewarm water with a no-rinse wool wash like Soak or Eucalan for 15-20 minutes. Gently squeeze out as much water as you can without twisting or wringing it. Lay out your wrap on a towel and roll it up, stepping on the towel to squeeze out any additional water. Lay the wrap out flat on blocking mats, pinning the ends at the points. You may also want to pin the edges at intervals along the length to ensure that the width in the Main Body section remains uniform. You want to stretch your work out so that the lace opens up, but you don’t want to be too aggressive or your wrap will be too long and may appear distorted.
After your wrap is dry, weave in all your ends. I like to save weaving my ends until after blocking. This prevents puckering or bunching during the blocking process.
TASSELS - OPTIONAL
Using a tassel maker (or a small piece of cardboard, book, etc.) make two tassels. Make these any size you like! To make mine, I wrapped my yarn 80 times around a 5” piece of cardboard.
Trim and attach to either point. You may wish to steam your tassels after attaching so the fibres relax.

Save this pattern to your Ravelry queue, or add a project to the pattern page!
An ad-free, printable version of this pattern (that includes a handy stitch chart!) is available in my Ravelry store, Etsy shop or pattern shop here on the website. Please click on the appropriate button to purchase!


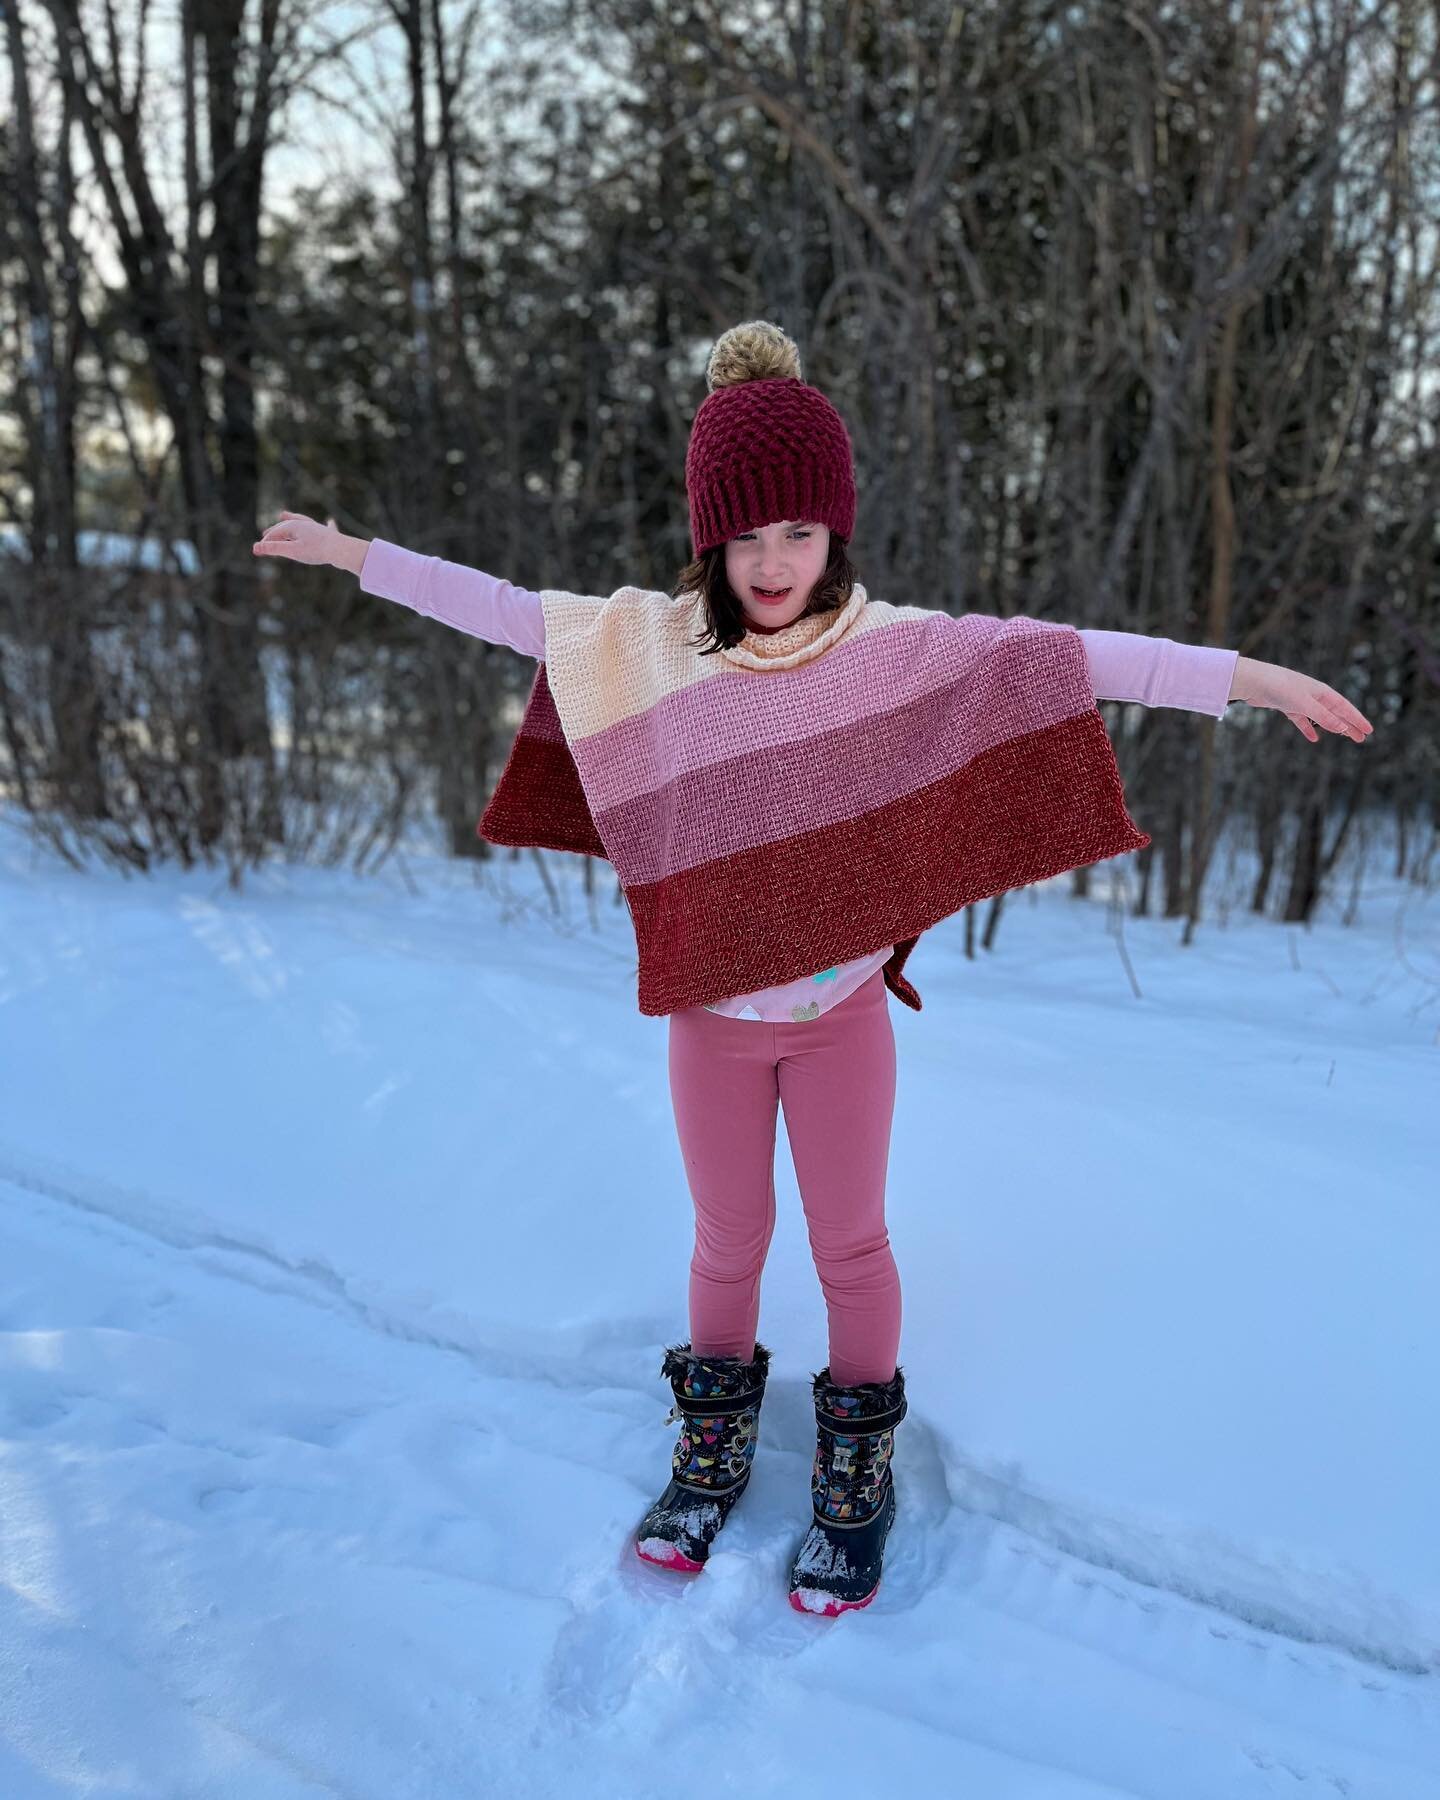
As you can see, this pattern looks absolutely incredible in fade or self-striping yarn. If you’ve got a cake or two in your stash, this is the pattern it has been waiting for! if you don’t have any on hand and want to try it out, my testers used brands such as Scheepjes Whirl (rainbow pictured above) and WeCrochet Chroma Fingering (pink and purple pictured above).
Congratulations on finishing your Lichen Lace Wrap! I hope you’ve enjoyed the meditative stitches. My testers said that was one of their favourite things about this pattern! It makes it great to take along on your errands or for some car crochet, and it’s also a good project to work on while binging your favourite show.
Share your wrap on Instagram using the hashtags #LichenLaceWrap and #CapitalCrochet, and tag me, @capital.crochet!
You may sell finished items made from this pattern, but please credit me as the designer by linking back to this blog post.
Thank you so much for your support! If you’d like to be the first to know about new patterns and other blog posts, make sure to subscribe to my newsletter below.
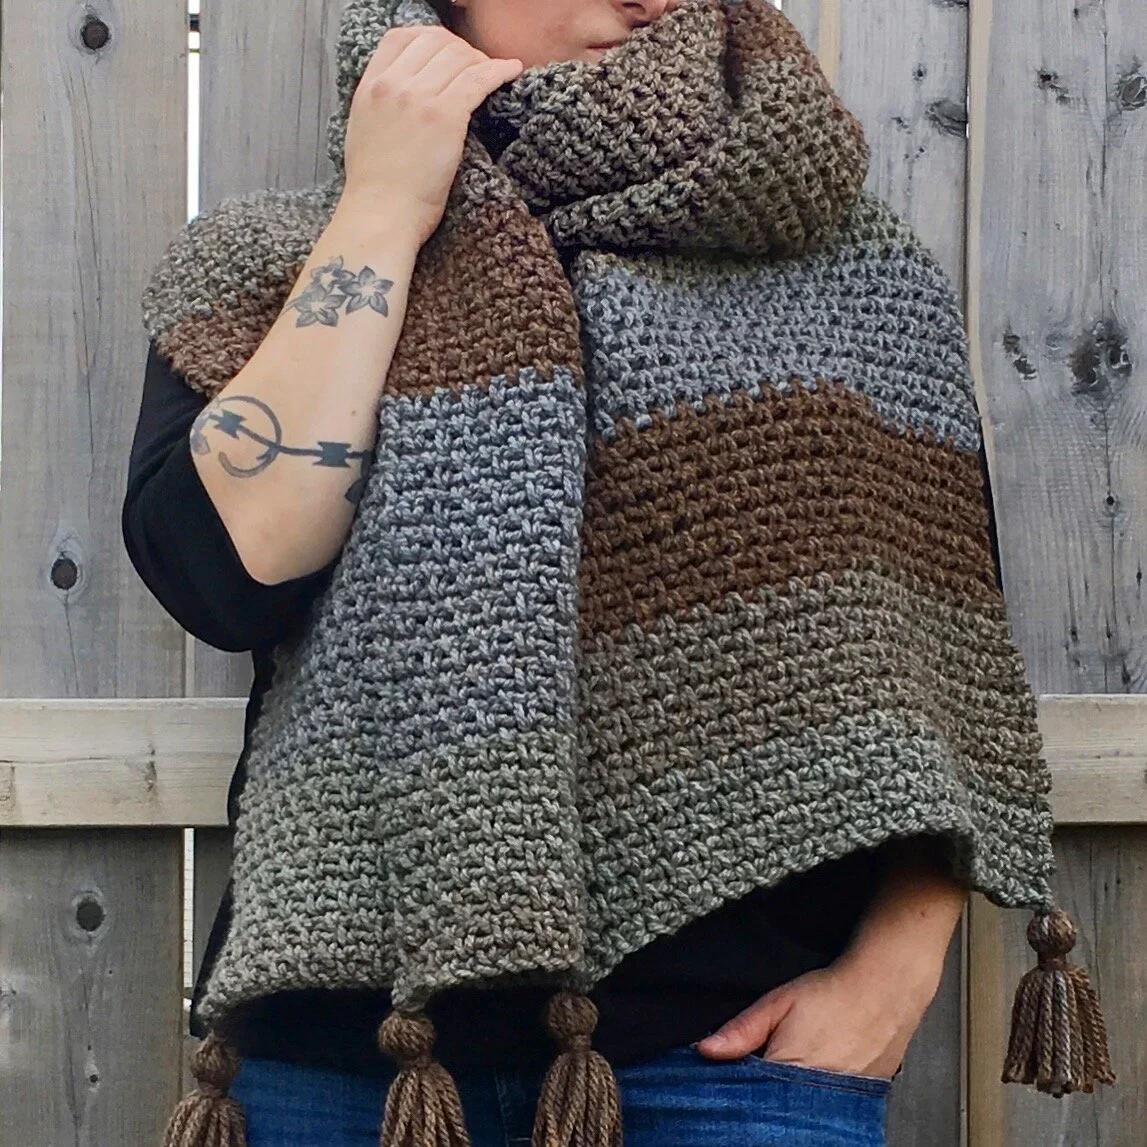
The Lichen Lace Wrap is the perfect summer scarf, but check out these cozier makes for when the weather cools off! The Rachel Super Scarf (neutrals) is a paid pattern in my shop that uses super bulky yarn, and the Cozy Clusters Infinity Scarf (blues) is a free pattern on the blog from my Scarftober series. Stay tuned for more Scarftober goodness in a few short months!

All photos in this blog post are property of Capital Crochet and are used with permission.