
LB Traveling Seasons Afghan - Square #11
/This post may contain affiliate links, meaning that if you click through and make a purchase, I may earn a small commission at no extra cost to you. This helps support my business and makes it possible for me to bring you free content.

It’s here, it’s here!
The 2021 Crochet Traveling Seasons Afghan has finally made it to my neck of the woods. This beautiful collaboration has been all over North America, and now it’s my turn to add a square. I’m so excited!
This collaboration project is sponsored by Lion Brand Yarn in conjunction with their “My Life In Yarn” campaign. If you’re familiar with last year’s Traveling Afghan project, you already know that it is a lot of fun. If this is the first time you’re hearing about it, check out the Traveling Seasons Afghan landing page, and read on to learn more about how you can get involved!
This collaboration has seen the traveling afghan journey all across the US and Canada, with different designers contributing a 13 x 13” square design. There are three squares for each season, with each designer channeling a favourite seasonal memory or feeling to create a unique and beautiful pattern.

Check out the complete list of designers below, and visit their blogs for the free pattern.
Spring
Square #1: Angie at Whistle and Wool
Square #2: Claire at E’Claire Makery
Square #3: Alexi at Two of Wands
Summer
Square #4: Tonja at Pink Plumeria Maui
Square#5: Gianna at Little Red Knits
Square #6: Rachel at Evelyn and Peter
Fall
Square #7: Abigail at Knits and Knots by AME
Square #8: Toni at TL Yarn Crafts
Square #9: Rohn at Rohn Strong
Winter
Square #10: Meghan at Meghan Makes Do
Square #11: Janine at Capital Crochet
Square #12: Lee at Coco Crochet Lee
Border
Lo at Lo-Rain
As the 11th stop on the Seasons journey, Winter is the name of my game. I wanted to evoke a warm, comforting feeling, the kind you get when it’s snowing and blowing out, but you’re cozy inside. One of my favourite things in the Winter time is to watch the snow drifts play across my wide front lawn.
Snow Drift Square
Using post stitches and a meandering pattern, my goal was to create ridges resembling the random formation of snow drifts. In some areas the snow drifts up quite high, and in other places it creates little snow valleys. Using the simple row repeats in this pattern, you can work your Snow Drift Square exactly like mine, or you can alter it to make your own perfect snow drift pattern.
Hot tip: to skip all the pesky ads, grab the pdf copy of the pattern in my Ravelry shop for only $1!

Materials
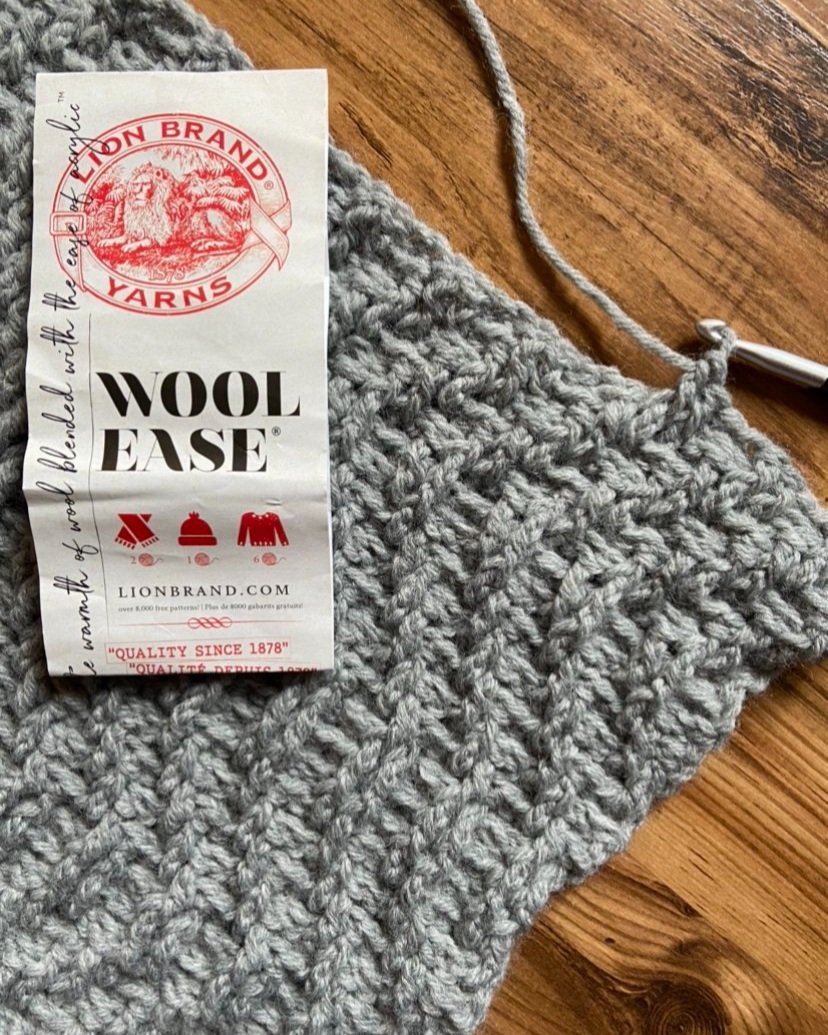
Yarn: Lion Brand Wool Ease, 80% acrylic/20% wool blend, 197yds/180m, 85g/3oz per skein - For this project we used the colour Grey Heather, but you can choose any colours you like! I used 1 full skein, right down to the yard. If you have leftover yarn from other squares, you may need to dip into that to complete this square.
Hook: US J/6.0mm, or size needed to meet gauge
Notions: measuring tape, scissors, yarn needle, blocking mat and pins, garment steamer or iron
Terminology/Abbreviations
This pattern uses standard US terms as detailed by the Craft Yarn Council, and helpful video tutorials are linked where appropriate:
Ch: chain
Fdc: foundation double crochet VIDEO
Fpdc: front post double crochet VIDEO
Bpdc: back post double crochet VIDEO
Hdc: half double crochet
St(s): stitch
RS/WS: right side/wrong side
Sizing
Gauge (blocked): 15 sts x 11 rows = 4”/10cm
To make your gauge swatch, fdc 20 and follow Rows 2-5 of the pattern three times. Block and measure in the centre of your square.
If there are too many stitches, size up your hook.
If there are too few stitches, size down your hook.
Finished Measurements: 13 x13”/ 33 x 33cm square
Notes
This square is worked from side to side.
Ch 2 to start each row counts as a hdc.
If your row gauge varies from mine a little bit, you can adjust for this by working fewer or more rows to achieve the proper width of the square.
TIP: if reading the pattern from your phone or computer screen is annoying, grab the ad-free PDF version of the pattern HERE.
Pattern Instructions
Foundation Row (WS): Fdc 48 and turn.
Row 2 (RS): Ch 2, *fpdc next 2 sts, bpdc next 2 sts. Repeat from * until 3 sts remain. Fpdc next 2 sts, hdc last st and turn.
Row 3. Ch 2, bpdc next st. *Fpdc next 2 sts, bpdc next 2 sts. Repeat from * until 2 sts remain. Fpdc next st, hdc last st and turn.
Row 4. Ch 2, bpdc next 2 sts. *Fpdc next 2 sts, bpdc next 2 sts. Repeat from * until 1 st remains. Hdc last st and turn.
Row 5. Ch 2, fpdc next st, bpdc next 2 sts. *Fpdc next 2 sts, bpdc next 2 sts. Repeat from * until 4 sts remain. Fpdc next 2 sts, bpdc next st, hdc last st and turn.
Rows 2-5 make up the basic repeating pattern, and the rows can be worked out of sequence to change the direction of the ridges. Follow along the repeats listed below to create a square exactly like mine, or change it up to create your own unique snow drifts!
TIP: the easiest way to make “flat” parts for the peaks or valleys of your drifts is to work repeats of row 5.
Rows 6-9: Repeat Rows 2-5.
Rows 10-11: Repeat Row 5.
Row 12: Repeat Row 4.
Row 13: Repeat Row 3.
Row 14: Repeat Row 2.
Row 15: Repeat Row 5.
Row 16: Repeat Row 4.
Row 17: Repeat Row 2.
Row 18: Repeat Row 4.
Rows 19-25: Repeat Rows 2-5, ending with a repeat of Row 4.
Rows 26-32: Repeat Rows 2-5, ending with a repeat of Row 4.
Fasten off leaving a 30”/76cm tail for seaming, and proceed to Finishing section.

Finishing
BLOCKING
In order to have your square fit neatly into the blanket, it should be 13 x 13”/33 x 33 cm. Since this stitch pattern tends to scrunch up, you may need to block it to meet these measurements.
Pin your square to the finished measurements using blocking mats and pins. Then, gently pass over it with a garment steamer (I like THIS ONE) or an iron on the steam setting. Take care not to touch the hot surface to your yarn - irons and yarn do not play well together!
If you really have to stretch your square to meet the measurements, you might want to remake it, or go back and and a few more rows. You don’t want your square to be distorted or overly stretched when you sew it into the blanket, as this can cause the other squares to distort.
SEAMING
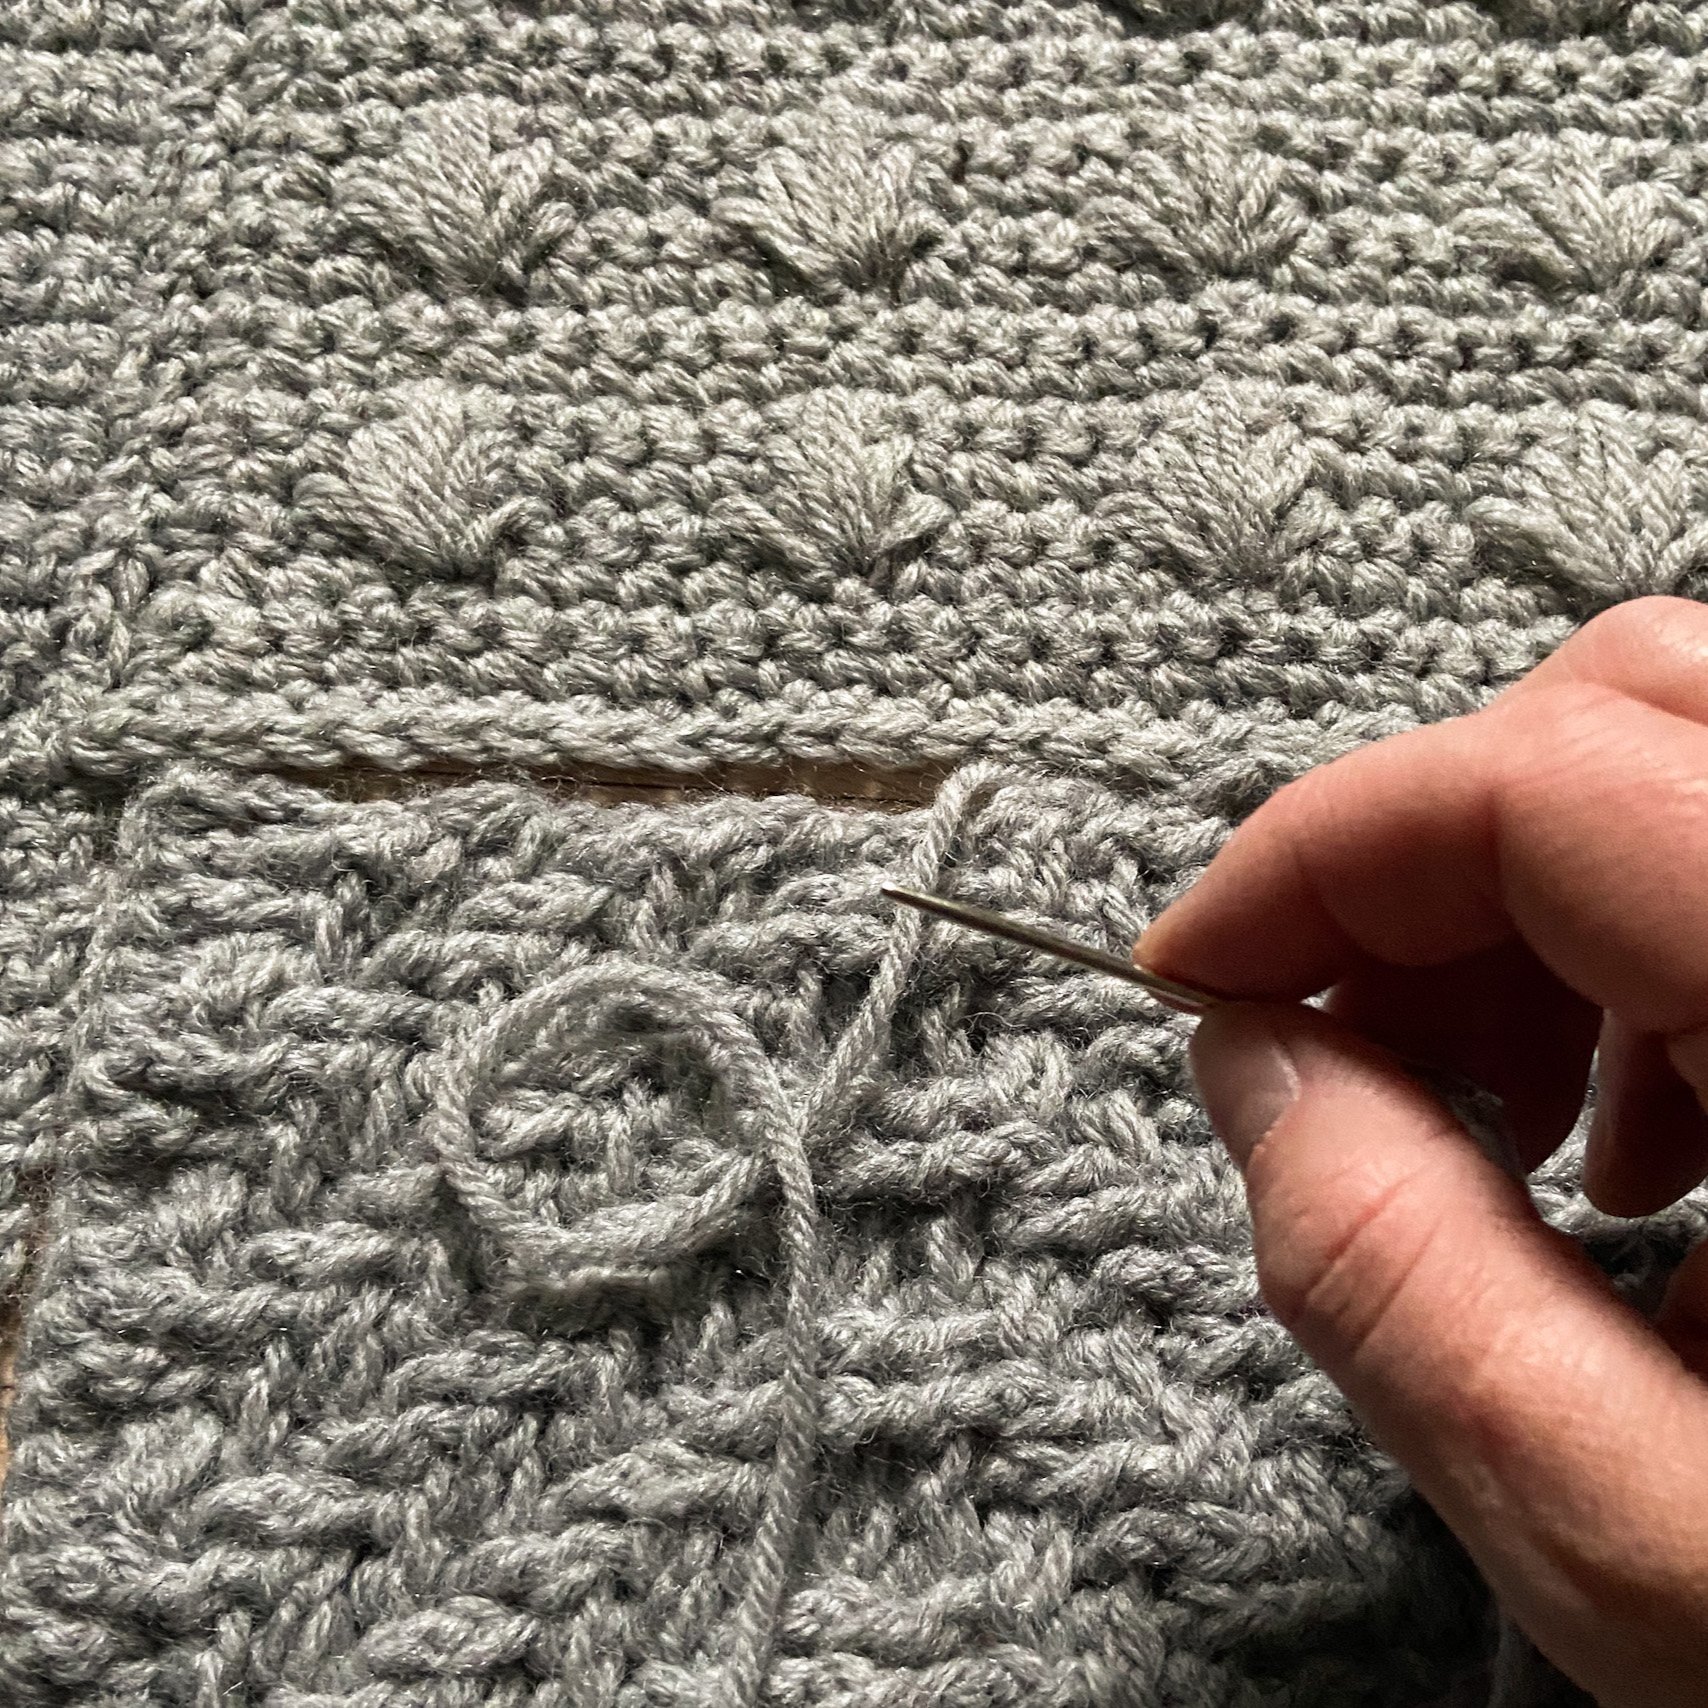
Now that your square is blocked, you want to seam it in amongst all the other afghan squares! Remember, the square was worked side to side, so the drift pattern will be aligned when you turn the square sideways.
See the image below, and position your square with the foundation row beside the previous square, RS facing up. Your yarn tail should be at the top right corner of your square (see the star on the picture).
Work in the direction of the arrows, using your preferred seaming method (I used the mattress stitch method). Seam the top of your square to the bottom of Square #8, and the left side of the square to the right side of Square #10.

Once you have seamed your square into the blanket, weave in all ends to the wrong side and enjoy! You’ve only got one more square to go, plus the border! Make sure you’re following Coco Crochet Lee and Lo-Rain to finish out the patterns!

Save this pattern to your Ravelry queue, or add a project to the pattern page!
You can also get an ad-free version of this pattern for only $1.
Congratulations on finishing your Snow Drift Square! I hope you enjoyed creating this cozy pattern as much as I did. Share your finished projects on Instagram using the hashtags #SnowDriftSquare, #LBTravelingSeasonsAfghan, #SeasonsAfghan2021 and tag @lionbrandyarn, @mylifeinyarn, and me, @capital.crochet!
Please do not share, reproduce or repost the content from this page anywhere else on the internet. Please DO share the link to this page!
Thank you so much for your support! If you’d like to be the first to know about new patterns and other blog posts, make sure to subscribe to my newsletter below.
All photos in this blog post are property of Capital Crochet and are used with permission.
