Stitch Exploration Series - Mulberry Dishcloth
/This post may contain affiliate links, meaning that if you click through and make a purchase, I earn a small commission at no extra cost to you. This helps support my business and makes it possible for me to bring you free content.
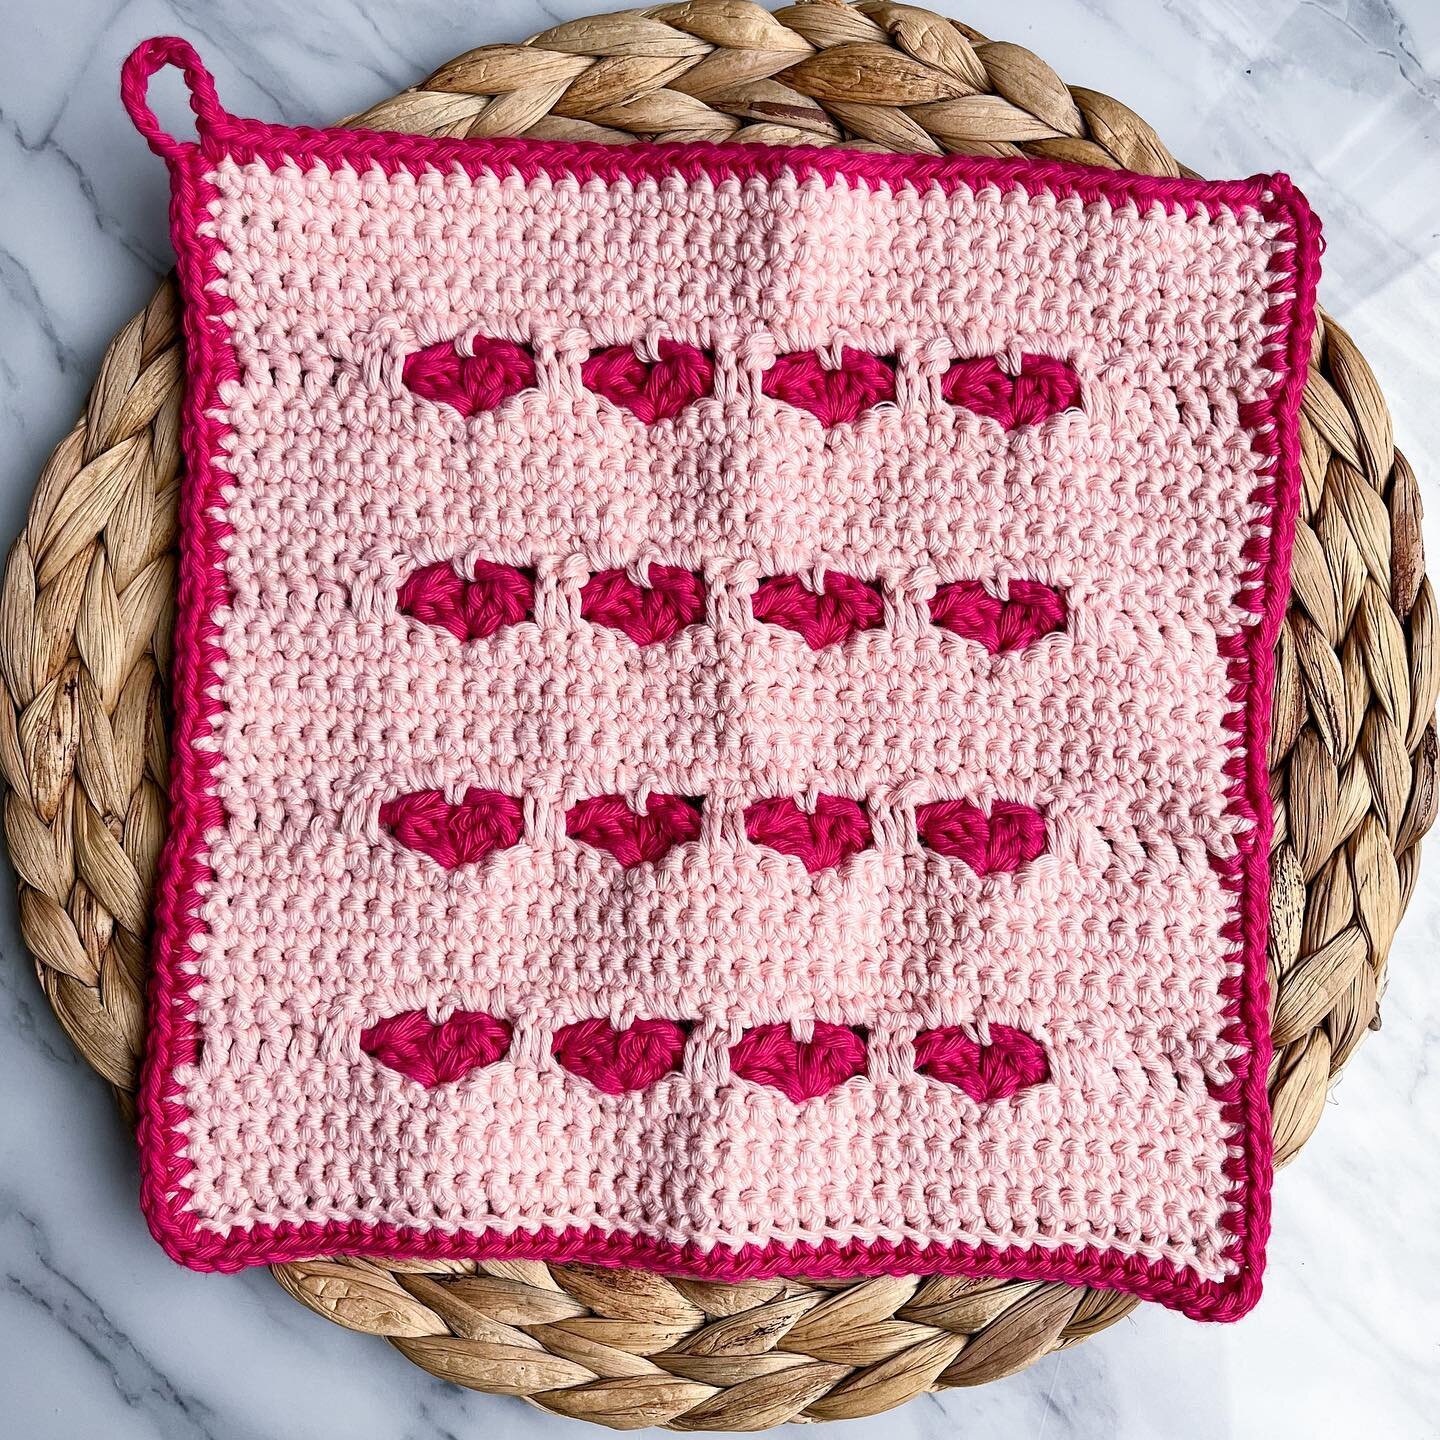
Welcome to the second instalment of the Stitch Exploration Series, the Mulberry Dishcloth!
If you’re new ‘round these parts, this monthly series is dedicated to exploring different stitch techniques and textures. Check out the other patterns in the series HERE.
I find that when I’m designing, I gravitate to the same couple of stitches in my designs, and I hope that this series will allow me to test out new skills and get outside my comfort zone without the pressure of having to create a whole garment. I’ve chosen dishcloths because they’re small enough to finish up quickly, but large enough to get a general idea of the fabric the stitch pattern will create!
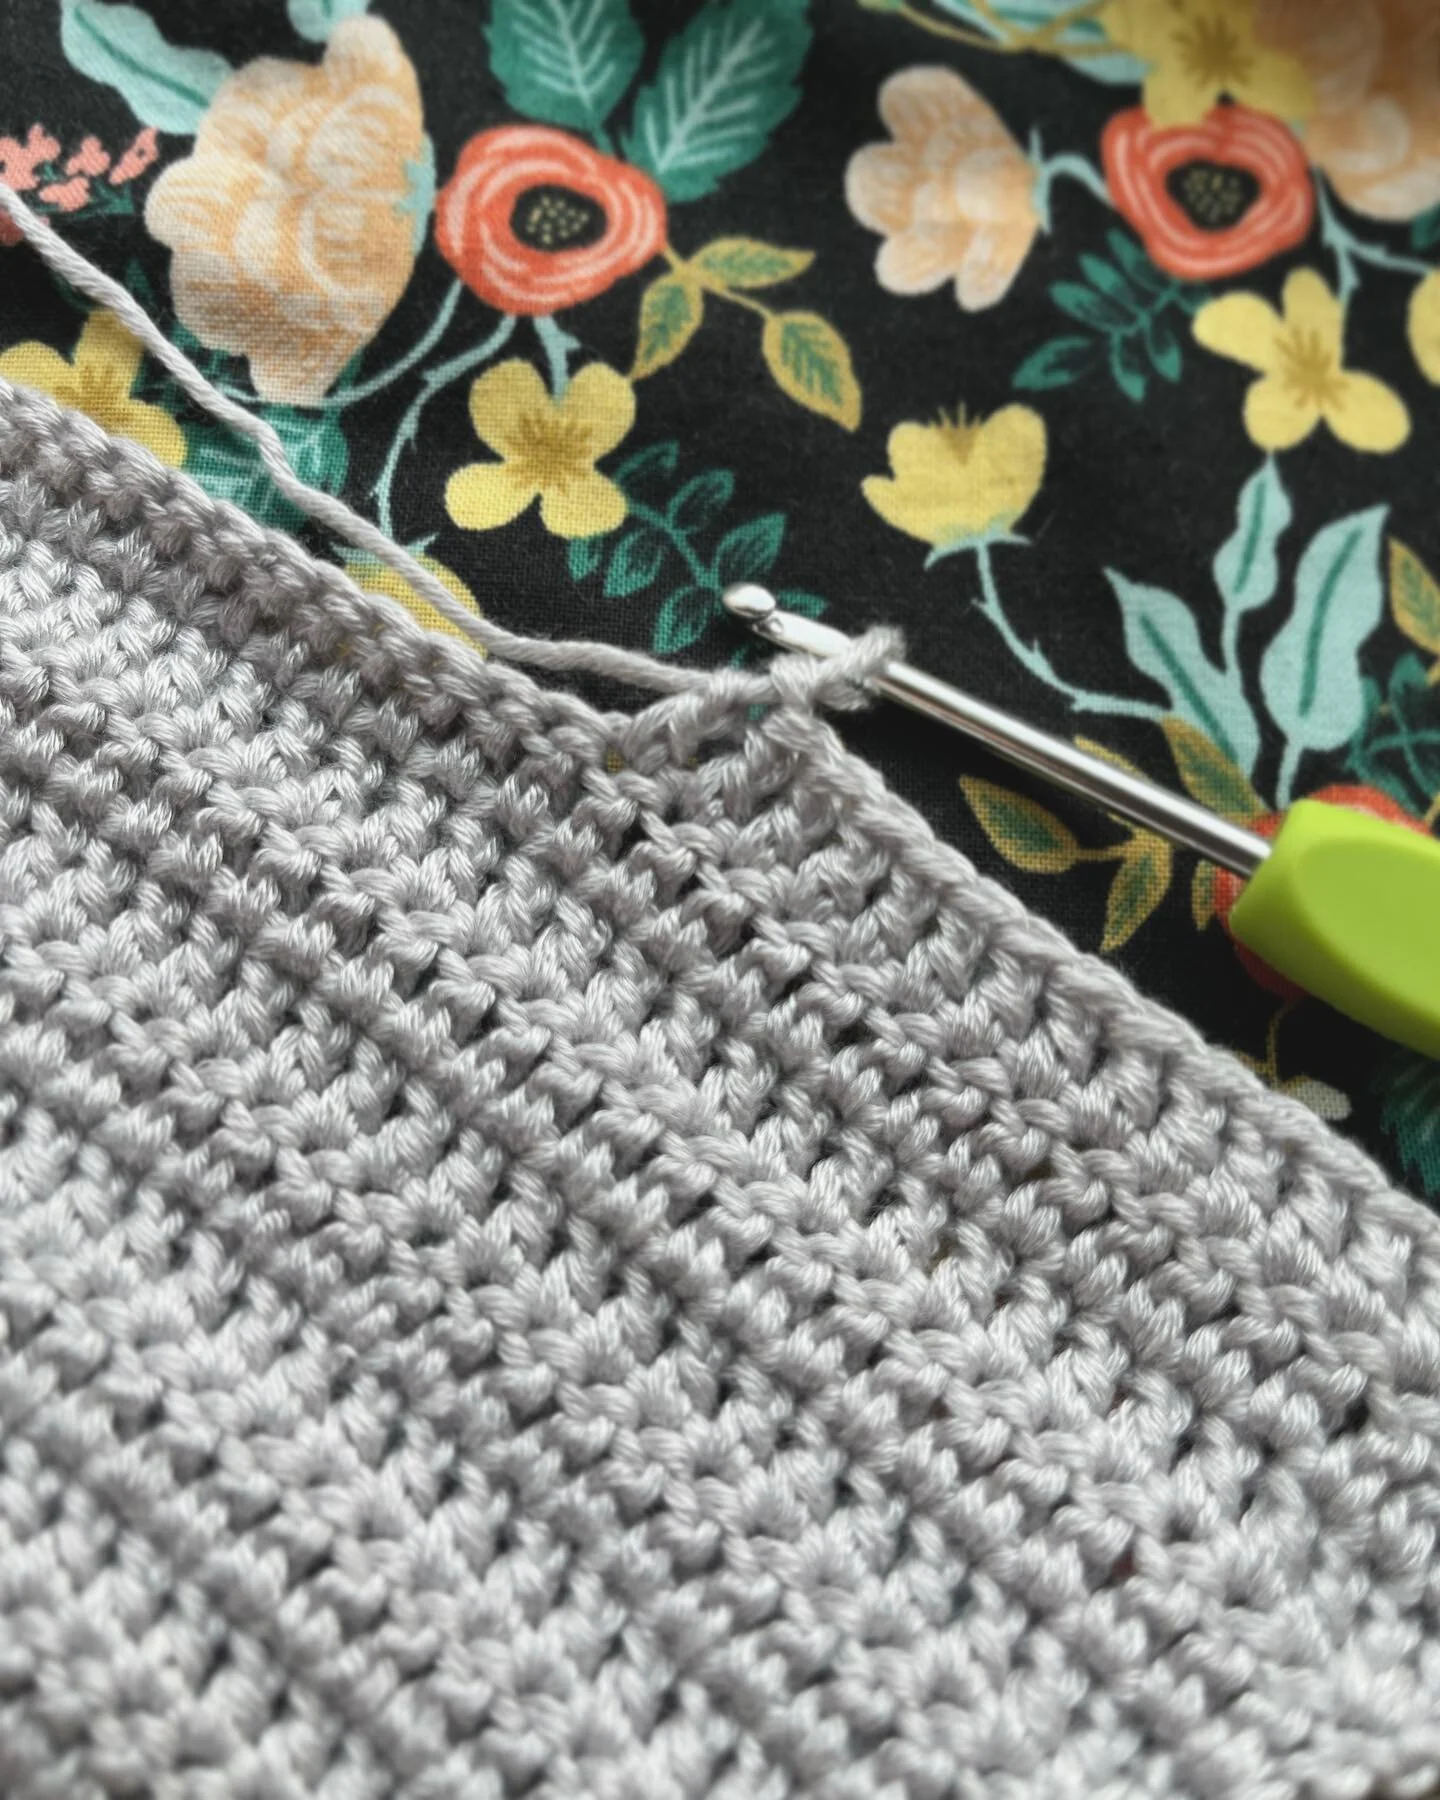
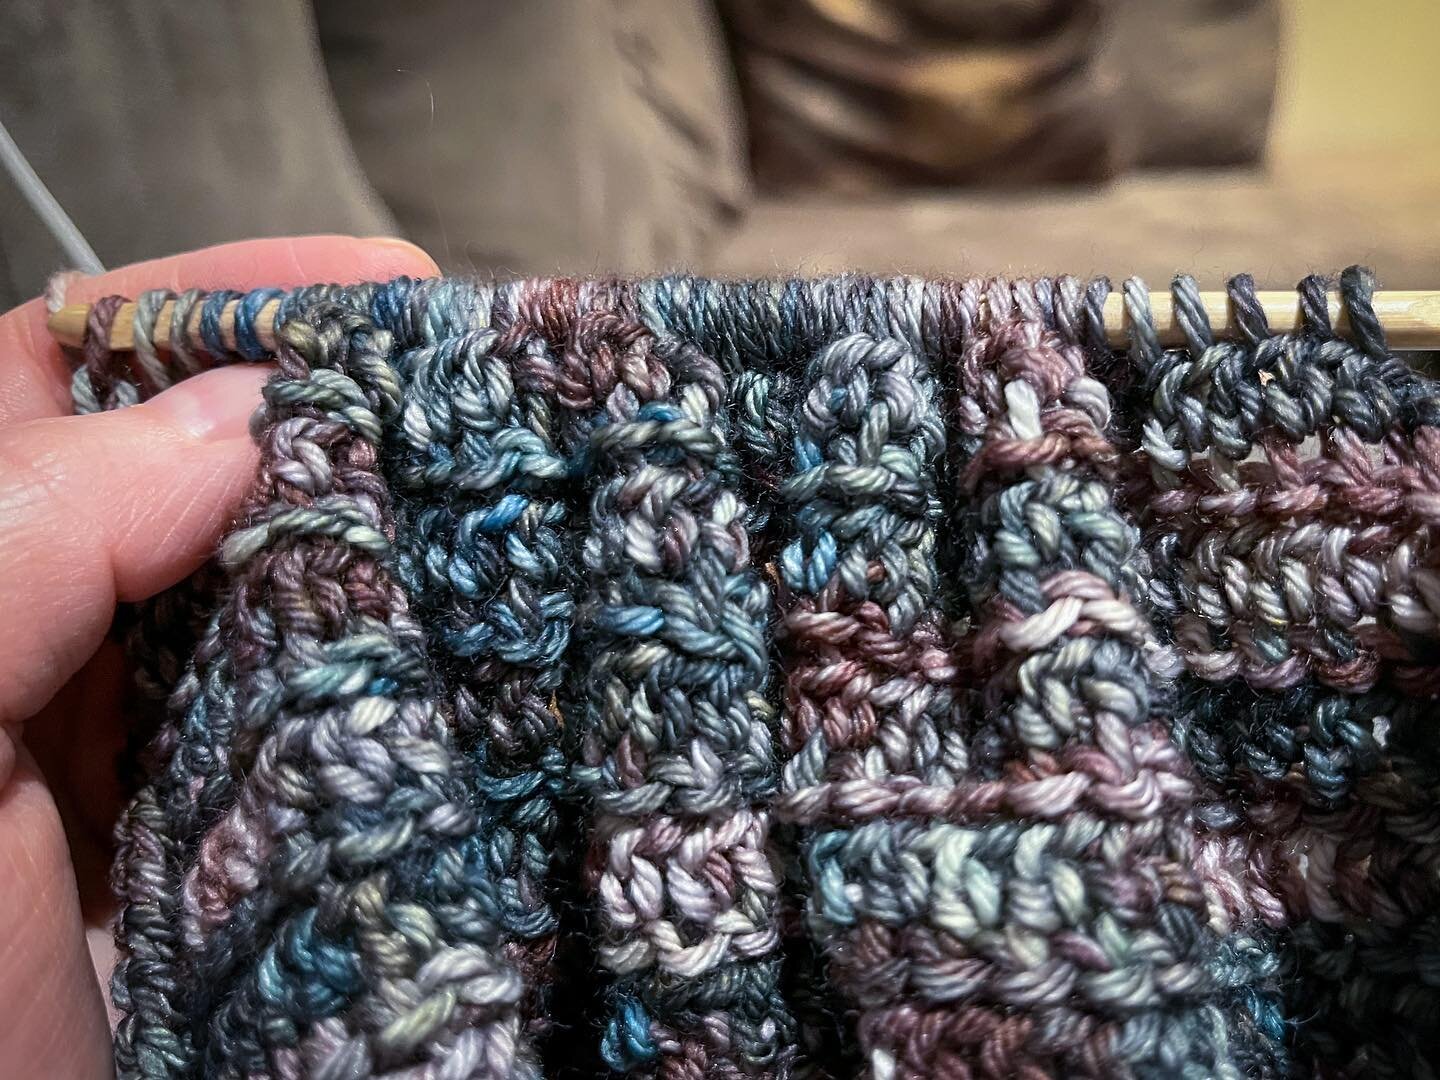
This month’s pattern features a really neat technique - working into the side of some stitches to create interesting lines and texture. Read on to learn more about the Mulberry Dishcloth!
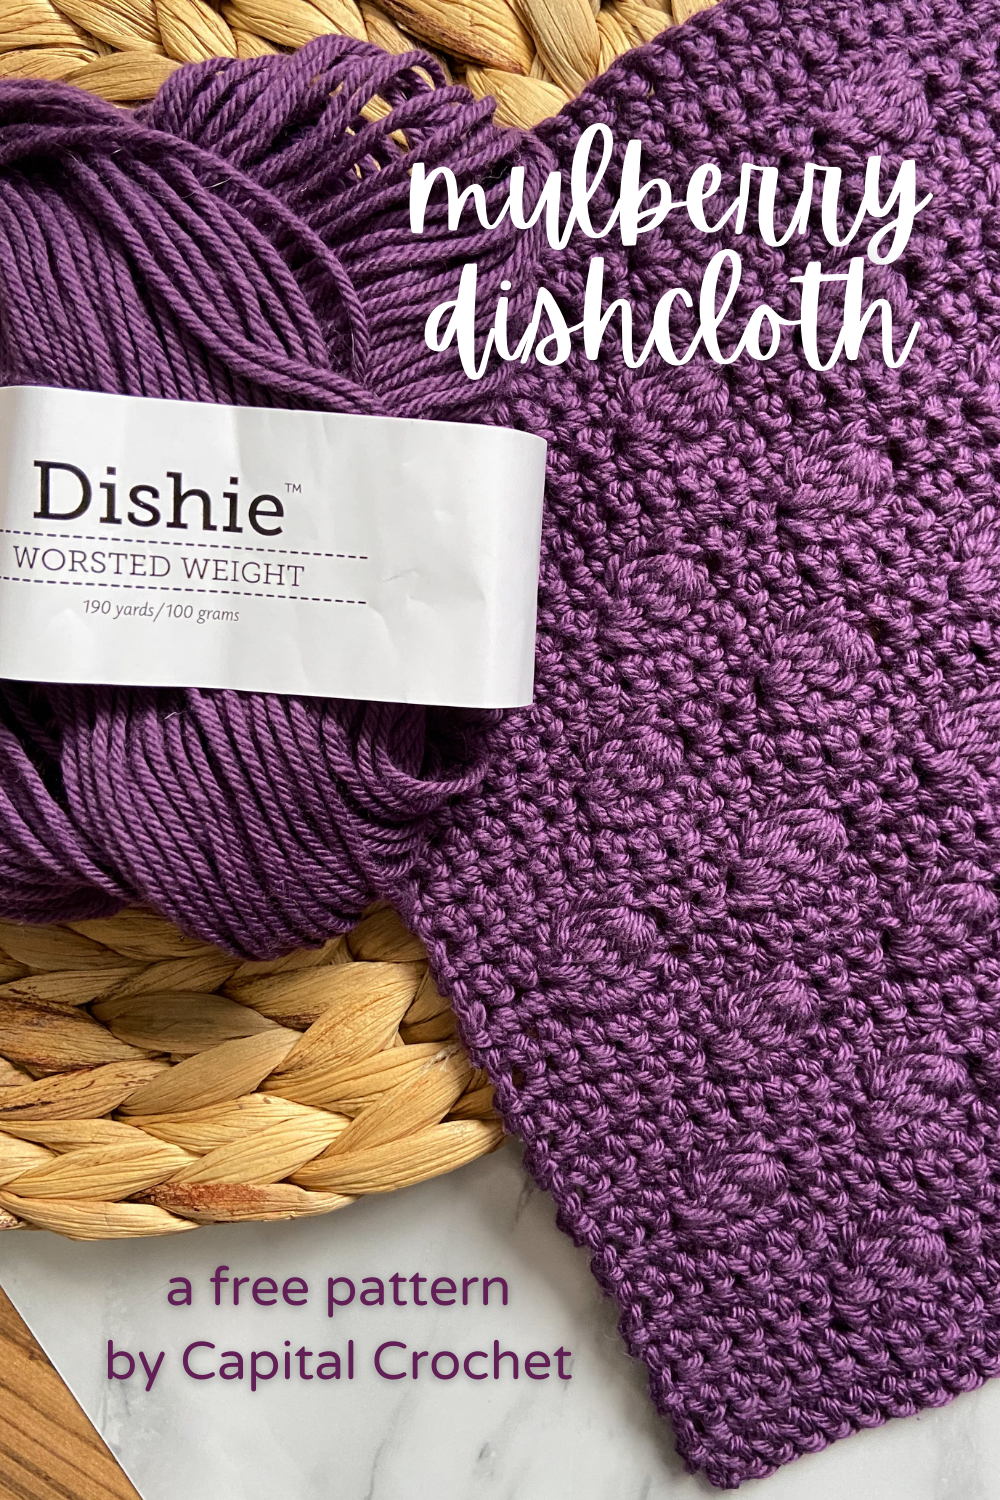
For this series, I’ve chosen a beautiful, durable cotton yarn, Dishie from WeCrochet. As you can see, it comes in lots of fun colours (30 solids in total, plus there are also Dishie Twist and Dishie Multi!), and it feels great. And I’ve heard people say that this yarn is good for other things, too - summer garments and tote bags come to mind (we’re getting sooooo close to Spring!).


If you missed the first pattern, the Studded Dishcloth, check it out as well!
Materials
Hook - US G/4mm, or size needed to meet gauge.
Yarn - WeCrochet Dishie, 100% cotton, 190yds (174m)/100g (3.5oz) per skein. I used approx. 108yds (99m) of the colourway Mulberry (hence the pattern name!).
Notions - scissors, tape measure, yarn needle.
Notes
Ch 1 to start each round does not count as a st.
Gauge is not critical for this project, however, if yardage is a concern, you should aim to meet it as closely as possible. No one will judge an extra half inch on your dishcloth!
Generally, I do not block cotton washcloths, because they’re just going to get wet anyway. If you’re making for gifting, or just want to straighten things out, feel free to block as you see fit.
Sizing
Gauge - 4” = 17 sts x 19 rows in sc unblocked.
Finished measurements - approx. 9” wide x 9” tall
Terminology/Abbreviations
This pattern uses standard US terms as detailed by the Craft Yarn Council:
Ch - chain
CL - cluster (see Special Stitch section)
St(s) - stitch(es)
Sc - single crochet
* * - repeat instructions contained within the asterisks as specified
Special Stitch
Cluster (CL) - consists of a group of clustered double crochet stitches worked into the side of a single crochet to create a horizontal cluster. You will skip the 3 sts under the cluster so that it sits nicely within the rows of single crochet stitches (photo F, below). The written instructions correspond with the photos below, indicated by letter.
Ch 3 (A), *yarn over and insert hook into the middle of the last sc worked (B shows a side view after inserting the hook into the V of the stitch). Pull up a loop, yarn over and pull through two loops (C).* Repeat from * to * three more times (5 loops on hook, D). Yarn over and pull through all loops (E).


Pattern Instructions
Row 1. Ch 40 and turn. Starting in the second ch from hook, and working into the back bumps of each ch st, sc across and turn. <39 sts>
Rows 2-4. Ch 1, sc in each st across and turn.
Row 5. Ch 1, sc in next 3 sts, *CL, skip next 3 sts, sc in next 3 sts.* Repeat from * to * across and turn. <6 CL>
Rows 6-8. Ch 1, sc in each st across and turn.
Row 9. Ch 1, sc in next 6 sts, *CL, skip next 3 sts, sc in next 3 sts.* Repeat from * to * until 3 sts remain. Sc in last 3 sts and turn. <5 CL>
Rows 10-33. Repeat Rows 2-9 three more times.
Rows 34-37. Ch 1, sc in each st across and turn.
Fasten off and weave in the ends.
Variations
To make your dishcloth narrower or wider, start with fewer or more chain sts in Row 1 in multiples of 9+1, and work fewer or more * * repeats accordingly in Row 2.
To make your dishcloth shorter or longer, work fewer or more repeats of Rows 2-9.

Save this pattern to your Ravelry queue, or add a project to the pattern page!
Congratulations on finishing your Mulberry Dishcloth! What did you think about this technique? I think working into the sides of stitches is such an easy way to add some interesting texture without using complicated stitches. By simply changing the orientation of a few stitches, it creates a whole new look.
I’m curious about how other types of cluster stitches might look in this configuration, or even if bobbles would work… I’m having a lot of fun exploring these new-to-me techniques, and I hope you are too! I’d love to see your dishcloths (in finished or WIP form!), or how you’re using the things you’re learning here in your own designs. Share your dishcloth on Instagram using the hashtags #MulberryDishcloth and #StitchExplorationSeries, and tag me, @capital.crochet!
You may sell finished items made from this pattern, but please credit me as the designer by linking back to this blog post.
Thank you so much for your support! If you’d like to be the first to know about new patterns in this series and other blog posts, make sure to subscribe to my newsletter below.