
Bedford Bandana Cowl - Scarftober 2021
/This post may contain affiliate links, meaning that if you click through and make a purchase, I may earn a small commission at no extra cost to you. This helps support my business and makes it possible for me to bring you free content.

October is here, and around these parts that officially means SCARFTOBER!
Last year, I shared a couple of free scarf patterns with this fun twist on words and you all loved them. Check out the Cozy Clusters Infinity Scarf, the Diamond Scarf and the Stashdown Scarf!
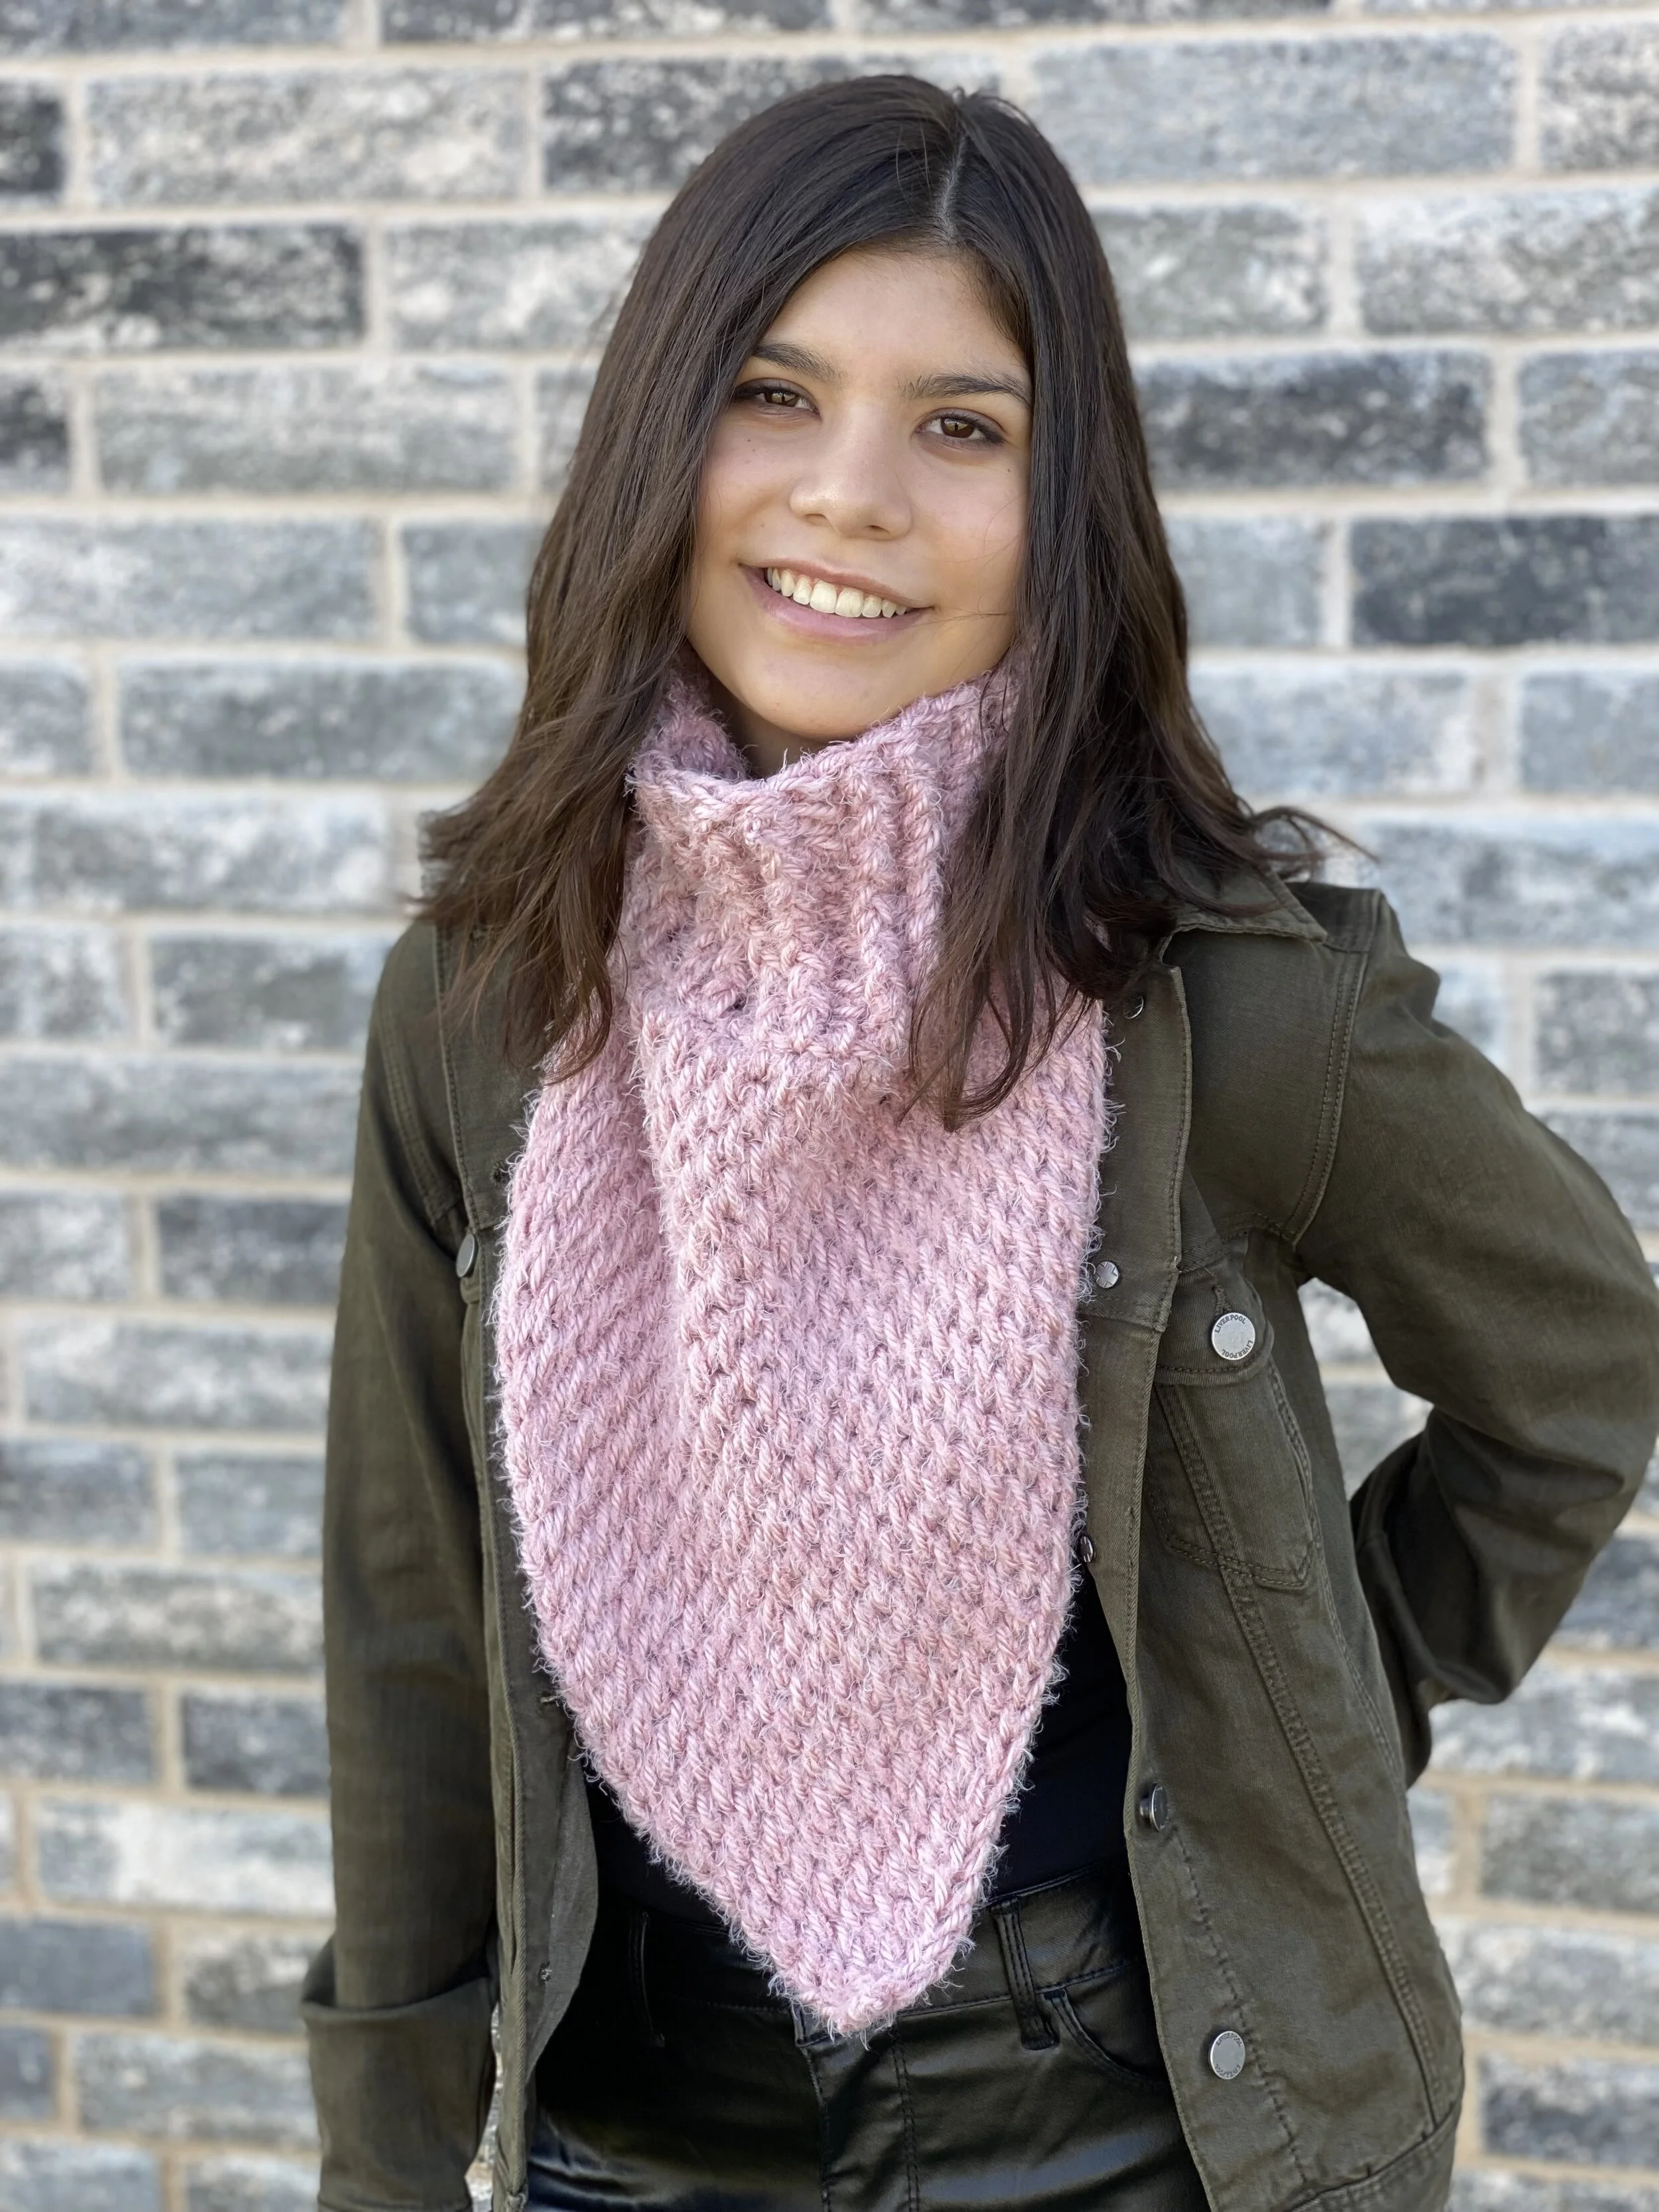
There are 5 Fridays this month, which means 5 cozy scarf patterns coming your way. I tried to include a good variety of shapes, textures and techniques, and most of them can be easily adjusted for size and fit. To kick off the party, may I present to you the Bedford Bandana Cowl.

I know, right? I’ve got major heart eyes, too!
This thick and cozy beauty is so warm and comforting, and you can work this up FAST. This would be a great market make, and I’ve already had two family members drop mega hints that they wouldn’t be upset if one found its way under the tree for them.
If you can’t get started on this one right away, I understand. Makers always have tons on the go! Add this to your Ravelry queue and favourites, or save it to your Pinterest board so that you have quick and easy access once you’re ready to dive in!

I used a wonderfully soft and squishy super bulky yarn for this one, a blend of wool and acrylic from Hobbii Yarn called Umami. It comes in 26 beautiful colours ( I used Air Force Blue!), so there’s something for everyone. Alternative yarns that would work with this pattern are Lion Brand Wool Ease Thick and Quick (a maker staple!) or Mighty Stitch Super Bulky from WeCrochet.
If you’re looking to stash dive, try out whatever you’ve got on the shelves, or combine a couple of yarns like my tester, Vanessa of @sugarbear_hooks, did with hers! She used Red Heart Hygge and Yarn Bee Fur-Ever (two bulky (5) weight yarns) held together to get a super soft cowl that has great drape.

Alright, you’ve got your yarn ready, let’s get into the pattern!
Materials
Hooks - for the bandana: 12mm Tunisian-style hook (these are my favourites!) with 20-24” cord attached; AND for the ribbing: 10mm traditional crochet hook (or sizes needed to meet gauge).
Yarn - approx. 180 yds/165m of super bulky (6) weight yarn (see suggestions above).
Notions - scissors, tape measure, yarn needle, steamer and pins for blocking (optional).
Terminology/Abbreviations
This pattern uses standard US terms as detailed by the Craft Yarn Council, and helpful video tutorials are linked where appropriate:
Ch: chain
St(s): stitch(es)
Sp: space
Fsc: foundation single crochet VIDEO
Dc: double crochet
Bpdc/fpdc: back post and front post double crochet VIDEO
MR: magic ring VIDEO
Tfs: Tunisian Full Stitch VIDEO
Lts: Last Tunisian stitch - insert your hook underneath BOTH vertical bars of the last stitch of the row.
RetP: return pass – ch 1, *yarn over and pull through first two loops on the hook. Repeat from * until 1 loop remains on the hook.
Sc bind off: insert hook into sp and pull up a loop. Yarn over and pull through two loops on the hook (single crochet stitch completed).
Sizing
Gauge (unblocked):
8 sts x 8 rows = 4”/10cm in tfs using larger hook
8 sts x 6 rounds – 4”/10cm for Ribbing using smaller hook in joined rounds, no turning
Finished Measurements (unblocked):
Bandana (before adding Ribbing) Width: 21.5” across top of triangle x 19” down the middle to the point
Ribbing: 12” wide x 5.5” tall (laid flat)
Notes
In the Bandana section, the first loop on the hook counts as a stitch and is included in the stitch count.
In the Ribbing section, the ch 2 to start the round does not count as a stitch, but visually it will look like a bpdc to mimic the pattern repeat.
To adjust the size of the bandana section, work fewer or more rows before working the sc bind off.
It is recommended that you try on your piece after completing the fsc stitches at the back to join the corners. This will give you a good idea of how roomy the cowl will be. To adjust the fit of the cowl, work fewer or more fsc, ensuring you end up with a stitch count in round 2 of a multiple of 3+2.
Keep in mind that any adjustments will alter the yardage required.
Pattern Instructions
BANDANA
Start with the larger hook and cord attached.
Row 1. Make a MR. In ring, pull up a loop, ch 1, yarn over and pull through 2 loops. < 2 sts >
Row 2. Tfs, Lts, RetP. < 3 sts >
Row 3. Tfs each sp, Lts, RetP. < 4 sts >
Rep Row 3 until you’ve worked 36 rows (37 sts).
Switch to the smaller crochet hook. Ch 1, sc bind off in each sp across, and in the last stitch of the row. Do not fasten off. Proceed to Ribbing section.
RIBBING
Set-up. Fsc 13 and join to first sc of bind off row to form a loop around the back of the bandana. Try on your work here and make any adjustments to the number of fsc sts to ensure you get the fit you want.
Round 1. Ch 2, dc in each sc and fsc around and join to first dc of the round. < 50 sts >
Round 2. Ch 2, *fpdc next 2 sts, bpdc next st. Repeat from * until 2 sts remain. Fpdc last 2 sts and join to first fpdc of the round.
Rounds 3-8. Repeat Round 2.
Fasten off and weave in ends. Proceed to Finishing section.

Finishing
BLOCKING
Personally, I found that my cowl didn’t need a full wet blocking (if you’re a devout blocker, please don’t hate me!). I did notice that the point on the bandana curled up quite a bit, so a quick steam block helped to settle things. Do what works best for you!
FRINGE/TASSEL - OPTIONAL
Fringe always adds that extra dynamic detail that can turn your piece into a major statement. I chose not to add fringe to mine this time (shocking for those who know me!), but check out my Coniferous Cowl pattern for fringe-spiration!
To add fringe, cut lengths of yarn that are 2 times the desired length of your fringe, and loop them through each row end on the Bandana portion of your cowl. You can experiment with using several strands together, or try a different colour altogether!
Alternatively, you could add a statement tassel to the point of the bandana. Check out this tutorial that shows you how to make a tassel by hand, if you don’t have a tassel maker.

Save this pattern to your Ravelry queue, or add a project to the pattern page!
Congratulations on finishing your Bedford Bandana Cowl! I hope it keeps you and your loved ones warm this Winter, and that you enjoyed working on this project.
Share your finished cowl on Instagram using the hashtags #BedfordBandanaCowl and #CapitalCrochet, and tag me, @capital.crochet!
You may sell finished items made from this pattern, but please credit me as the designer by linking back to this blog post. Please do not use my pictures in your listings, and please do not share, reproduce or repost the content from this page anywhere else on the internet. Please DO share the link to this page!
Thank you so much for your support! If you’d like to be the first to know about new patterns and other blog posts, make sure to subscribe to my newsletter below.
If you love scarves as much as I do, check out some of the other patterns in my scarf repertoire! For free patterns, you’ll love the Diamond Scarf (mustard) and the Cozy Clusters Infinity Scarf (blues) both of which were from 2020’s Scarftober series. If ad-free, paid patterns are more your jam, may I suggest the Coniferous Cowl (blue green with ALLLLLL the fringe!) or the Rachel Super Scarf (neutrals). Click on your favourite below to check out the pattern!
Don’t forget, there are more cozy scarves coming up all this month, so make sure to check back each Friday for a new pattern.


All photos in this blog post are property of Capital Crochet and are used with permission.
