
The Diamond Scarf - a FREE Scarftober pattern
/This post may contain affiliate links, meaning that if you click through and make a purchase, I earn a small commission at no extra cost to you. This helps support my business and makes it possible for me to bring you free content.
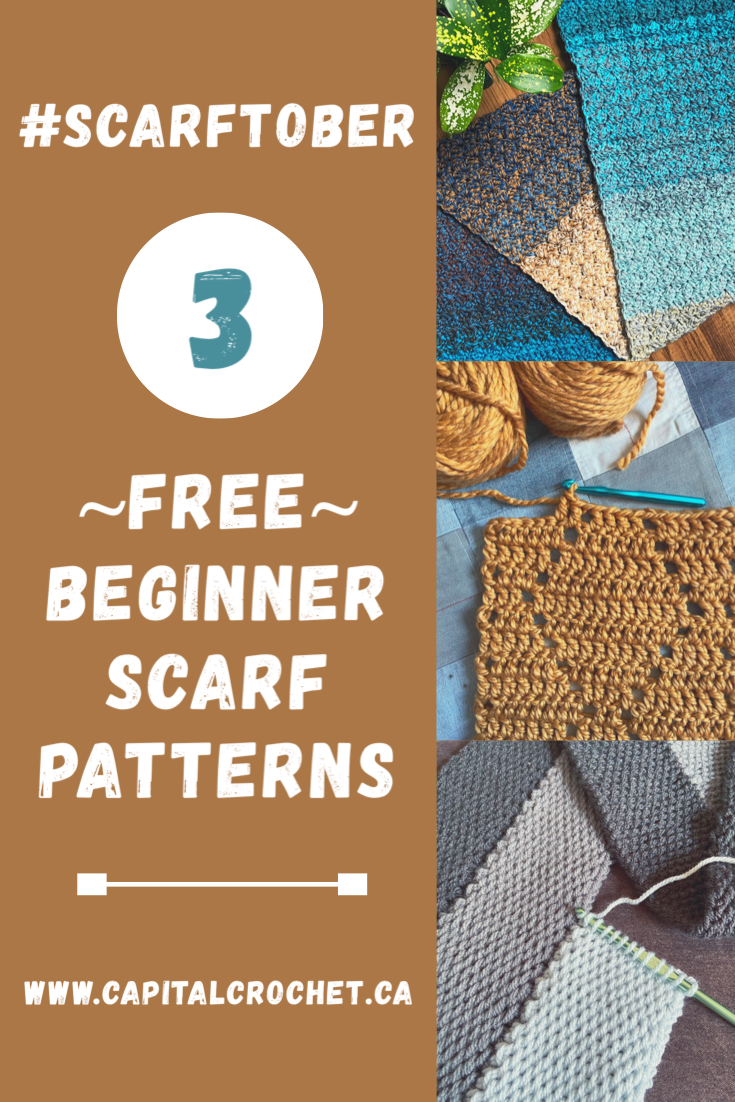
We’re midway through this glorious month of Scarftober - yep, you heard that right! Scarftober, the perfect time to work up some warm and cozy scarves so you’re ready when those cold November days hit you out of the blue. I’m so pleased to bring you 3 free scarf patterns this month! In case you missed the first one, check out the Cozy Clusters Infinity pattern from a few weeks ago.
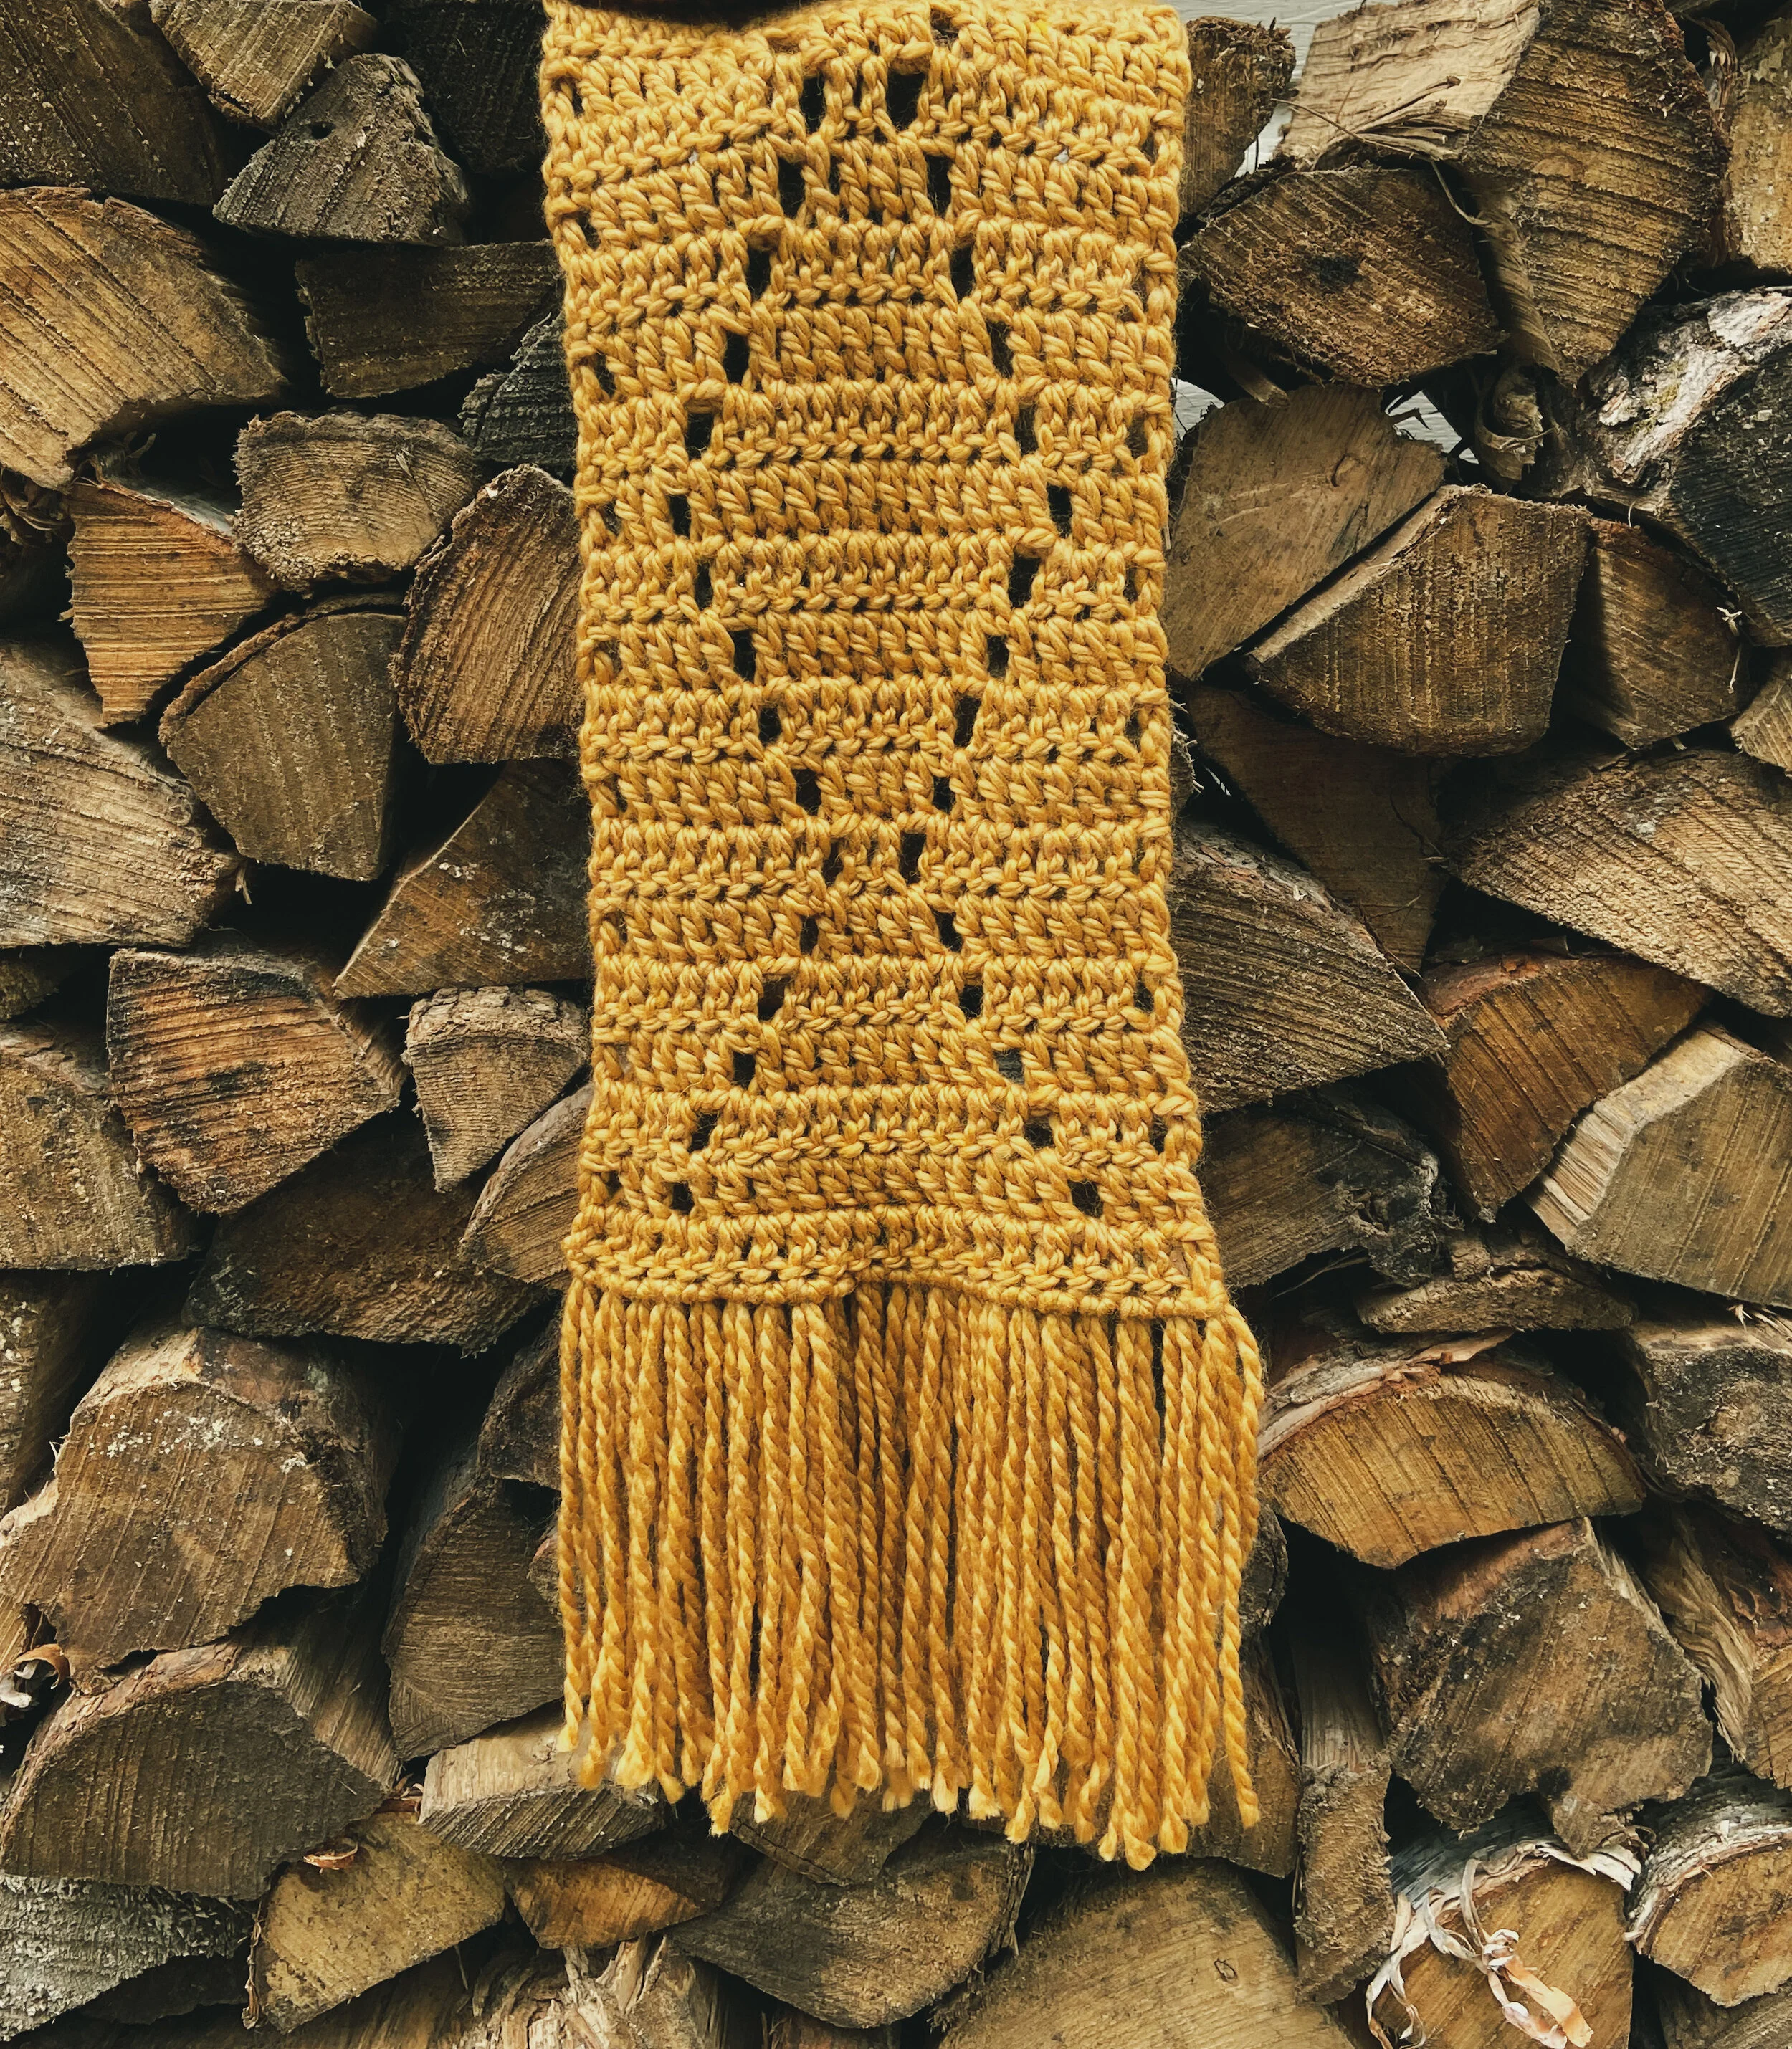
This next pattern is really special to me, because it was actually the VERY FIRST pattern I ever wrote and published for sale. That was over 3 years ago! It uses simple, beginner-friendly stitches, making it a great first scarf for someone new to crochet. I’ve given the original version a bit of a makeover, and I’m so happy to be sharing it here on the blog!

I first wrote the pattern for worsted weight (4) yarn - specifically Caron Cakes. They work really well for this pattern since you get effortless colour coordinated stripes without all the ends! But for this blog post, I wanted to up the cozy factor, so I used a wonderfully squishy super bulky (6) wool/acrylic blend. The result is next level warmth, and of course, the mustard yellow is so on trend (a rare thing for me!).
I do plan to offer an ad-free, printable pdf version of the pattern very soon with both the worsted and super bulky options, but for now, follow along below for the beginner-friendly directions, and get started on your very own Diamond Scarf today!
Materials
Hook - US 10mm, or size needed to meet gauge.
Yarn - 4 balls of Cozy Wool by Loops and Threads, available at Michael’s stores (or approx. 340 yds of super bulky (6) weight yarn).
Notions - scissors, tape measure, yarn needle, 9” piece of cardboard or book to make the fringe.
Sizing
Gauge - 8 sts x 4 rows = 4” in dc.
Finished measurements - approximately 71” long x 9.5” wide (not including fringe).
Terminology/Abbreviations
This pattern uses standard US terms as detailed by the Craft Yarn Council:
Ch - chain
St(s) - stitch(es)
Sk - skip
Dc - double crochet
Fdc - foundation double crochet
Notes
Ch 3 to start each row counts as a dc.
Pattern Instructions
Row 1. Ch 22 and turn. In the fourth ch from the hook, dc (the first 3 chs count as 1 dc st). Dc in each ch across and turn. (20 sts)
TIP: you may also work row 1 with foundation sts: Fdc 20 and turn.
Row 2. Ch 3, dc 2, ch 1 sk 1, dc 12, ch 1 sk 1, dc 3 and turn.
Row 3. Ch 3, dc 3, ch 1 sk 1, dc 10, ch 1 sk 1, dc 4 and turn.
Row 4. Ch 3, dc 4, ch 1 sk 1, dc 8, ch 1 sk 1, dc 5 and turn.
Row 5. Ch 3, dc 5, ch 1 sk 1, dc 6, ch 1 sk 1, dc 6 and turn.
Row 6. Ch 3, dc 6, ch 1 sk 1, dc 4, ch 1 sk 1, dc 7 and turn.
Row 7. Ch 3, dc 7, ch 1 sk 1, dc 2, ch 1 sk 1, dc 8 and turn.
Row 8. Ch 3, dc 6, ch 1 sk 1, dc 4, ch 1 sk 1, dc 7 and turn.
Row 9. Ch 3, dc 5, ch 1 sk 1, dc 6, ch 1 sk 1, dc 6 and turn.
Row 10. Ch 3, dc 4, ch 1 sk 1, dc 8, ch 1 sk 1, dc 5 and turn.
Row 11. Ch 3, dc 3, ch 1 sk 1, dc 10, ch 1 sk 1, dc 4 and turn.
Repeat Rows 2-11 six more times. Your scarf should measure approximately 69” at this point.
Work one more repeat of Row 2.
Last row: Ch 3, dc in each st across. Fasten off and weave in all ends.
Finishing
To create the fringe, wrap yarn loosely but securely around your piece of cardboard or book. You don’t want any slack in your wraps but you also don’t want it to be stretched tight. Cut your wrapped yarn along one end only. You will need 80 strands at approximately 18” each – I did two batches of wrapping it 40 times.
Insert your hook into the first stitch on one of the short ends, and grab 2 strands of fringe with your hook. Pull a loop through, then pull the ends of the fringe through the loop. Cinch it down to tighten the fringe. Repeat in each stitch across both short ends of your scarf. Trim your fringe so that it is fairly even, and you may wish to steam it to straighten out the strands.
Variations
This can also be made into an infinity scarf by seaming the short ends together to form a big loop.
Try variations on the fringe by making your pieces shorter or longer, or by placing fringe in every other or every third stitch. Leave the fringe off completely if it’s not your thing, or try tassels or poms!

Congratulations on finishing your fabulous new Diamond Scarf! Share your pics on social media and tag me @capital.crochet and use the hashtag #TheDiamondScarf.
You may sell finished items made from this pattern, but please credit me as the designer by linking back to this blog post.
Thank you so much for your support! Watch for the last pattern in the Scarftober series, dropping here on the blog on 30 October. See you then!
Hey fellow scarf lover, I thought you might enjoy these other patterns, too! Shown below are the Rachel Super Scarf and the Colour Block Triangle Scarf, both available in my pattern shop, or on Etsy and Ravelry.


