Pattern Instructions
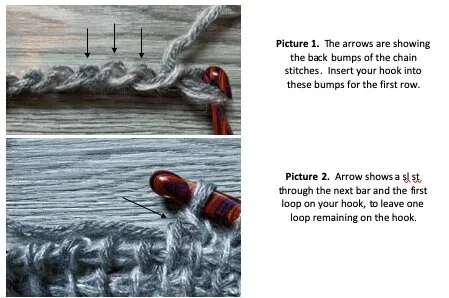
Row 1. Ch 22 and turn. In the fourth ch from the hook, dc (the first 3 chs count as 1 dc st). Dc in each ch across and turn. (20 sts)
TIP: you may also work row 1 with foundation sts: Fdc 20 and turn.
Row 2. Ch 3, dc 2, ch 1 sk 1, dc 12, ch 1 sk 1, dc 3 and turn.
Row 3. Ch 3, dc 3, ch 1 sk 1, dc 10, ch 1 sk 1, dc 4 and turn.
Row 4. Ch 3, dc 4, ch 1 sk 1, dc 8, ch 1 sk 1, dc 5 and turn.
Row 5. Ch 3, dc 5, ch 1 sk 1, dc 6, ch 1 sk 1, dc 6 and turn.
Row 6. Ch 3, dc 6, ch 1 sk 1, dc 4, ch 1 sk 1, dc 7 and turn.
Row 7. Ch 3, dc 7, ch 1 sk 1, dc 2, ch 1 sk 1, dc 8 and turn.
Row 8. Ch 3, dc 6, ch 1 sk 1, dc 4, ch 1 sk 1, dc 7 and turn.
Row 9. Ch 3, dc 5, ch 1 sk 1, dc 6, ch 1 sk 1, dc 6 and turn.
Row 10. Ch 3, dc 4, ch 1 sk 1, dc 8, ch 1 sk 1, dc 5 and turn.
Row 11. Ch 3, dc 3, ch 1 sk 1, dc 10, ch 1 sk 1, dc 4 and turn.
Repeat Rows 2-11 six more times. Your scarf should measure approximately 69” at this point.
Work one more repeat of Row 2.
Last row: Ch 3, dc in each st across. Fasten off and weave in all ends.
Finishing
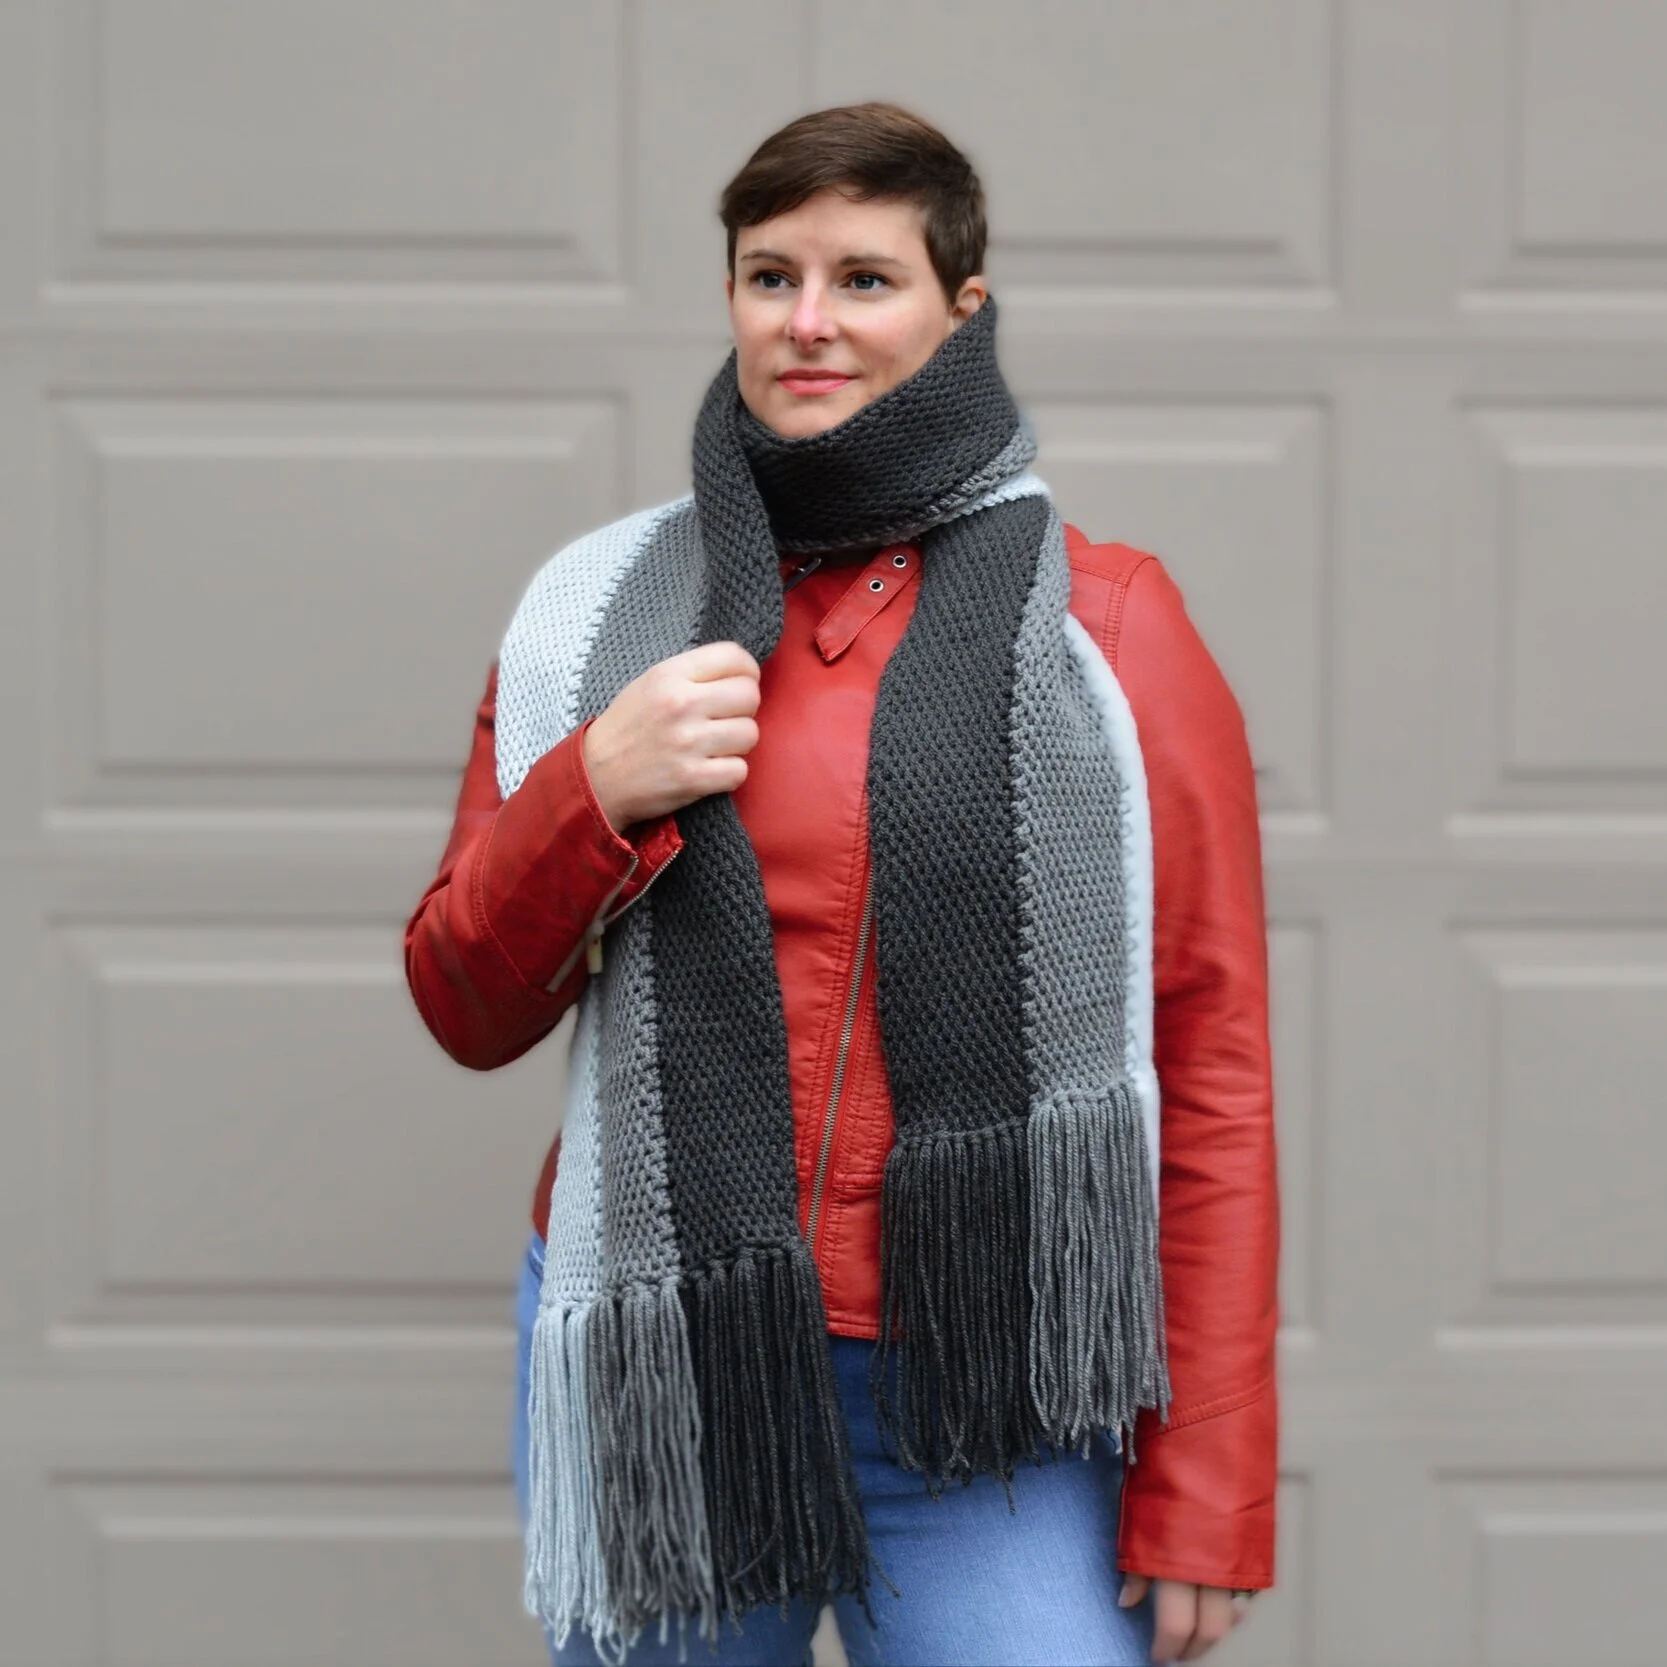
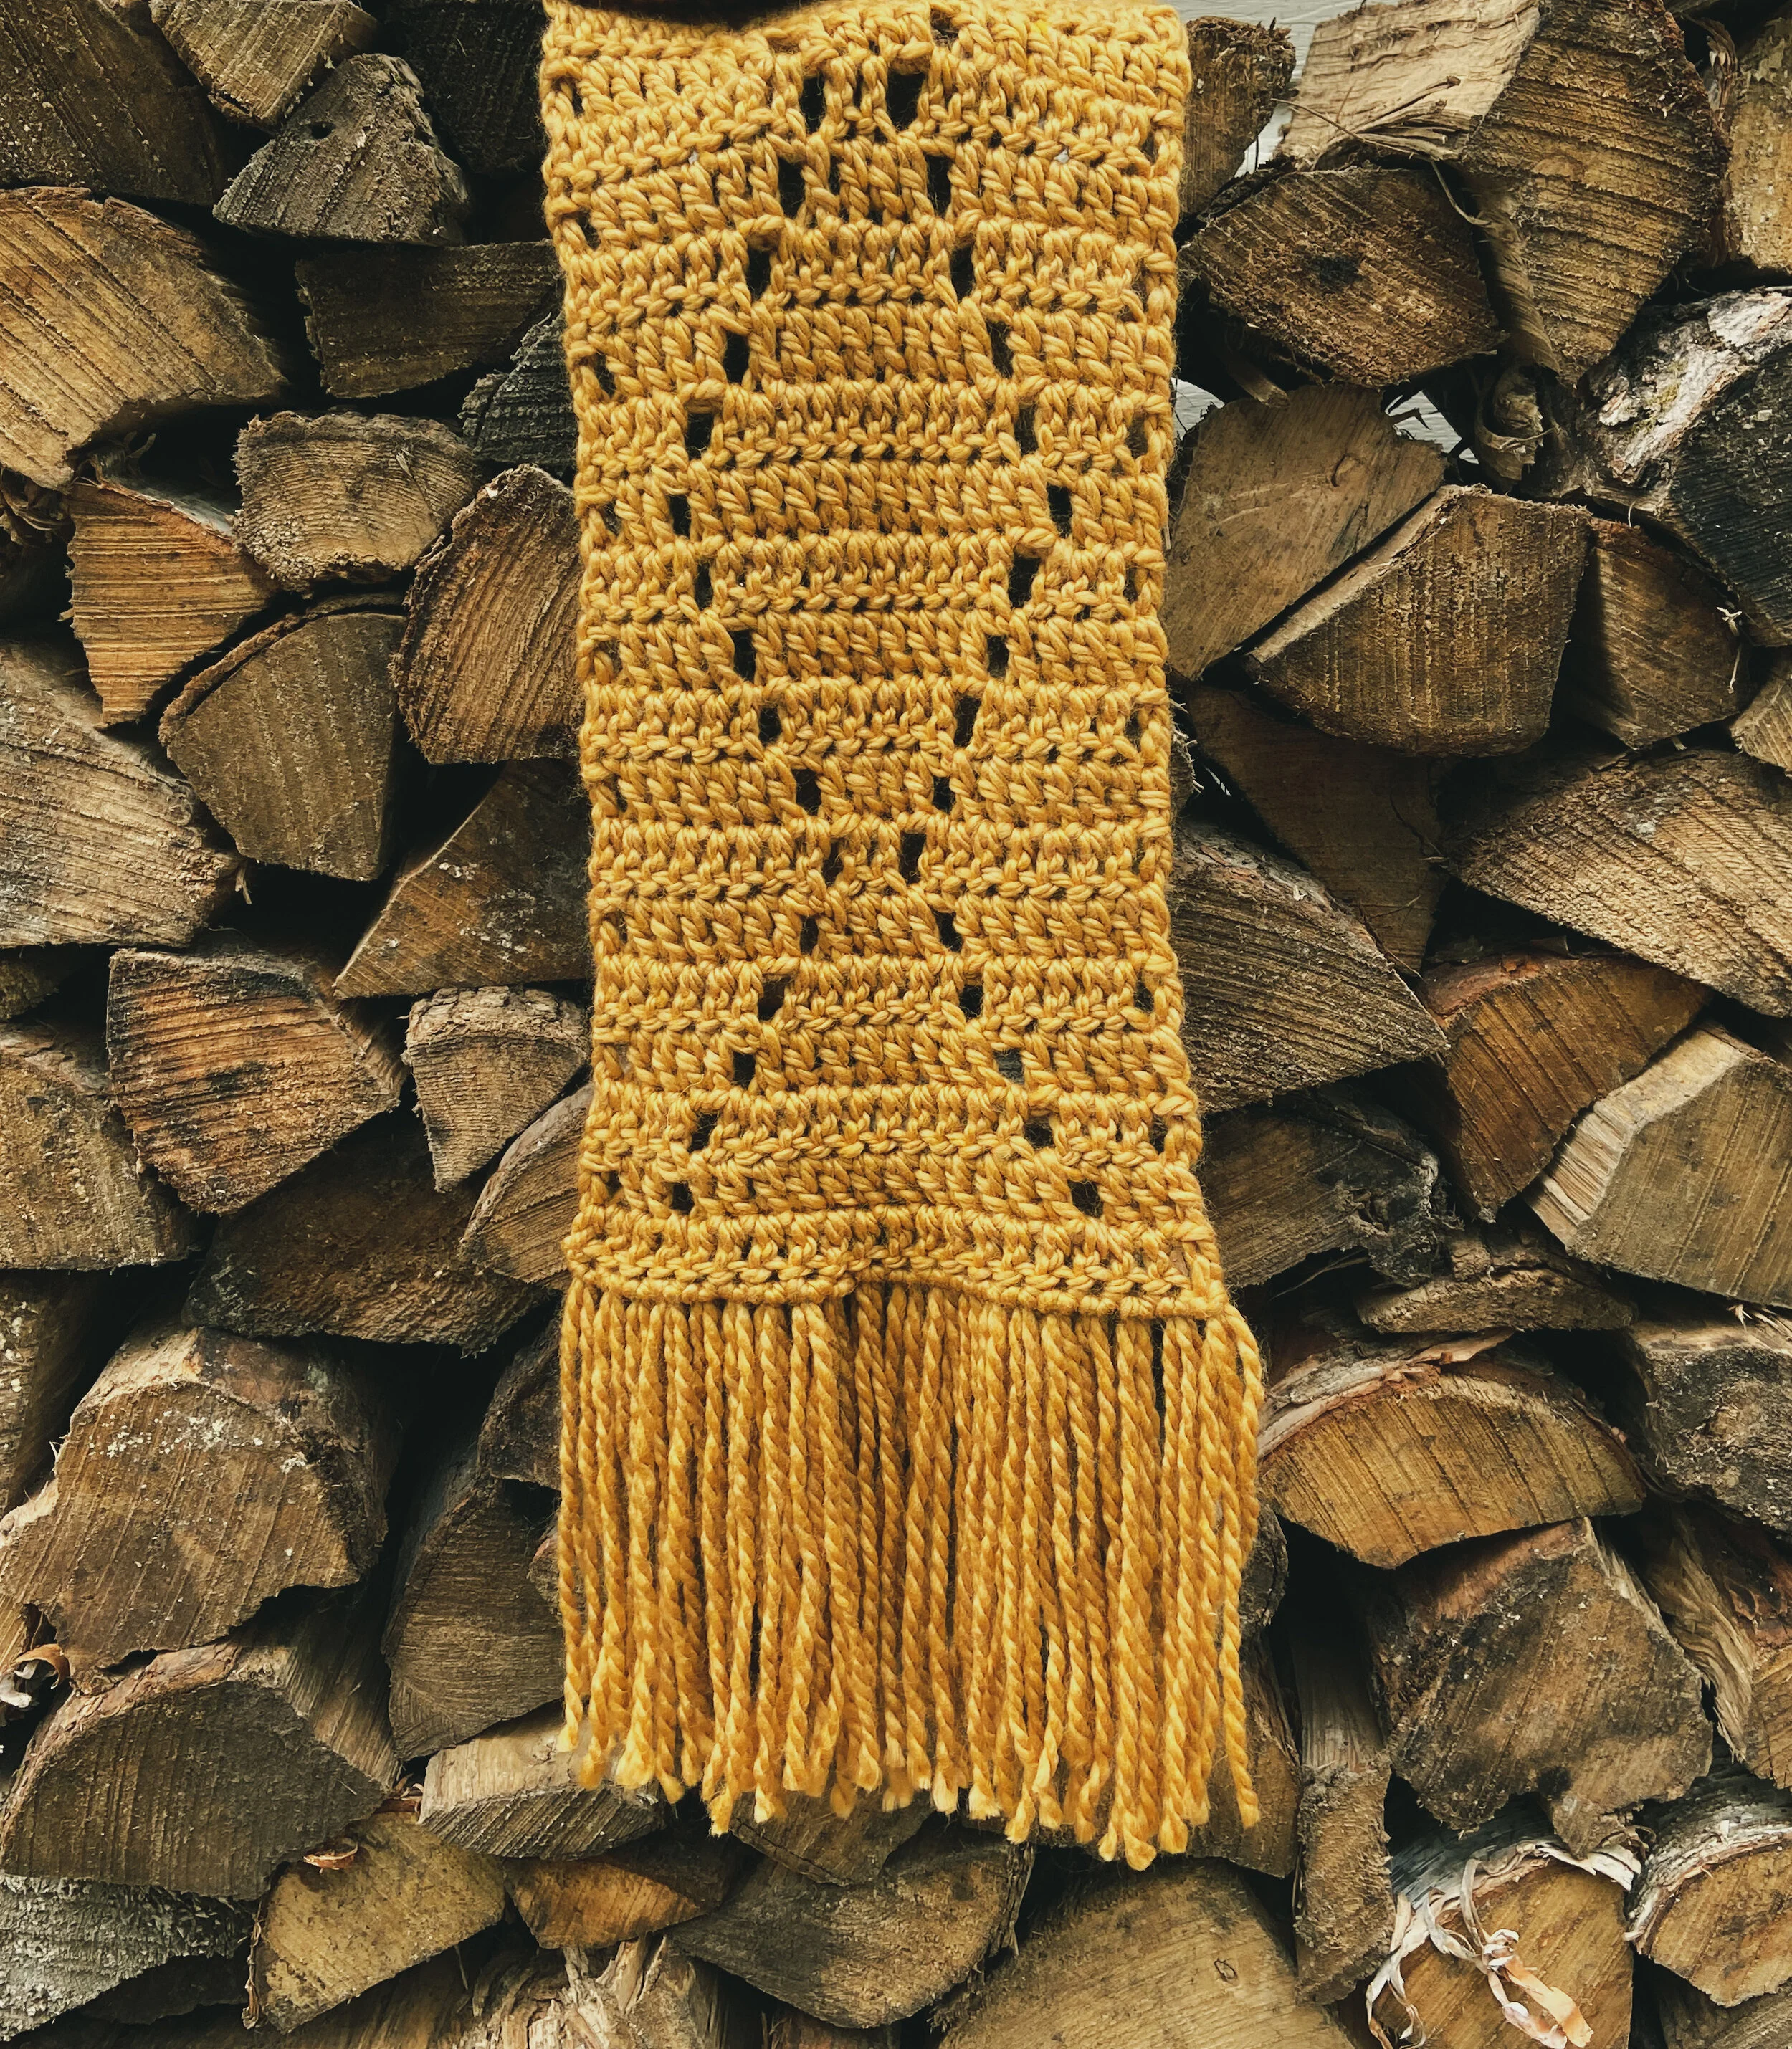
To create the fringe, wrap yarn loosely but securely around your piece of cardboard or book. You don’t want any slack in your wraps but you also don’t want it to be stretched tight. Cut your wrapped yarn along one end only. You will need 80 strands at approximately 18” each – I did two batches of wrapping it 40 times.
Insert your hook into the first stitch on one of the short ends, and grab 2 strands of fringe with your hook. Pull a loop through, then pull the ends of the fringe through the loop. Cinch it down to tighten the fringe. Repeat in each stitch across both short ends of your scarf. Trim your fringe so that it is fairly even, and you may wish to steam it to straighten out the strands.
Variations
This can also be made into an infinity scarf by seaming the short ends together to form a big loop.
Try variations on the fringe by making your pieces shorter or longer, or by placing fringe in every other or every third stitch. Leave the fringe off completely if it’s not your thing, or try tassels or poms!