
Stashdown Blanket - a FREE Tunisian crochet pattern
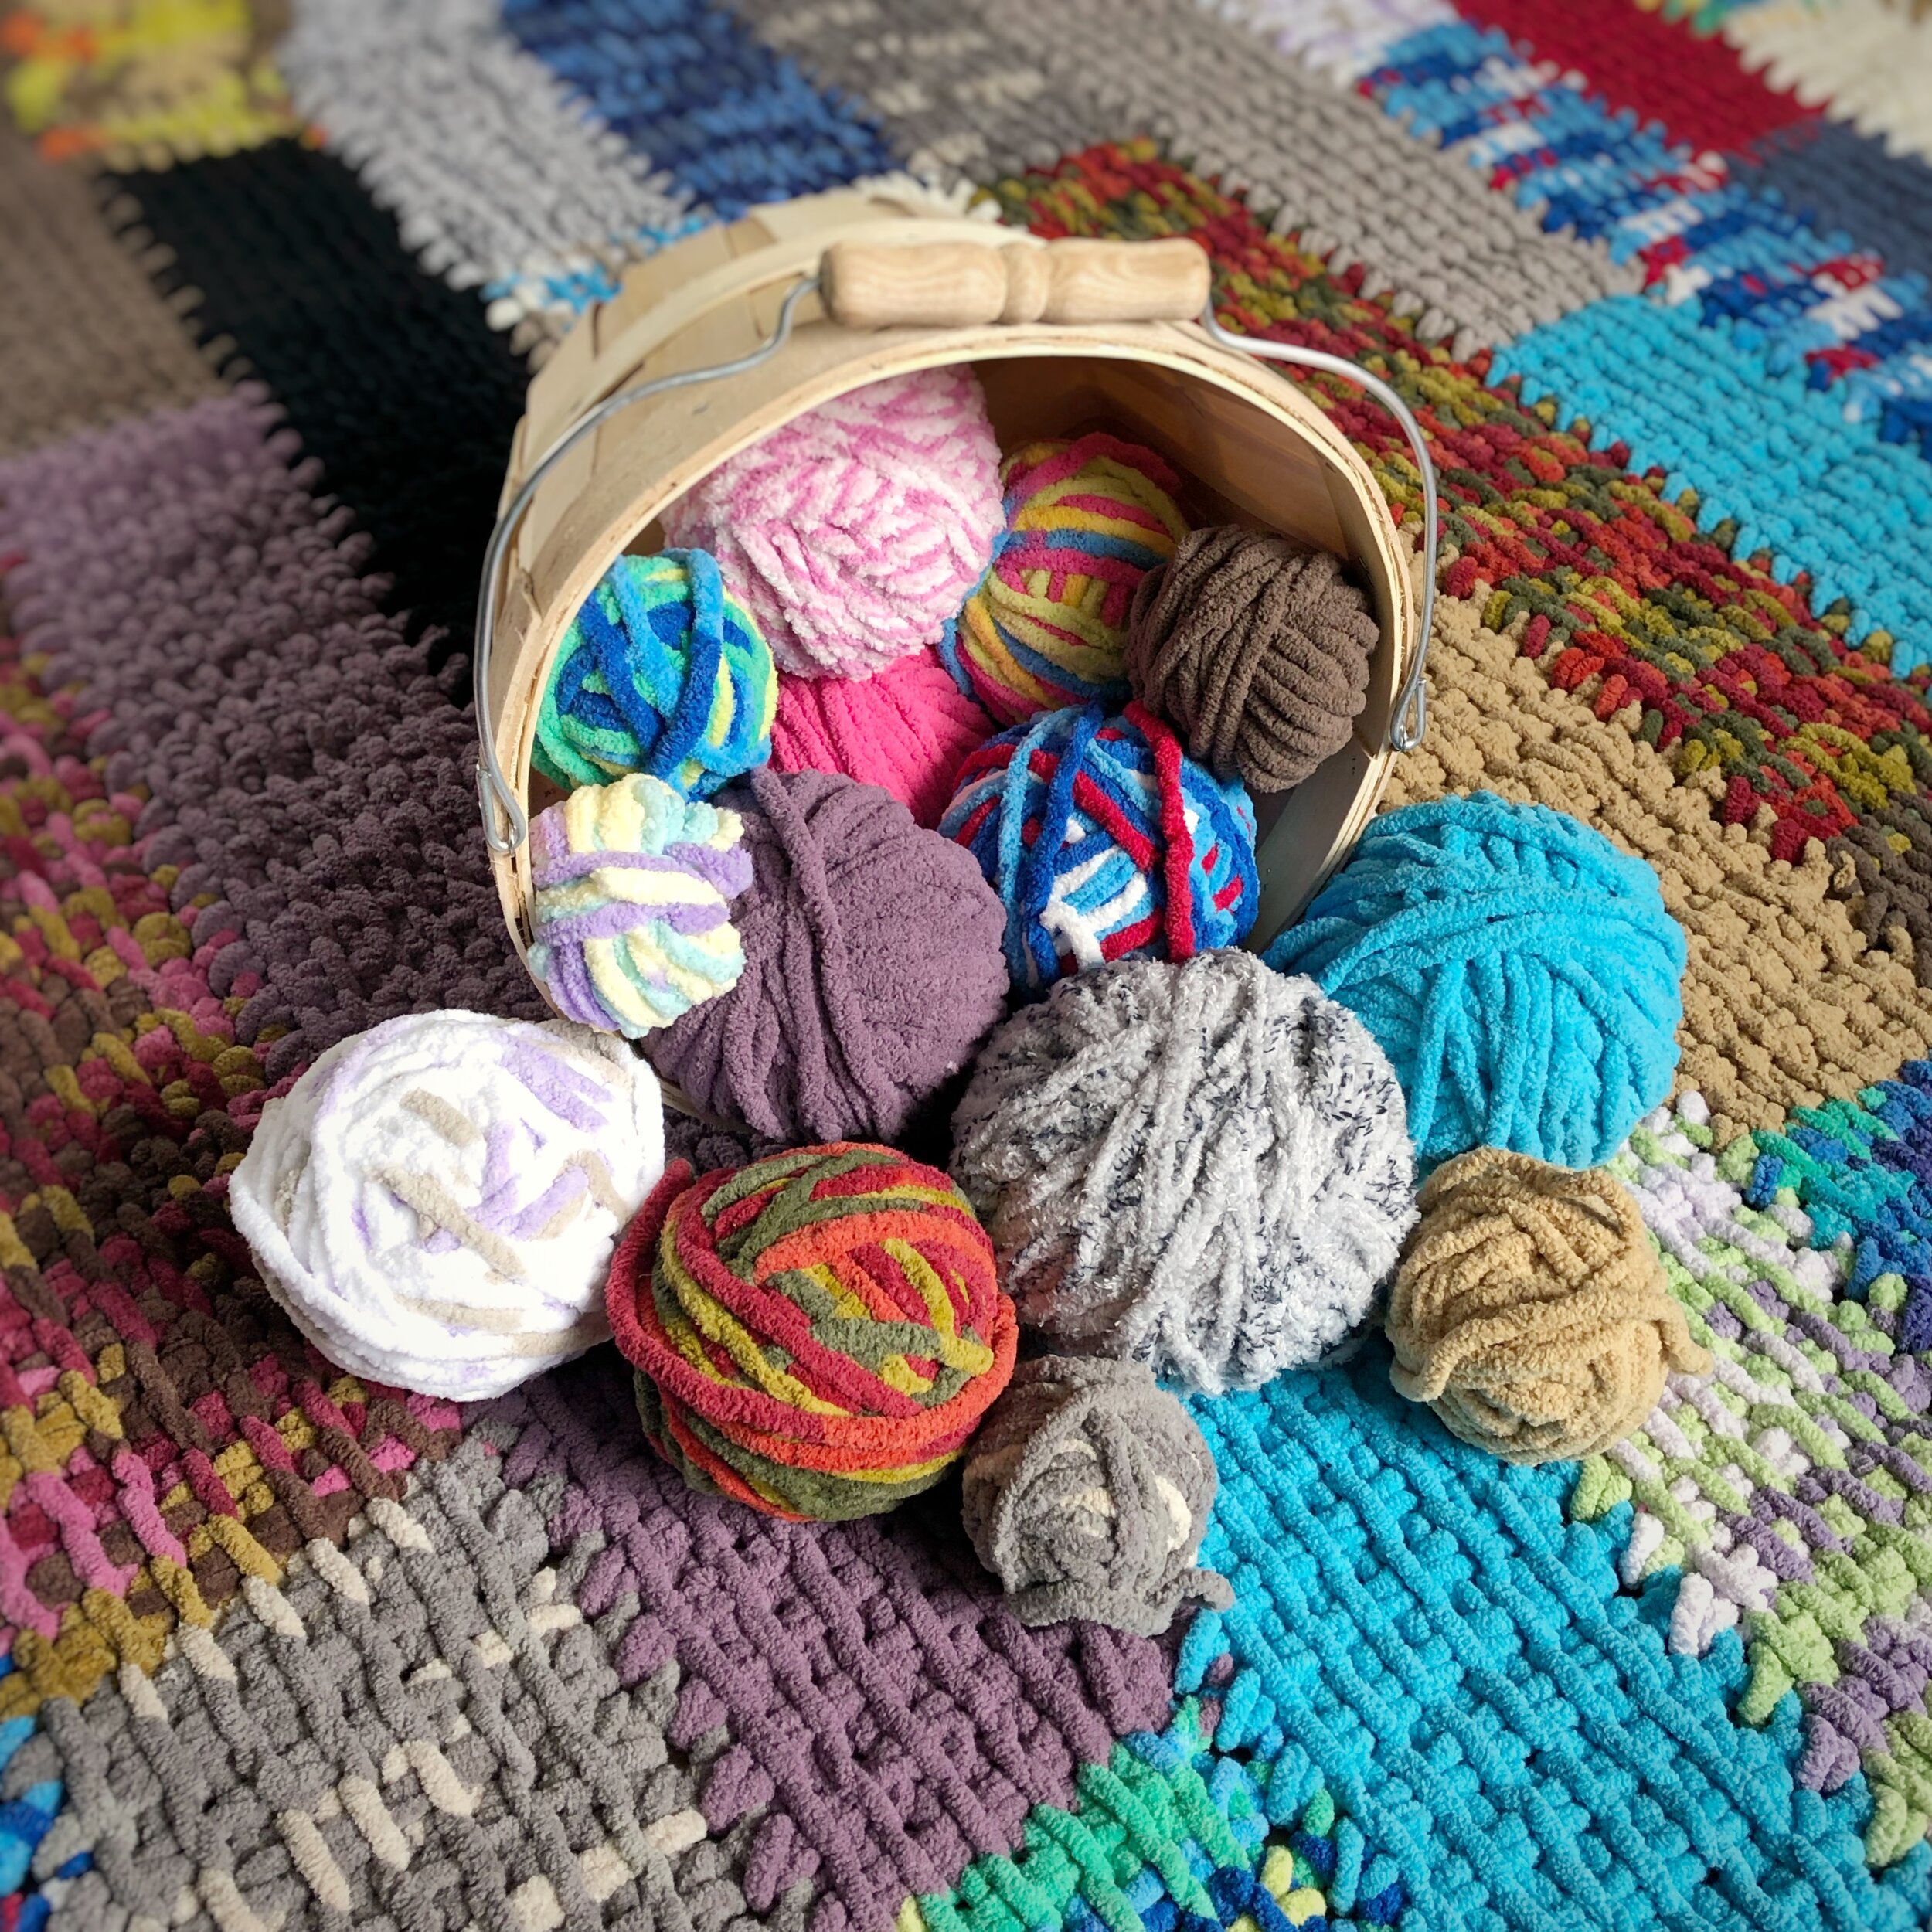
/Anyone else have an enormous stash of Bernat Blanket yarn? I literally had a drawer full of odds and ends - leftovers from my many Homebody Slippers that I’ve made as gifts and to sell at markets over the years. Since 2020 is the Year of the Stashdown, I decided to put all those balls into play in a fun and colourful pattern that can be completely customized to suit your stash!

My love affair with Tunisian crochet began around this time last year. It is so cool to see the world of new textures that opens up to you, and I promise it is much easier than it looks. This pattern uses the Tunisian Simple Stitch, which is the basic stitch technique and the easiest for a beginner to learn. If you need a tutorial on the Tunisian Simple Stitch, there are many available for free on youtube!
Below, you’ll find the free written pattern to make your very own Stashdown Blanket. If you prefer a printable pdf, a low-cost version of this pattern is available for download on Ravelry.
Materials
Size Q/16.00mm standard crochet hook (no special hooks required!)
Yarn – Bernat Blanket yarn, yardage varies from 550 for Baby size to 5200 for King size
Scissors
Tape Measure
Yarn Needle
Terminology/Abbreviations
This pattern uses standard American (US) terms:
Ch - chain
St(s) - stitch(es)
Sl st - slip stitch
Tss - Tunisian Simple Stitch
Slip stitch bind off - insert hook into next st, pull up a loop and pull through 1 loop on the hook. Repeat across the row and fasten off.
Sizing
Gauge – 7 sts x 5.5 rows = 4” in Tss
Gauge is not super important for this pattern, however, I have used it as the standard for all the different blanket sizes.
Standard Blanket Sizes
Here are some standard sizes and approximate row and strip counts to achieve them. Of course, you may make this a truly scrappy stashbuster by just making until all your yarn is used up!

Notes
This pattern uses the Join-As-You-Go method. If you are not familiar with this technique, TL Yarn Crafts has a great tutorial!
The return pass is worked as follows: *yarn over and pull through 2 loops. Repeat from * until 1 loop remains on the hook.
I prefer to change colours at the end of a return pass. To do it this way, pull through the last two sts of the return pass with the new colour yarn. Feel free to change colours whenever you please to get a colour pattern that is totally unique!
If you’re working your blanket with scraps and doing many colour changes, I recommend weaving in your ends after each strip. I learned the hard way that waiting until you’ve made 7 strips makes for SO MANY ENDS to weave in all at once!
This pattern has been designed to use Bernat Blanket yarn which is a 100% polyester Super Bulky (6) weight yarn. Using a different brand or fibre content may produce different results and measurements.

Pattern
First Strip
Row 1. Ch 7 and turn. Starting in the second ch from hook, pull up a loop in the back bumps of each st (7 loops on hook). Ch 1 and work a return pass.
Row 2. Tss in each st across (7 loops on hook). Ch 1 and work a return pass.
Repeat row 2 to the desired length (see chart above for standard blanket sizes and approximate row counts), making colour changes whenever you please. Tip: I prefer to make my colour changes at the end of a return pass to keep the rows neat and tidy.
When you’ve got your strip to the desired length, work a slip stitch bind off row.
Second and Subsequent Strips
Now it’s time to start your next strip.
Row 1. Join your yarn to the bottom of the first row of your first strip. Ch 7 and turn. Starting in the second ch from hook, pull up a loop in the back bumps of each st (7 loops on hook). Sl st into the side of the first row on your first strip to join (this counts as your ch 1) and work a return pass.
Row 2. Tss in each st across (7 loops on hook). Sl st into the side of the next row on your previous strip (this counts as your ch 1) and work a return pass.
Repeat row 2 for the same number of rows as your previous strip. Work a slip stitch bind off row to finish off and start again on your next strip. Refer to the sizing chart for number of strips to work to achieve the desired size.
Variations
My Stashdown Blanket uses scraps and tidbits, but you can certainly make this blanket with more of a plan. You can plan each colour change after a certain number of rows (I’m picturing a checkerboard!), or work full strips in solid colours for bold stripes. You can even change the number of stitches in each row to create wider or narrower strips! The creative possibilities are endless and I would love to see what you come up with.
Make sure to use #StashdownBlanket and tag me @capital.crochet when you share your blankets on Instagram! You can also add your project to Ravelry HERE.
If you like working with this yarn, I invite you to check out my Homebody Slippers and Cozy Spa patterns. They also use smaller amounts of Bernat Blanket yarn, and are great instant gratification projects.

I hope you enjoy this stashbusting project, and thank you so much for crocheting along!
