Retro Stripes Blanket
/This post may contain affiliate links, meaning that if you click through and make a purchase, I earn a small commission at no extra cost to you. This helps support my business and makes it possible for me to bring you free content.
It’s officially winter - also known as hibernate-under-your-favourite-blanket season (it’s totally a thing). If you haven’t already got a favourite blanket (or even if you do and just really love blankets, hi, it’s me!), I’ve got a great one for you.
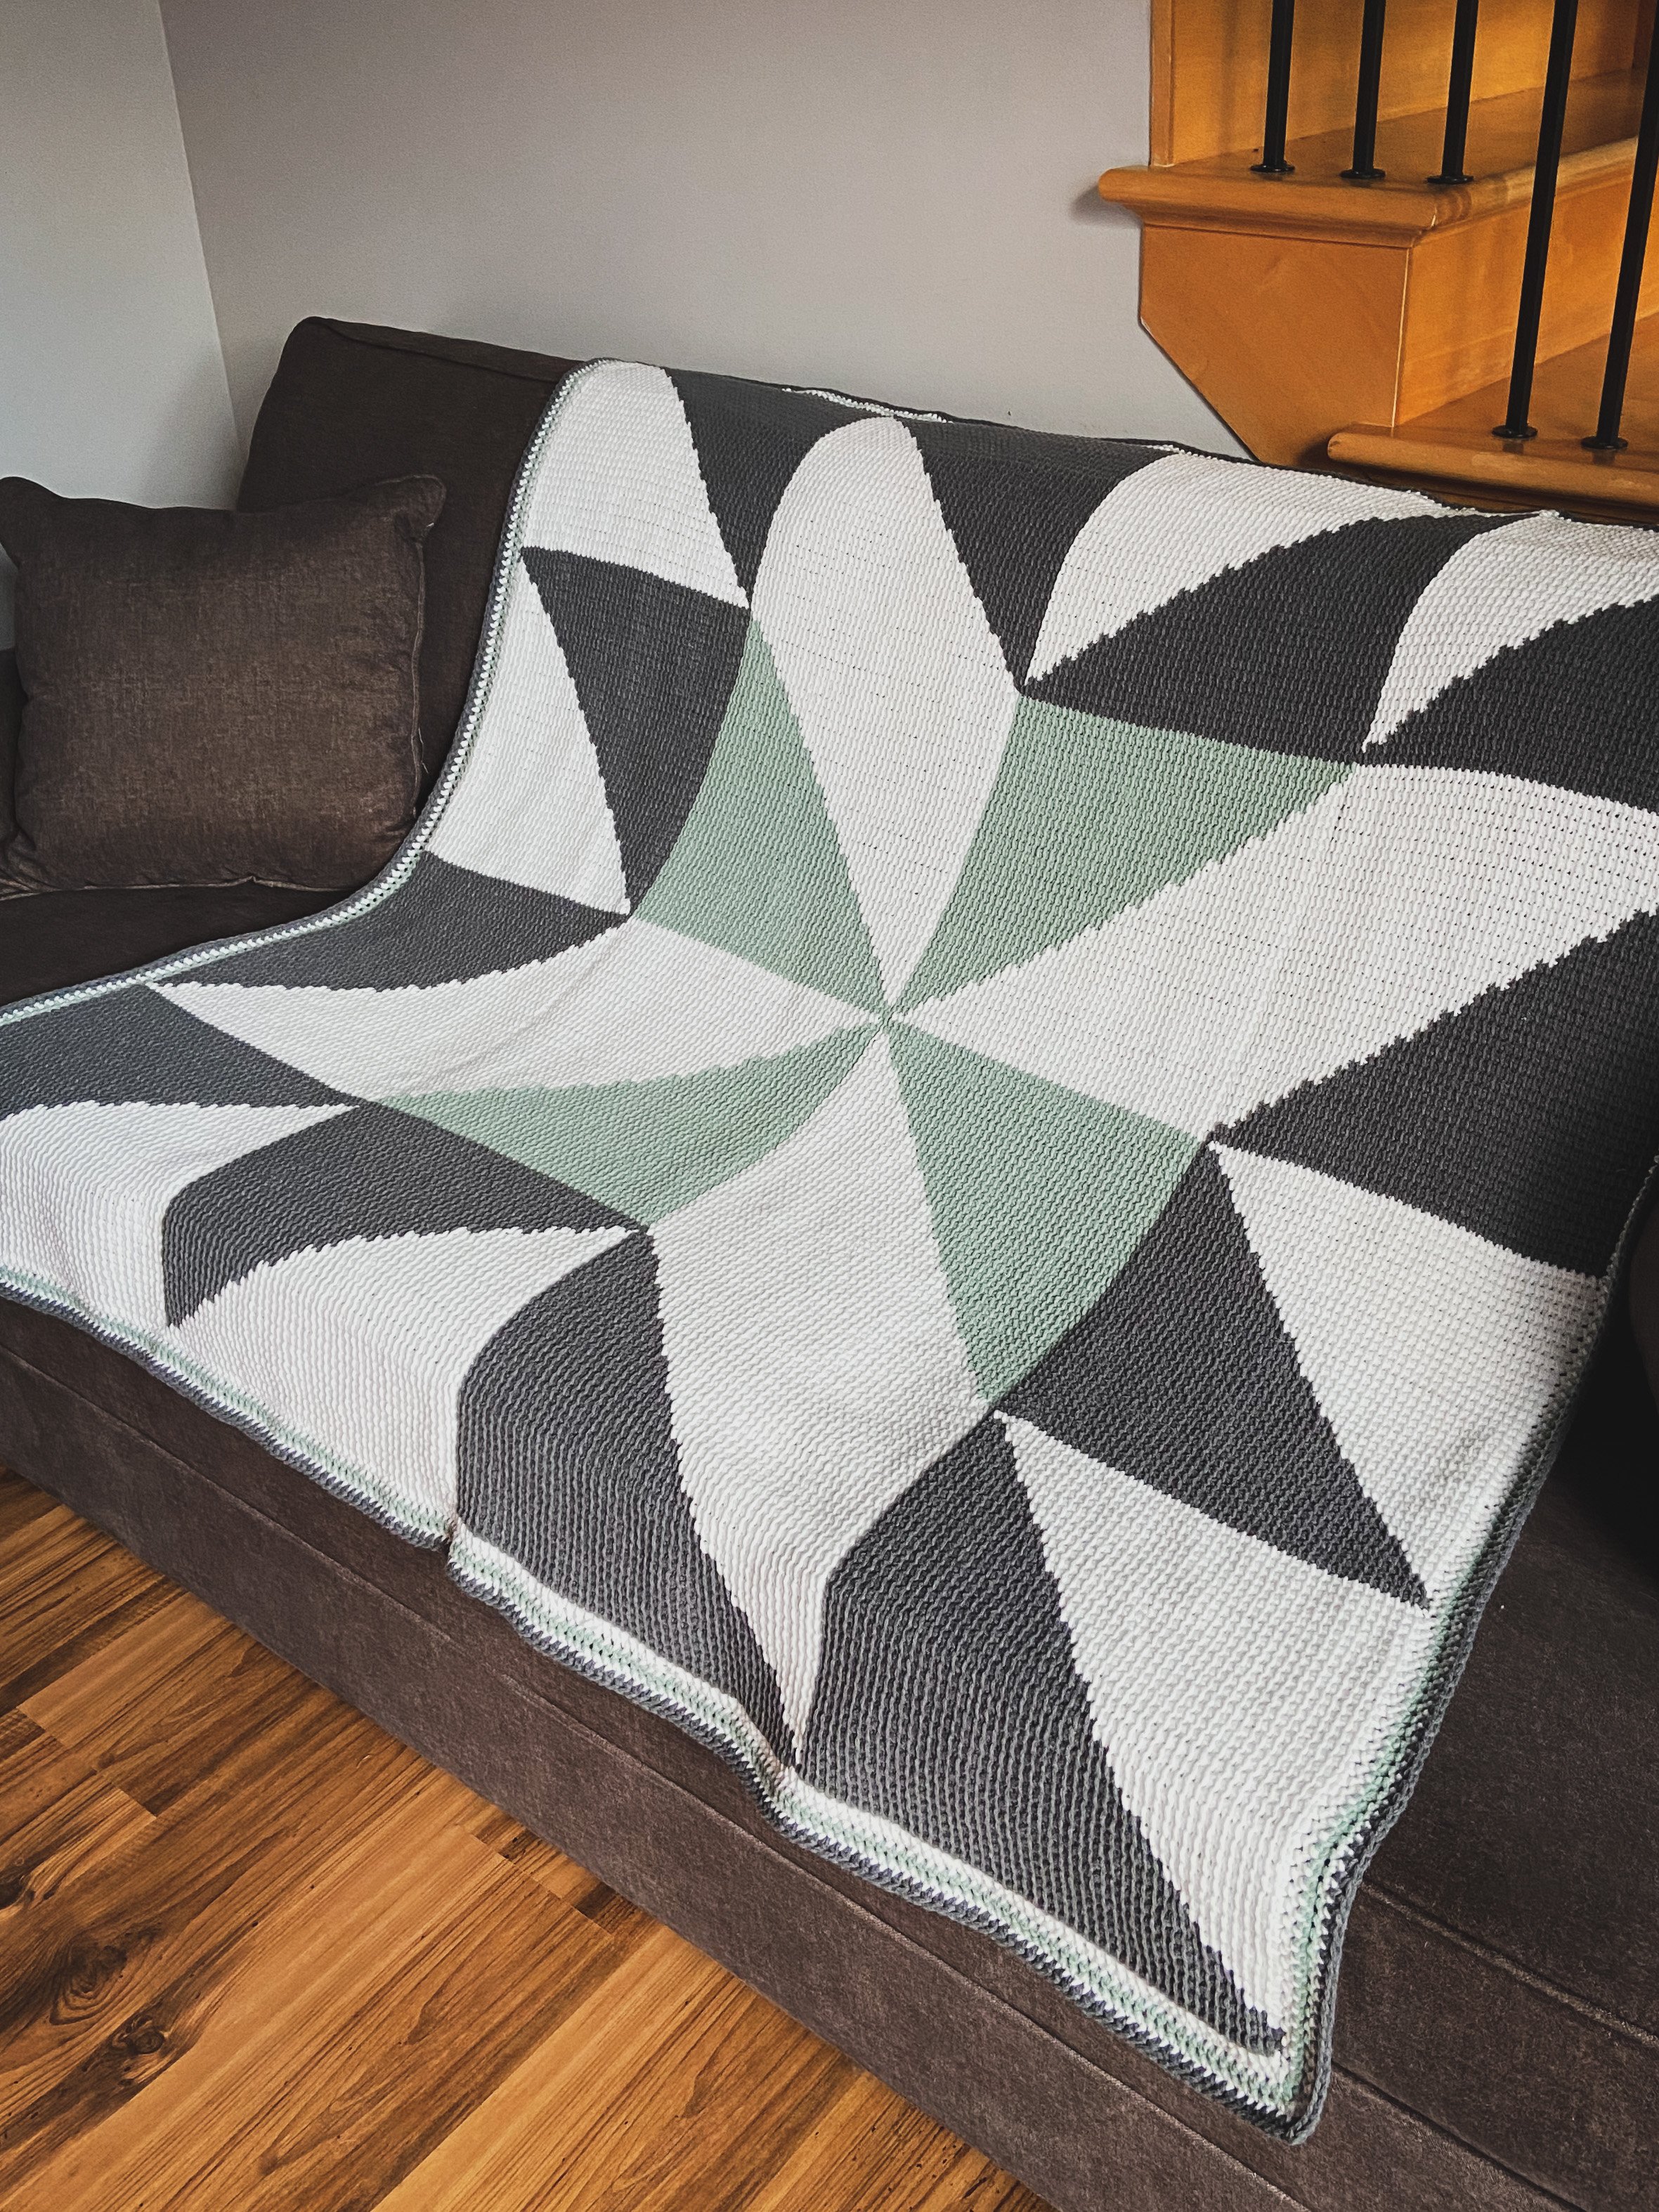
The Retro Stripes Blanket takes us back to when we could combine any colours we wanted and weren’t concerned in the least about ruining our neutral vibe. In fact, the more clashy the colours, the cooler they were!
A friend told me it reminds her of the roller rink from her teenage years, and someone else said it was like the opening of Reading Rainbow (you’re welcome for the link, because that kind of nostalgia is AWESOME).
The truth is that this crochet pattern was inspired by a quilting pattern called Looper, by Miss Make. I love quilting, but it is so time-intensive and I haven’t had the chance to get my sewing machine out in… a long time. But I love all the unique patterns, and I thought it would be fun to translate this one into a crochet blanket.
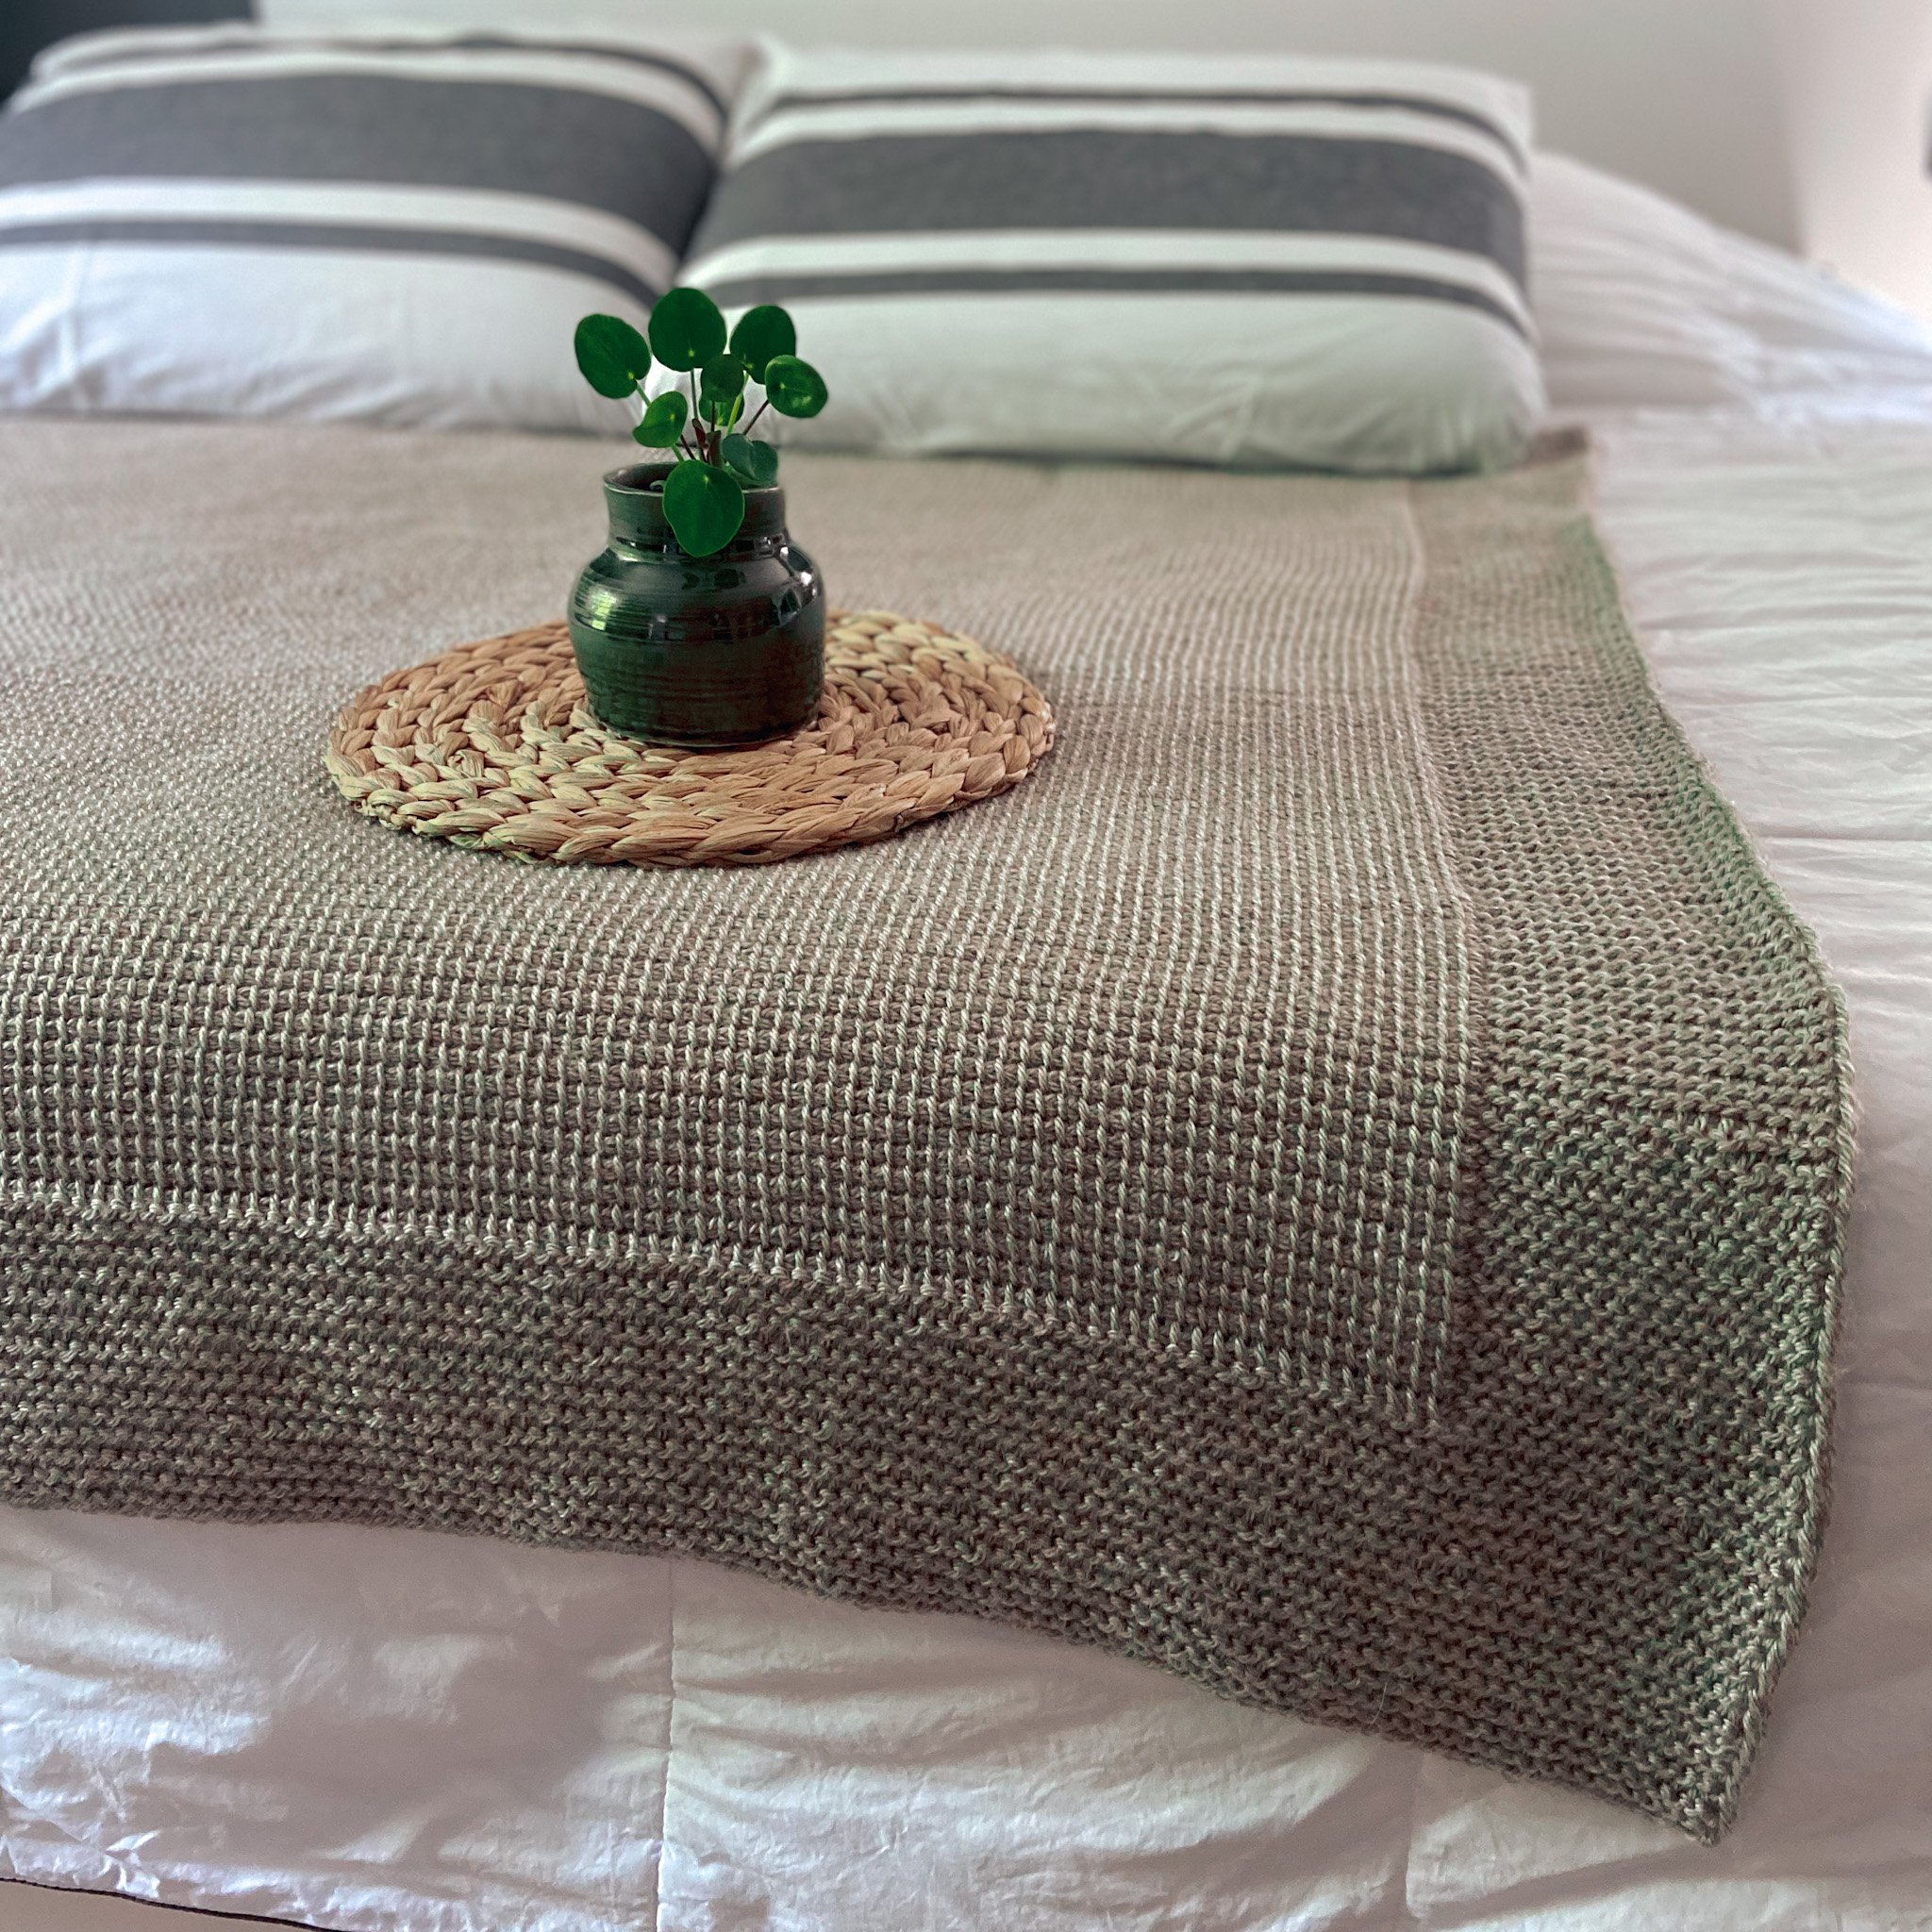
My little helper claimed this blanket early on! She actually ran away with a skein of Hue + Me yarn a few times, but it’s a durable yarn so it was unharmed, haha.
Actually, this yarn is perfect for a blanket, because it is soft yet hardy enough to withstand all the scrunching that comes along with a good blanket snuggle - you gotta get it *just right*, amirite? It’s also machine washable, so when it needs freshening up, just toss it in the washer and dryer!
This pattern is worked intarsia, which means the colour sections are all worked individually, without carrying (crocheting over top of) the yarn. You will have up to seven skeins of yarn attached at once - it sounds daunting, but you can check out the helpful tutorial below if you’ve never tried this technique before.
Materials
Hook - US N/10mm crochet hook, or size needed to meet gauge
Yarn - Hue + Me by Lion Brand Yarn (Bulky (5), 80% acrylic/20% wool, 251 yds/230m, 142g per skein)
6 colours total, approx. 1125 yds/1029m of Main and 110yds/101m of each contrast colour:
Main: Werewolf – 9 skeins
A: Marine – 1 skein
B: Bellini – 1 skein
C: Mustard – 1 skein
D: Agave – 1 skein
E: Love Song – 1 skein
Notions - scissors, tape measure, yarn needle.
Sizing
Gauge - 8 sts x 6.5 rows = 4”/10cm in hhdc, unblocked
Finished measurements - approx. 50”/127cm wide x 62”/157cm long
To adjust the width of the blanket, work fewer or more ch sts in the foundation row.
To adjust the length of the blanket, work fewer or more rows in the Set Up and Ending sections,
and/or the Middle Stripe Section.
Keep in mind that adjustments will alter the yardage required.
Terminology/Abbreviations
This pattern uses standard US terms as detailed by the Craft Yarn Council:
Ch: chain
Hhdc: herringbone half double crochet
RS/WS: right side/wrong side
St(s): stitch(es)
Notes
Ch 1 to start each row does not count as a stitch.
The entire pattern is worked in hhdc stitch.
The stripe sections are written as follows: color and number of stitches. For example: 42 Main means to work 42 sts in the Main color; 5 A, 4 B means to work five sts with color A, then four sts with color B; etc.
This pattern is worked intarsia, meaning you will have up to seven skeins of yarn attached at any given time. Make sure to turn your work the same way each time you start a new row, so that your strands don’t get twisted up.
Keep all of your yarn tails/colour changes to the WS. They will be in the back when working a RS row, and in the front when working a WS row. This will keep everything neat and tidy.
To change colours, work the last pull through of the final stitch of the previous colour with the new colour.
I did not block my finished blanket, but a gentle steam blocking can help to even things out if required. Take care not to stretch your stitches too much.
This pattern is also available in PDF format, as well as in a kit from Lion Brand Yarn. These paid versions include premium features such as detailed tutorial pictures, lots of helpful links, and colour-coded charts for the stripe sections.
Pattern Instructions
SET UP SECTION
This section is worked in the Main colour.
Row 1 (WS): Ch 101 and turn. Starting in the second ch from hook, and working into the back bumps of the ch sts, hhdc in each st across. < 100 sts >
Rows 2-16: Ch 1, hhdc in each st across, turn.
STRIPE SECTION 1
Remember to ch 1 to start each row, and turn at the end of each row.
Row 17 (WS): 58 A, 42 Main.
Row 18 (RS): 41 Main, 59 A.
Row 19: 60 A, 40 Main.
Row 20: 40 Main, 60 A. Cut A (to be reattached in the next row) and change to Colour B.
Row 21: 55 B, 5 A, 40 Main.
Row 22: 40 Main, 4 A, 56 B.
Row 23: 56 B, 4 A, 40 Main.
Row 24: repeat Row 22. Cut B (to be reattached in the next row) and change to Colour C.
Row 25: 51 C, 5 B, 4 A, 40 Main.
Row 26: 40 Main, 4 A, 4 B, 52 C.
Row 27: 52 C, 4 B, 4 A, 40 Main.
Row 28: Repeat Row 26. Cut C (to be reattached in the next row) and change to Colour D.
Row 29: 47 D, 5 C, 4 B, 4 A, 40 Main.
Row 30: 40 Main, 4 A, 4 B, 4 C, 48 D.
Row 31: 48 D, 4 C, 4 B, 4 A, 40 Main.
Row 32: Repeat Row 30. Cut D (to be reattached in the next row) and change to Colour E.
Row 33: 43 E, 5 D, 4 C, 4 B, 4 A, 40 Main.
Row 34: 40 Main, 4 A, 4 B, 4 C, 4 D, 44 E.
Row 35: 44 E, 4 D, 4 C, 4 B, 4 A, 40 Main.
Row 36: Repeat Row 34. Cut E (to be reattached in the next row) and change to Main.
Row 37: 39 Main, 5 E, 4 D, 4 C, 4 B, 4 A, 40 Main.
Row 38: 40 Main, 4 A, 4 B, 4 C, 4 D, 4 E, 40 Main.
MIDDLE STRIPE SECTION
Row 39 (WS): 40 Main, 4 E, 4 D, 4 C, 4 B, 4 A, 40 Main.
Row 40 (RS): 40 Main, 4 A, 4 B, 4 C, 4 D, 4 E, 40 Main.
Rows 41-62: Repeat Rows 39 and 40.
STRIPE SECTION 2
Remember to ch 1 to start each row and turn at the end of each row.
Row 63 (WS): Repeat Row 39.
Row 64 (RS): 39 Main, 5 A, 4 B, 4 C, 4 D, 4 E, 40 Main.
Row 65: 40 Main, 4 E, 4 D, 4 C, 4 B, 44 A.
Row 66: 44 A, 4 B, 4 C, 4 D, 4 E, 40 Main.
Row 67: Repeat Row 65.
Row 68: 43 A, 5 B, 4 C, 4 D, 4 E, 40 Main. Cut A, leaving a 6”/15cm tail to weave in later.
Row 69: 40 Main, 4 E, 4 D, 4 C, 48 B.
Row 70: 48 B, 4 C, 4 D, 4 E, 40 Main.
Row 71: Repeat Row 69.
Row 72: 47 B, 5 C, 4 D, 4 E, 40 Main. Cut B, leaving a 6”/15cm tail to weave in later.
Row 73: 40 Main, 4 E, 4 D, 52 C.
Row 74: 52 C, 4 D, 4 E, 40 Main.
Row 75: Repeat Row 73.
Row 76: 51 C, 5 D, 4 E, 40 Main. Cut C, leaving a 6”/15cm tail to weave in later.
Row 77: 40 Main, 4 E, 56 D.
Row 78: 56 D, 4 E, 40 Main.
Row 79: Repeat Row 77.
Row 80: 55 D, 5 E, 40 Main. Cut D, leaving a 6”/15cm tail to weave in later.
Row 81: 40 Main, 60 E.
Row 82: 60 E, 40 Main.
Row 83: 41 Main, 59 E.
Row 84: 58 E, 42 Main. Cut E, leaving a 6”/15cm tail to weave in later.
ENDING SECTION
You will finish your blanket with another solid section of the Main colour.
Rows 85-100: Ch 1, hhdc in each st across.
Fasten off and weave in all ends to the WS of the blanket. Voila, you’re done!
Save this pattern to your Ravelry queue, or add a project to the pattern page!
Congratulations on finishing your Retro Stripes Blanket! I hope you feel amazing snuggled up in all of your favourite colours. :)
Share your progress and finished blankets on Instagram using the hashtags #RetroStripesBlanket and tag me, @capital.crochet! I love seeing the way you personalize my patterns to make them unique to your own style and vibe.
You may sell finished items made from this pattern, but please credit me as the designer by linking back to this blog post.
Thank you so much for your support! If you’d like to be the first to know about new patterns in this series and other blog posts, make sure to subscribe to my newsletter below.
If you love making blankets as much as I do, check out some of these fun patterns!
The Lisse Throw Blanket is a meditative make that brings warmth and comfort to your decor (also available as a kit via Lion Brand Yarn!).
Annie’s Afghan is another intarsia colourwork pattern, this time worked in Tunisian crochet. The kit is available via Lion Brand Yarn as well.
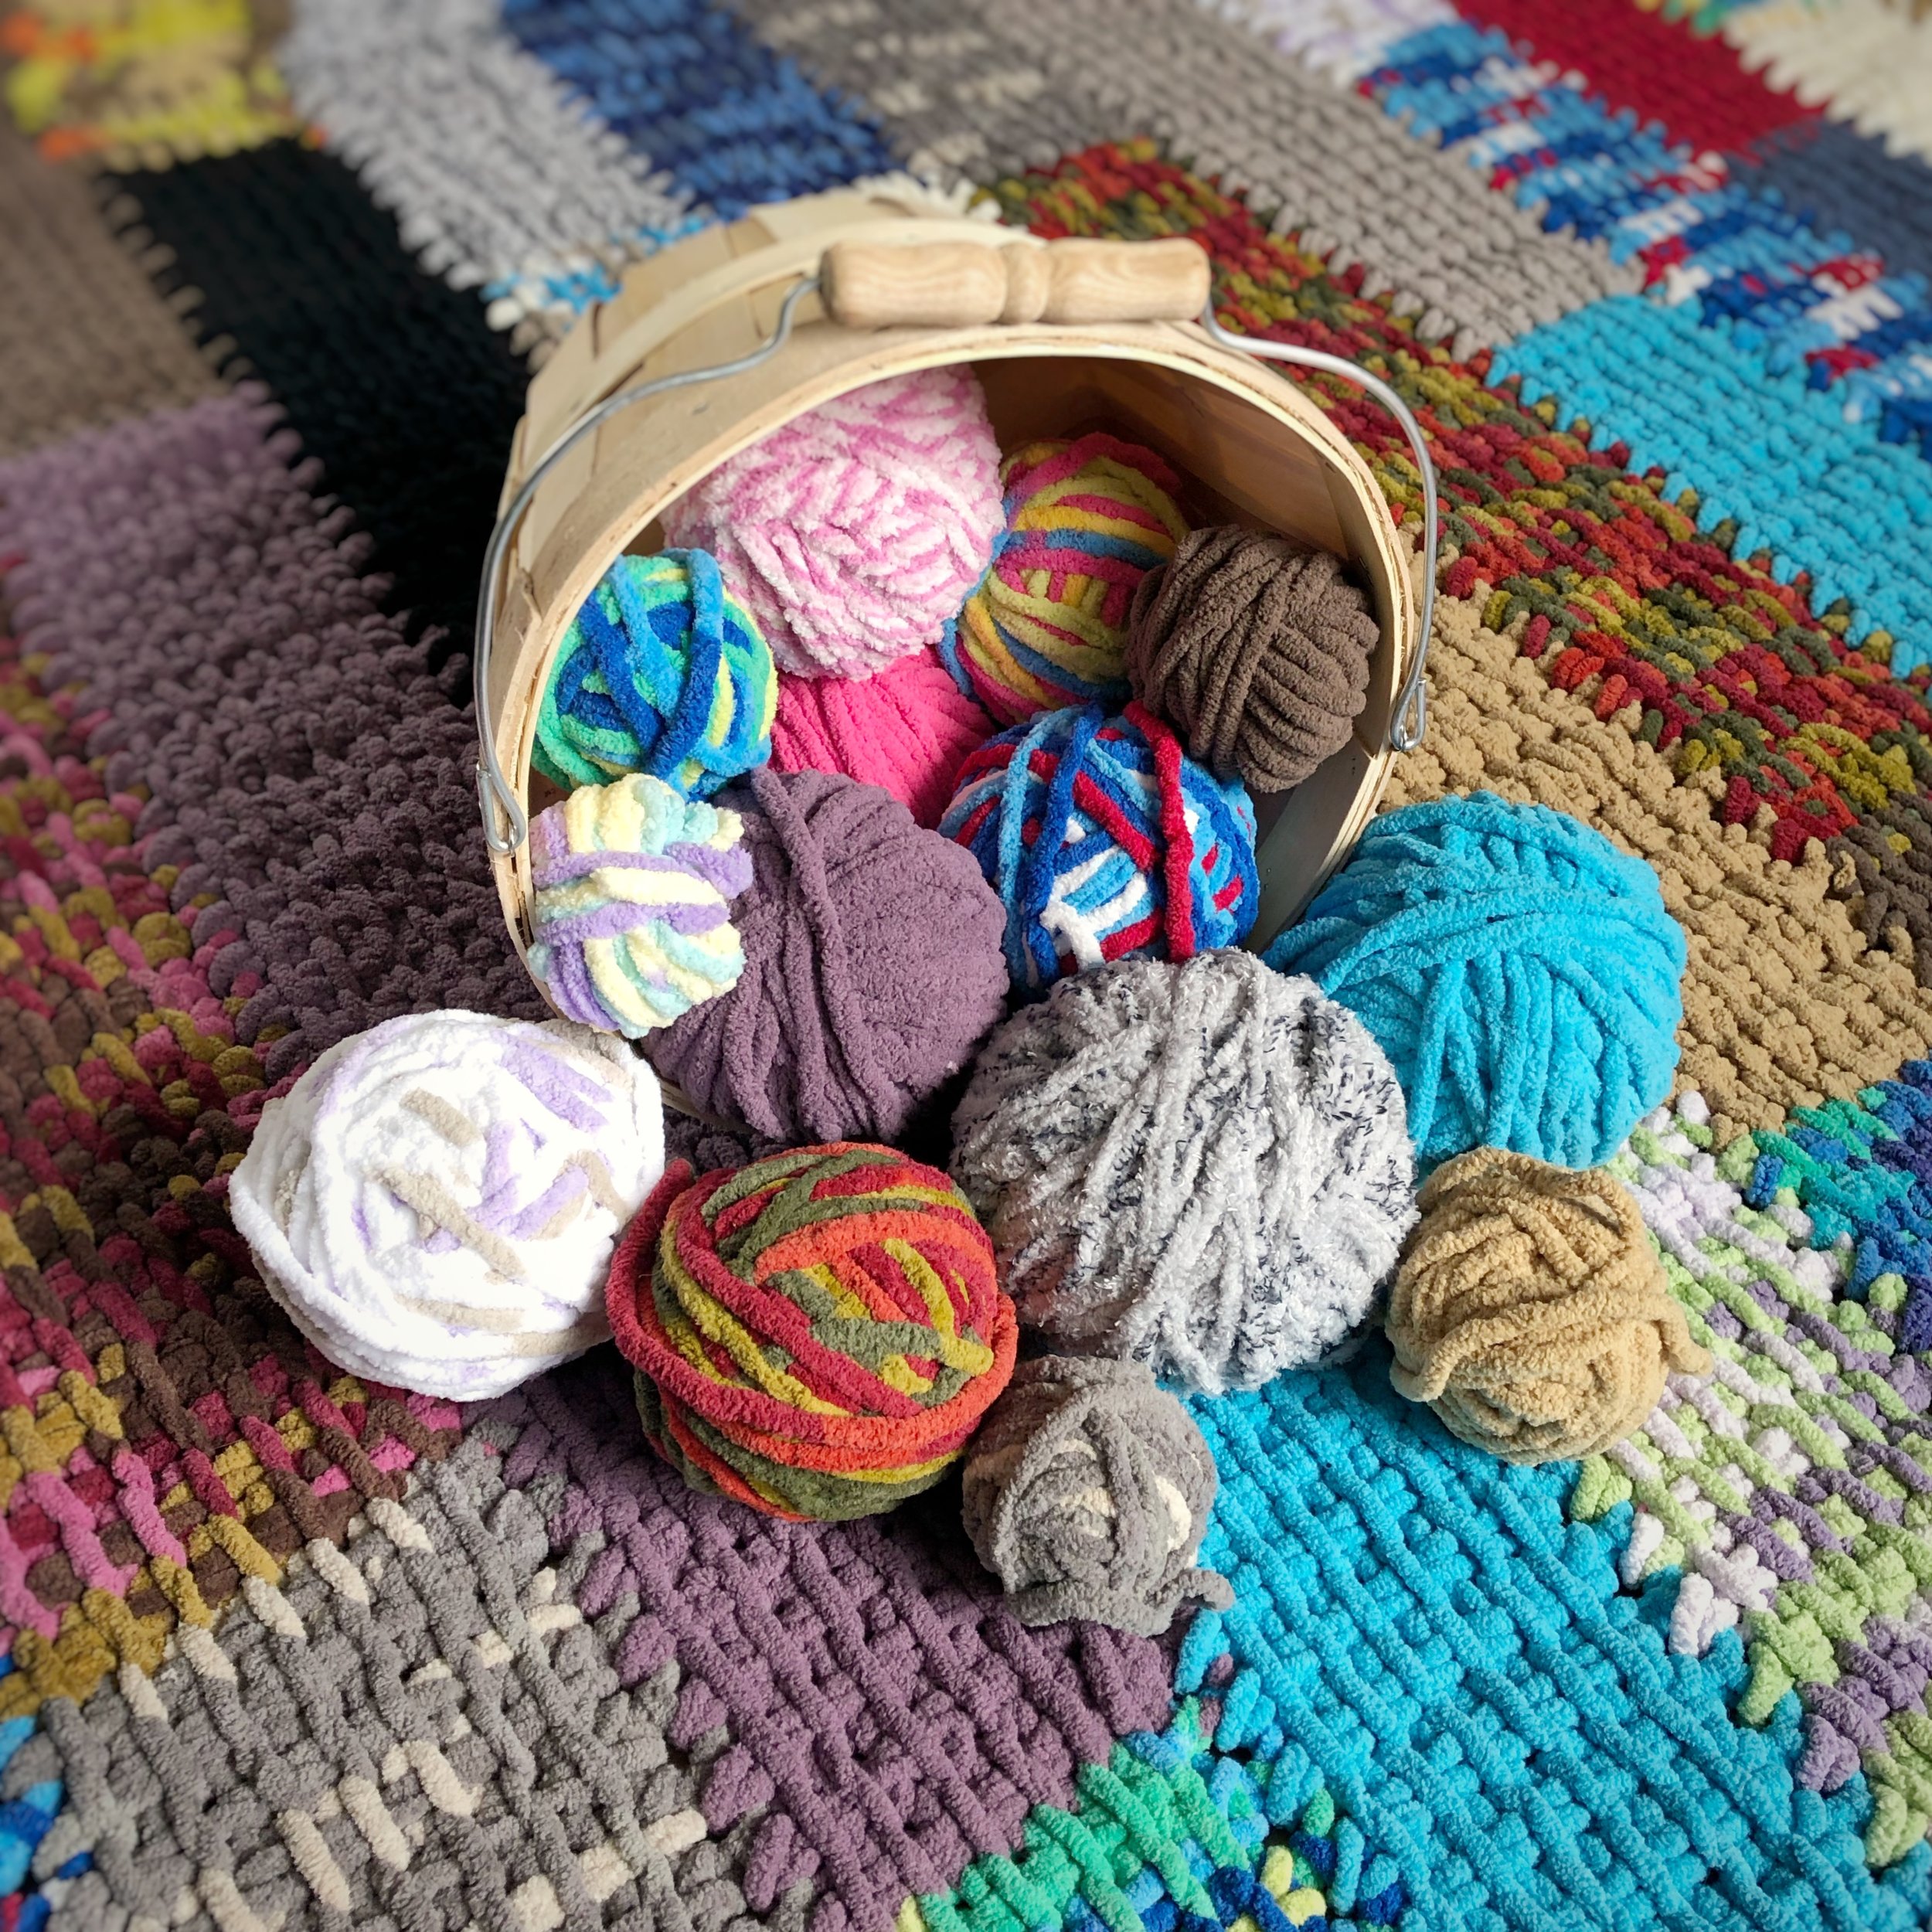
The Stashdown Blanket is a great stash buster, available as a free pattern here on the blog, or as a paid PDF.