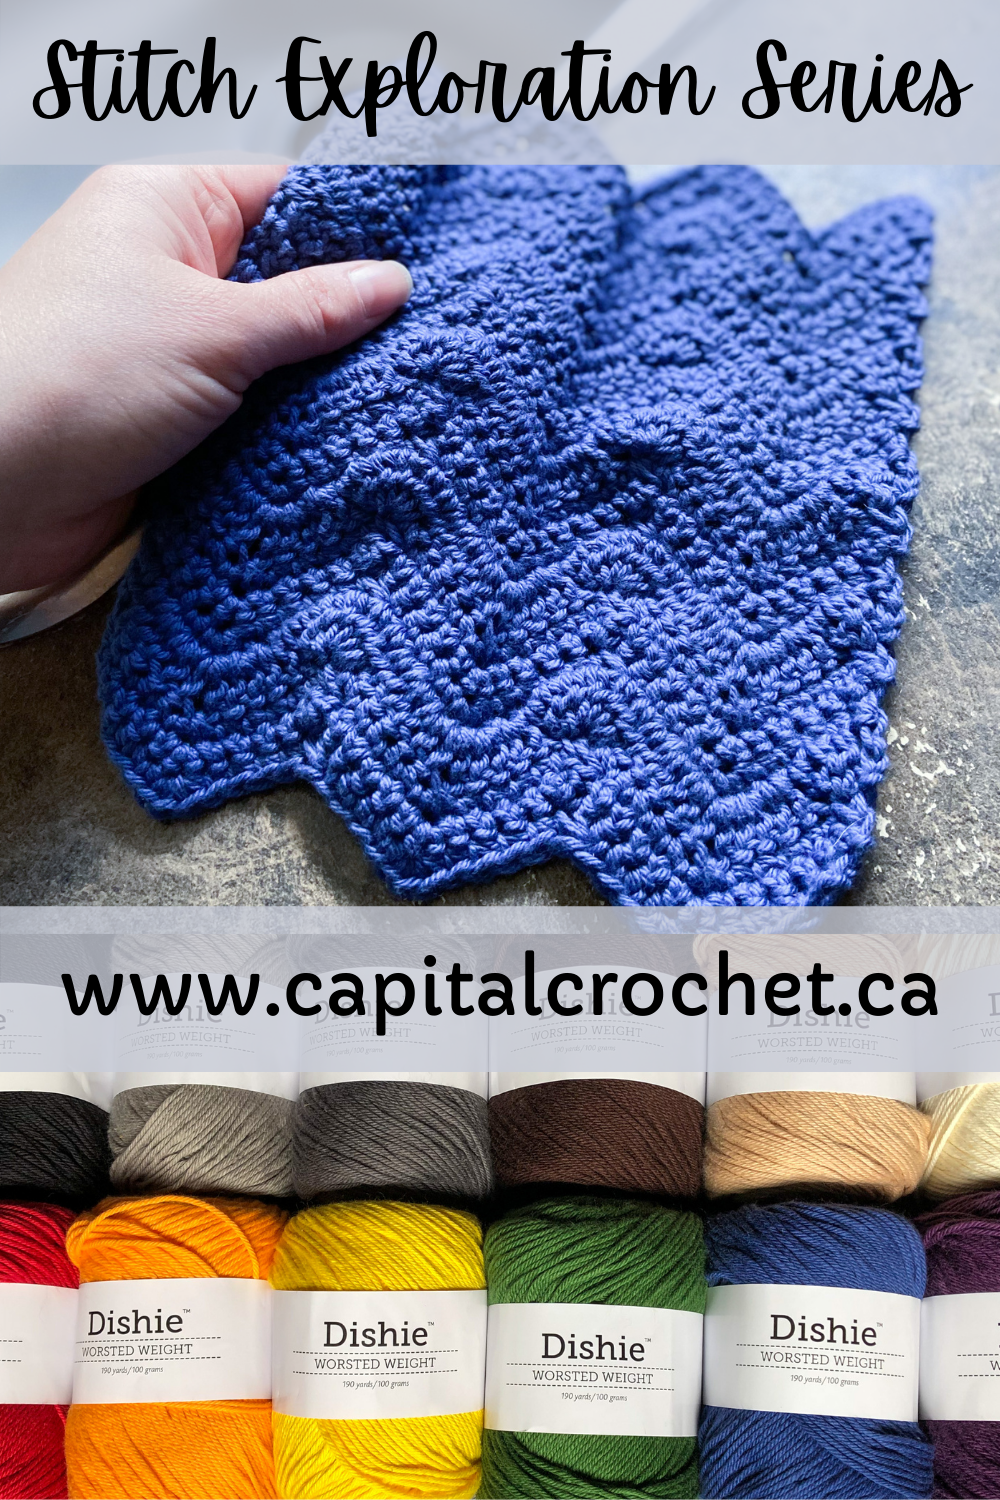
Stitch Exploration Series - Spring Melt Dishcloth
/This post may contain affiliate links, meaning that if you click through and make a purchase, I earn a small commission at no extra cost to you. This helps support my business and makes it possible for me to bring you free content.
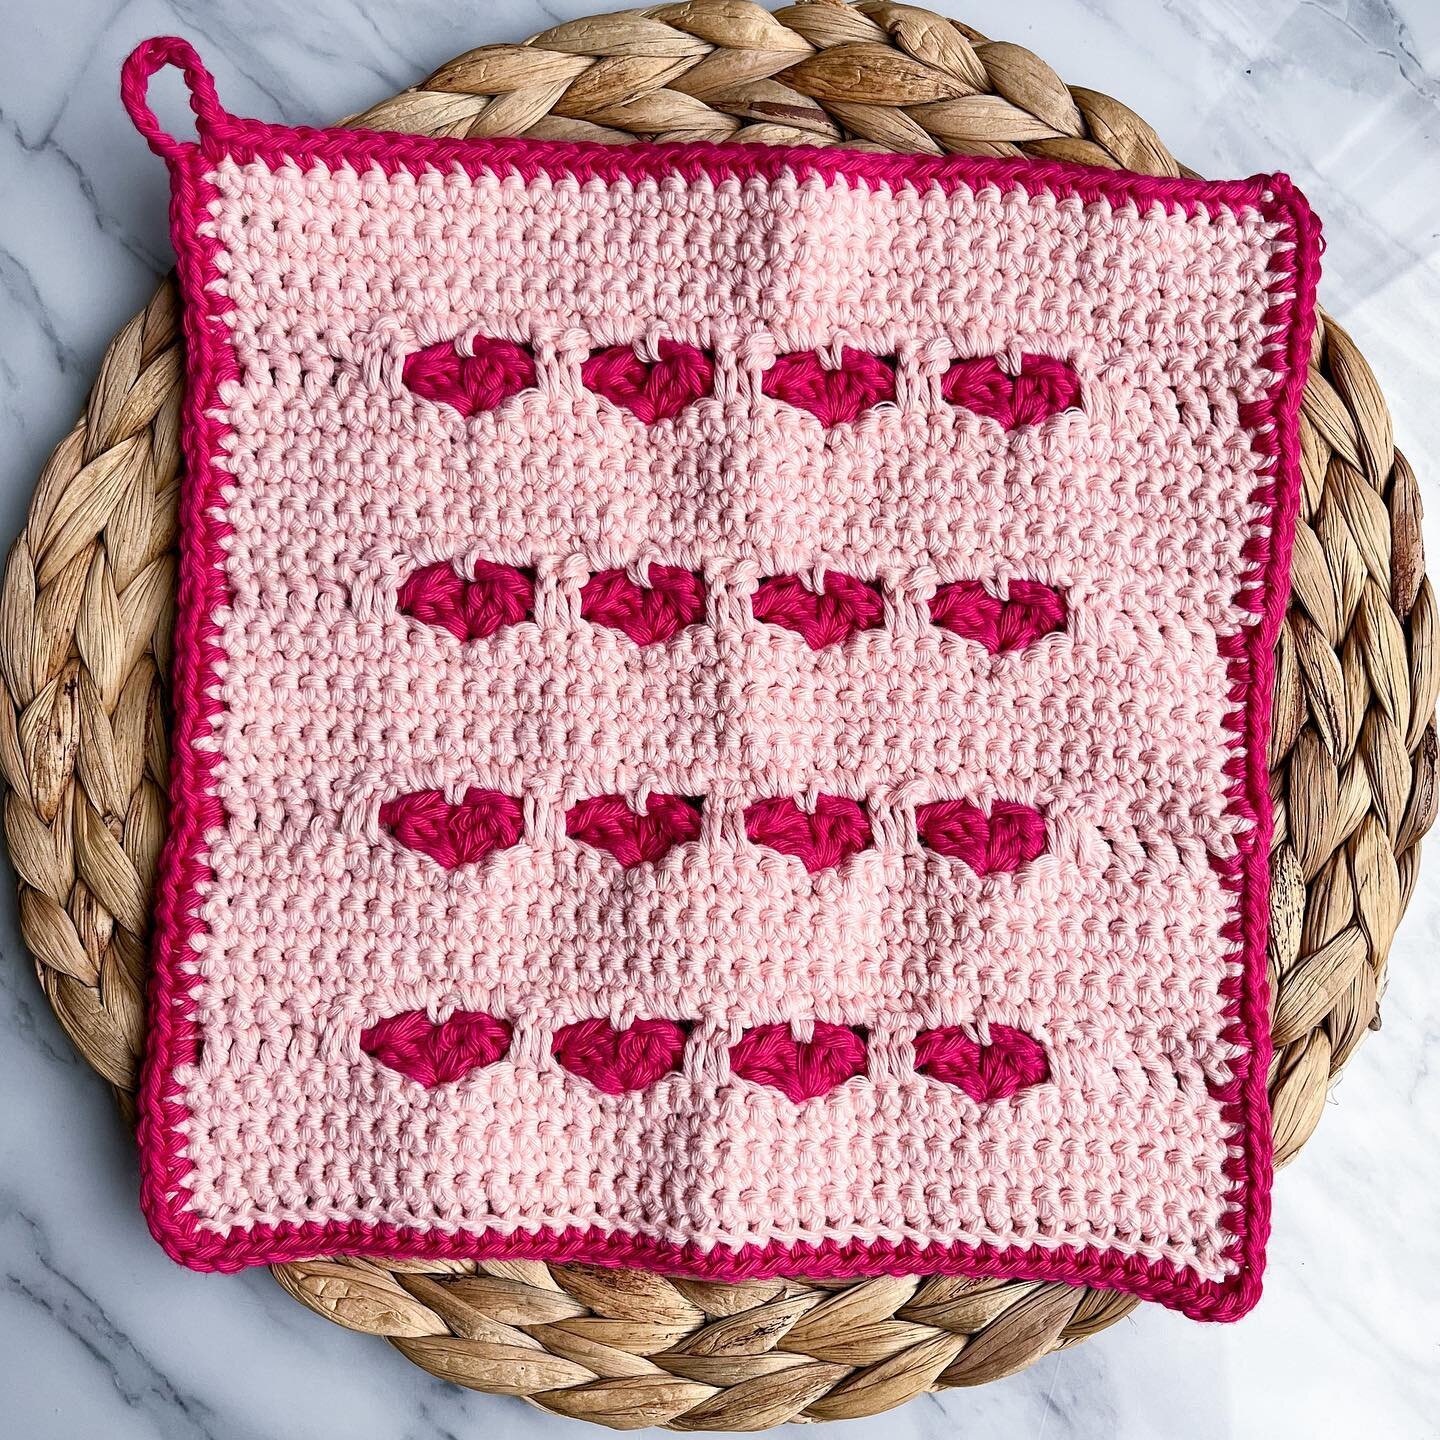
Despite the freak snowfall we’ve had this past week, I think Spring has FINALLY arrived! We’re expecting warm temps and sun over the weekend, and I am so happy to be putting those cold days behind me. What better way to do that than with a pattern that reminds us of where all that snow and ice is going… say hello to the Spring Melt Dishcloth!

This is the fourth pattern in my monthly Stitch Exploration Series, which is dedicated to exploring different stitch techniques and textures. Check out the other patterns in the series HERE.
I find that when I’m designing, I gravitate to the same couple of stitches in my designs, and I hope that this series will allow me to test out new skills and get outside my comfort zone without the pressure of having to create a whole garment. I’ve chosen dishcloths because they’re small enough to finish up quickly, but large enough to get a general idea of the fabric the stitch pattern will create!
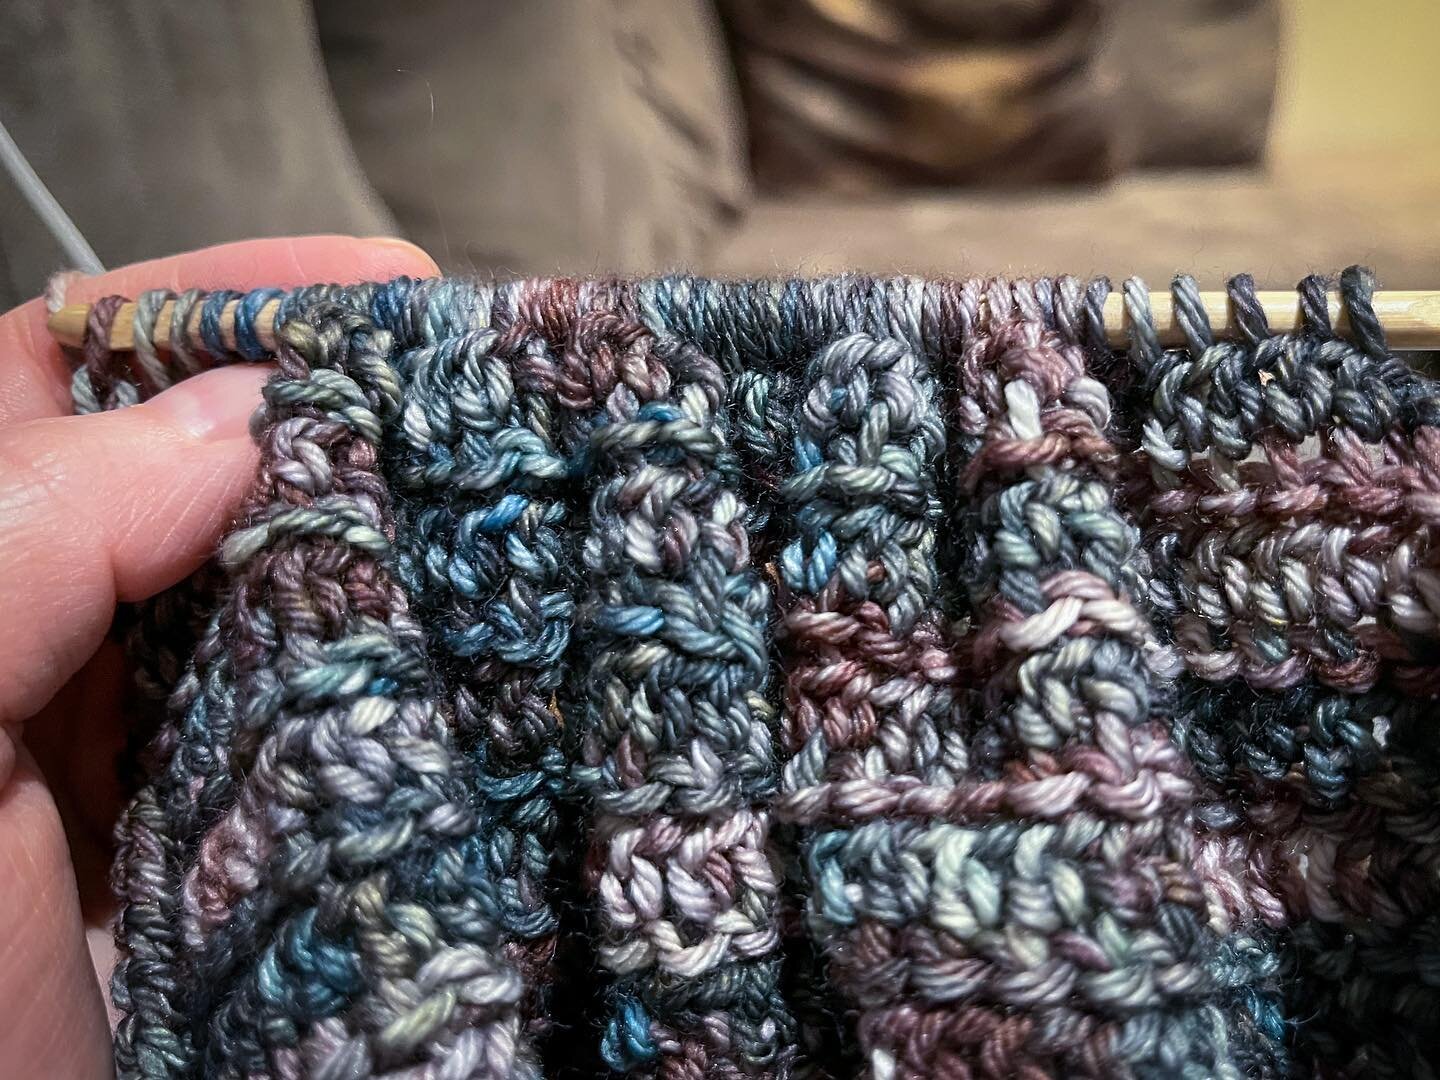
The technique I’m trying out this month is chevrons, or ripple stitches. It features flowing lines and a beautiful blue, reminiscent of flowing rivers and streams as Winter’s ice and snow melt away.

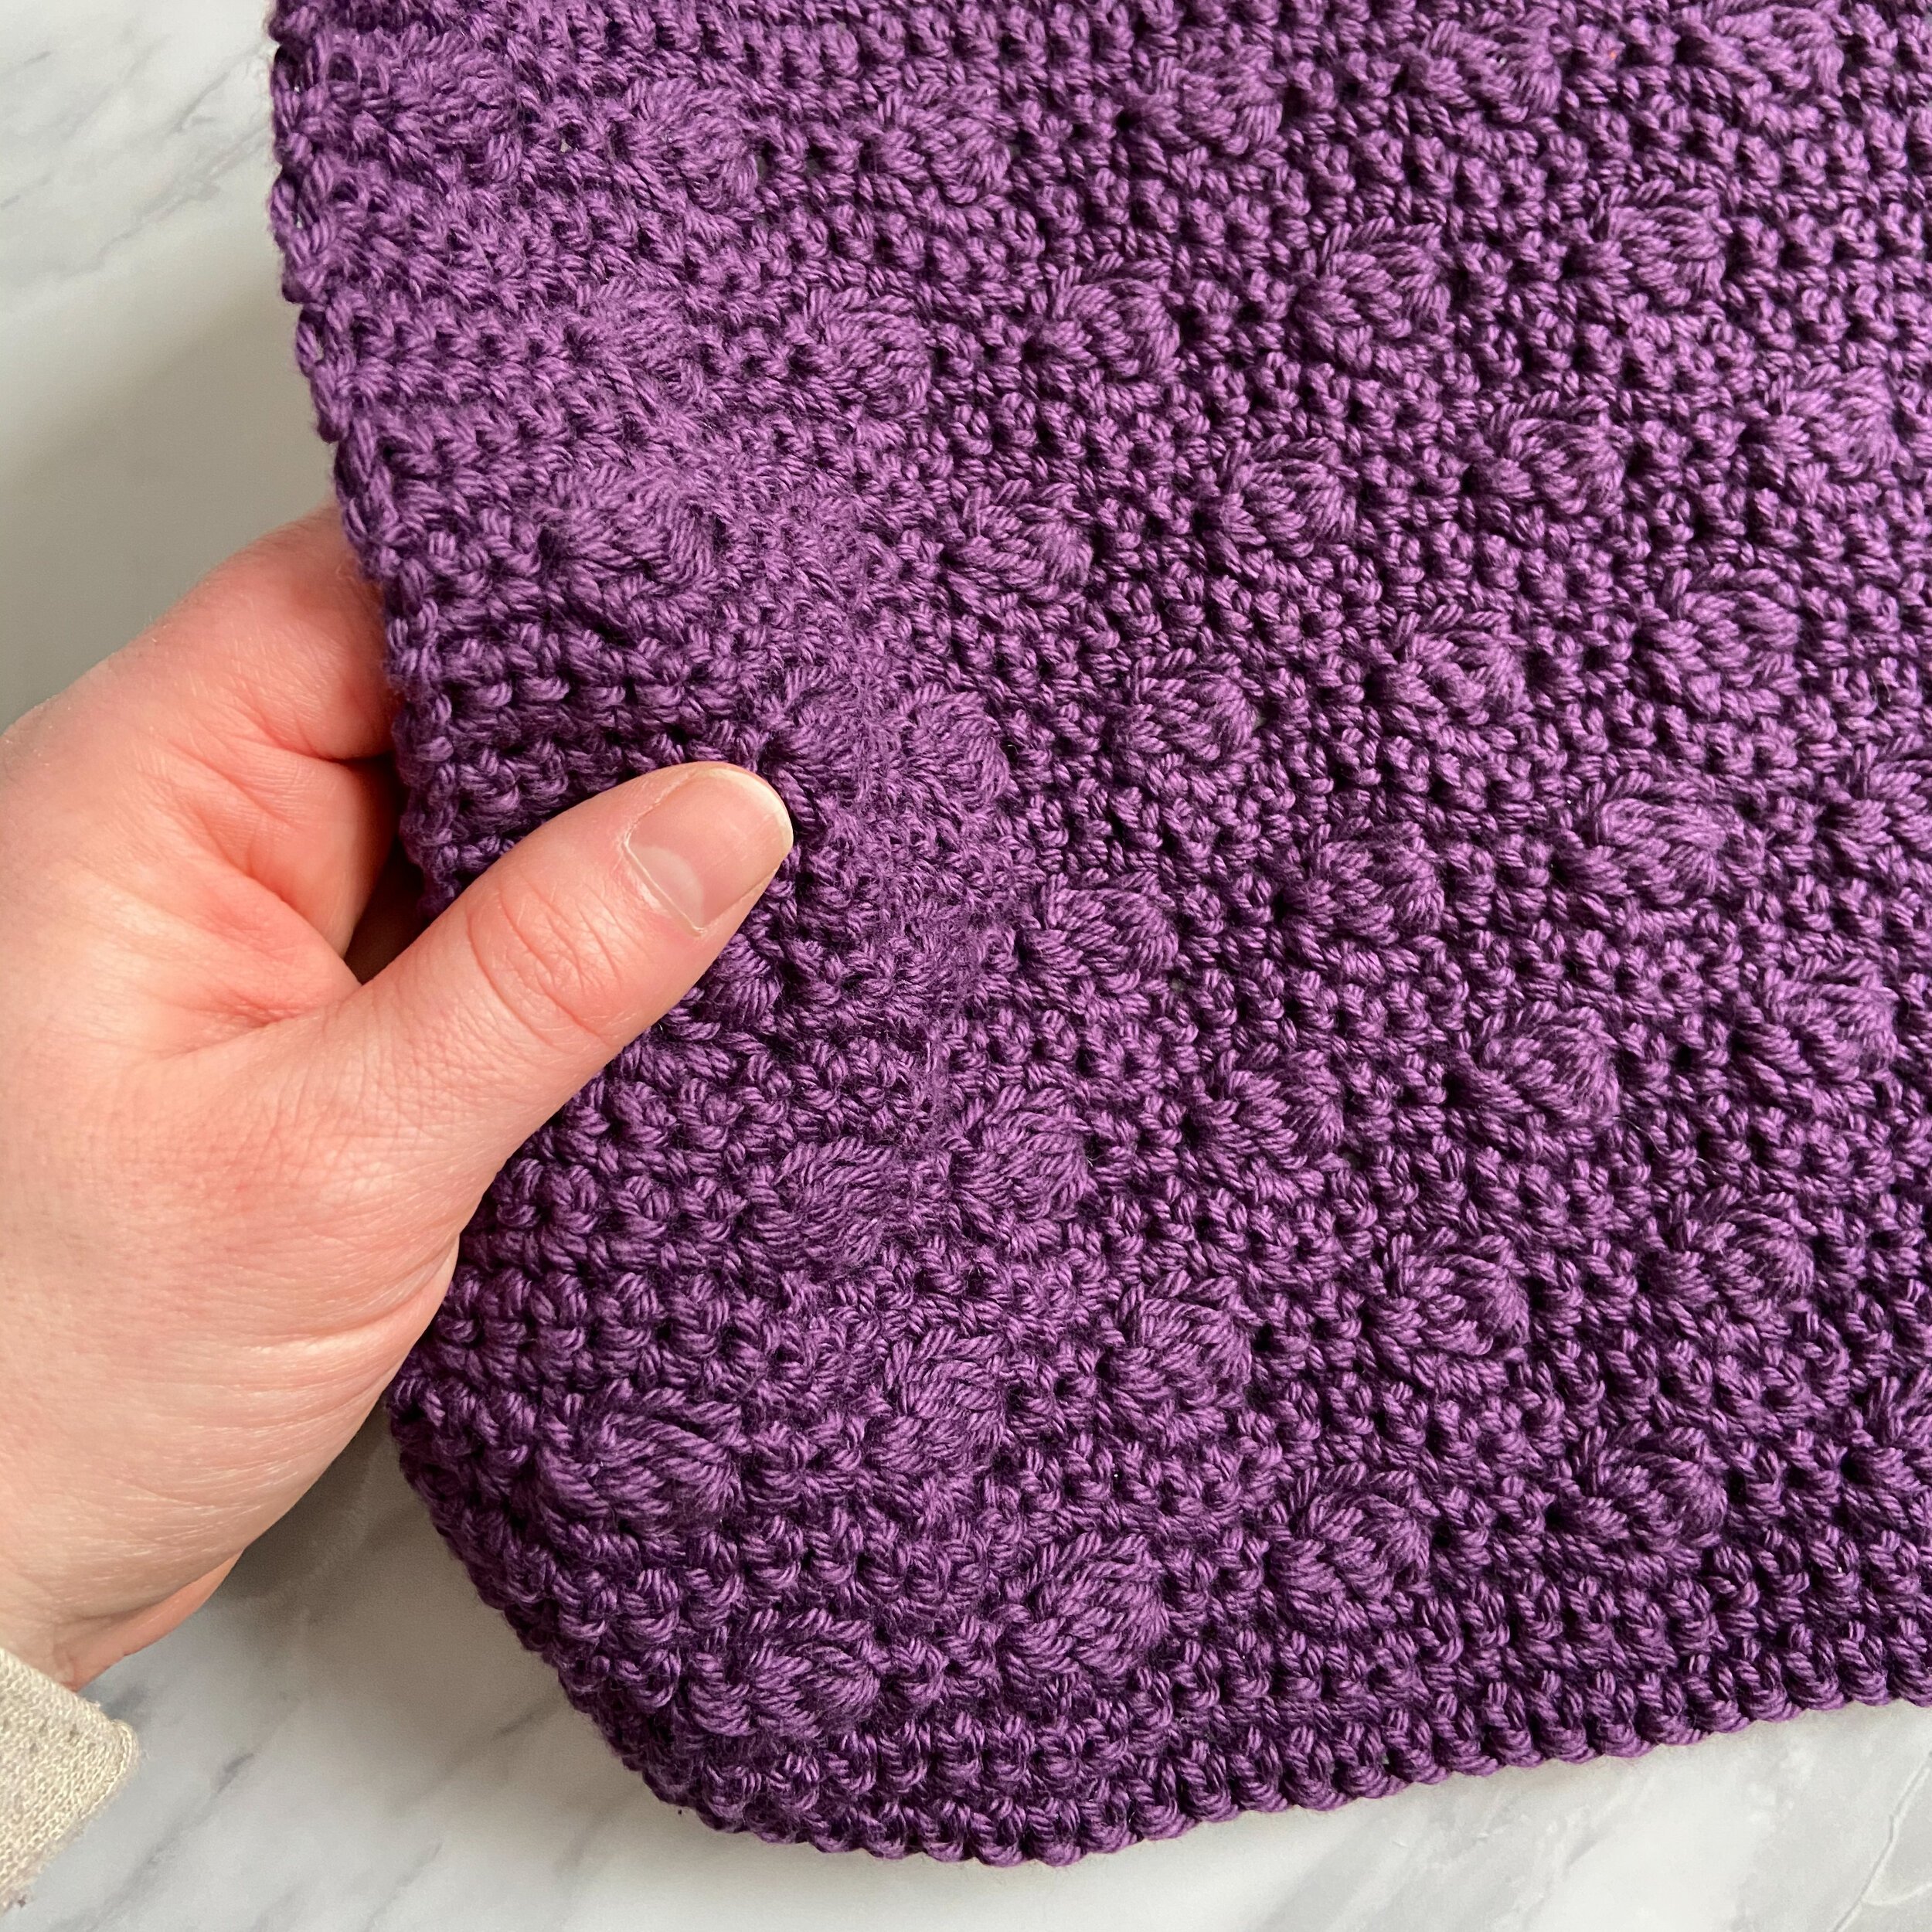
Check out some of the other patterns in the series! Shown here are the Studded Dishcloth (yellow) and the Mulberry Dishcloth (purple). I’m using a beautiful, sturdy cotton yarn for this series, Dishie from WeCrochet. It comes in lots of fun colours (30 solids in total, plus there are also Dishie Twist and Dishie Multi!), and it is really nice to work with. It’s also really durable, making it great for dishcloths! In my experience so far, this yarn really holds up well during tough scrubbing.
Materials
Hook - US G/4mm, or size needed to meet gauge.
Yarn - WeCrochet Dishie, 100% cotton, 190 yds (174m)/100g (3.5oz) per skein. I used approx. 74 yds (68m) of the colourway Blue.
Notions - scissors, tape measure, yarn needle.
Notes
Ch sts to start each row do not count as sts.
Gauge is not critical for this project, however, if yardage is a concern, you should aim to meet it as closely as possible. No one will judge an extra half inch on your dishcloth!
Generally, I do not block cotton washcloths, because they’re just going to get wet anyway. If you’re making for gifting, or just want to straighten things out, feel free to block as you see fit.
Sizing
Gauge - 4”/10cm = 12 rows (3 repeats) in pattern stitch, unblocked.
Finished measurements - approx. 7.5” x 8.5” / 19 x 21.5cm square.
Terminology/Abbreviations
This pattern uses standard US terms as detailed by the Craft Yarn Council:
Ch - chain
Chsp - chain space
Dc - double crochet
Sc - single crochet
St(s) - stitch(es)
Xtog - work one stitch over X number of stitches (see Special Stitches section)
* - repeat instructions following the asterisk as specified
Special Stitches
ScXtog - work one sc over X number of sts: (Insert hook into next st and pull up a loop) X times; there will be X+1 loops on the hook. Yarn over and pull through all loops on the hook - one stitch completed.
DcXtog - work one dc over X number of sts: (Yarn over, insert hook into next st and pull up a loop. Yarn over, pull through first two loops on the hook) X times; there will be X+1 loops on the hook. Yarn over and pull through all loops on the hook - one stitch completed.
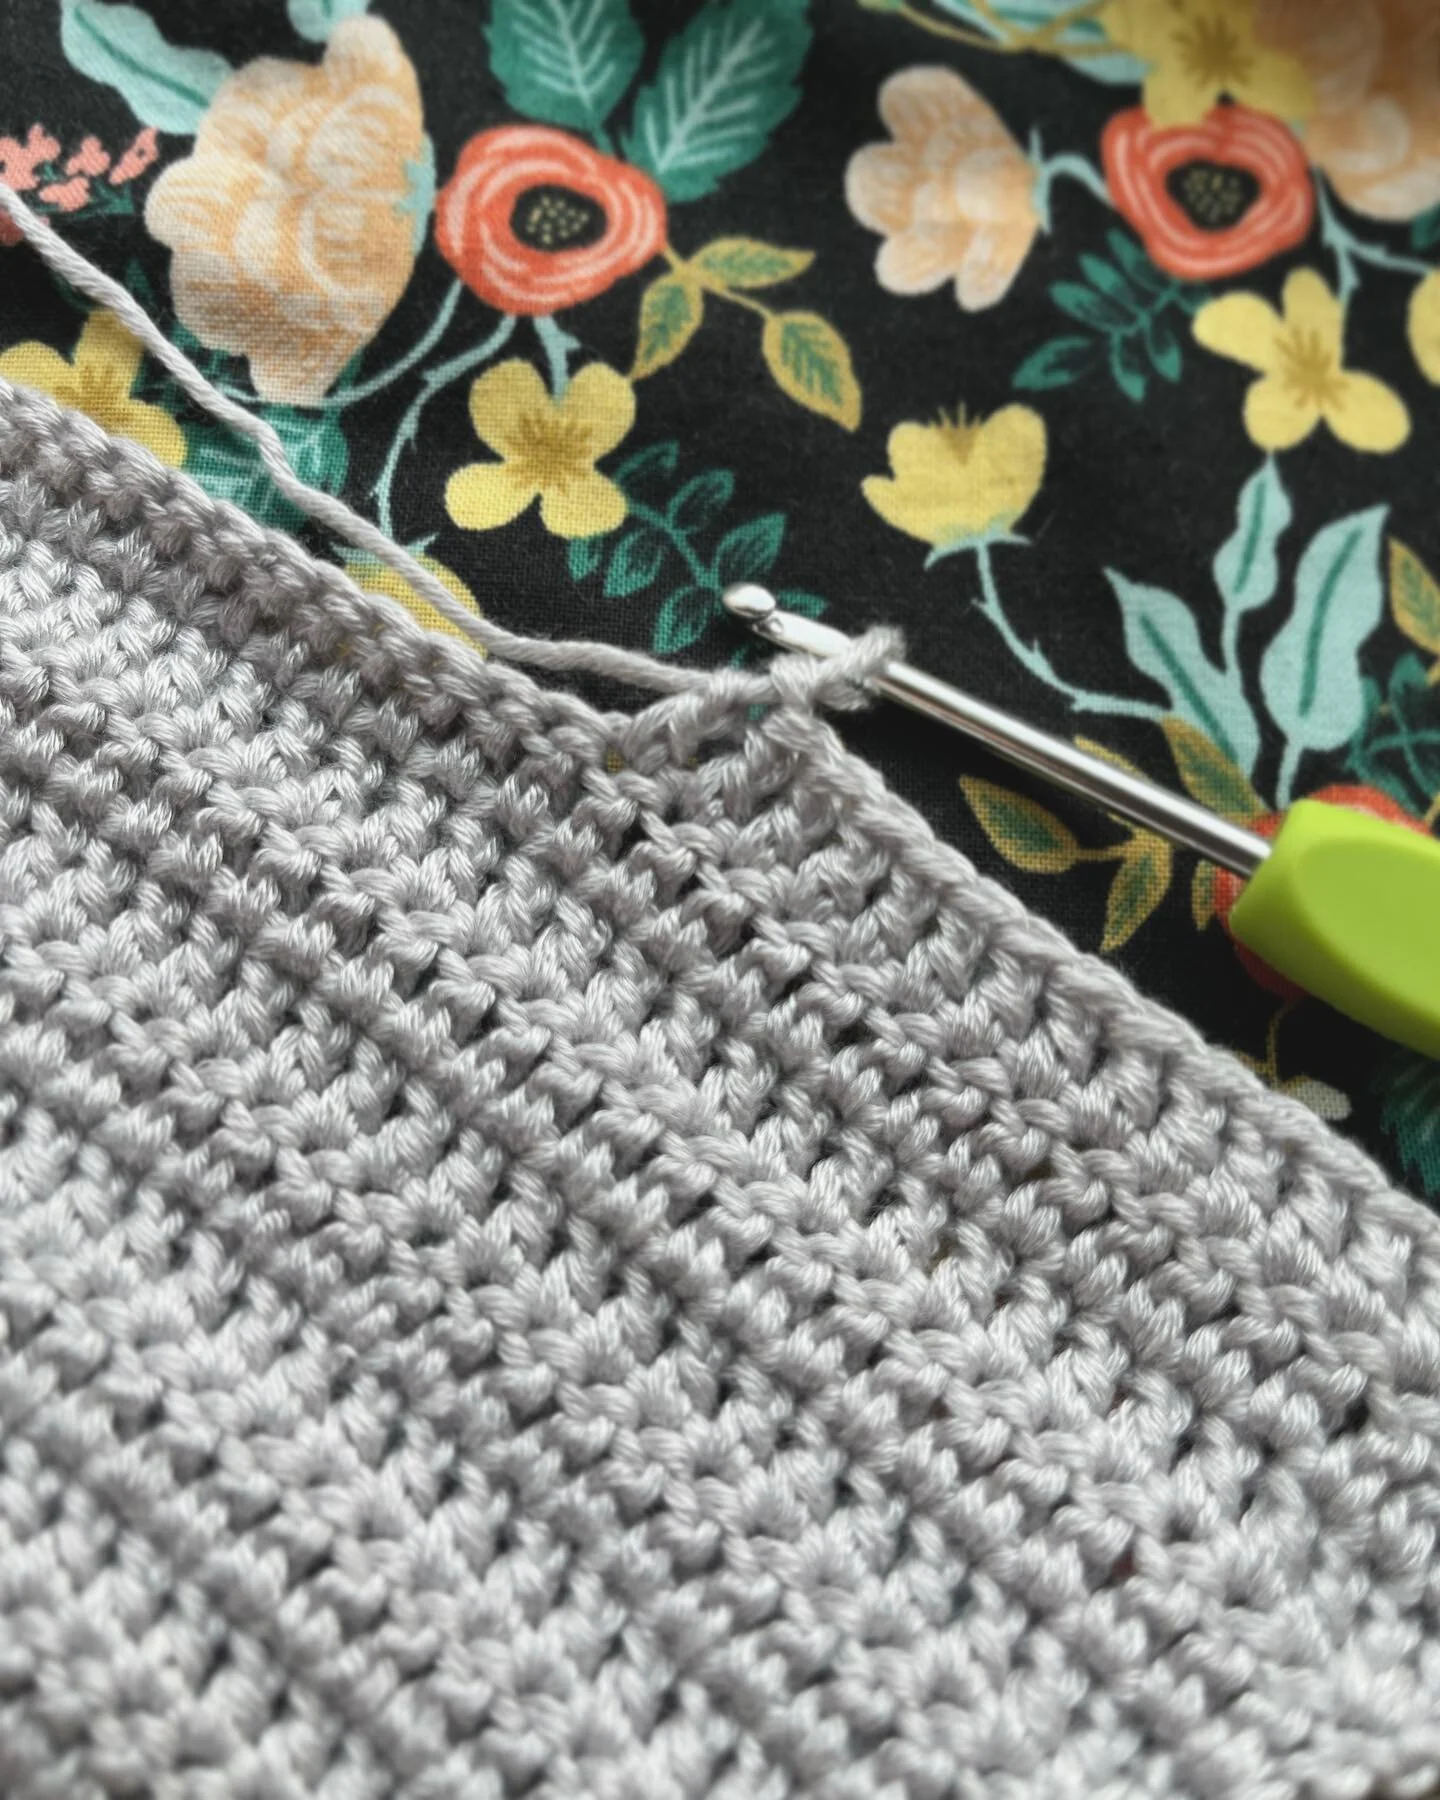
Pattern Instructions
Row 1 (RS). Ch 38 and turn. Starting in the second ch from hook, sc in each ch across and turn. <37 sc>
Row 2 (WS). Ch 1, sc2tog, *sc next 4, 3 sc in next st, sc next 4, sc3tog. Repeat from * once more. Sc next 4, 3 sc in next, sc next 4, sc2tog and turn. <37 sc>
Row 3. Repeat Row 2.
Row 4. Ch 3, skip first st. Dc3tog, ch 1, *2 dc in each of next 2 sts, (dc, ch 1, dc) in next st. 2 dc in each of next 2 sts, ch 1,** dc7tog, ch 1. Repeat from * once more, then repeat from * to **. Dc4tog over the last 4 sts, and turn. <34 dc>
Row 5. Ch 1, sc2tog over first st and chsp. *Sc next 5, sc in chsp, sc next 5**, sc2tog over the next 2 chsps (skip the dc7tog). Repeat from * once more, then repeat from * to **. Sc2tog over chsp and last st, and turn. <37 sc>
Rows 6 and 7. Repeat Row 2.
Repeat Rows 4-7 four more times. Fasten off and weave in the ends.
Variations
To make your dishcloth narrower or wider, start with fewer or more chain sts in Row 1, making sure to start with a multiple of 12+2.
To make your dishcloth shorter or longer, work fewer or more repeats of Rows 4-7.
Keep in mind that this any changes will adjust the yardage required.

Save this pattern to your Ravelry queue, or add a project to the pattern page!
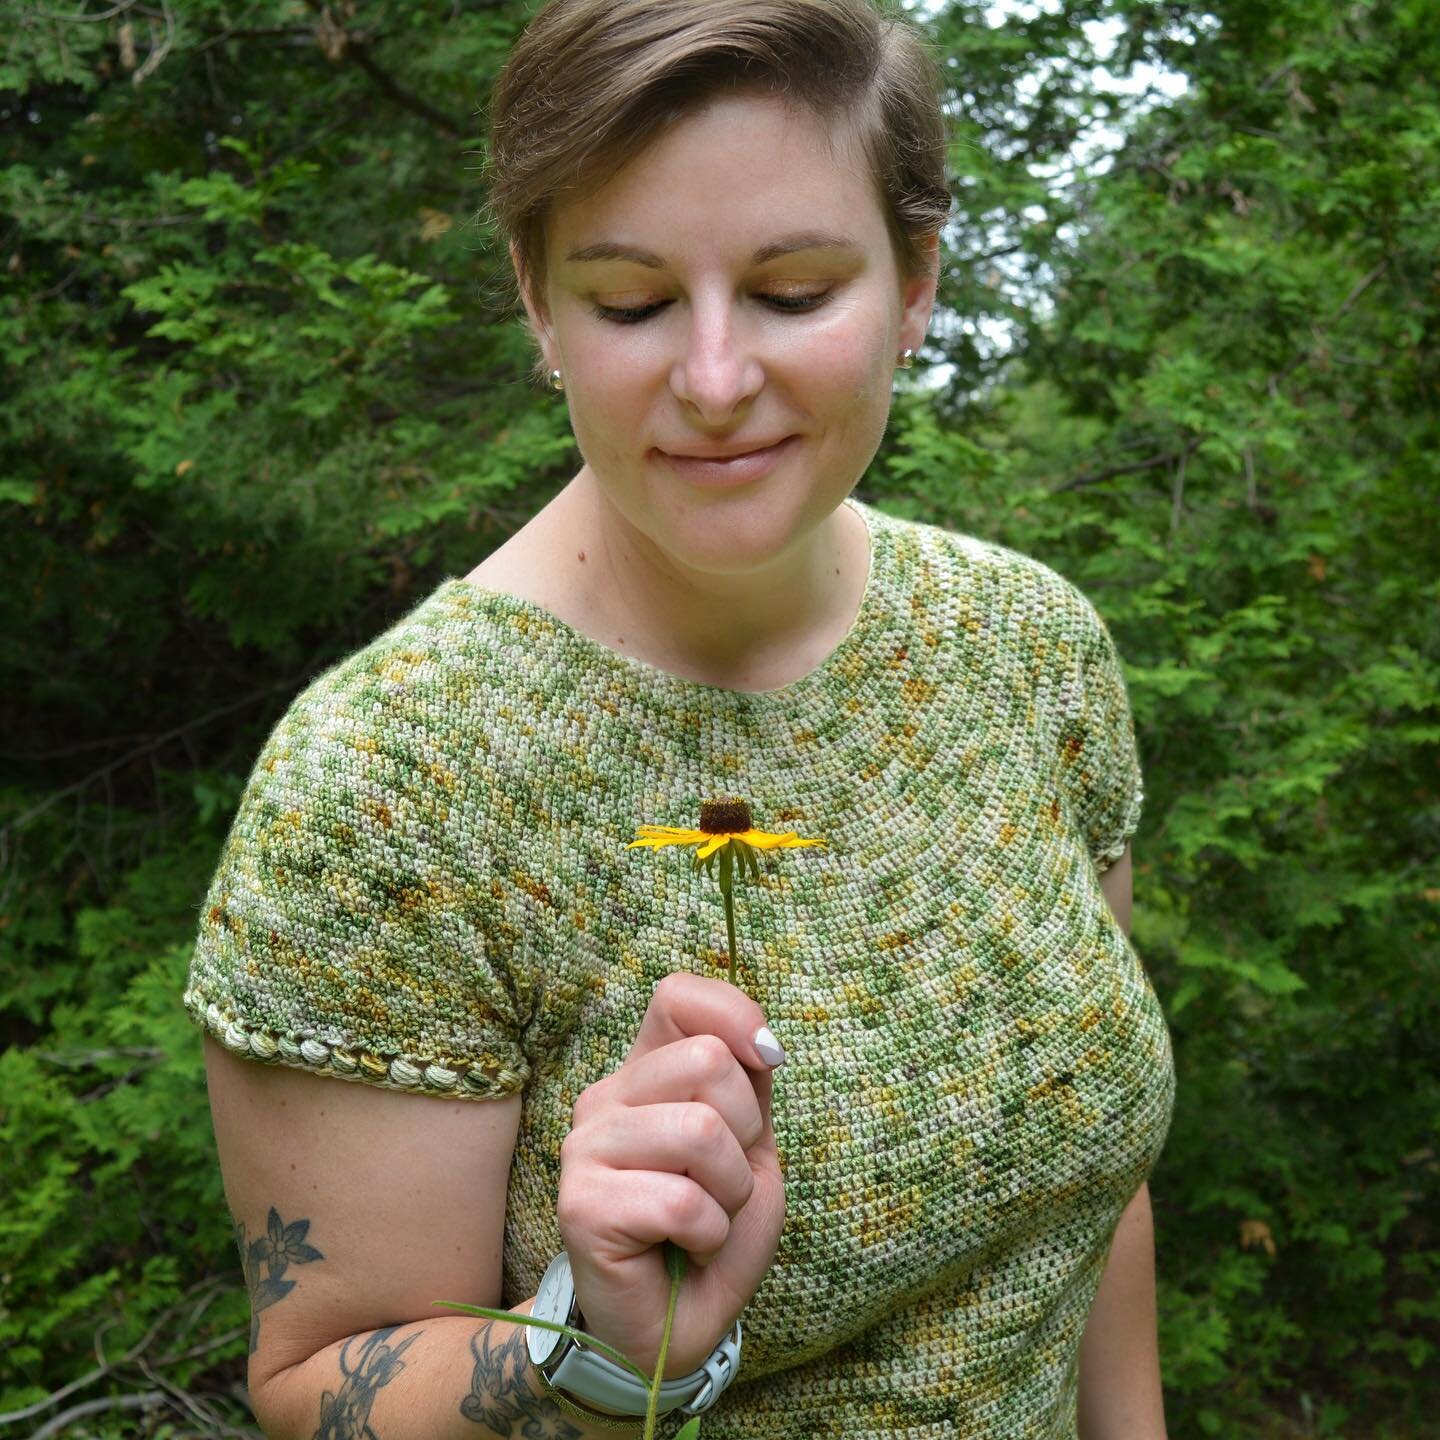
Congratulations on finishing your Spring Melt Dishcloth! Have you enjoyed this rippling pattern? I’ve seen it used often in blankets, and I think it would be a really nice addition as an edging detail on a t-shirt or sweater.
I’m having a lot of fun exploring these new-to-me techniques, and I hope you are too! I’d love to see your dishcloths (in finished or WIP form!), or how you’re using the things you’re learning here in your own designs. Share your dishcloth on Instagram using the hashtags #SpringMeltDishcloth and #StitchExplorationSeries, and tag me, @capital.crochet!
You may sell finished items made from this pattern, but please credit me as the designer by linking back to this blog post.
Thank you so much for your support! If you’d like to be the first to know about new patterns in this series and other blog posts, make sure to subscribe to my newsletter below.