
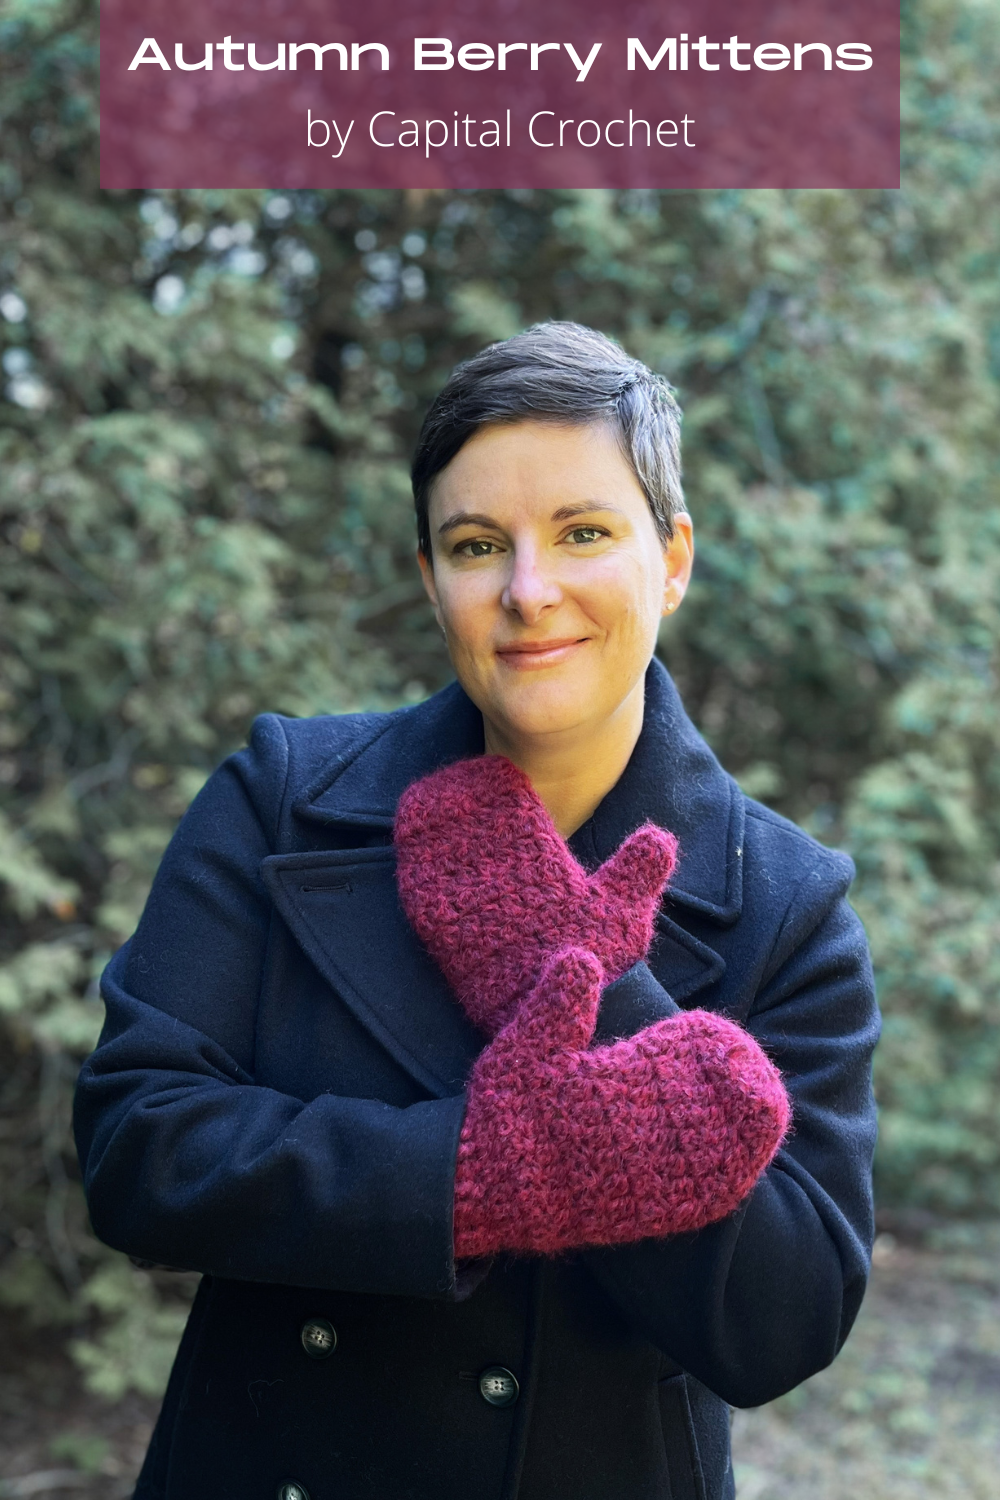
Autumn Berry Mittens
/This post may contain affiliate links, meaning that if you click through and make a purchase, I earn a small commission at no extra cost to you. This helps support my business and makes it possible for me to bring you free content.
You guys… it is ALMOST mitten time!!
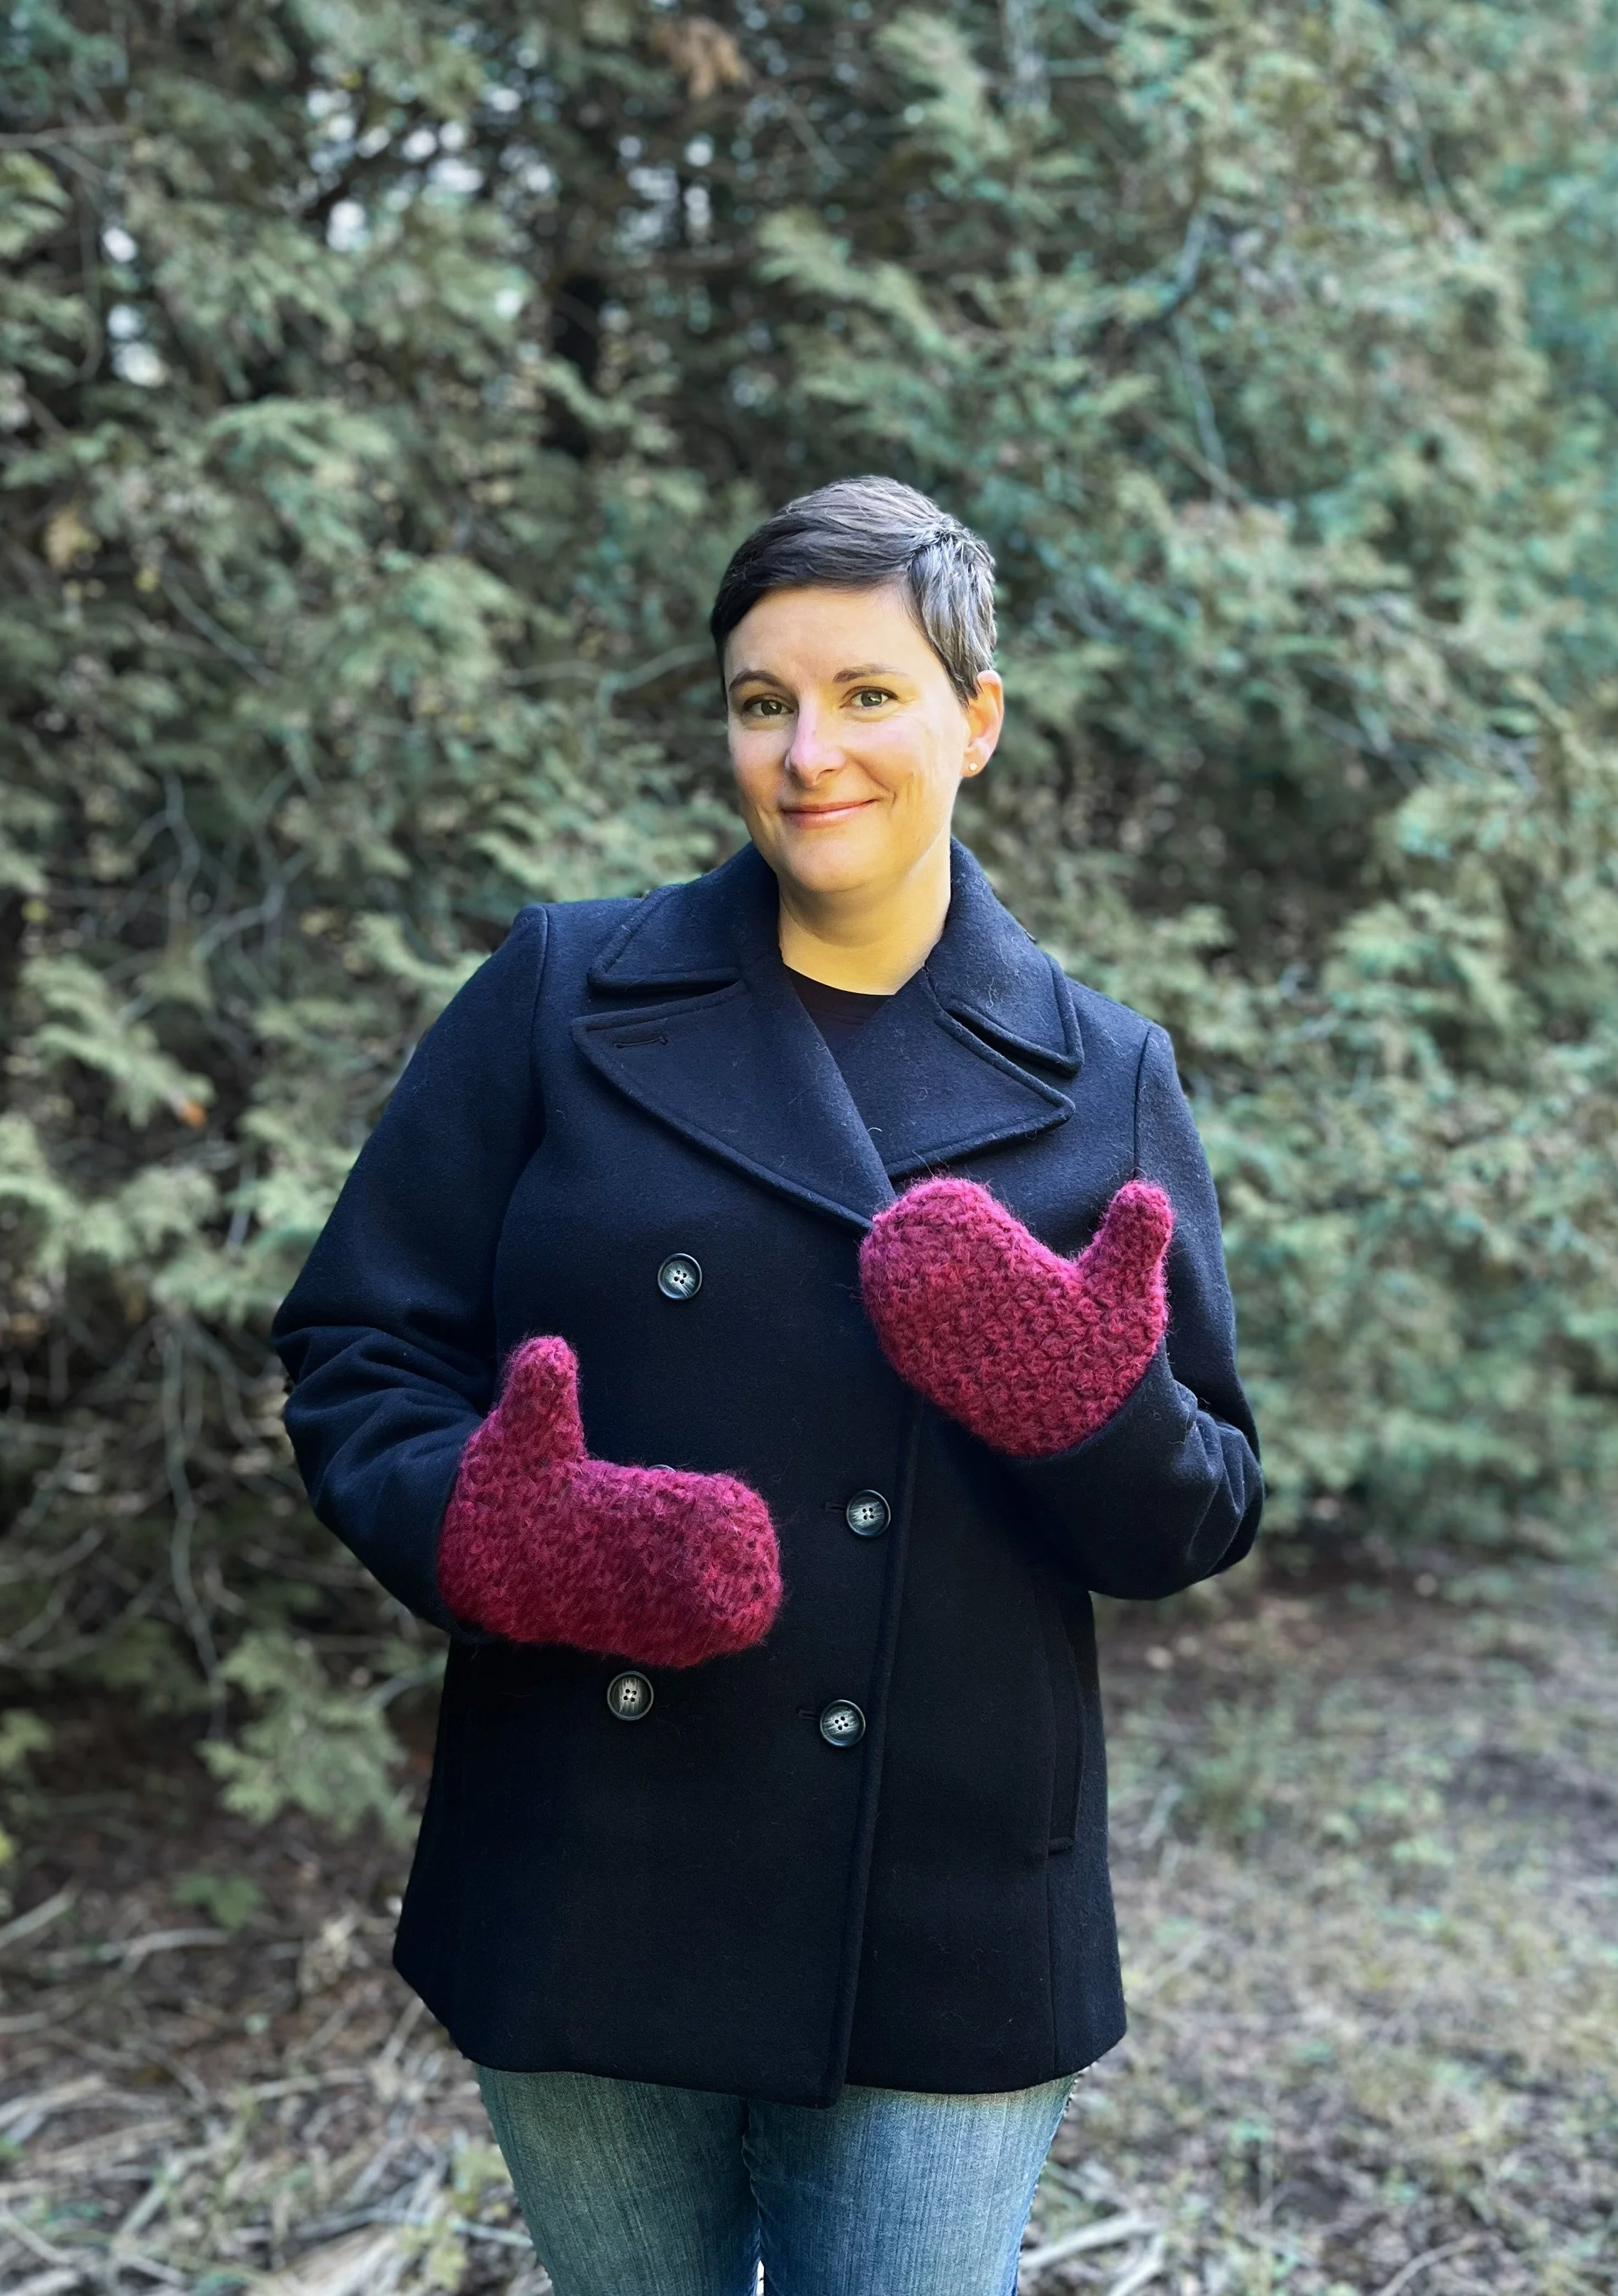
I’m a sucker for mittens and gloves, and you’ll find me wearing them as soon as the temperatures dip below 10 degrees here in Canada (that’s 50 F for my US friends!). I absolutely hate having cold hands, but I also don’t quite need my big furry mitts yet. That is why I am so pleased to bring you the Autumn Berry Mittens - the perfect transitional mitten pattern!
These mittens satisfy my need to have my hands bundled up, but they’re light enough that I won’t have to take them off after 10 minutes of being outside.
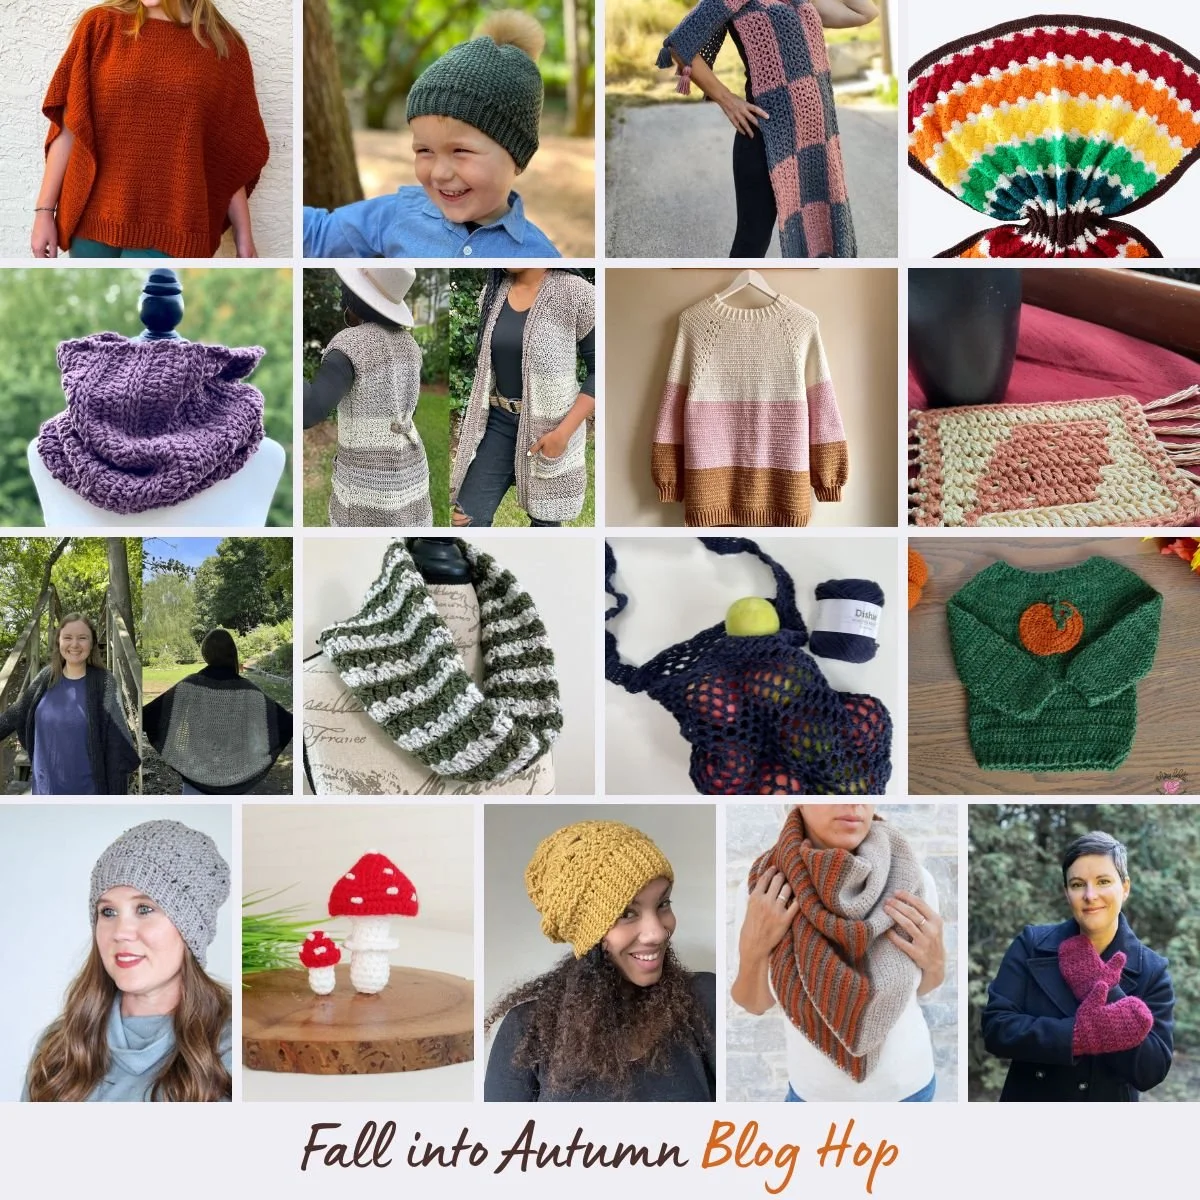
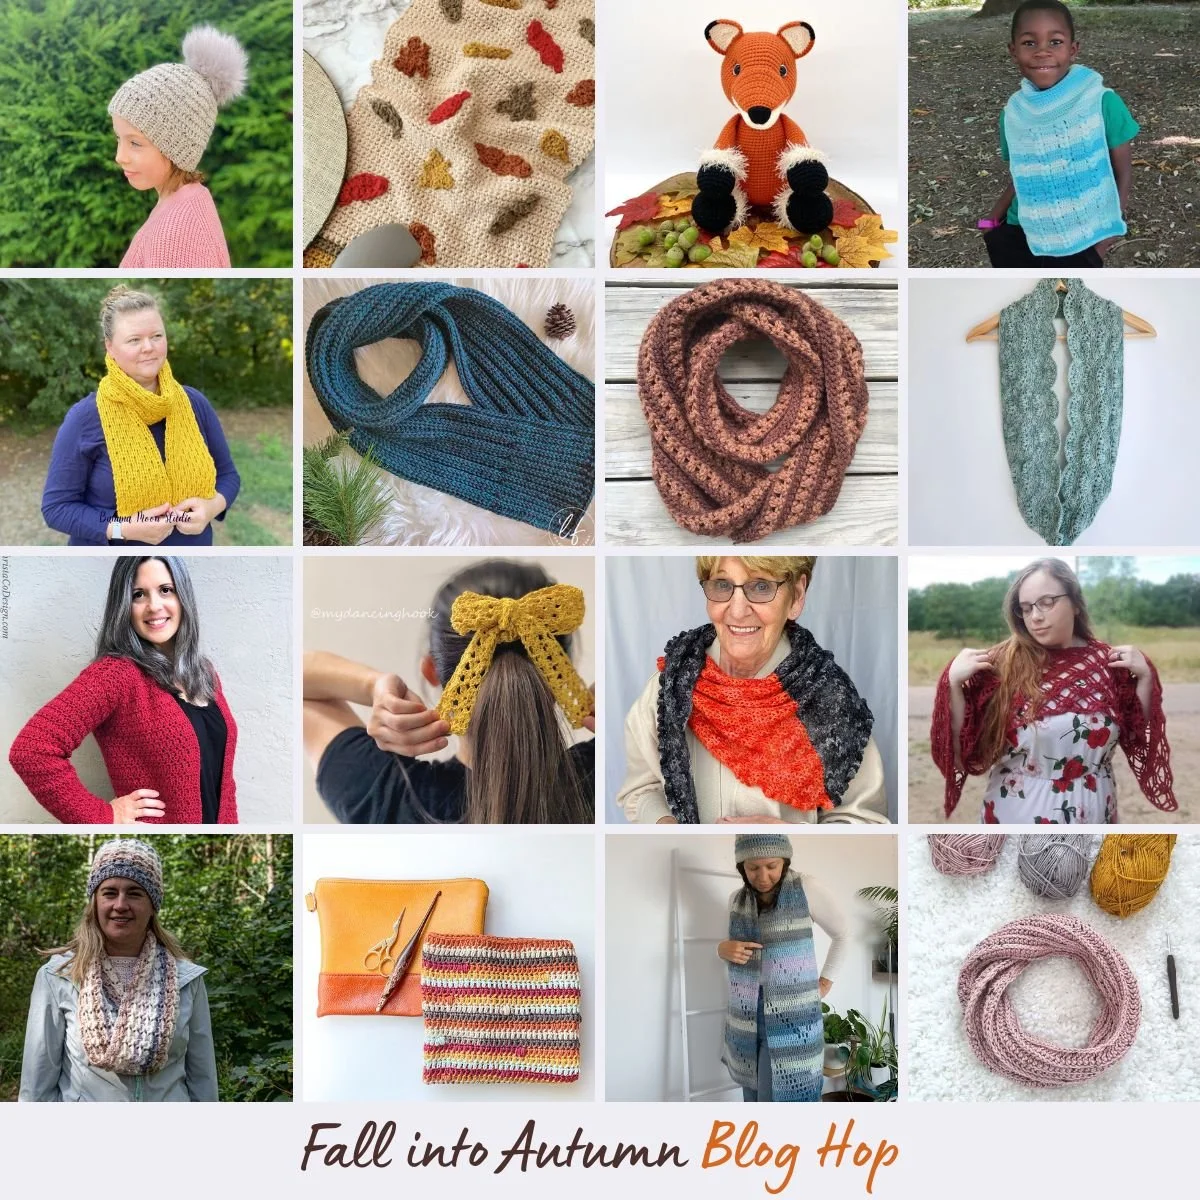
Join the Fall into Autumn Blog Hop!
This pattern is part of the Fall into Autumn Blog Hop, a collection of 33 patterns that are perfect for Fall making! Hosted by @itchinforsomestitchin and @nedandmimi, this collection features a new free pattern every day in September by some of your favourite crochet bloggers.

If you missed a few days, or if you don’t want to wait the rest of the month to get all the patterns, I’ve got a deal for you! You can grab the Fall into Autumn e-book that has all 33 pdf patterns for a super low price. This bundle is valued at over $140, but you can get it today for only $12.99 USD– that’s over 90% off compared to purchasing each pattern individually, so it’s a fantastic deal!
If you prefer to work from a printed pattern, you can get the premium, ad-free pdf in my shops as well. That version includes all three sizes! Visit my website or Ravelry shop to get your copy of the pattern.
Before we get started, let’s talk about this yarn! WeCrochet has graciously provided me with a few skeins of their Wonderfluff yarn to create this pattern. It is a blend of alpaca, merino and nylon, and the unique structure of the strand makes it super light and fluffy! It is perfect for keeping the Autumn chill off your hands without being too bulky and heavy.
Full disclosure, this yarn likely won’t stand up to a full blown mid-Winter snowball fight, but for a seasonal mitten, you could not ask for a better yarn. It comes in 20+ beautiful colours and it is relatively inexpensive. It really is the perfect yarn for Fall!
Materials
Yarn: Bulky (5) weight yarn, approximately 200 yds/183m. Samples used:
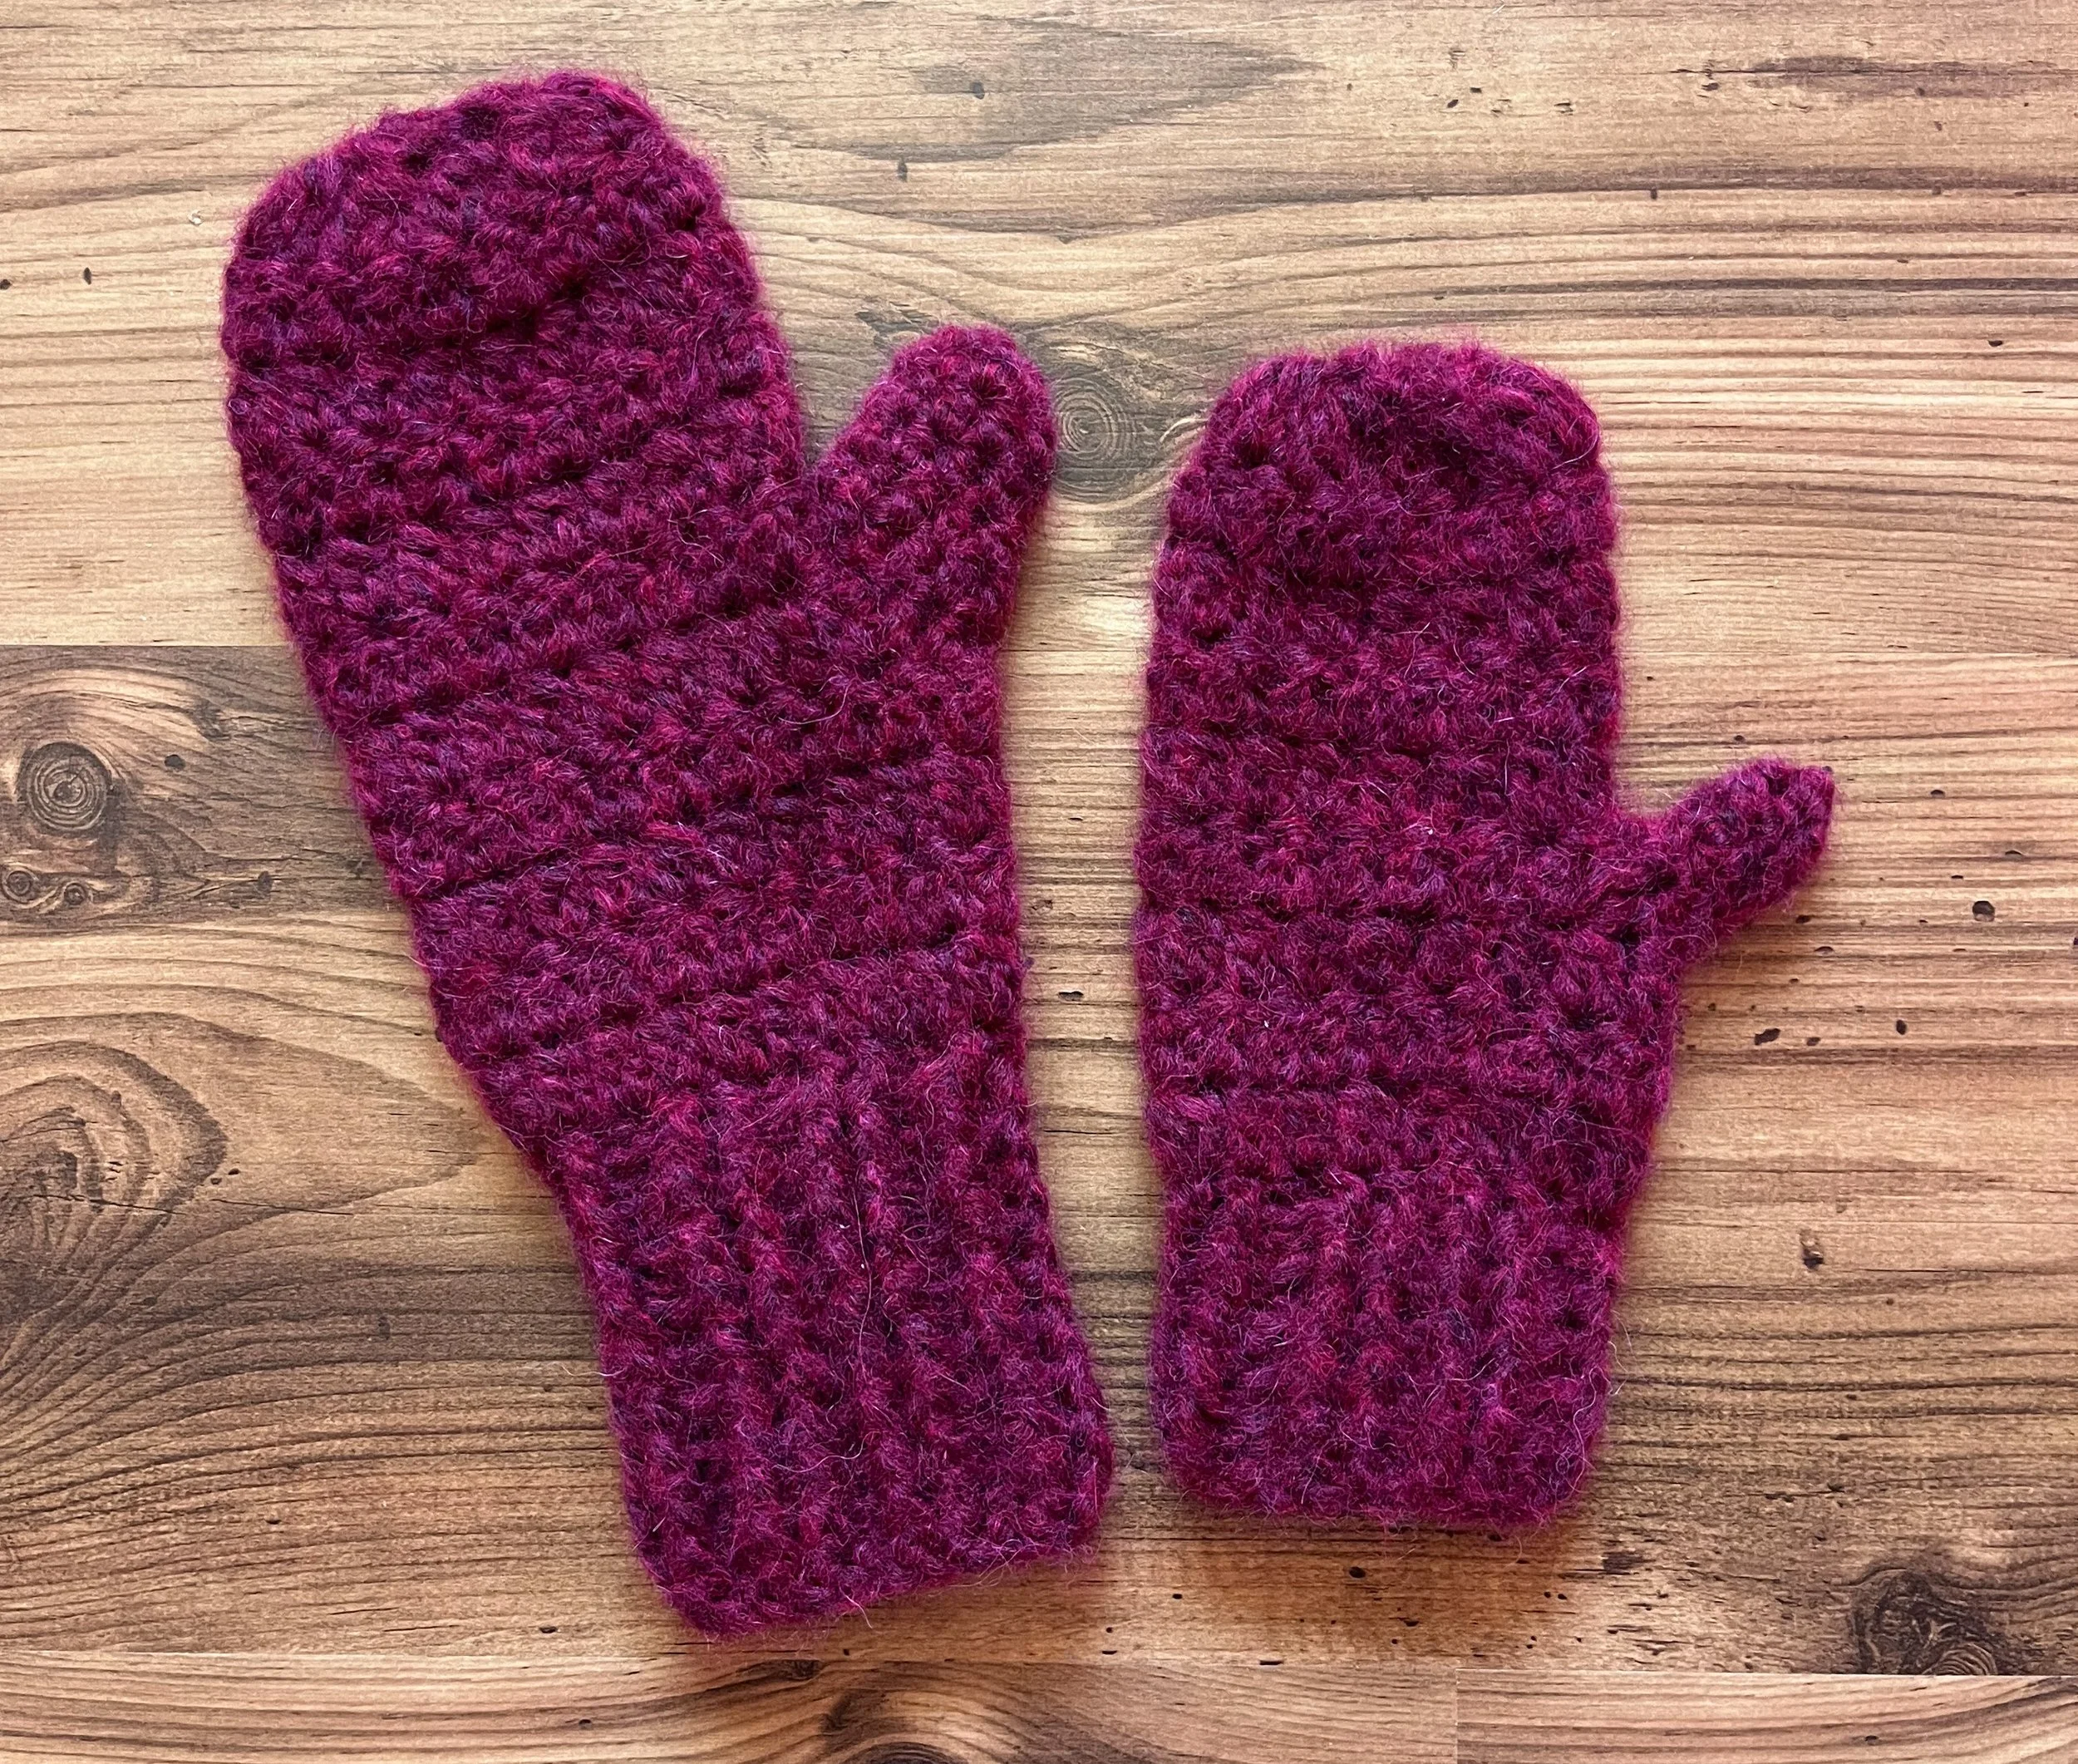
WeCrochet Wonderfluff in the colour Goji Berry (red), 70% baby alpaca, 23% nylon, 7% merino, 142 yds/130m, 50g/1.75 oz
Lion Brand Scarfie in the colour Mint/Silver (grey/mint), 78% acrylic, 22% wool, 312 yds/285m, 150g/5.3 oz
Hooks: US J/6mm and US K/6.5mm, or sizes needed to meet gauge
Notions: measuring tape, scissors, yarn needle, locking stitch marker (1, optional)
Terminology/Abbreviations
This pattern uses standard US terms as detailed by the Craft Yarn Council:
ch(s): chain(s)
CL: cluster (see Special Stitches below)
CL2tog: work 2 clusters together over two stitches (see Special Stitches below)
SCL: starting cluster (see Special Stitches below)
fdc: foundation double crochet
fpdc/bpdc: front post double crochet/back post double crochet
hdc: half double crochet
hdc2tog: hdc decrease (see Special Stitches below)
RS/WS: right side/wrong side
sc: single crochet
sl st: slip stitch
st(s): stitch(es)
Special Stitches
CL (cluster): *yarn over, insert hook into indicated st. Yarn over and pull up a loop, yarn over and pull through first two loops on the hook. Working into the same st, repeat from * (there should be 3 loops on the hook now). Yarn over, pull through all 3 loops.
CL2tog: [*yarn over, insert hook into indicated st. Yarn over and pull up a loop, yarn over and pull through first two loops on hook. Working into the same st, repeat from *]. Working into the next st, repeat [ ]. There should be 5 loops on the hook now. Yarn over, pull through all 5 loops.
SCL: to start your first cluster of the round chainlessly, pull up the live loop to the approximate height of the CL st. Wrap your hook around it to create a loop over the hook, and insert hook into the first st. Yarn over and pull up a loop, yarn over and pull through first two loops on the hook. Working into the same st, yarn over and insert your hook. Yarn over and pull up a loop, yarn over and pull through first two loops on the hook (there should be 3 loops on the hook now). Yarn over, pull through all 3 loops.
hdc2tog: yarn over, insert hook into indicated st. Yarn over and pull up a loop. Insert hook into next st, yarn over and pull up a loop. There should be 4 loops on the hook now. Yarn over, pull through all 4 loops.
Sizing
Finished Measurements (laid flat):
To fit hand circumference: 8'“/21 cm
Width (above thumb split): 4”/10 cm
Length: 11”/28 cm
Length can be adjusted - see the instructions in the pattern to make certain sections longer or shorter to suit the unique shape of your hand!
Gauge: Do not skip this step! This will give you an idea of how the fabric of your mitten will look, and ensure that your finished mittens are the proper size.
3 rounds x 4.5 CL = 2”/5 cm CL stitches in turned rounds, unblocked
To make your swatch:
Round 1: Fdc 15, join to the first st with a sl st and turn.
Round 2: SCL, CL in each st around, join to SCL with a sl st and turn.
Repeat Round 2 until you have 5 rounds total. Lay it flat, and measure in the centre of the swatch.
If there are more than 4.5 CL or 3 rounds in 2”/5cm, your gauge is too tight; try using a bigger hook.
If there are less than 4.5 CL or 3 rounds in 2”/5cm, your gauge is too loose; try using a smaller hook.
For the Ribbing, use a hook that is one size smaller than the hook used to meet gauge.
Notes
The free pattern on the blog is written for one size only, to fit the average woman’s hand (8”/21 cm circumference). For other sizes, please see the low-cost, ad-free PDF pattern.
Make sure to take notes on any adjustments you make when you make your first mitten, so that you can do the same thing for the second one!
Keep in mind that any alterations to the stitch or row counts will adjust the yardage required.
Ch 2 in the Ribbing section does not count as a st.
The Body of the mitten uses a chainless starting technique, as described in the Special Stitches section for SCL. This video may be helpful in getting the hang of things.
Pattern Instructions
RIBBING
With US J/6mm (smaller) hook:
Round 1: Fdc 20 and join with a sl st to the first fdc to form a ring. Make sure your work is not twisted. Do not turn; you will work this section in joined rounds.
Round 2: Ch 2, *fpdc next 2 sts, bpdc next st. Repeat from * until 2 sts remain. Fpdc last 2 sts, and join with a sl st to the first st of the round. Do not turn your work.
Rounds 3-10: Repeat Round 2.
Proceed to Body section.
BODY
Switch to the US K/6.5mm (larger) hook.
Round 1 (RS): SCL in first st, CL in each st around, join with a sl st to the first st of the round, and turn. < 20 sts >
Rounds 2-4: Repeat Round 1.
NOTE: For a shorter or taller section before splitting for the thumb, work fewer or more repeats here.
Round 5: SCL in first st. Ch 1, skip 4 sts, CL in remaining sts around. Join with a sl st to the first st of the round and turn. < 16 sts >
Round 6: SCL in first st, CL in next 14 sts, CL into ch space, CL in last st. Join with a sl st to the first st of the round and turn. < 17 sts >
Rounds 7-10: SCL in first st, CL in each st around. Join with a sl st to the first st of the round and turn.
NOTE: For a shorter or taller finger section, work fewer or more rounds here.
Round 11: SCL in first st, CL2tog in remaining sts. Join with a sl st to the first st of the round and turn.
Round 12: Sc in first st. Sc2tog in remaining sts. Join with a sl st to the first st of the round Fasten off, leaving an 8”/20cm tail. Weave this tail through the tops of the sts of the last round, cinch closed the hole and secure it with a knot.
Proceed to Thumb section.
THUMB
With US K/6.5mm (larger) hook, attach yarn with a sl st somewhere along the skipped sts from Round 5.
Round 1: Ch 1, work 8 hdc evenly around the opening, making sure there are no large gaps (you can also work a st or two more, if you need more room in the thumb). Do not join; you will work in continuous rounds. It may be helpful to place a stitch marker in the first st of the round and move it up as you work.
Round 2: Hdc2tog, hdc in remaining sts. < 7 sts >
Rounds 3-6: Hdc in each st around.
NOTE: If you need a shorter or longer thumb, work fewer or more rounds here.
Fasten off and leave a 6”/12.5cm tail. Weave the tail through the tops of the sts of the last round, cinch closed the hole and secure it with a knot.
DON’T FORGET TO MAKE 2!
Make a second mitten to match, taking care to make the same adjustments (if any) as the first one. Proceed to Finishing section.
FINISHING
Depending on the fibre you’ve used, you may wish to block your mittens (I did not block mine). I suggest a steam block to settle the stitches. Lay the mittens flat and pass over them with an iron on the steam setting, or using a garment steamer. Take care not to let any hot surfaces touch the yarn. Let them dry, then turn them over and block the other side.
You can also do a full wet block – soak for 20 minutes in a sink or tub of cool water and a non-rinse soap like Soak or Eucalan. Drain and lay them out on a towel, then roll it up and step on it to squeeze out all the excess water. Lay your mittens out to dry on blocking mats or another protected flat surface. You shouldn’t need pins as you don’t want to overstretch your mittens. Note: I wouldn’t recommend a wet block if you are using Wonderfluff yarn, but it’s totally up to you!
Once your mittens are completely dry, weave in the ends to the WS of your work. I like to save this to the end, after blocking, to help avoid any pulling and puckering. Trim up the ends, and you’re done!
The ad-free PDF pattern offers three different sizes! Shown here are the adult medium (free here on the blog) and the smaller, child size. There is also an adult large, so you can make sure the whole family has toasty warm hands this Fall.
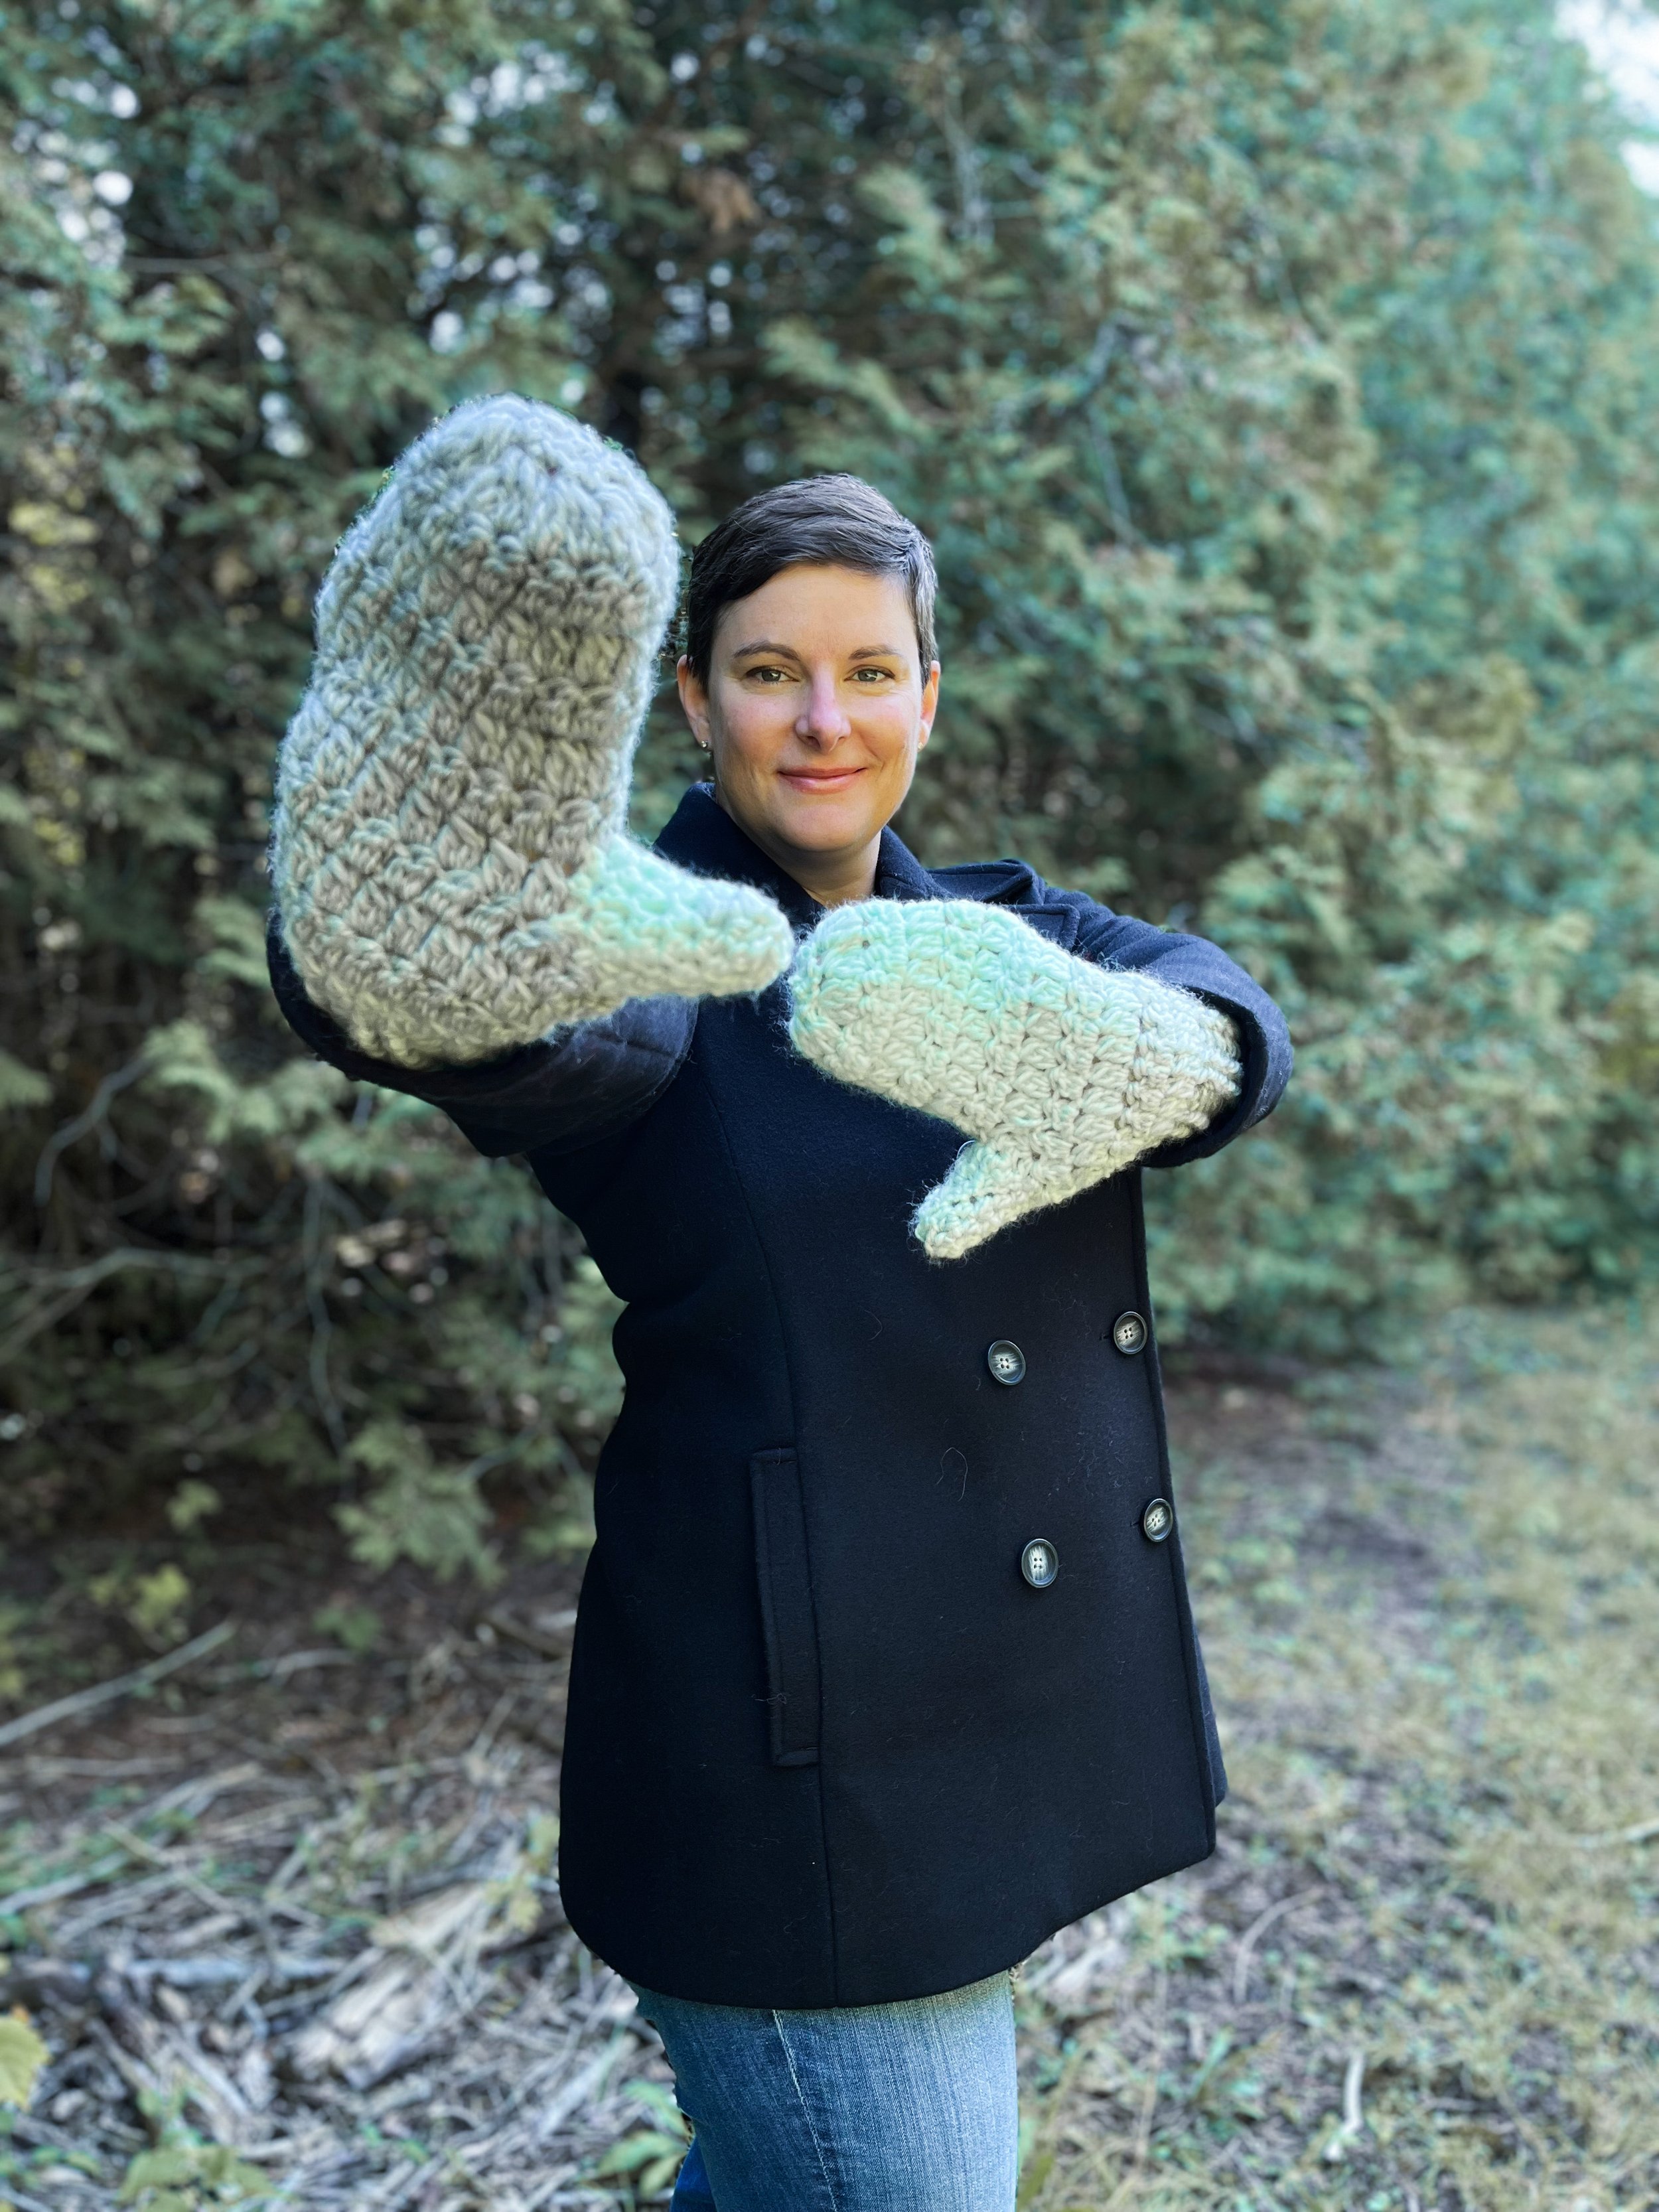
I found that working this pattern up in Scarfie from Lion Brand Yarn made them a little more substantial and heavier. This could be a great alternative for warmer mittens as you get further into the cold season!
Save this pattern to your Ravelry queue, or add a project to the pattern page!

Can’t make them now? That’s totally ok! Pin this one to your Fall or Crochet pinterest board so you’ll be able to come back to it later.
Congratulations on finishing your Autumn Berry Mittens! I think a transitional pair of mittens are an essential part of everyone’s Fall wardrobe, and you could not ask for a more perfect yarn than this amazing Wonderfluff by WeCrochet.
I really hope you enjoy making these as much as I have enjoyed designing them! It is still a bit too warm for mittens where I am, but you can bet that as soon as that chill hits the air, these will be a permanent fixture on my hands when I leave the house.
Share your mittens on Instagram using the hashtags #AutumnBerryMittens, and tag me, @capital.crochet!
You may sell finished items made from this pattern, but please credit me as the designer by linking back to this blog post.
If you enjoyed this pattern, why not grab the whole bundle! There are so many great patterns that are perfect for gifting, market makes or for keeping for yourself and your loved ones!
Thank you so much for your support! If you’d like to be the first to know about new patterns in this series and other blog posts, make sure to subscribe to my newsletter below.
