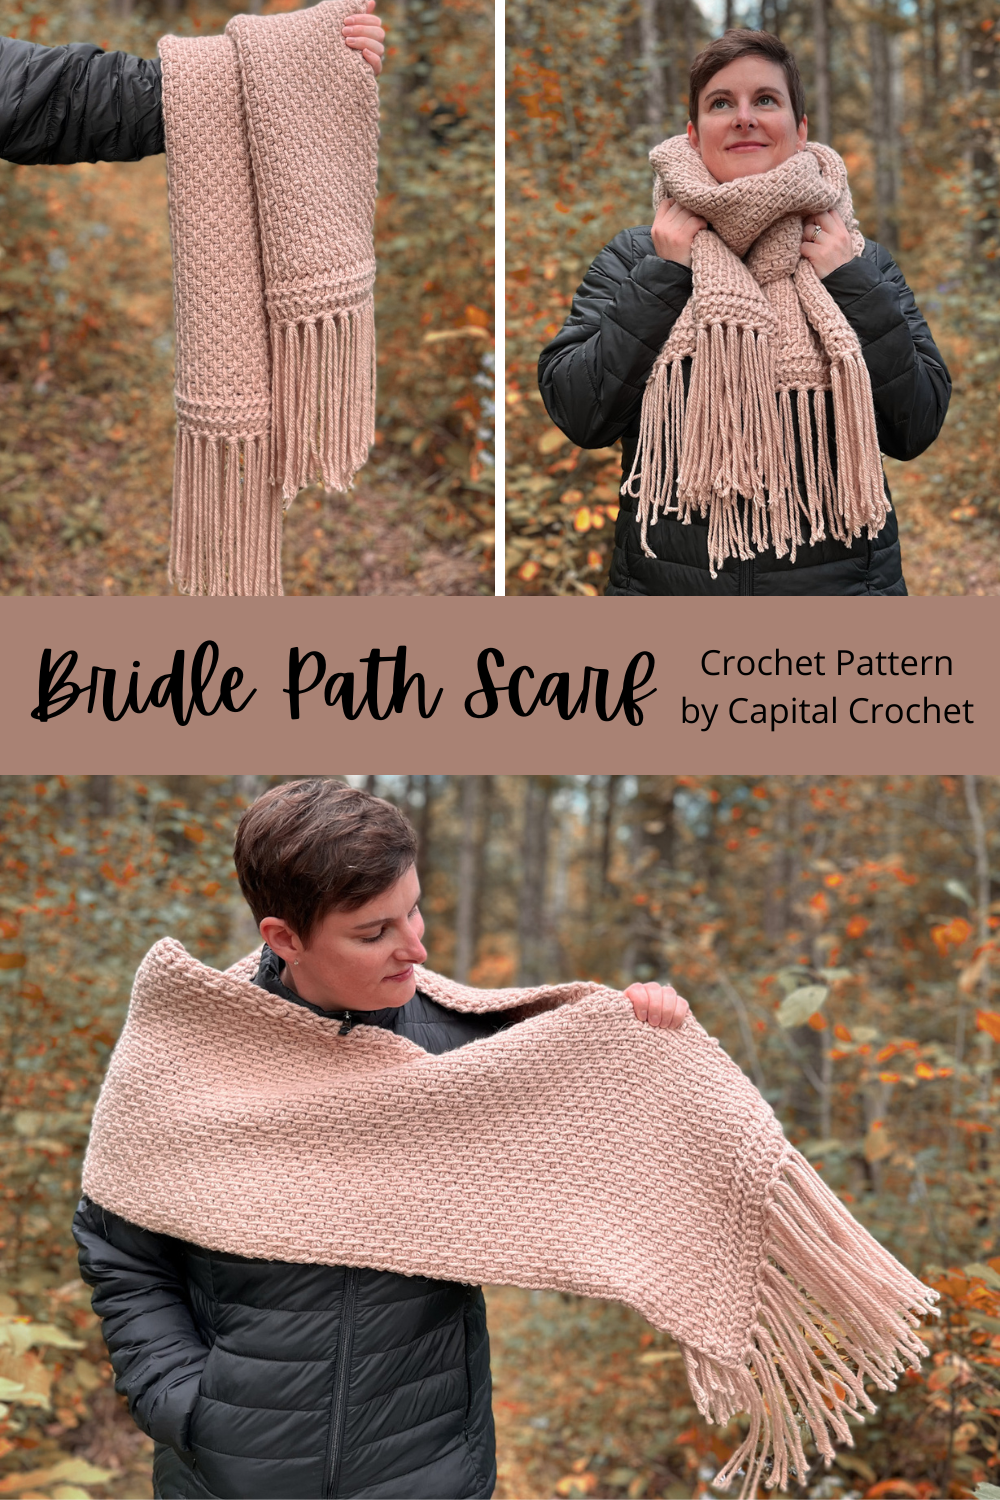
Bridle Path Scarf
/This post may contain affiliate links, meaning that if you click through and make a purchase, I earn a small commission at no extra cost to you. This helps support my business and makes it possible for me to bring you free content.
Welcome, welcome, it’s FALL, y’all! Time to get out all the cozy accessories, and make a few new ones for you and your loved ones.
When it comes to scarves, I feel like there are two types of people out there - those who can’t stand anything close in around their neck, and those (like me) who just want all the cozy, all up in their business, haha!
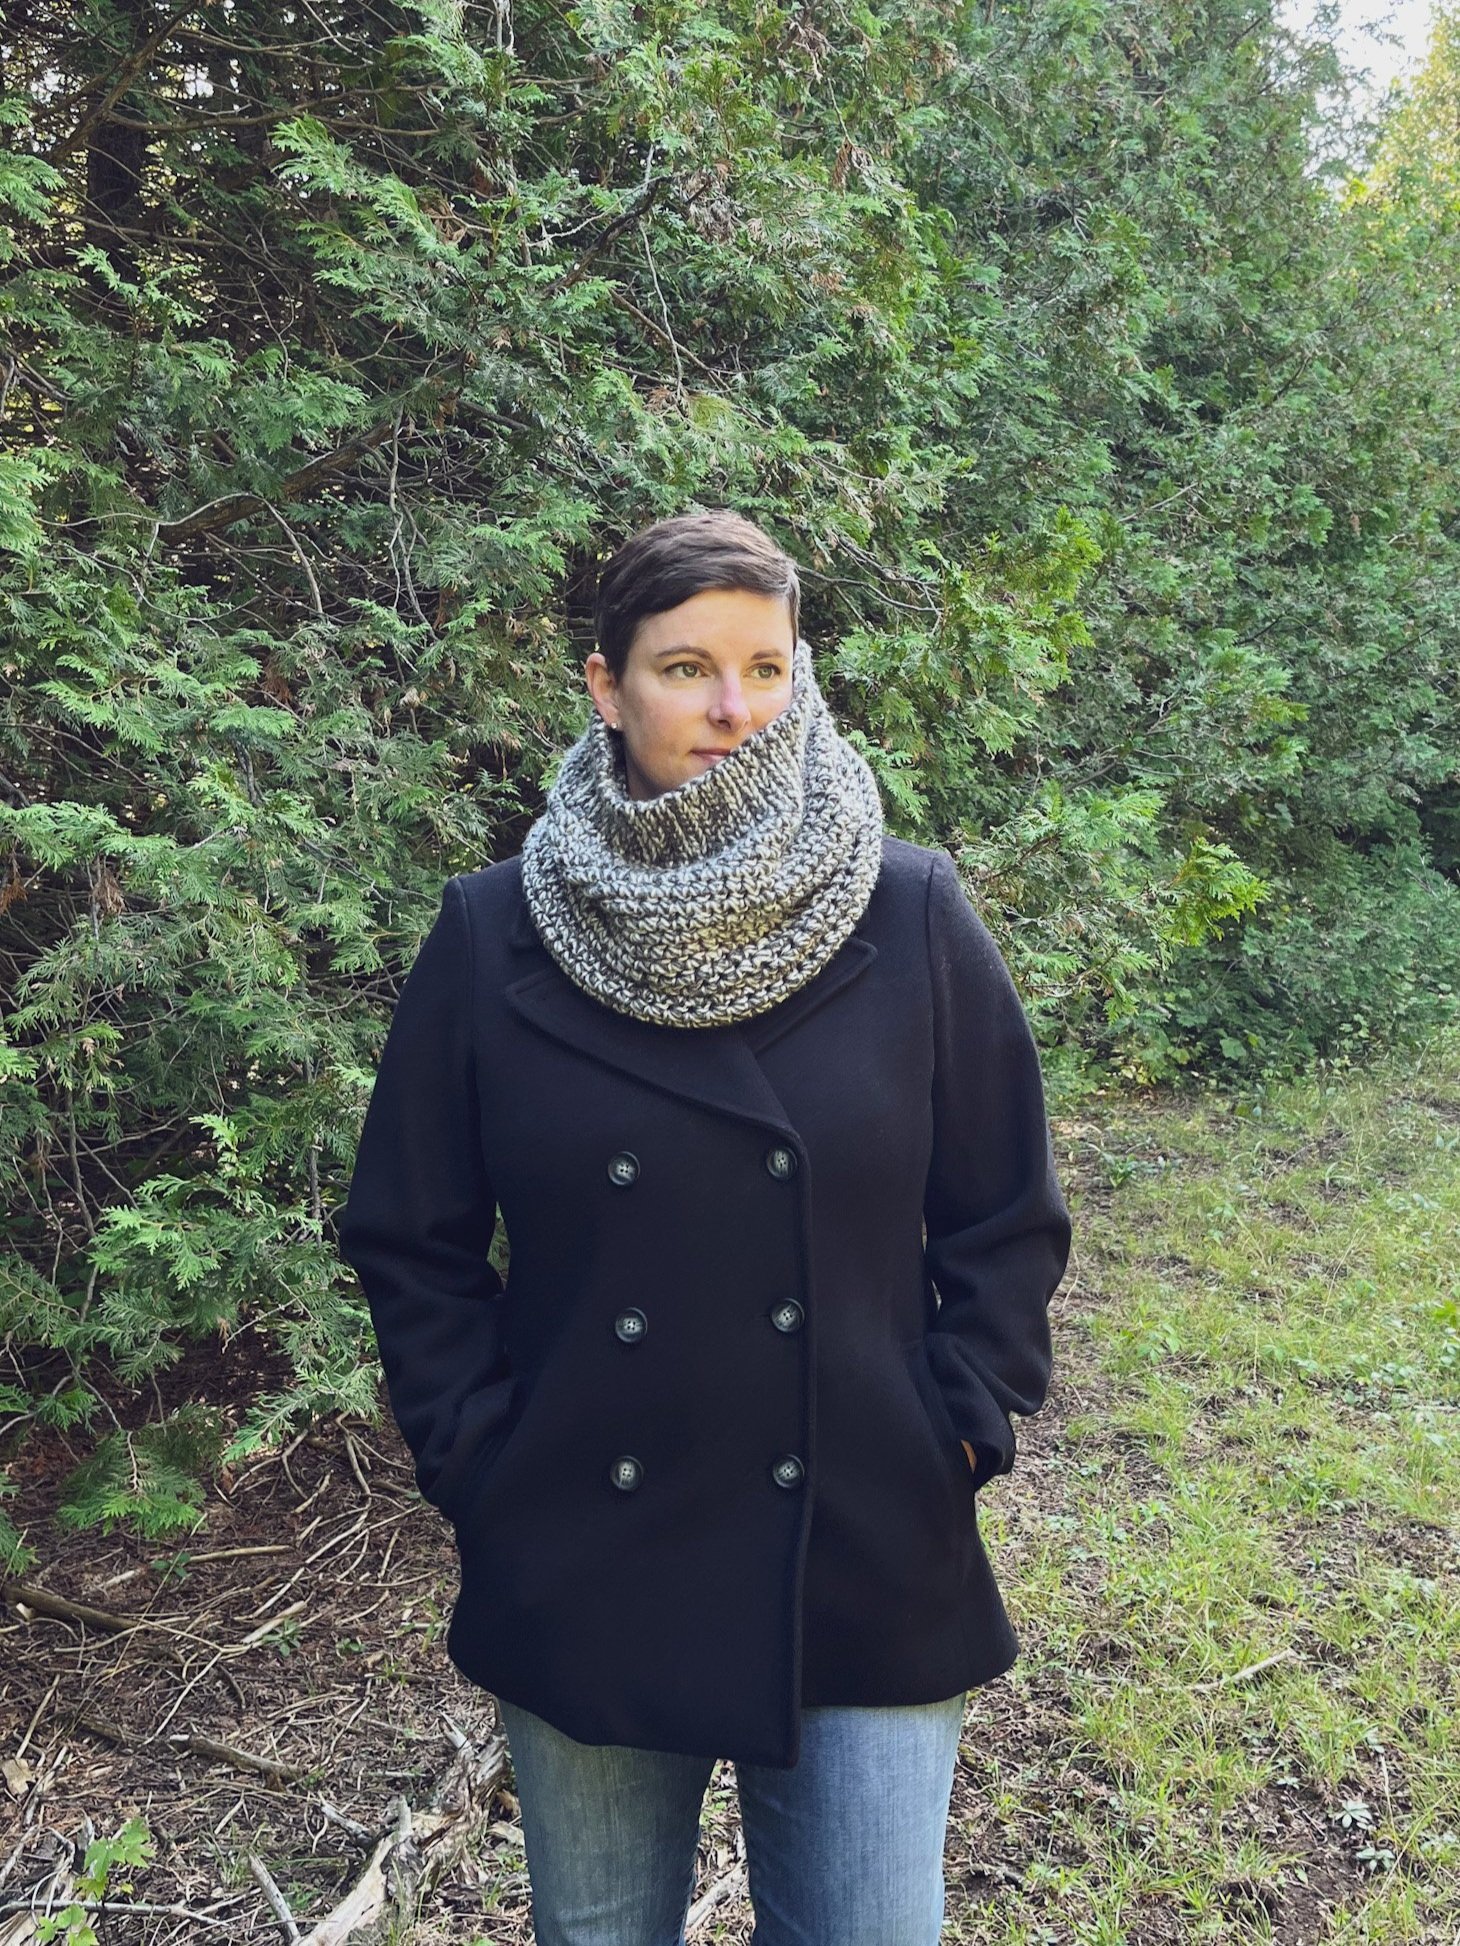
Well, for me and my friends who love a good scarf to wrap up in, I bring you the Bridle Path Scarf - a thick and cozy Tunisian crochet long scarf that is big on texture and warmth.

The Bridle Path Scarf is the first featured pattern in this month’s Scarftober series - check out the round-up page for more details!
This pattern will always be FREE here on the blog, but for TODAY ONLY, you can get the PDF pattern for only $1! Head to the round-up page and get the discount code, and then pop over to my Ravelry or website shop. Enter the code at checkout, and voila, you’ve got yourself a sweet deal on a great pattern!

The yarn I’ve chosen for this pattern is Lion Brand’s Hue + Me. It is a thicker Bulky (5) weight yarn, acrylic and wool blend. It is super warm and has great structure, something you are going to want for this pattern. And with over 30 gorgeous colours to choose from, you are guaranteed to find your perfect Autumn colour match.
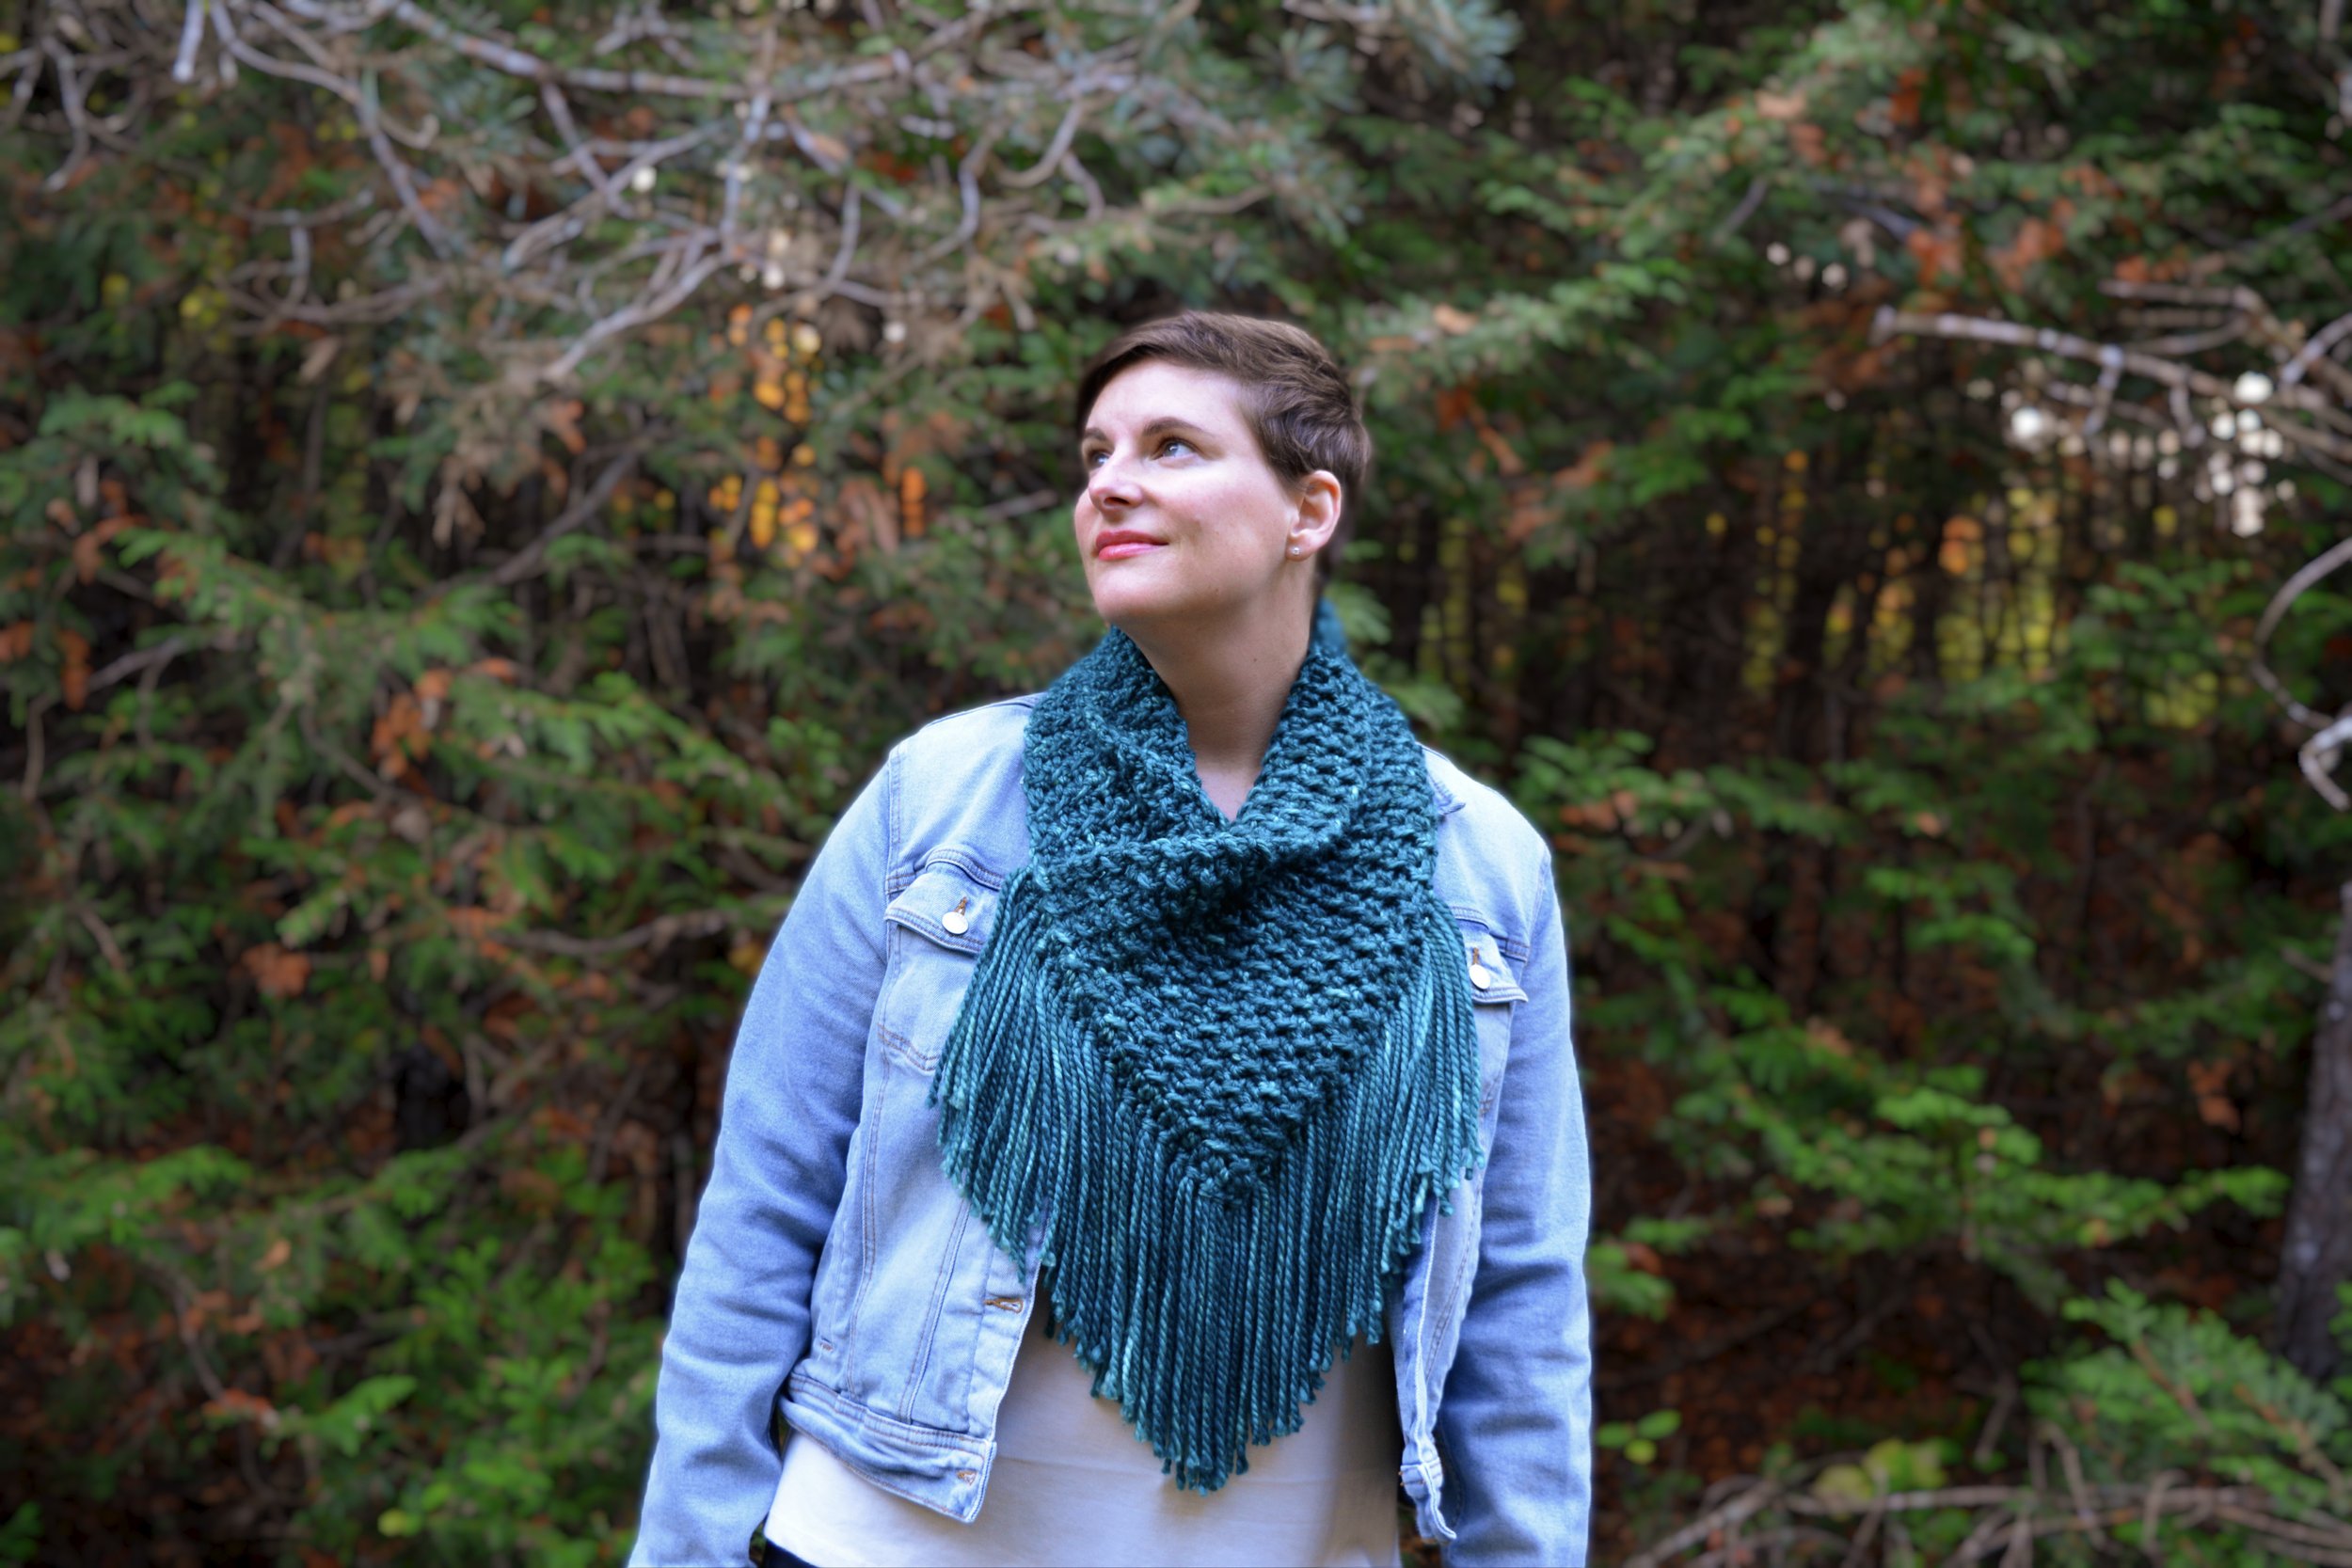
Testers used different yarns and got great results. Kim of @itskimminard held together two strands of Tosh DK by MadTosh, and it gives it a super squishy look, like who wouldn’t want to just cozy up in that, right? Major heart eyes!! Sherri of @onepaintedpaw used Universal Yarns Major, and I am here for that fuzzy, self-striping goodness. Sherri also made hers a little narrower - it’s very easy to do, just follow the instructions in the pattern below!


Materials
Yarn: Lion Brand Yarn Hue + Me (Bulky (5), 80% acrylic/20% wool, 137 yds/125 m, 125g/4.4 oz per skein), approximately 660 yds/604m or 5 skeins. Sample uses color Desert (617-099U).
Hook: 12mm Tunisian crochet hook with short cord attached, or size needed to meet gauge
Notions: measuring tape, scissors, yarn needle, blocking mats and pins (optional, for wet blocking), garment steamer or iron with steam setting (optional, for steam blocking)
Terminology/Abbreviations
This pattern uses standard US terms as detailed by the Craft Yarn Council:
ch: chain
Lts: last Tunisian stitch (insert hook under both vertical bars)
RetP: Return Pass (ch 1, *yarn over, pull through two loops, repeat from * until 1 loop remains on your hook)
sl st: slip stitch
st(s): stitch(es)
Tps: Tunisian purl stitch
Tslst: Tunisian slip stitch (insert hook under next vertical bar but do not pull up a loop; the vertical bar is extended up to the current row)
Notes
The pattern is written for one size, as listed in the Sizing section. To modify the width, start with any odd number of chain stitches. To modify the length, simply work repeats of Rows 4 and 5 until your desired length is reached.
The first loop on the hook is included in the stitch count, but is never worked in the instructions.
Sizing
Finished Measurements: 13.5”/35cm wide, 67”/170cm long after blocking and before wearing, not including fringe.
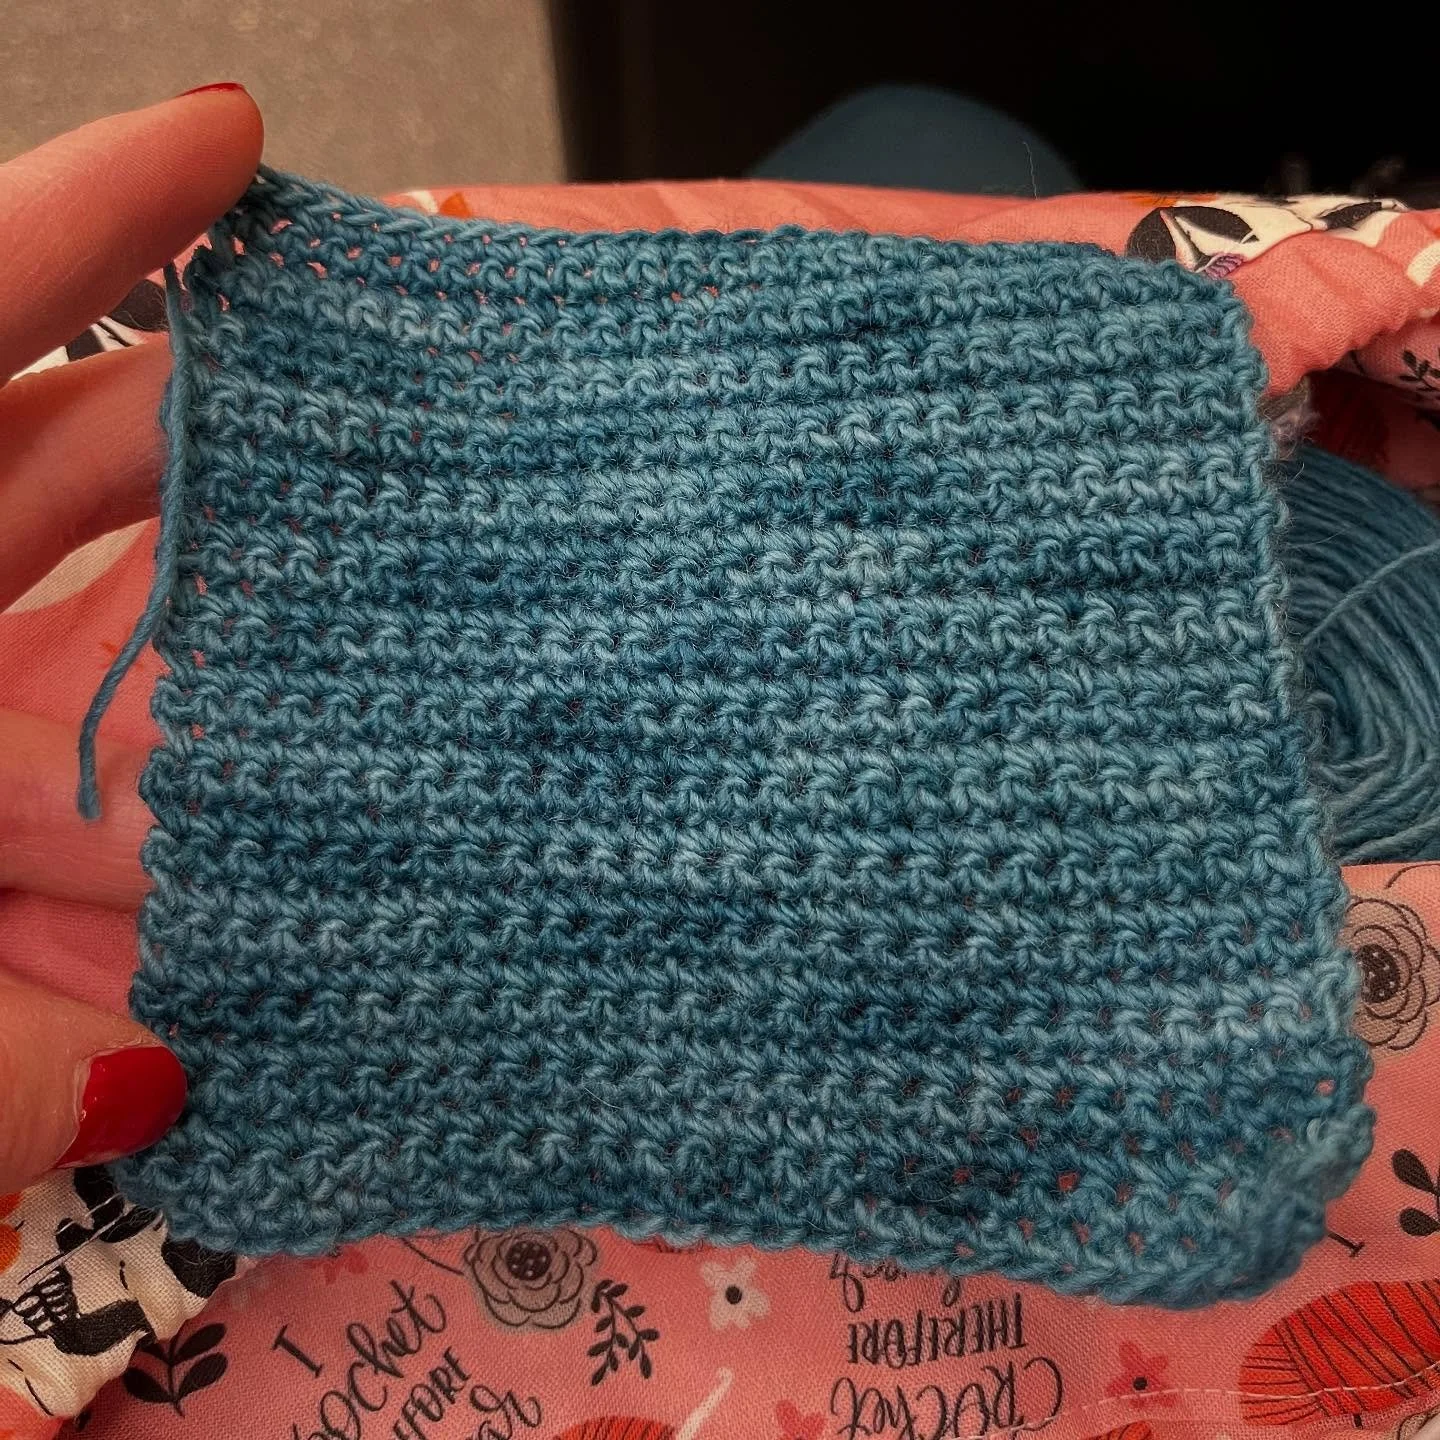
Gauge: Do not skip this step! This pattern is gauge-forgiving, but you should always make a swatch so that you can see how your yarn works up and blocks out. This will give you an idea of how the stitches will look and how the scarf will drape (some fibres may give you a stiffer fabric).
8 sts x 11 rows = 4”/10 cm in 2-row repeating pattern (Rows 3 and 4 below)
To make your swatch:
Row 1: Ch 13 and turn. Starting in the second chain from hook and working into the back bumps, pull up a loop in each ch (13 loops on hook), then work a RetP.
Row 2: Tps across, Lts and RetP.
Row 3: *Tslst, tss. Repeat from * across until 2 sts remain. Tslst, Lts and RetP.
Row 4: *Tss, tslst. Repeat from * across until 2 sts remain. Tss, Lts and RetP.
Repeat Rows 3 and 4 until you’ve worked 15 rows total.
Row 16: Tss across, Lts and RetP.
Last Row: Tps across, Lts and RetP.
Sl st bind off and fasten off. Block your swatch and when it is completely dry, lay it flat and measure your gauge in the centre of the swatch (do not include the tps rows in your measurement).
If there are more than 8 sts or 11 rows in 4”/10cm, your gauge is too tight; try using a bigger hook.
If there are less than 8 sts or 11 rows in 4”/10cm, your gauge is too loose; try using a smaller hook.
Pattern Instructions
Row 1: Ch 33 and turn. Starting in the second chain from hook and working into the back bumps, pull up a loop in each ch (33 loops on hook), then work a RetP.
Rows 2 and 3: Tps across, Lts and RetP.
Row 4: *Tslst, tss. Repeat from * across until 2 sts remain. Tslst, Lts and RetP.
Row 5: *Tss, tslst. Repeat from * across until 2 sts remain. Tss, Lts and RetP.
Repeat Rows 4 and 5 until your work measures approximately 62”/158cm, or desired length.
Next Row: Tss across, Lts and RetP.
Last 2 rows: Repeat Rows 2 and 3.
Bind off: Sl st bind off and fasten off, leaving a long tail that you can incorporate into your fringe (or weave in if you choose not to do fringe). Proceed to Finishing section.

FINISHING
Blocking: Steam block your scarf by laying it out flat and passing an iron or garment steamer over it, then letting it dry. Alternatively, wet block your scarf by soaking it for 20 minutes in a sink or tub of cool water and a non-rinse soap like Soak or Eucalan. Drain and lay it out on a towel, then roll it up and step on it to squeeze out all excess water. Then lay your scarf out to dry on blocking mats or another protected flat surface, taking care not to overstretch. Make sure that the width is the same along the entire length. When dry, weave in ends to the wrong side.
TIP: if you are using Hue + Me or a similar “stiff” yarn, wet blocking is the way to go. It will help your scarf soften up a bit, and add some flow to the drape.
Fringe (optional): Once your scarf is completely dry, you can add fringe. Follow Steps 1 to 3 below on both of the short ends of the scarf. Check out this quick video if you are new to fringe.
Step 1: Cut 32 lengths of yarn approximately 18”/46cm long, or desired length.
Step 2: Attach 2 lengths into the first stitch on one of the short ends of your scarf. *Skip the next stitch. Attach 2 lengths into the next stitch. Repeat from * across the short end of the scarf until you reach the last stitch.
Step 3: Steam the fringe to remove any kinks in the yarn, then trim as desired.

Don’t forget to grab your PDF copy of the pattern for $1 TODAY ONLY!
Don’t forget to add this pattern to your Ravelry queue, and make sure to add your scarf to the project page!

Can’t make it right now? That’s totally ok, I know how busy this time of year can be! Pin this one to your Fall or Crochet Pinterest board so you’ll be able to come back to it later.
Congratulations on finishing your Bridle Path Scarf! It makes me so happy to know that you will be wrapped up cozy and warm in this beautiful scarf when the chill of Winter hits.
I really hope you enjoy making this as much as I have enjoyed designing it! The nice thing about a big, cozy scarf project is that it keeps you warm while you’re working on it, haha.
Share your scarf on Instagram using the hashtags #BridlePathScarf, #Scarftober, #CapitalCrochet and tag me, @capital.crochet!
You may sell finished items made from this pattern, but please credit me as the designer by linking back to this blog post.
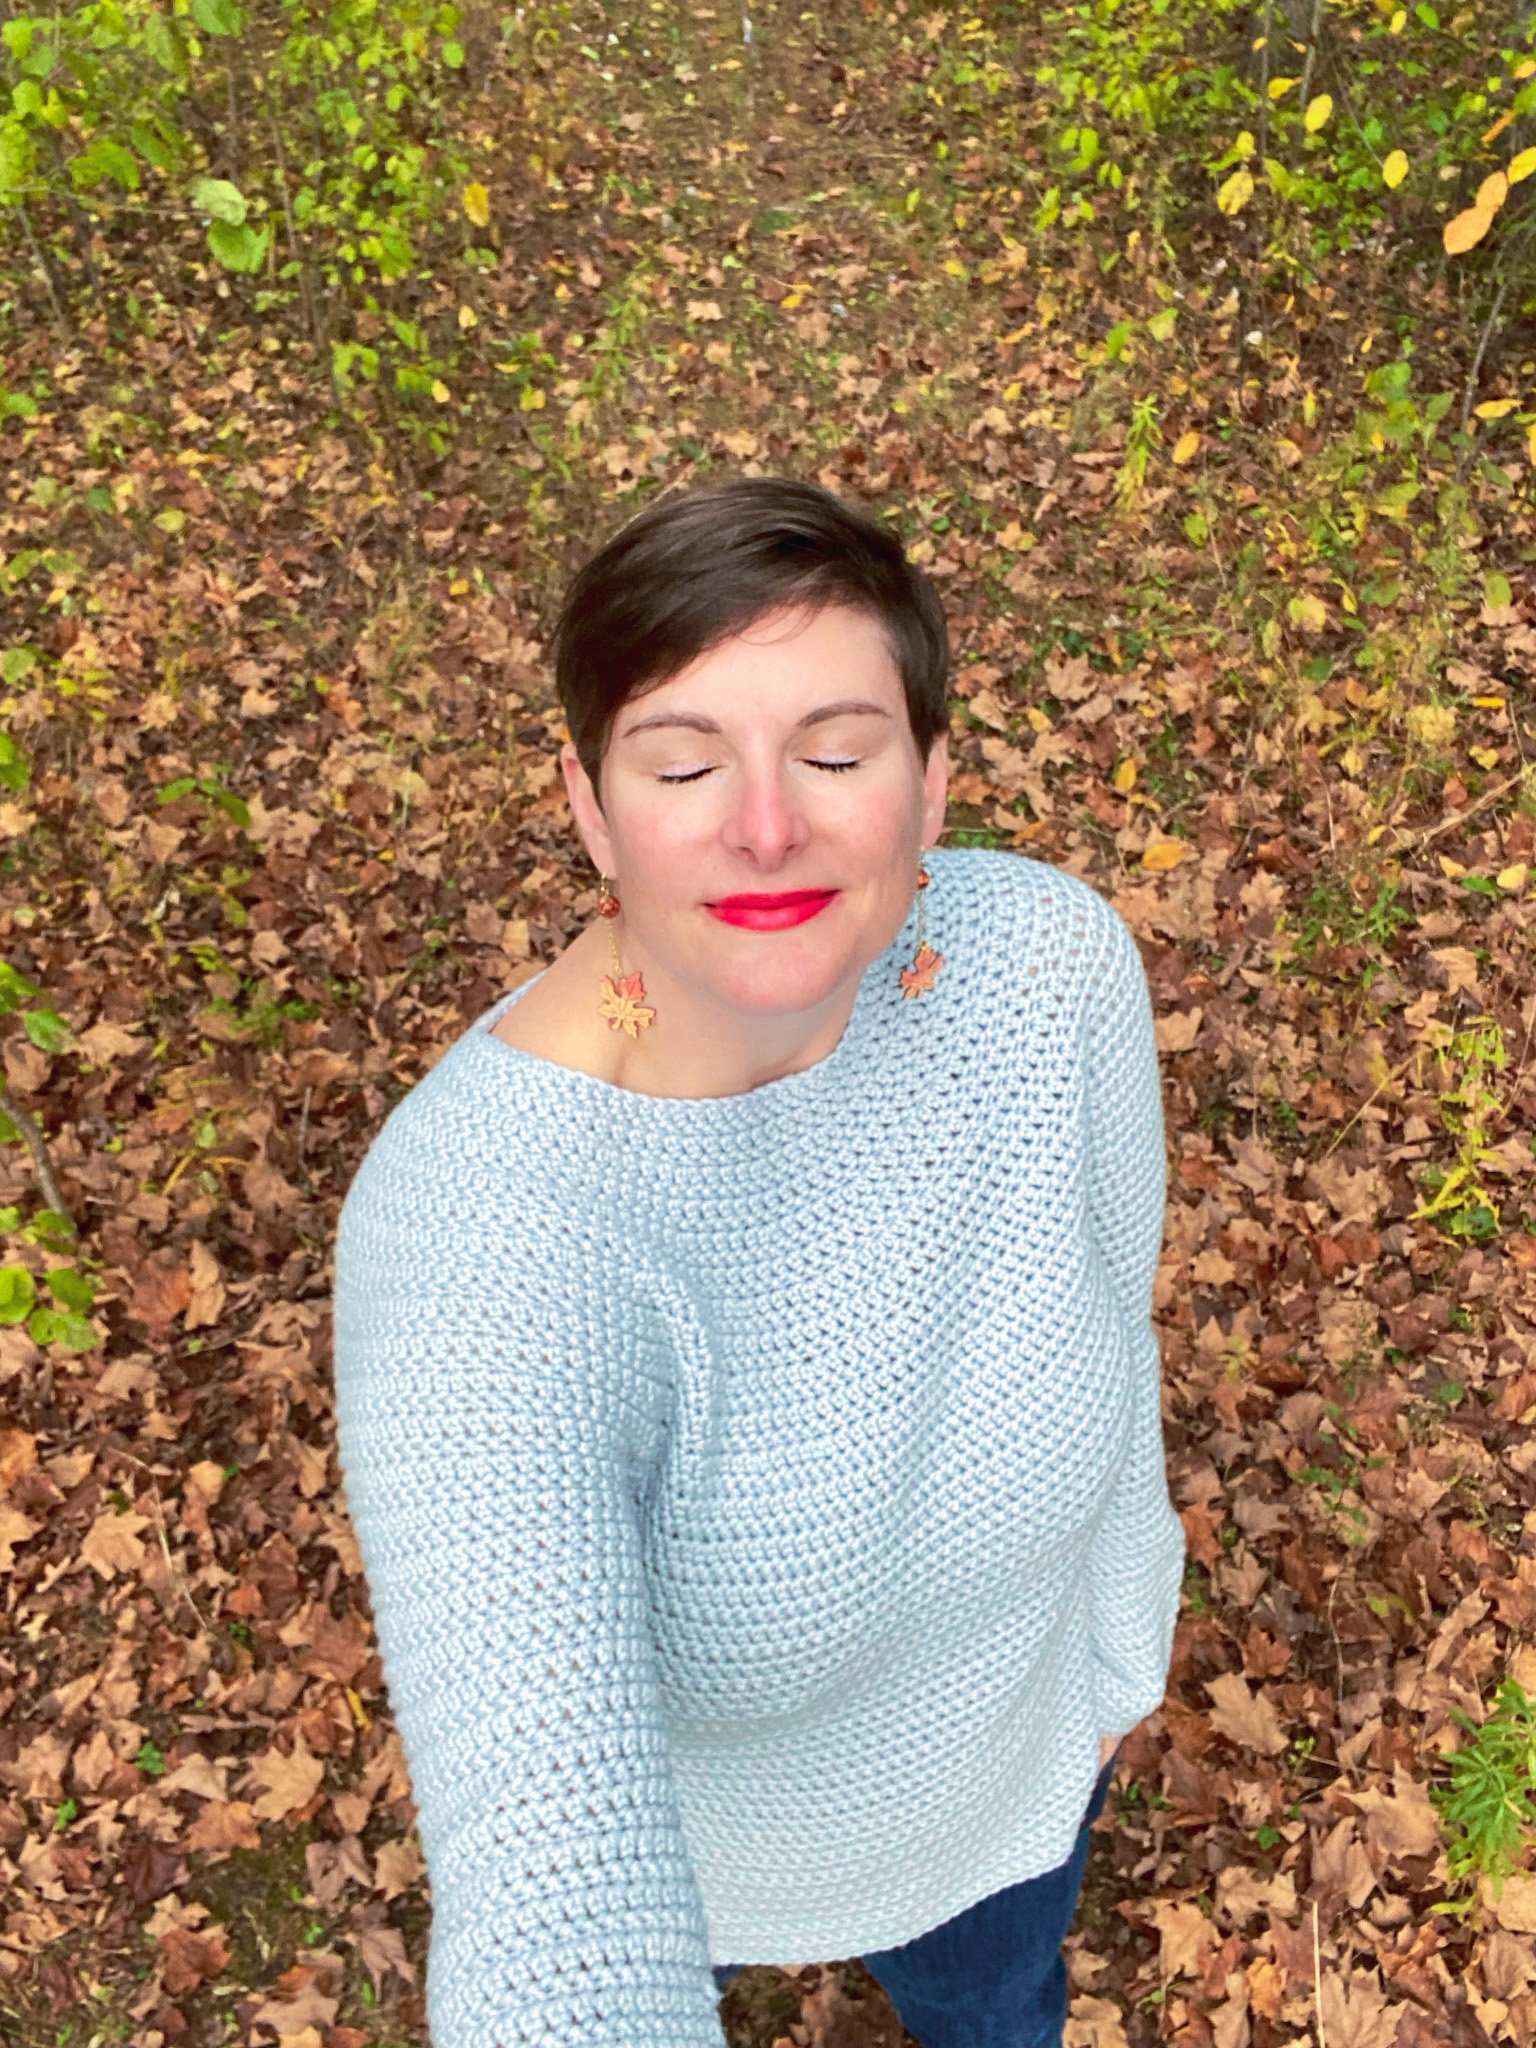
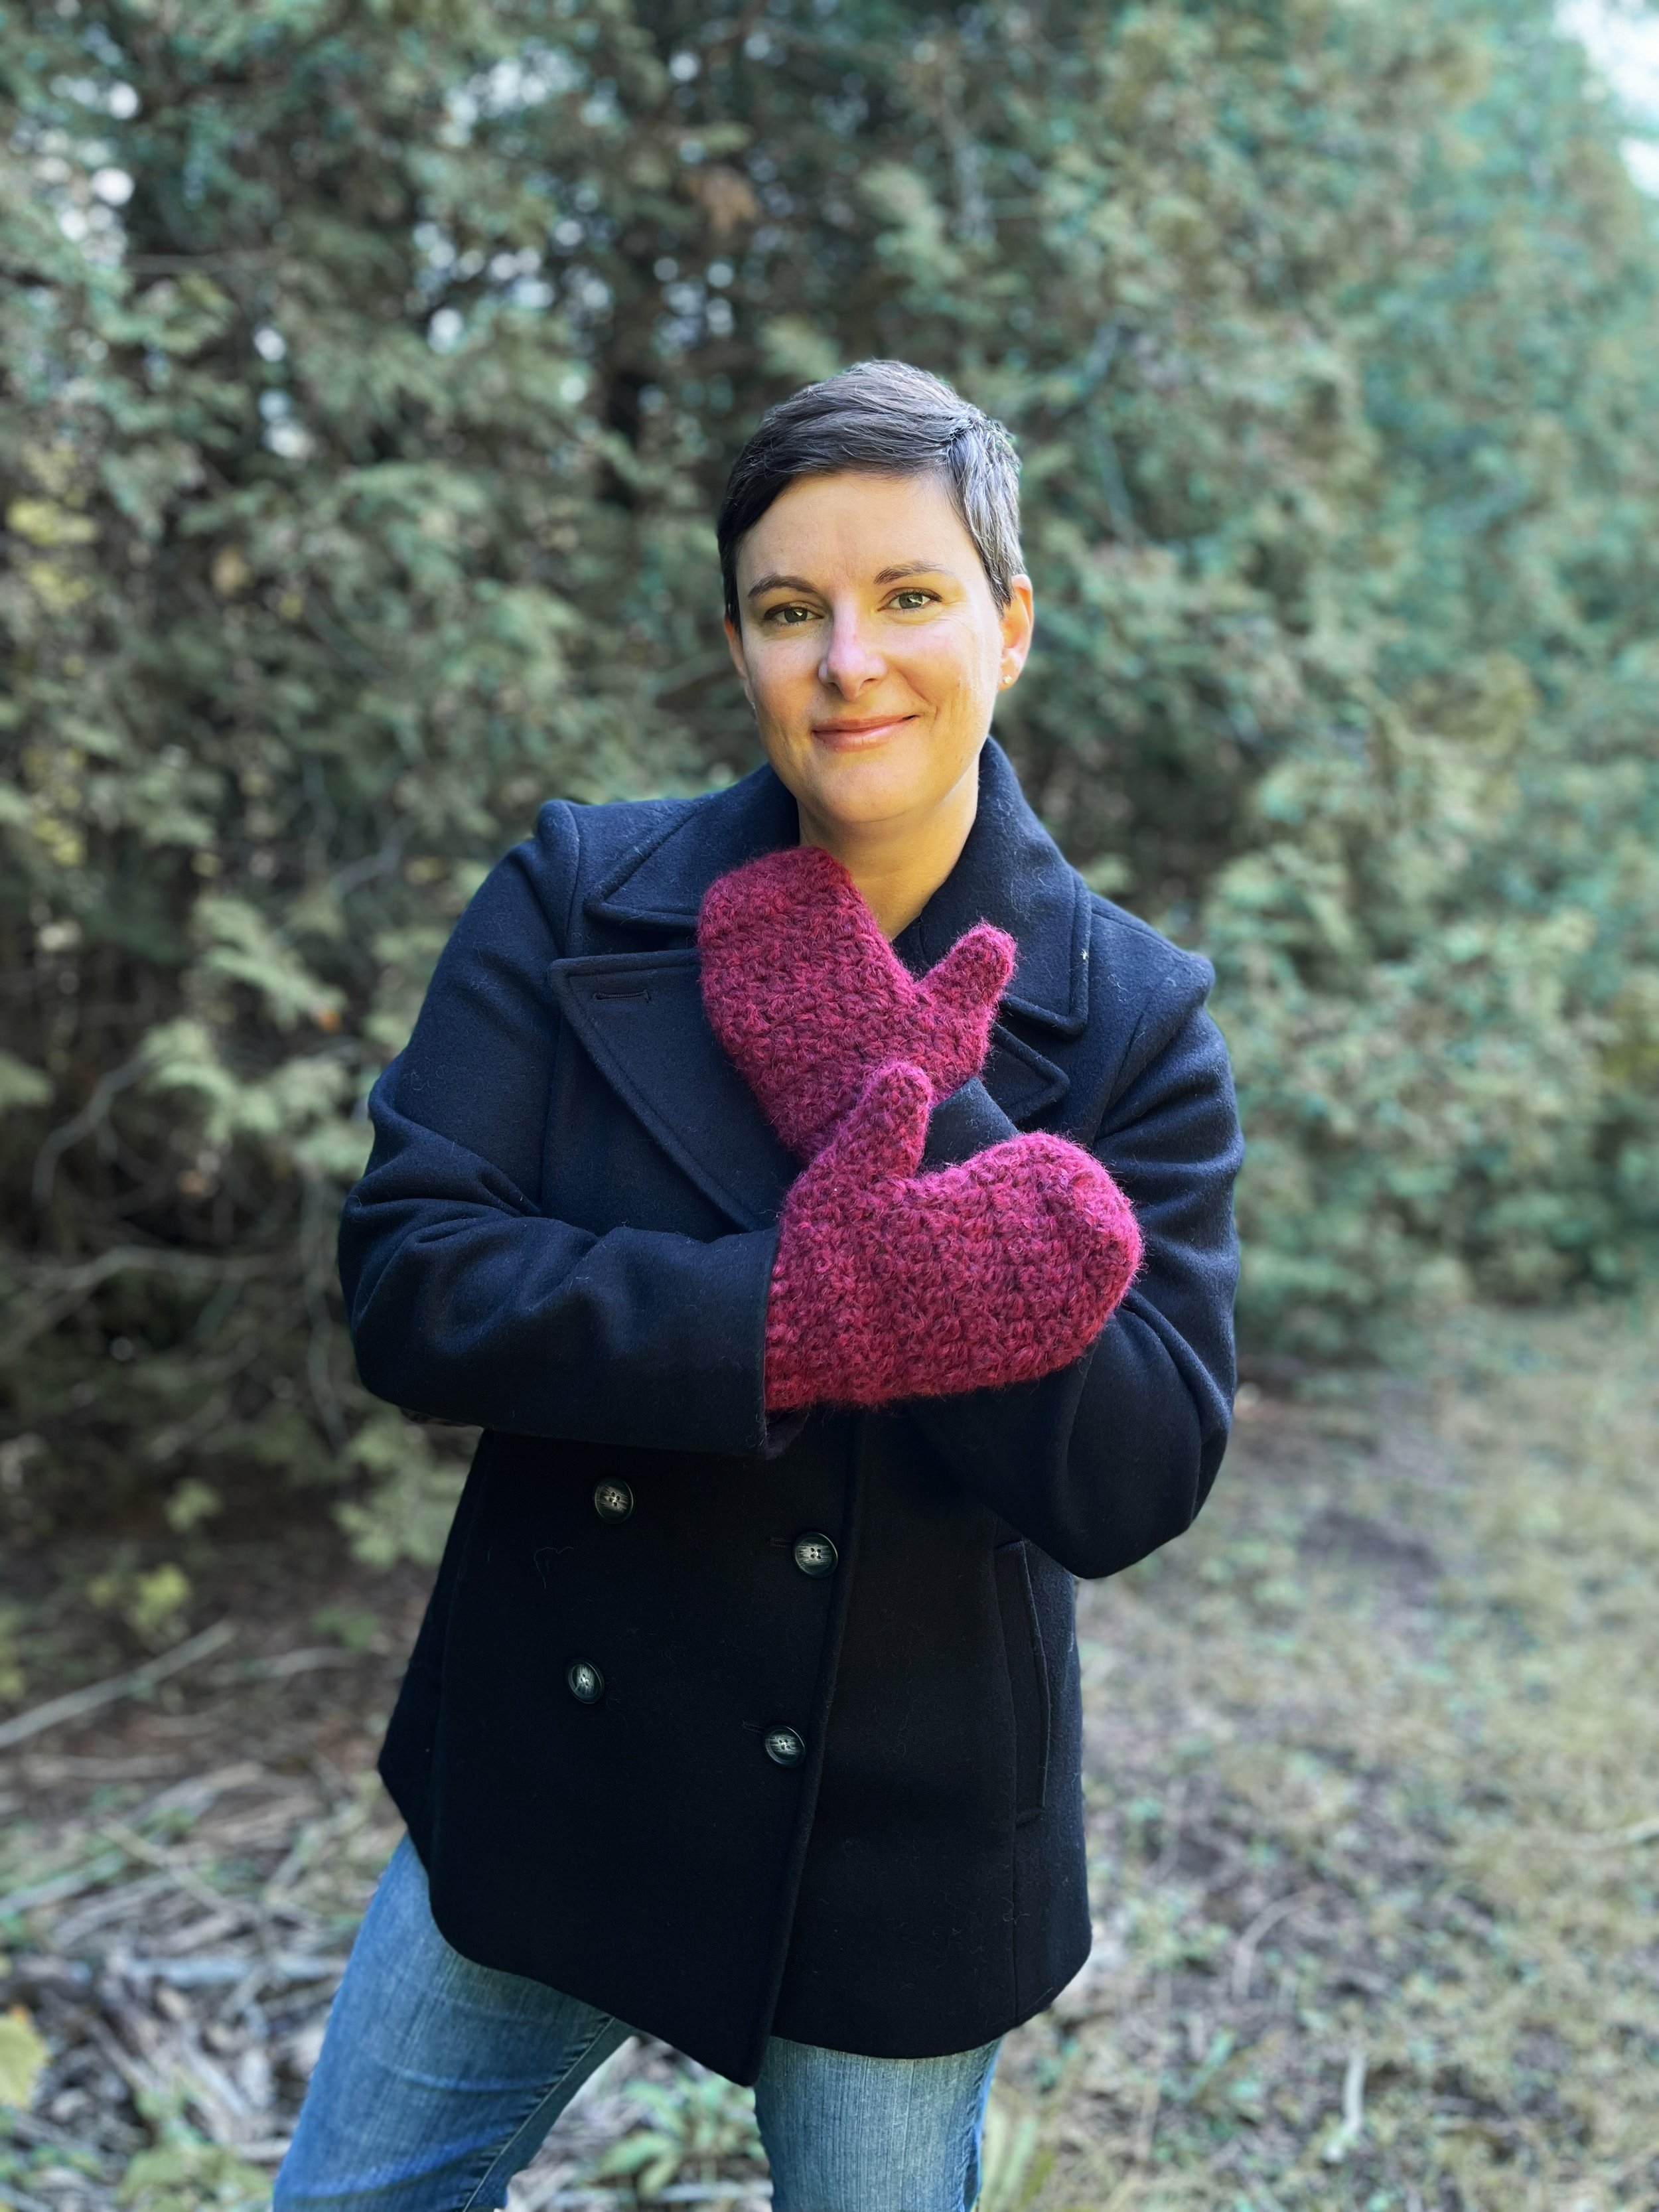
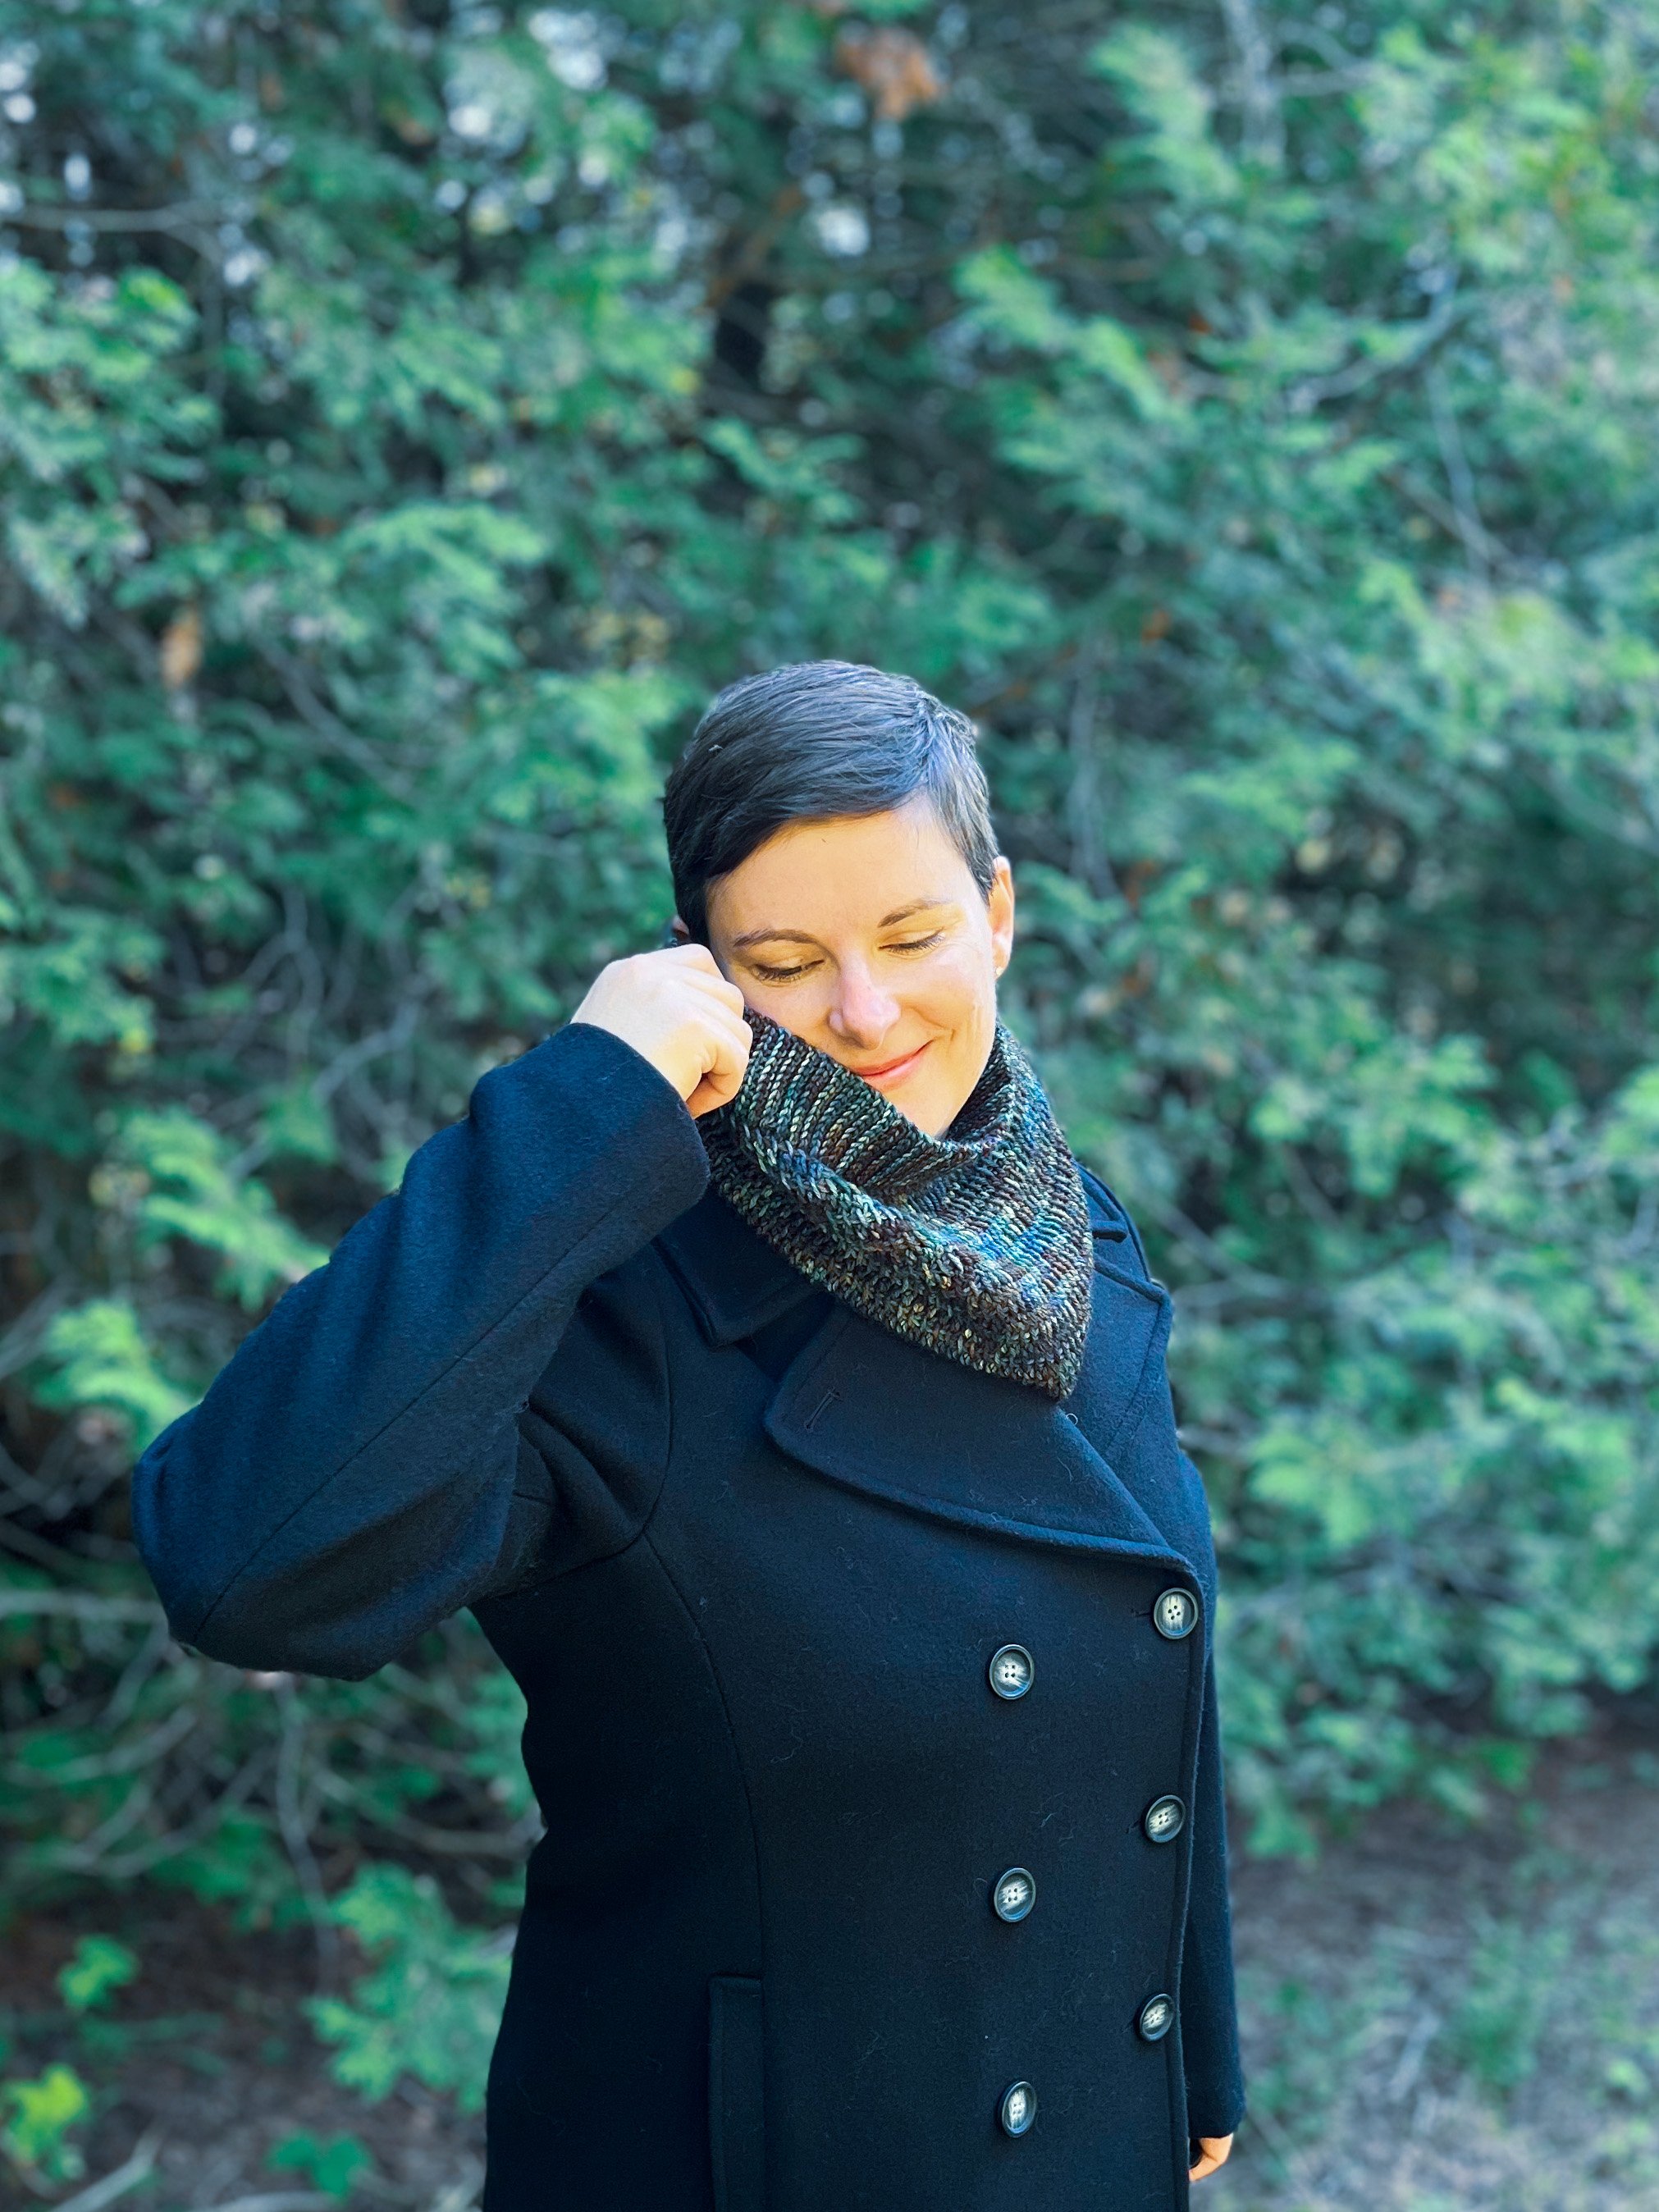

If you enjoyed this pattern, why not check out some of my other Fall patterns! Make sure to use the bundling codes on my website or on Ravelry to save more when you buy more patterns.
Thank you so much for your support! If you’d like to be the first to know about new patterns in this series and other blog posts, make sure to subscribe to my newsletter below.
Let’s hang out on social media! Follow me on Instagram and Pinterest, where I share all about my projects and my other hobbies, too!