
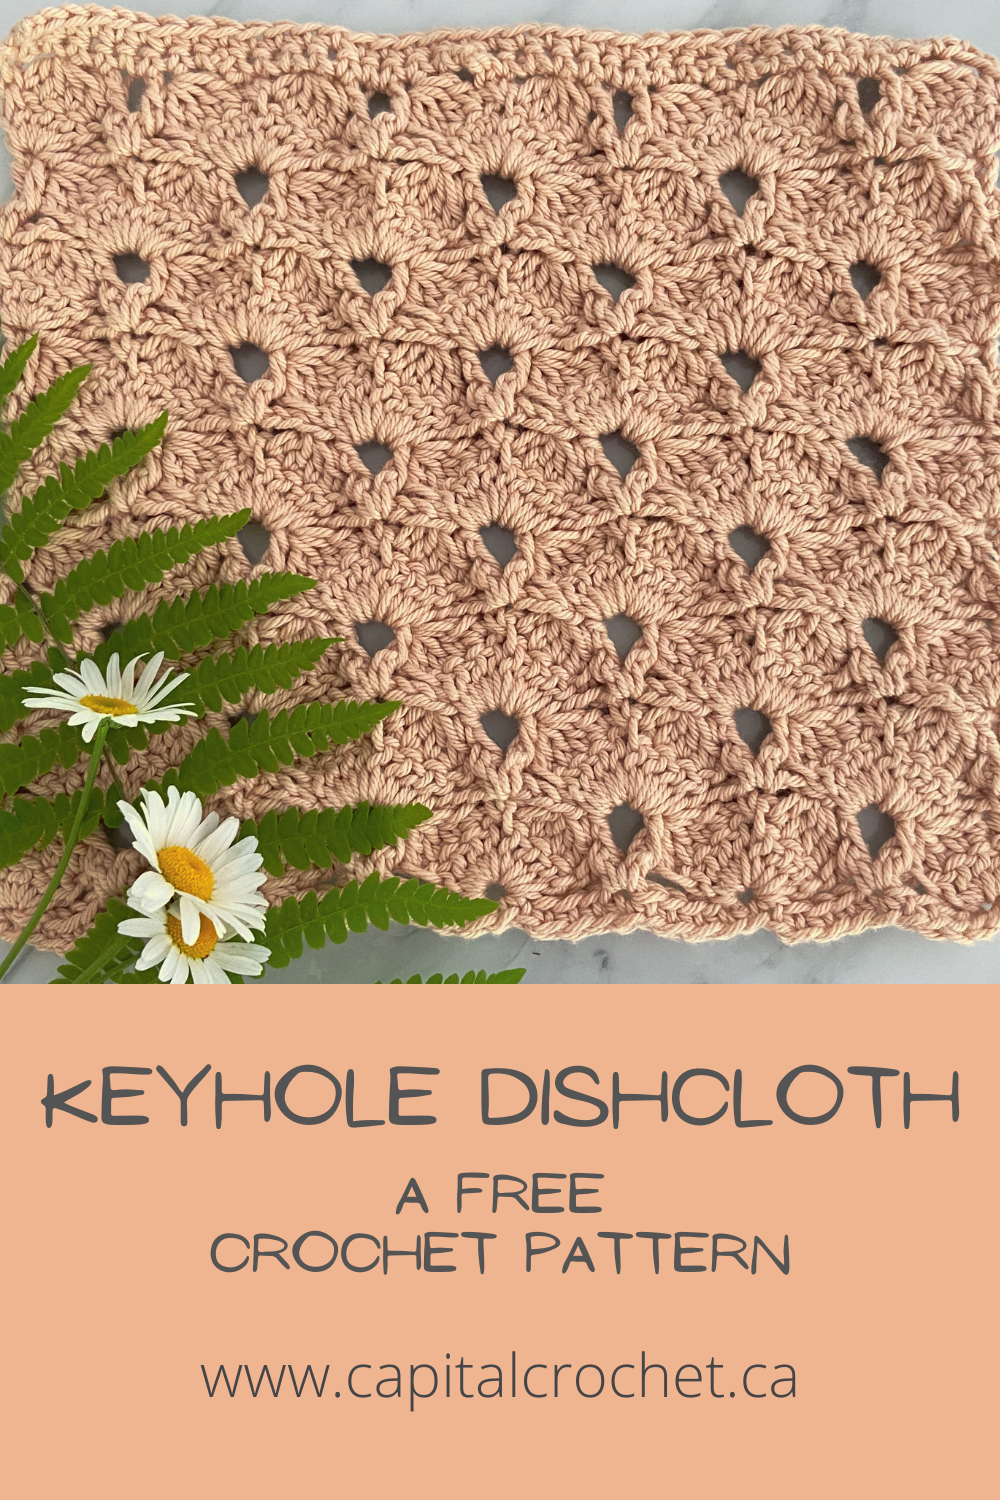
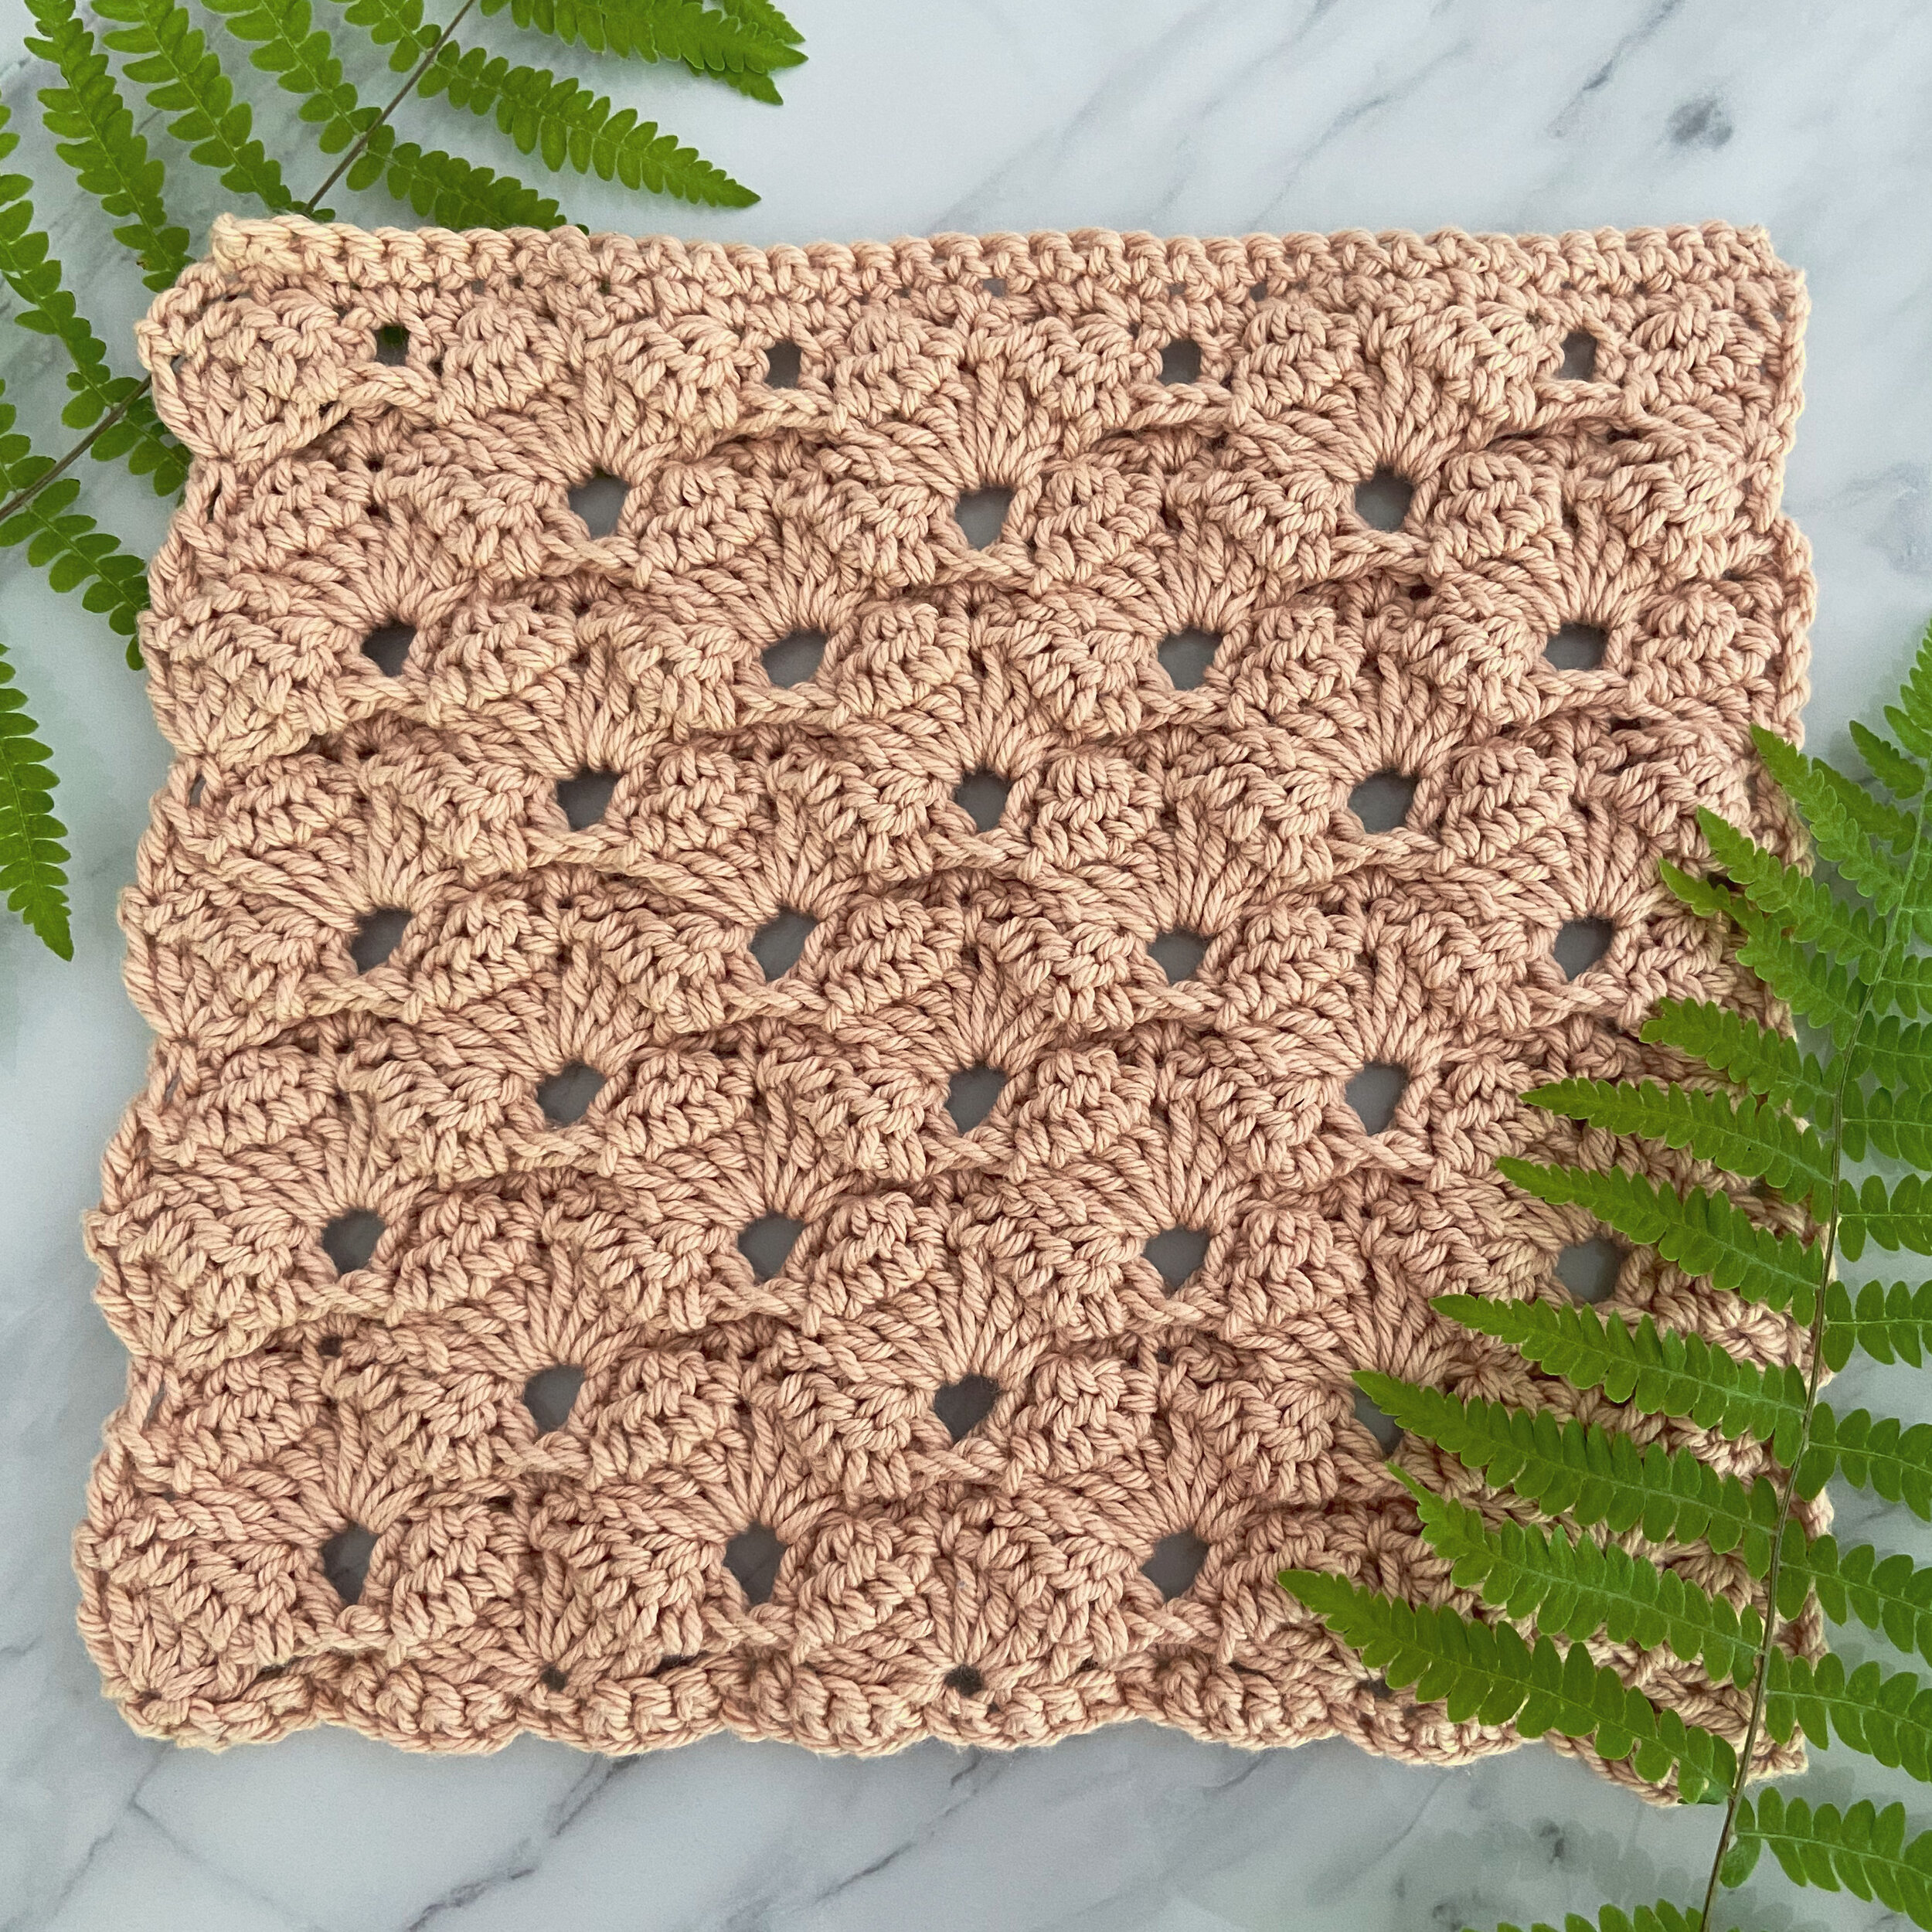
Stitch Exploration Series - Keyhole Dishcloth
/This post may contain affiliate links, meaning that if you click through and make a purchase, I earn a small commission at no extra cost to you. This helps support my business and makes it possible for me to bring you free content.
When was the last time you challenged yourself in your craft? For me, it was this month’s Stitch Exploration Series pattern, the Keyhole Dishcloth. I was flipping through some stitch books, and saw this gorgeous texture popping up from the page. I usually admire these complicated-looking patterns for a few moments, then move on to something that seems more my speed. This time, I said to myself, Self, you are not gonna pass this one by.
The funny thing is, this wasn’t even supposed to be June’s pattern! I had already started work on another pattern that I had planned for this month, but once I got started on this super unique texture and saw how easy it was, it pretty much just fell off my hook and I felt like it needed to be out in the world asap.
If you’re not familiar with my Stitch Exploration Series, here are the details: Each month, I post a new FREE dishcloth pattern, and can you believe it, we’re already halfway through the year! This is the sixth pattern in the series - check out the others HERE.
This series is all about testing out new skills without the pressure of having to create a large project like a garment. When I’m designing, I find that I tend to choose familiar stitches, which can limit my creativity. I’ve chosen dishcloths because they’re small enough to finish up quickly, but large enough to get a general idea of the fabric the stitch pattern will create!
This month, we are combining several techniques to create “keyholes” in the fabric. I wouldn’t normally choose a pattern that creates holes or a lacy fabric, but this one was too pretty to pass up. And the texture of the rest of the pattern combined with the cotton yarn is perfect for getting your scrub on with those stubborn dishes.
For this series, I’ve chosen a beautiful, durable cotton yarn, Dishie from WeCrochet. It comes in lots of fun colours (30 solids in total, plus there are also Dishie Twist and Dishie Multi!), and it is really nice to work with. It’s also really durable, making it great for dishcloths! In my experience so far, this yarn really holds up well during tough scrubbing.

So far, my favourite patterns in the series are the Pollyanna Dishcloth (green) and the Mulberry Dishcloth (purple), but this month’s pattern might just bump one of these from the top spot! Do you have a favourite so far?
Materials
Hook - US G/4mm, or size needed to meet gauge.
Yarn - WeCrochet Dishie, 100% cotton, 190 yds (174m)/100g (3.5oz) per skein. I used approx. 103 yds (94m) of the colourway Linen.
Notions - scissors, tape measure, yarn needle.
Notes
Ch 1 to start some rows do not count as sts.
Ch 3 to start some rows DOES count as a dc.
Gauge is not critical for this project, however, if yardage is a concern, you should aim to meet it as closely as possible. No one will judge an extra half inch on your dishcloth!
Generally, I do not block cotton washcloths, because they’re just going to get wet anyway. If you’re making for gifting, or just want to straighten things out, feel free to block as you see fit.
Sizing
Gauge is a little bit tricky for this pattern. Luckily, it is not super important, so very generally:
Stitch gauge: there are approx. 2”/5cm between the edges of the “keyholes.”
Row gauge: measure height from Row 2-11 of the pattern. This should measure approx. 4”/10cm tall.
Finished measurements - approx. 9.5” wide x 8.5” tall / 24cm wide x 22cm tall.
Terminology/Abbreviations
This pattern uses standard US terms as detailed by the Craft Yarn Council:
Ch - chain
Chsp - chain space
Dc - double crochet
Dc4tog - double crochet 4 sts together as one (see Special Stitches section)
Fpdc - front post double crochet
Sc - single crochet
St(s) - stitch(es)
[ ] - work sts within brackets into one st
* and ** - repeat instructions as directed
Special Stitches
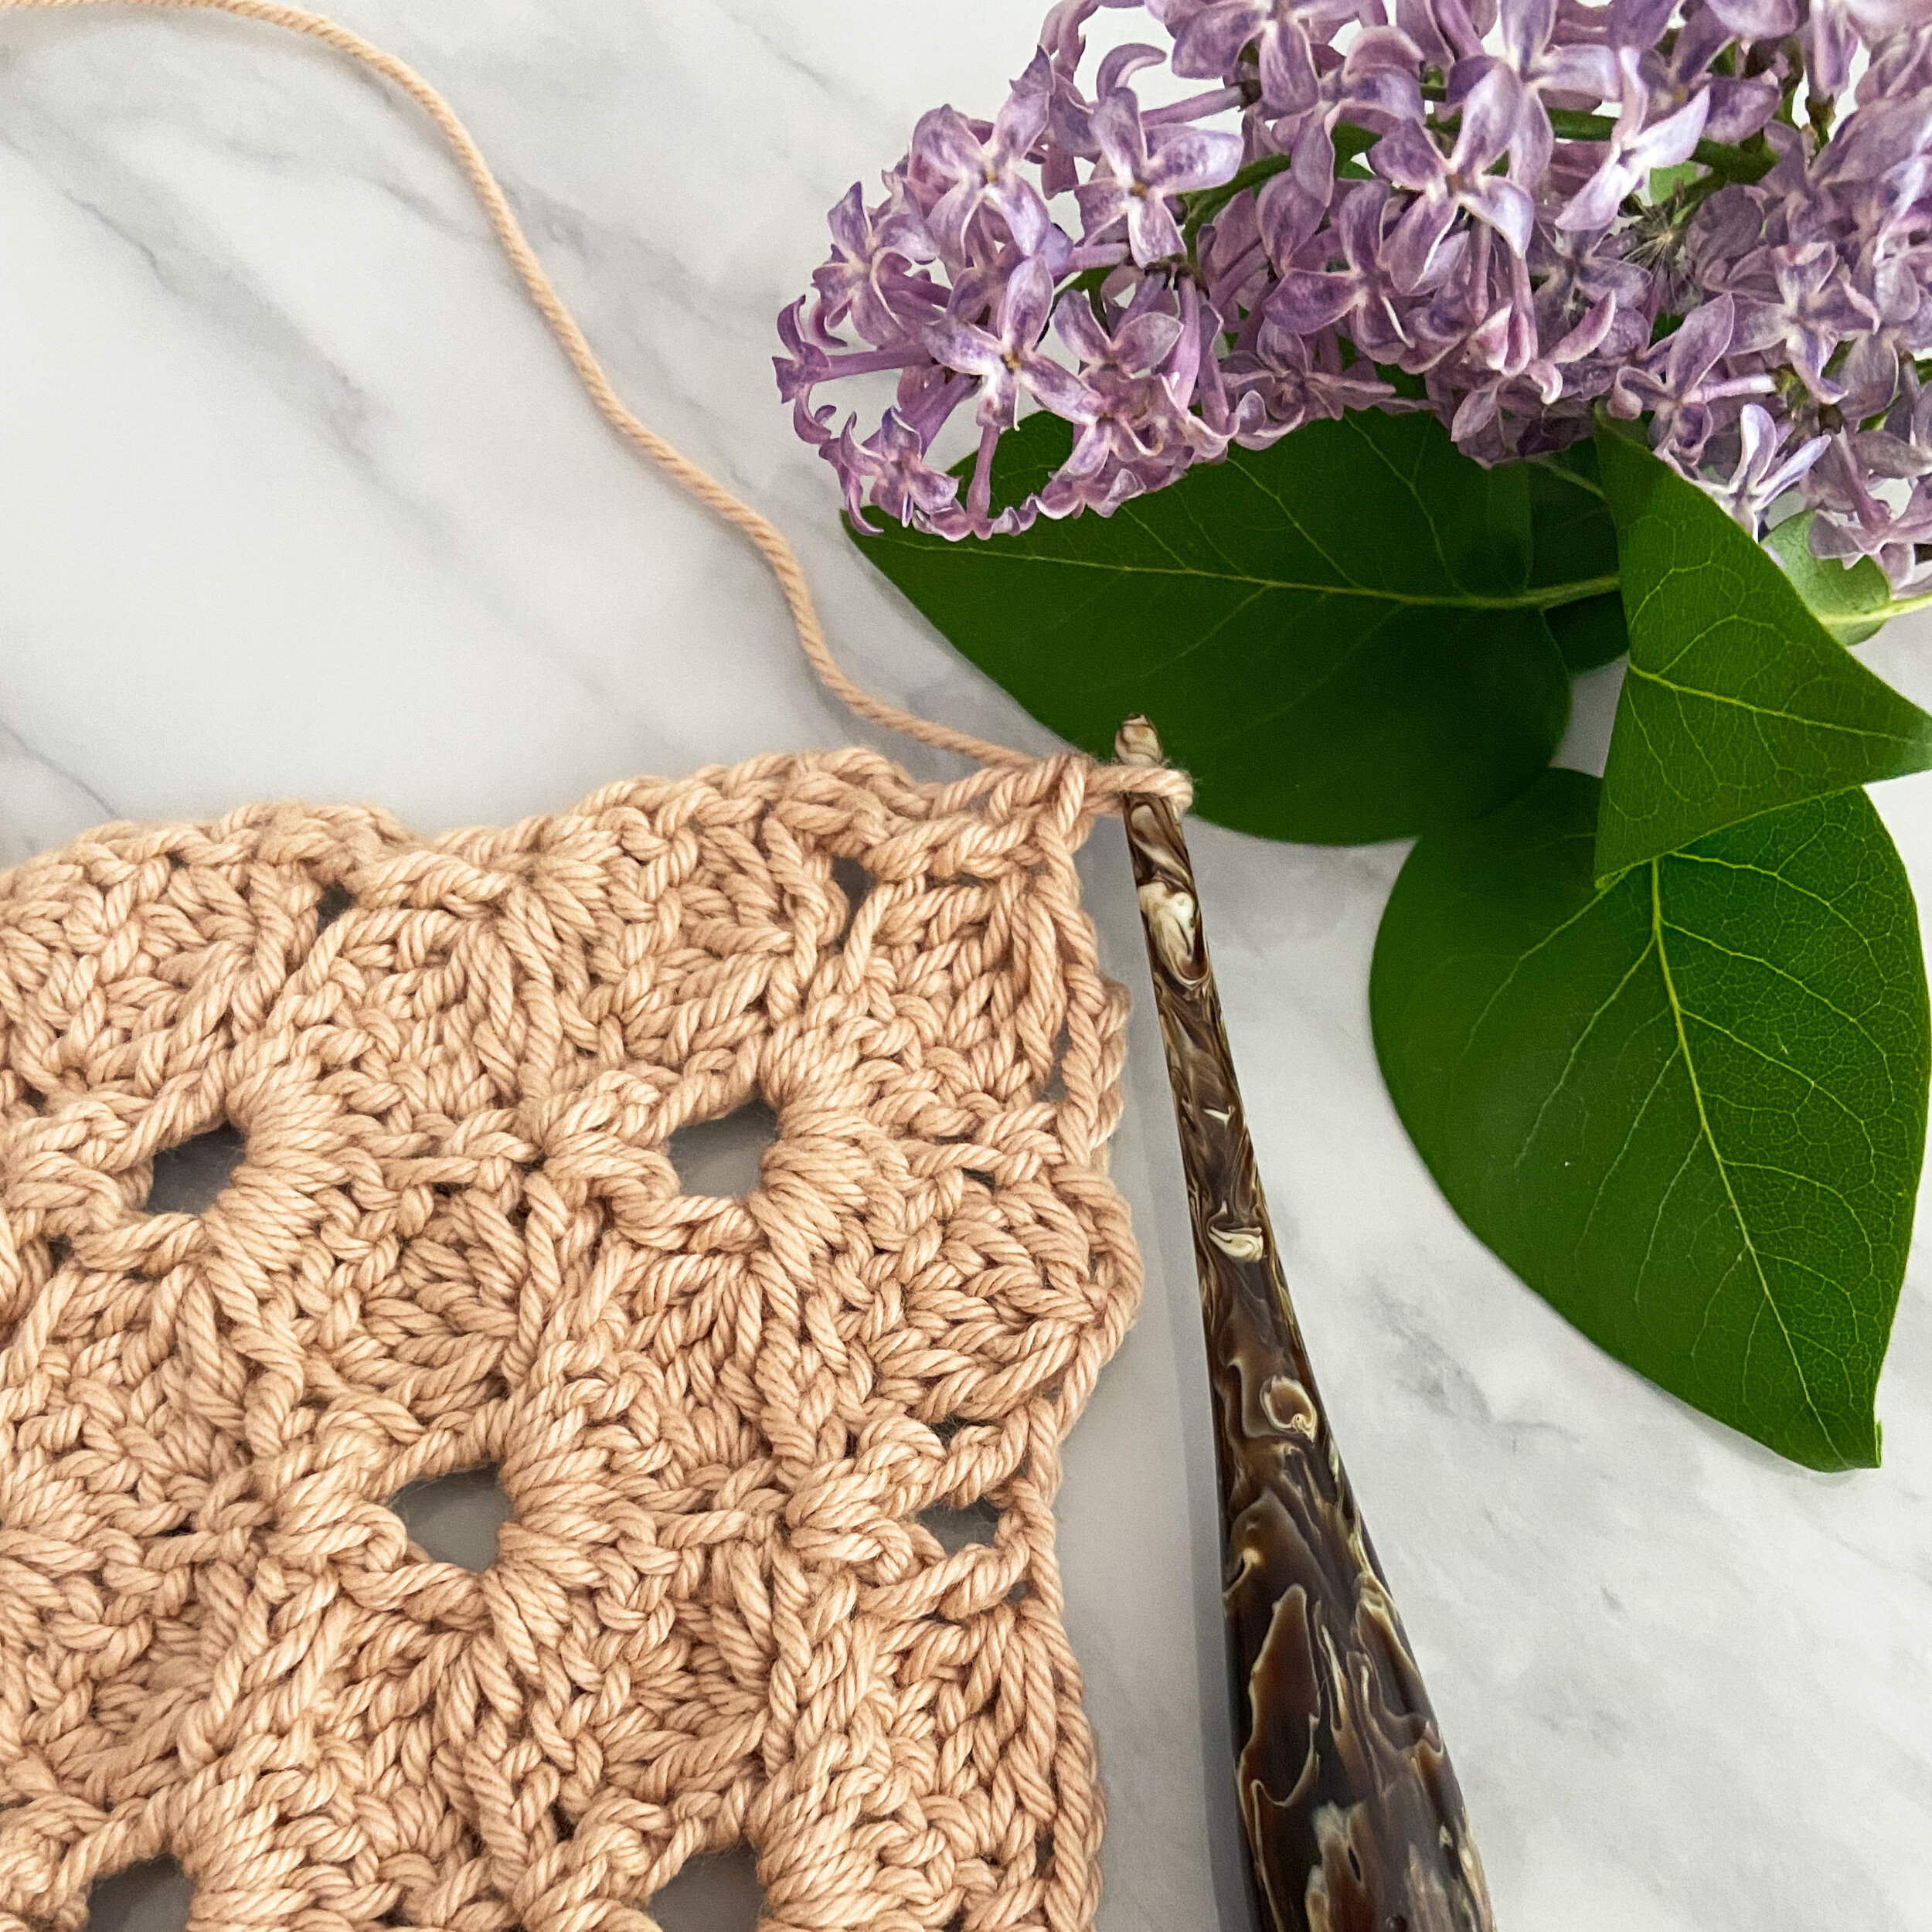
Dc4tog: *Yarn over, insert hook into next st and pull up a loop. Yarn over and pull through first two loops on hook. Repeat from * three more times (5 loops on hook). Yarn over and pull through all 5 loops to finish the stitch. See diagram below for an example.

Pattern Instructions
Row 1 (RS). Ch 42 and turn. Starting in the second ch from hook, sc in each ch across and turn. < 41 sc >
Row 2 (WS). Ch 3, 4dc in the same st. *Skip 4 sts, [dc, ch 1, dc] in next st. Skip 4 sts, [4dc, ch 1, 4dc] in next st. Repeat from * until 10 sts remain. Skip 4 sts, [dc, ch 1, dc] in next st, skip 4 sts, 5dc in last st and turn.
Row 3. Ch 1, sc in first st. *Ch 3, dc4tog over next 4 dc. Fpdc, ch 1 and skip the ch below, fpdc. Dc4tog over next 4 dc, ch 3,** sc in chsp. Repeat from * across, ending last repeat at ** (there should be 1 st remaining). Sc in last st and turn.
Row 4. Ch 3, dc in same st. *Skip ch-3 and next 2 dc, [4dc, ch 1, 4 dc] in next chsp. Skip next 2 dc and ch-3,** [dc, ch 1, dc] in next st. Repeat from * across, ending last repeat at ** (there should be 1 st remaining). 2dc in last st and turn.
Row 5. Ch 3, fpdc next st. *Dc4tog over next 4 dc, ch 3 and sc in chsp. Ch 3, dc4tog over next 4 dc, fpdc,** ch 1 and skip the ch below, fpdc. Repeat from * across, ending last repeat at ** (there should be 1 st remaining). Dc in last st and turn.
Row 6. Ch 3, 4dc in same st. *Skip next 2 dc and ch-3, [dc, ch 1, dc] in next st. Skip ch-3 and next 2 dc,** [4dc, ch 1, 4dc] in next chsp. Repeat from * across, ending last repeat at ** (there should be 1 st remaining). 5dc in last st and turn.
Repeat Rows 3 to 6 three more times, then repeat Row 3 once more.
Second Last Row: Ch 1, sc evenly across the row and turn. The number of sts is approx. 41, however, if you find that this is too many, work as many sts evenly so it will lay flat for you (through trial and error, I ended up with 38 sc).
Last Row: Ch 1, sc in each st across.
Fasten off and weave in the ends.
Variations
To make your dishcloth narrower or wider, work fewer or more chain sts in Row 1, starting with a multiple of 10+2. Each increment of 10 sts will give you approximately 2”/5cm, or one additional "keyhole.”
To make your dishcloth shorter or longer, work fewer or more full repeats of Rows 3 to 6. Each full repeat will give you just under 2”/5cm of height.
Keep in mind that any alterations to the stitch or row counts will adjust the yardage required.

Save this pattern to your Ravelry queue, or add a project to the pattern page!
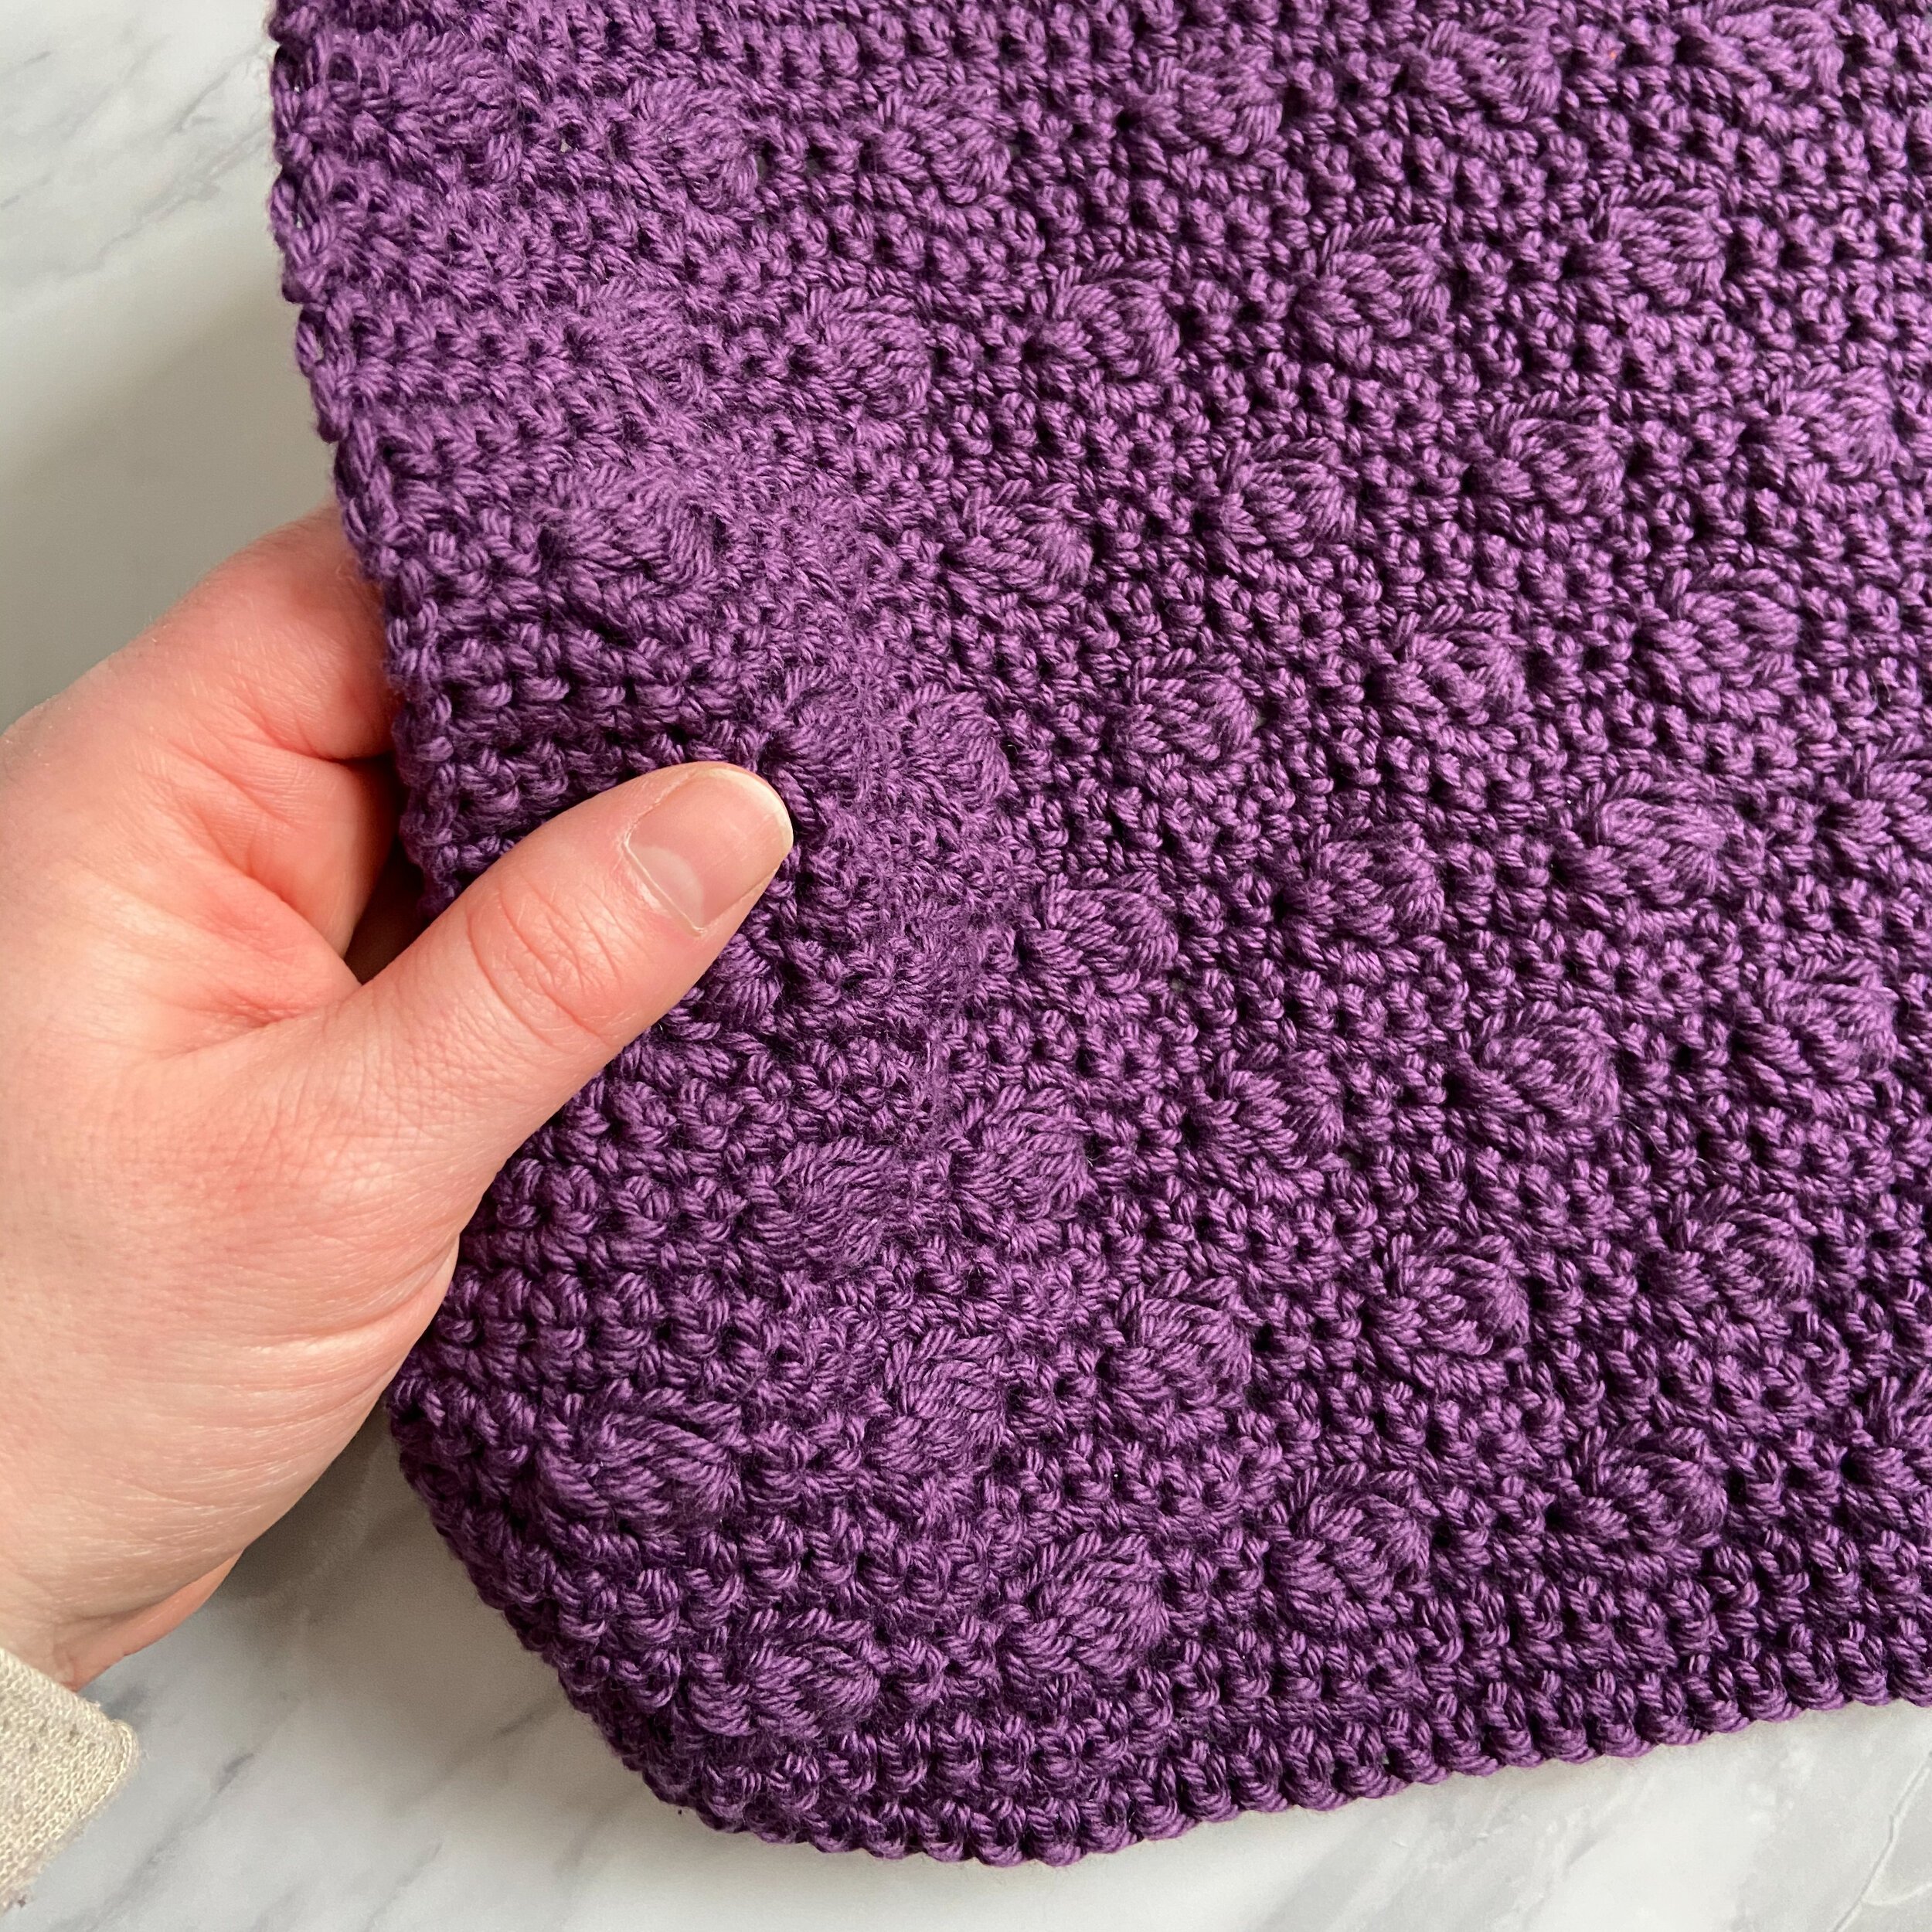
As a little bonus, check out the “wrong side” of this pattern - isn’t that a gorgeous texture?! I love when the backside of stitches looks just as good as the front side. If you enjoy this as well, check out the hashtag I started on instagram - #WIPItAndReverseIt - I would love for you to use it when you share your beautiful reversible textures!
Congratulations on finishing your Keyhole Dishcloth! Give yourself a big pat on the back (like I definitely did!) because this pattern is no walk in the park. I bet you are super proud of yourself for using such simple stitches to create such a gorgeous texture - I almost don’t want to use mine for scrubbing dirty dishes!
I’m having a lot of fun exploring these new-to-me techniques, and I hope you are too! I’d love to see your dishcloths (in finished or WIP form!), or how you’re using the things you’re learning here in your own designs. Share your dishcloth on Instagram using the hashtags #KeyholeDishcloth and #StitchExplorationSeries, and tag me, @capital.crochet!
You may sell finished items made from this pattern, but please credit me as the designer by linking back to this blog post.
Thank you so much for your support! If you’d like to be the first to know about new patterns in this series and other blog posts, make sure to subscribe to my newsletter below.

