
Stitch Exploration Series - Parallel Lines Dishcloth
/This post may contain affiliate links, meaning that if you click through and make a purchase, I earn a small commission at no extra cost to you. This helps support my business and makes it possible for me to bring you free content.
Wow… how is it May already?! Nevermind, I’m not going to question it because May means that we can FINALLY look forward to summer and all the warmth it brings. I’m definitely a “I’d rather be hot than cold” kind of person, and the cold weather seems to last longer and longer each year…
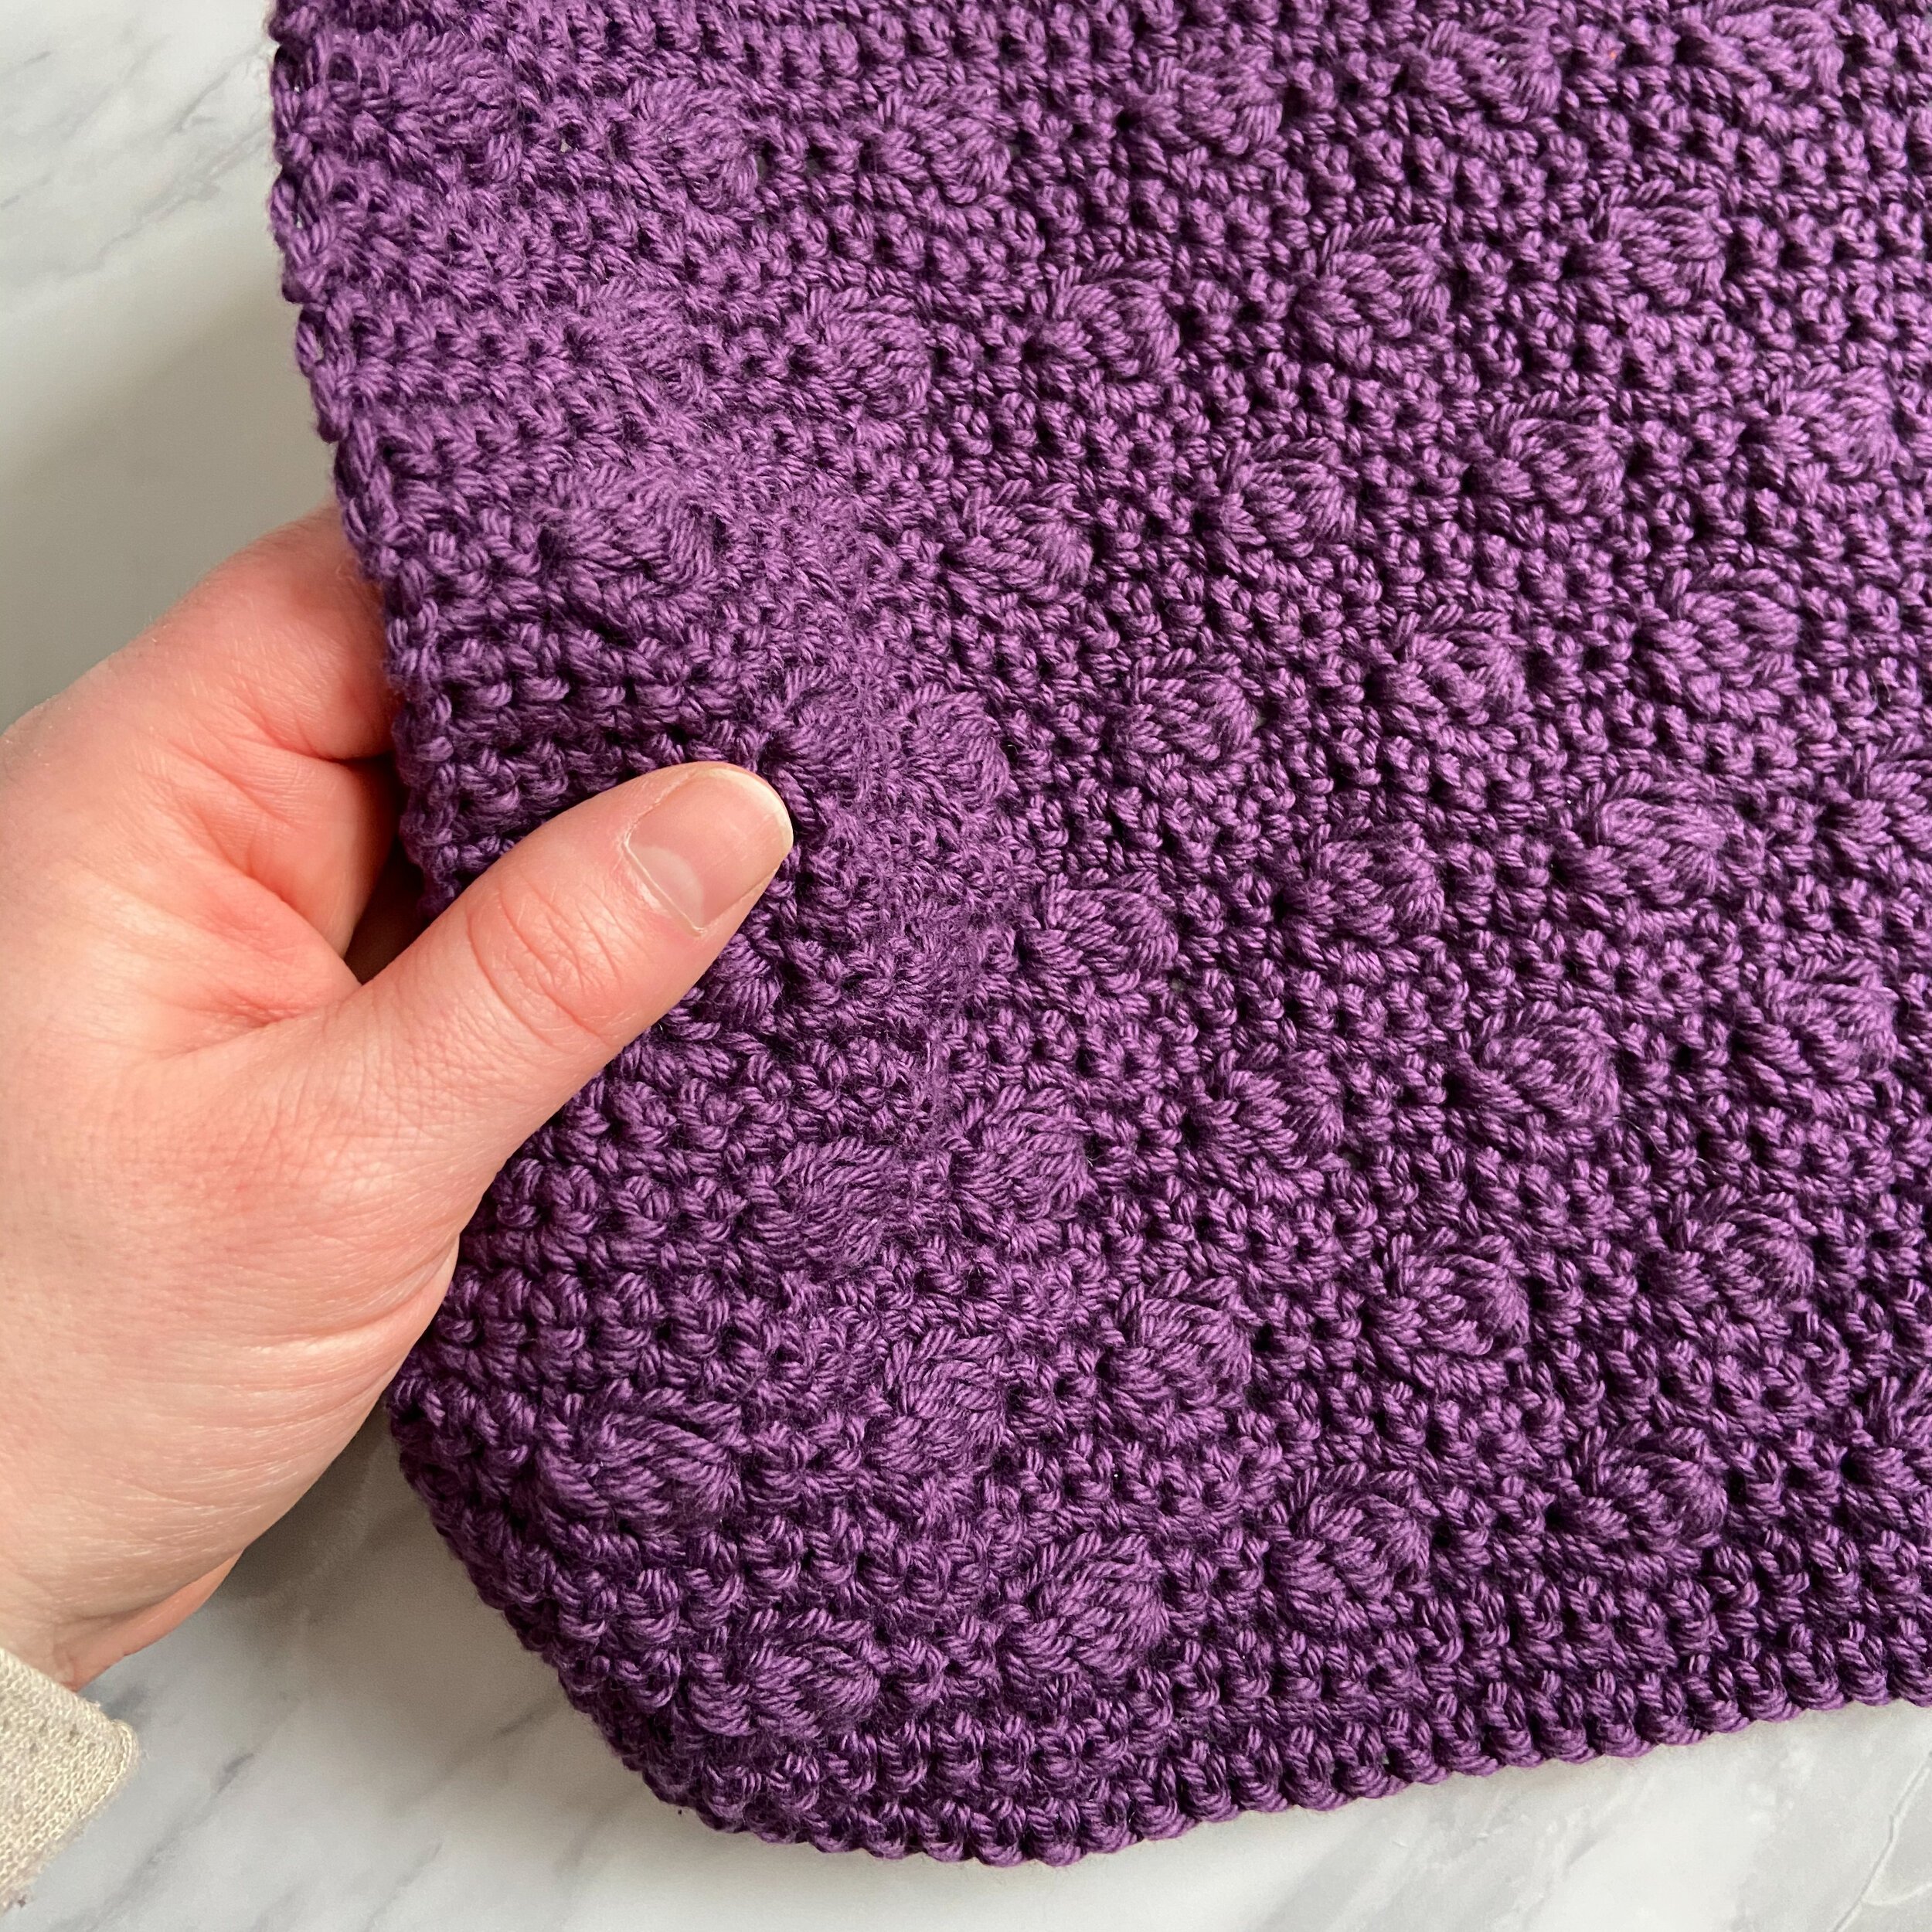
…but enough rambling - it’s time to introduce this month’s dishcloth pattern! The Parallel Lines Dishcloth is full of texture, and it uses such a simple technique. By crocheting into individual loops of different crochet stitches, it opens up so many options for creating ridges and ribbing!

This is the fifth pattern in my monthly Stitch Exploration Series, which is dedicated to exploring different stitch techniques and textures. Check out the other patterns in the series HERE.
This series is all about testing out new skills without the pressure of having to create a large project like a garment. When I’m designing, I find that I tend to choose familiar stitches, which can limit my creativity. I’ve chosen dishcloths because they’re small enough to finish up quickly, but large enough to get a general idea of the fabric the stitch pattern will create!
This month’s pattern features a bit of an anatomy lesson as we look at the loops in different crochet stitches.
For this series, I’ve chosen a beautiful, durable cotton yarn, Dishie from WeCrochet. It comes in lots of fun colours (30 solids in total, plus there are also Dishie Twist and Dishie Multi!), and it is really nice to work with. It’s also really durable, making it great for dishcloths! In my experience so far, this yarn really holds up well during tough scrubbing.

So far, my favourite patterns in the series are the Pollyanna Dishcloth (green) and the Mulberry Dishcloth (purple). I love the unique textures! Do you have a favourite so far?
Materials
Hook - US G/4mm, or size needed to meet gauge.
Yarn - WeCrochet Dishie, 100% cotton, 190 yds (174m)/100g (3.5oz) per skein. I used approx. 92 yds (84m) of the colourway Silver.
Notions - scissors, tape measure, yarn needle.
Notes
Ch sts to start each row do not count as sts.
Gauge is not critical for this project, however, if yardage is a concern, you should aim to meet it as closely as possible. No one will judge an extra half inch on your dishcloth!
Generally, I do not block cotton washcloths, because they’re just going to get wet anyway. If you’re making for gifting, or just want to straighten things out, feel free to block as you see fit.
Sizing
Gauge - 4”/10cm = 14 sts x 16 rows in sc, unblocked.
Finished measurements - approx. 8” wide x 8.5” tall / 20.5cm wide x 22cm tall.
Terminology/Abbreviations
This pattern uses standard US terms as detailed by the Craft Yarn Council:
BLO - work into the back loop of the stitch (see Special Stitches section)
Ch - chain
Hdc - half double crochet
Sc - single crochet
Sl st - slip stitch
St(s) - stitch(es)
Third loop - work into the third loop of the hdc st (see Special Stitches section)
Special Stitches - Loops
Crochet stitches have different parts to them, including loops formed as we work the stitches. The pictures below demonstrate the different loops we will be working into for this pattern.
Third Loop: the black arrows in photo B below indicate the front loops of the hdc stitch (the back loop is behind, we can’t see it from this angle). Below the front loop is the third loop, indicated here by the white arrows. To work into the third loop, insert your hook from bottom to top (follow the direction of the white arrow).
Back Loops: the black arrows in photo A below indicate the back loops, these are farthest from you. The white arrows indicate the front loops, these are the closest to you. To work in the back loops only (BLO), insert your hook in between these loops, underneath the back loops.


Pattern Instructions
Row 1 (RS). Ch 40 and turn. Starting in the second ch from hook, hdc in each ch across and turn. <39 sts>
Row 2 (WS). Ch 1, sc in the third loop of each st across, and turn.
Row 3. Ch 1, hdc blo of each st across and turn.
Rows 4 and 5. Repeat Rows 2 and 3.
Row 6. Repeat Row 2.
Rows 7 and 8. Ch 1, sc in each st across and turn.
Row 9. Ch 1, hdc in each st across and turn.
Repeat Rows 2 to 9 three more times, then repeat Rows 2 to 5 once more.
Last Row. Ch 1, sl st in the third loop of each st across.
Fasten off and weave in the ends.
Variations
To make your dishcloth narrower or wider, start with fewer or more chain sts in Row 1. Every additional 7 sts will give you approximately 2”/5cm of width.
To make your dishcloth shorter or longer, work fewer or more full repeats of Rows 2 to 9. Each full repeat will give you just over 1.5”/4cm of height.
Keep in mind that any alterations to the stitch or row counts will adjust the yardage required.

Save this pattern to your Ravelry queue, or add a project to the pattern page!

Congratulations on finishing your Parallel Lines Dishcloth! I think this ridged texture is great for dishcloths because it is such a sturdy texture. You can also experiment with different stitches into different loops to create unique ribbing for garments - slip stitch ribbing is one of my favourites, despite it being so tedious!
I’m having a lot of fun exploring these new-to-me techniques, and I hope you are too! I’d love to see your dishcloths (in finished or WIP form!), or how you’re using the things you’re learning here in your own designs. Share your dishcloth on Instagram using the hashtags #ParallelLinesDishcloth and #StitchExplorationSeries, and tag me, @capital.crochet!
You may sell finished items made from this pattern, but please credit me as the designer by linking back to this blog post.
Thank you so much for your support! If you’d like to be the first to know about new patterns in this series and other blog posts, make sure to subscribe to my newsletter below.

