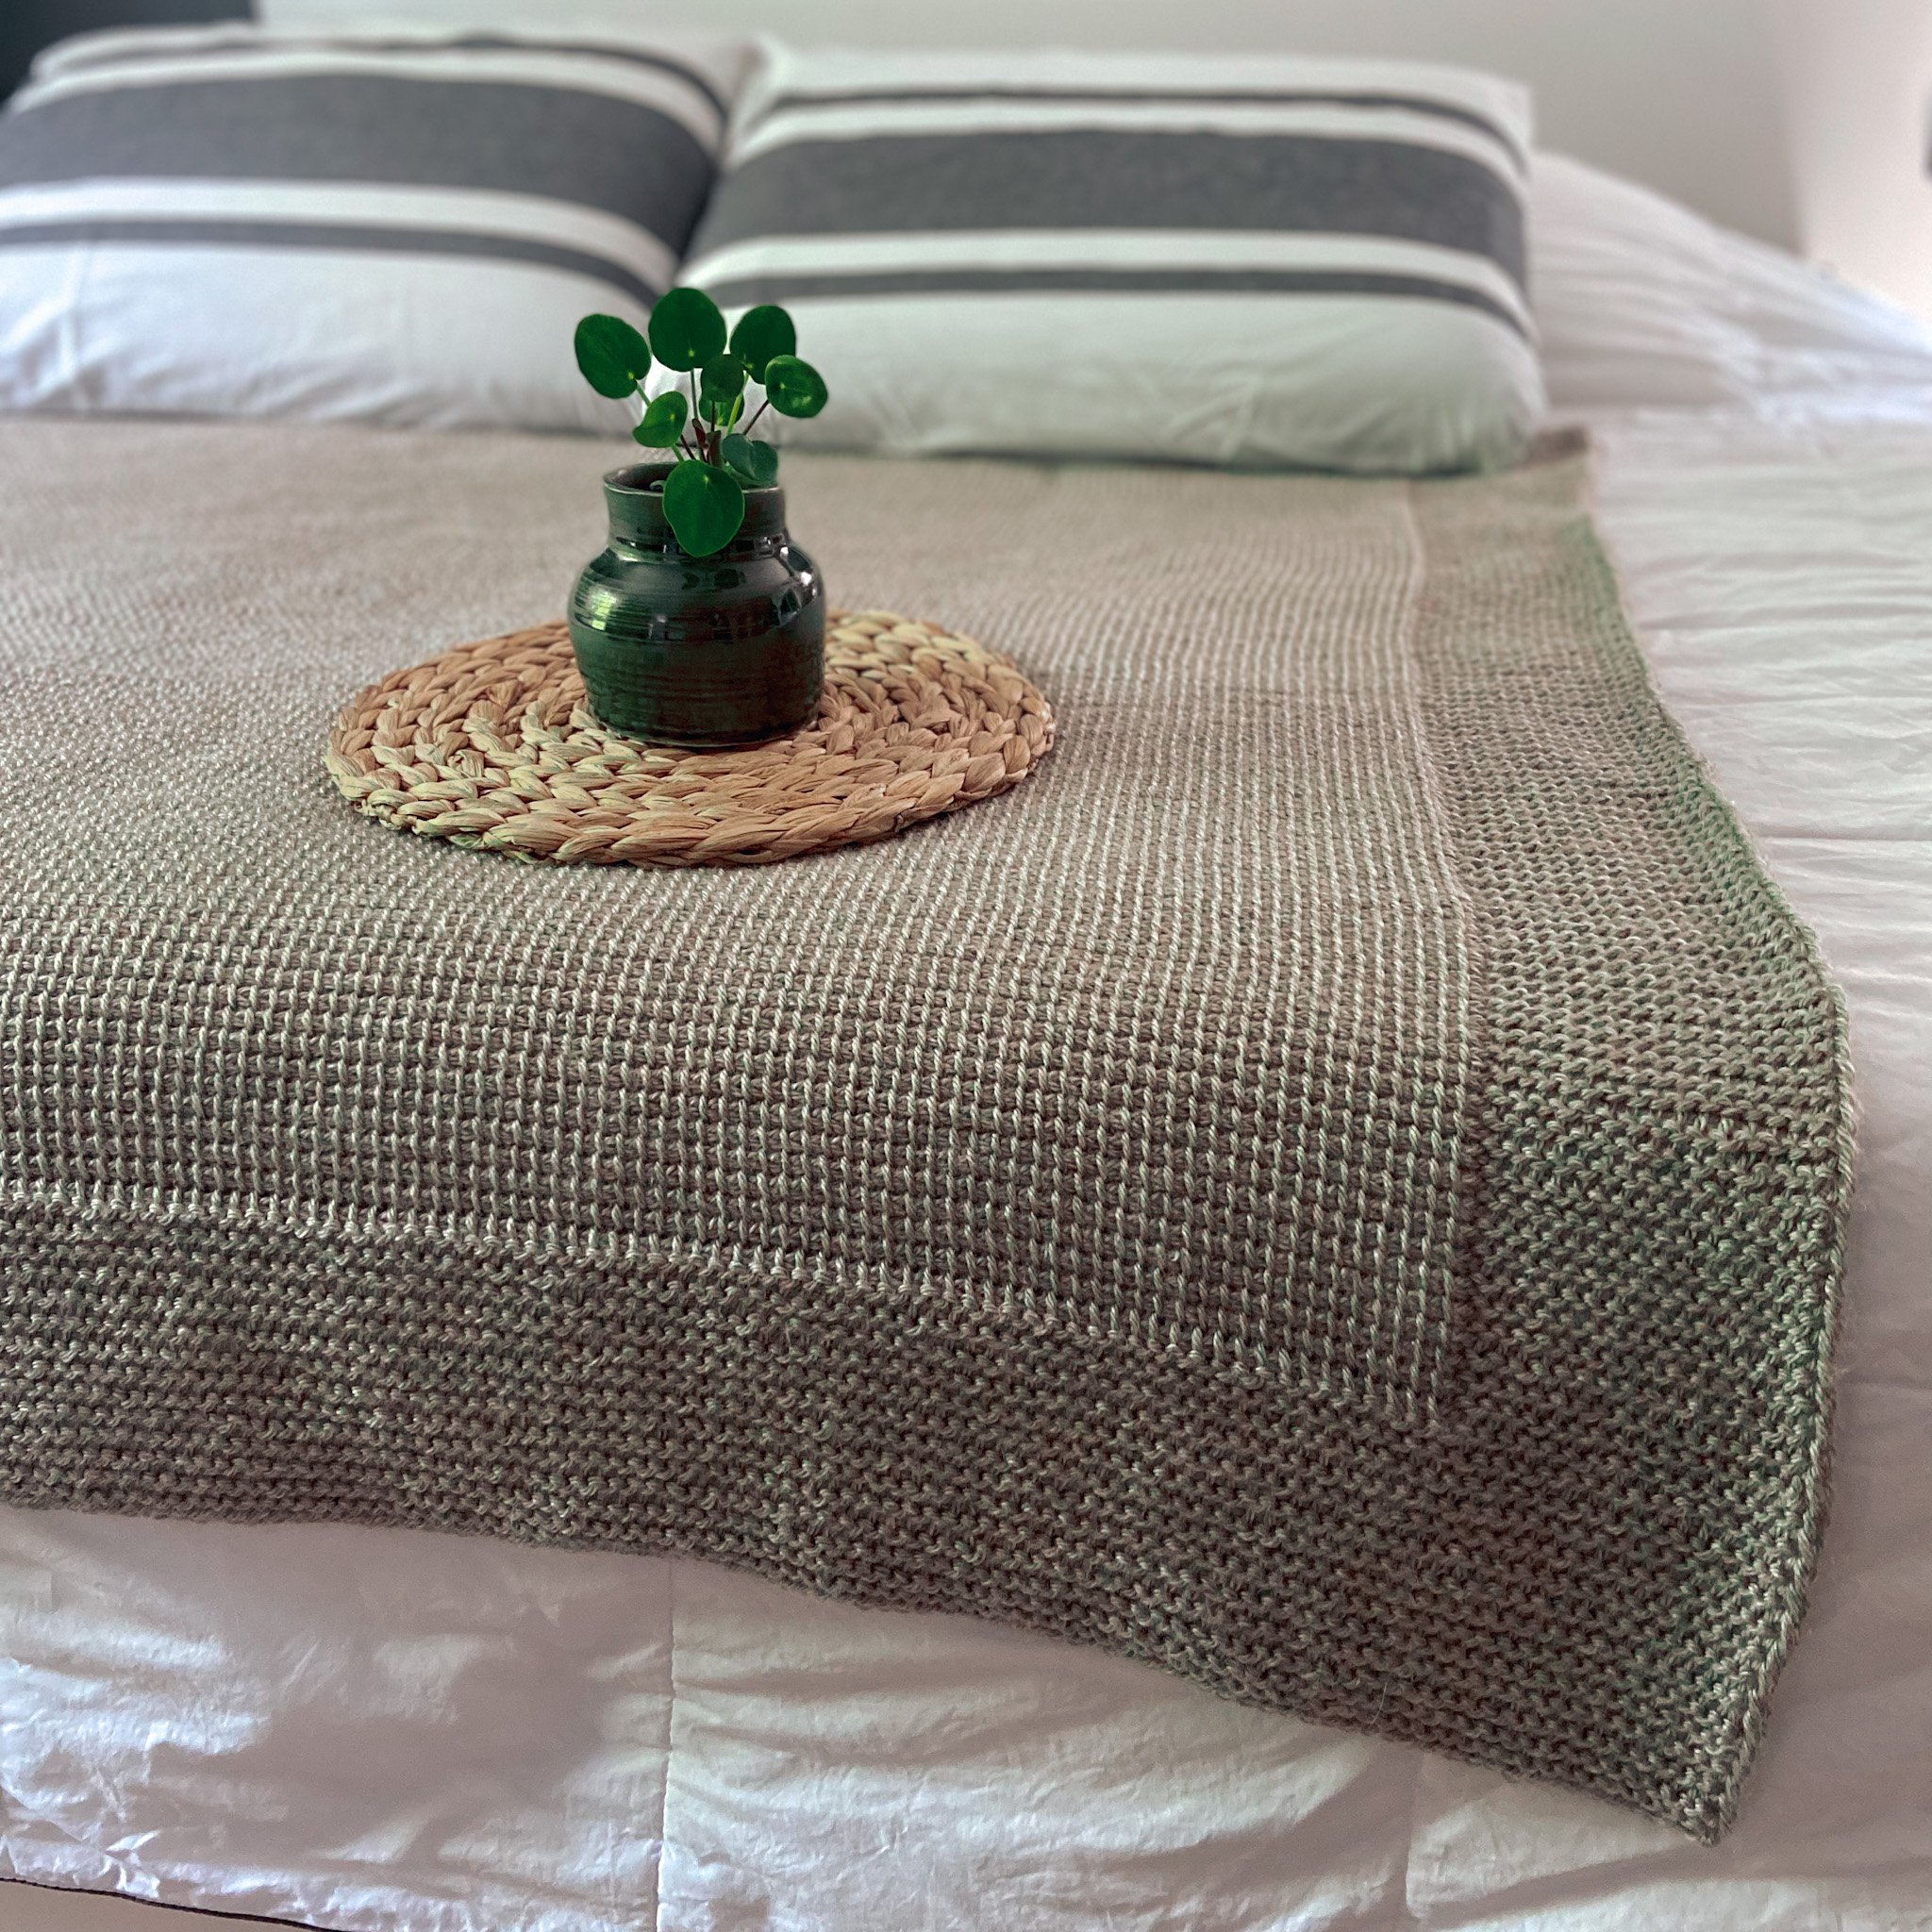
Color Crop Blanket
/This post may contain affiliate links, meaning that if you click through and make a purchase, I earn a small commission at no extra cost to you. This helps support my business and makes it possible for me to bring you free content.
Hi friends, it’s been a while, but today I’m sharing my newest crochet blanket pattern with you!

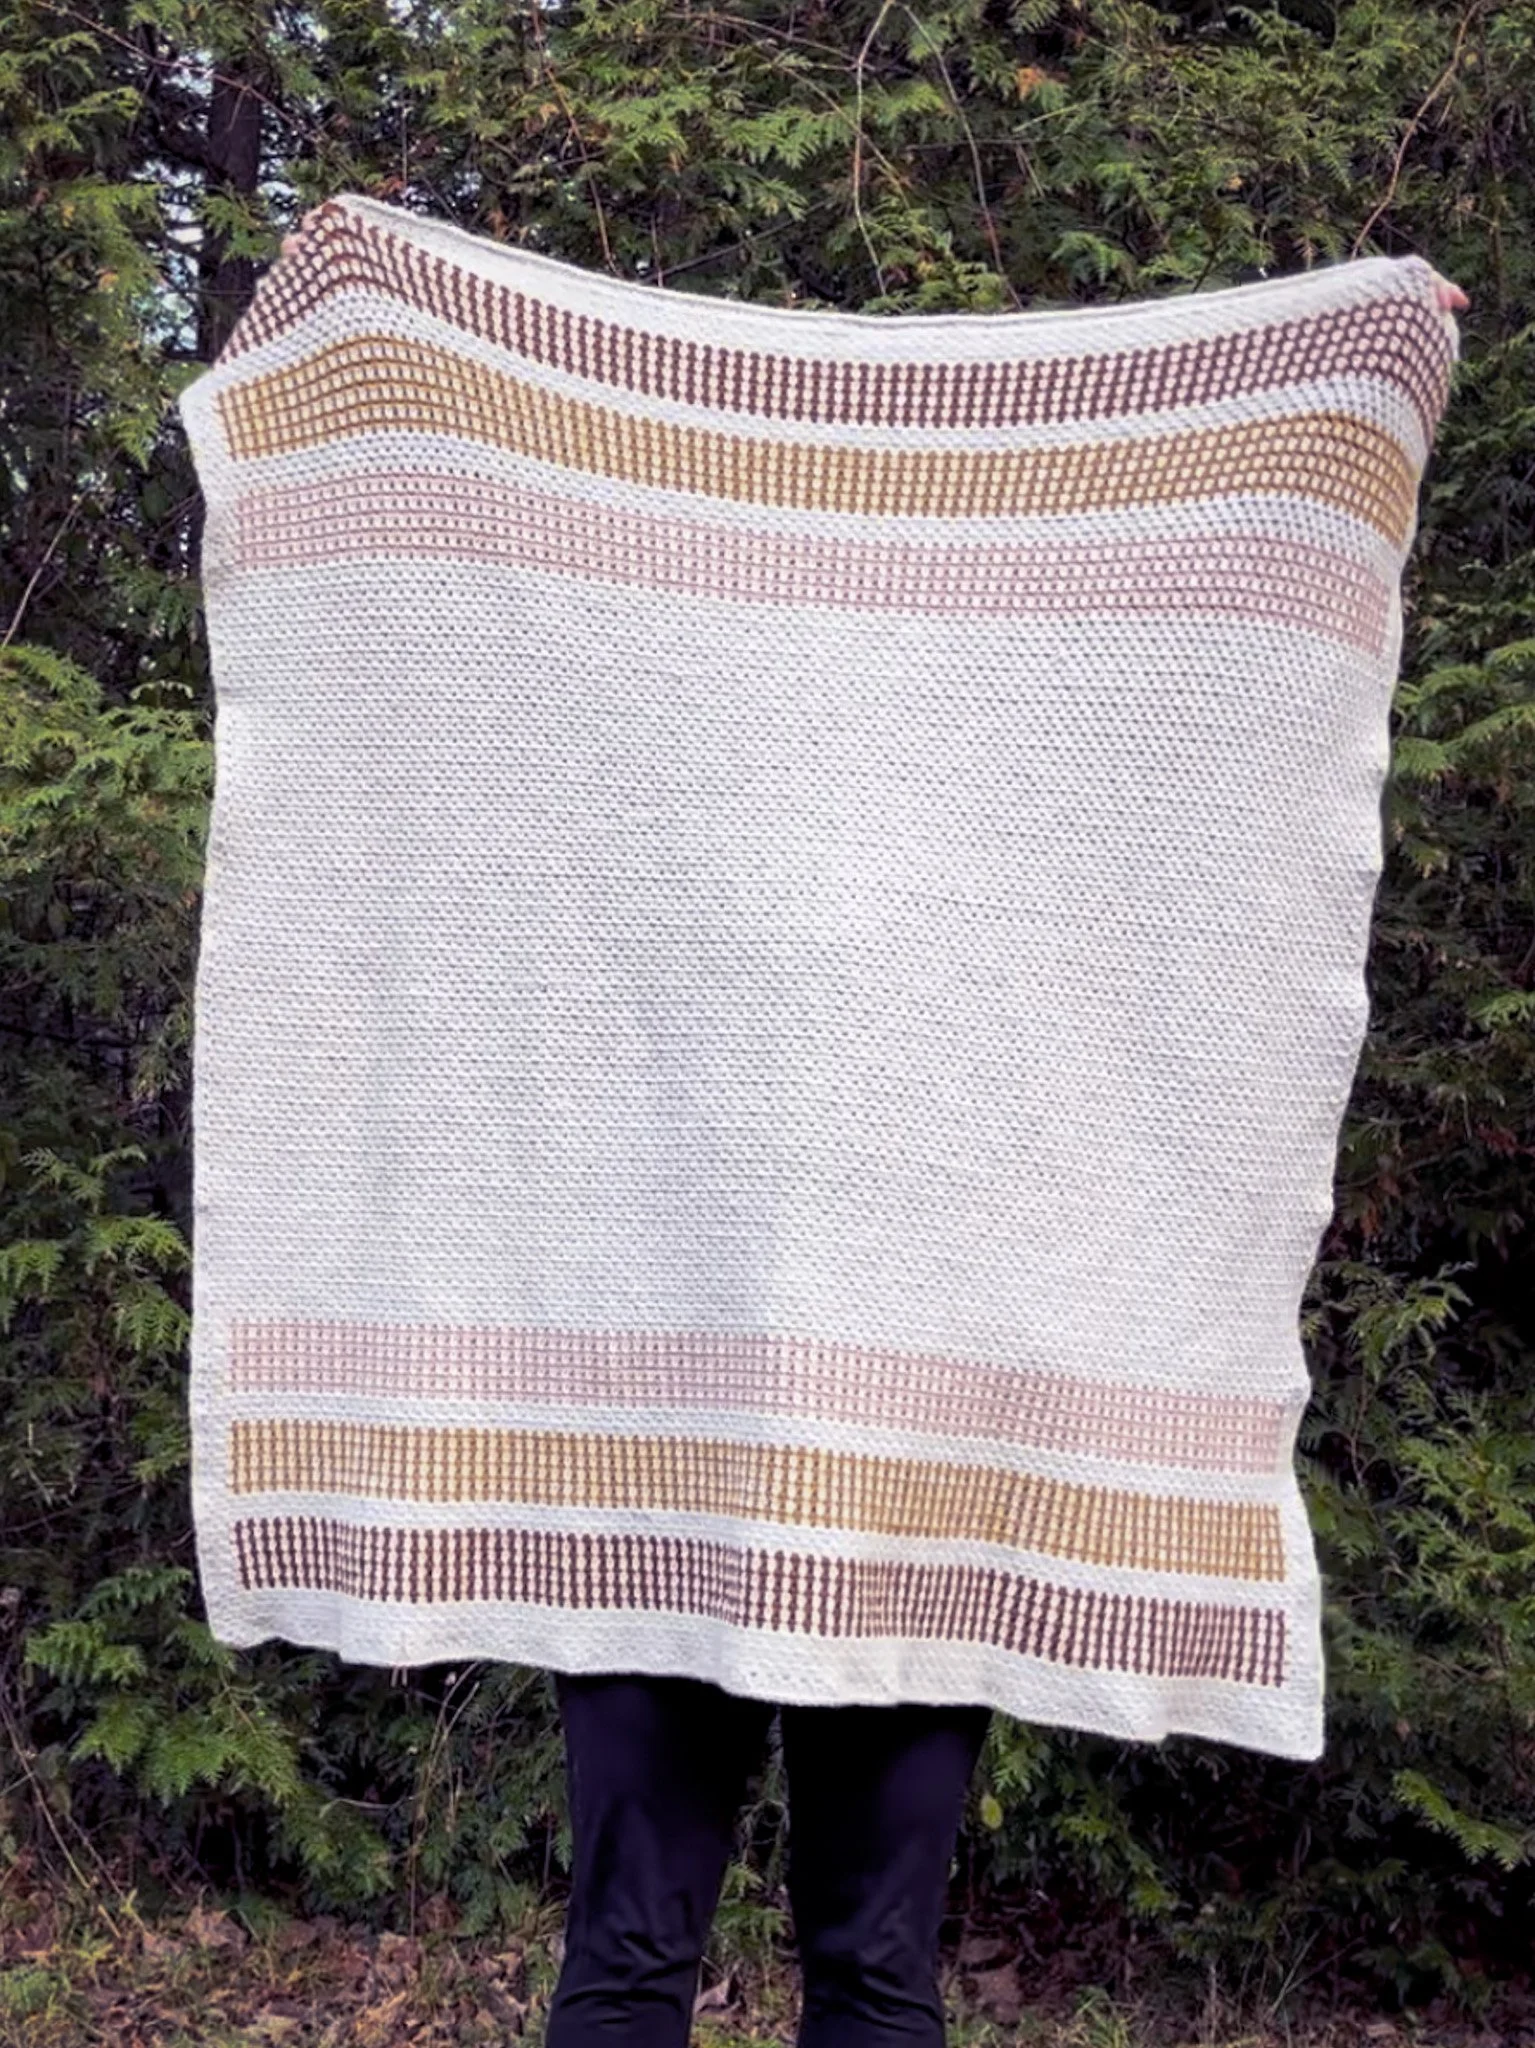
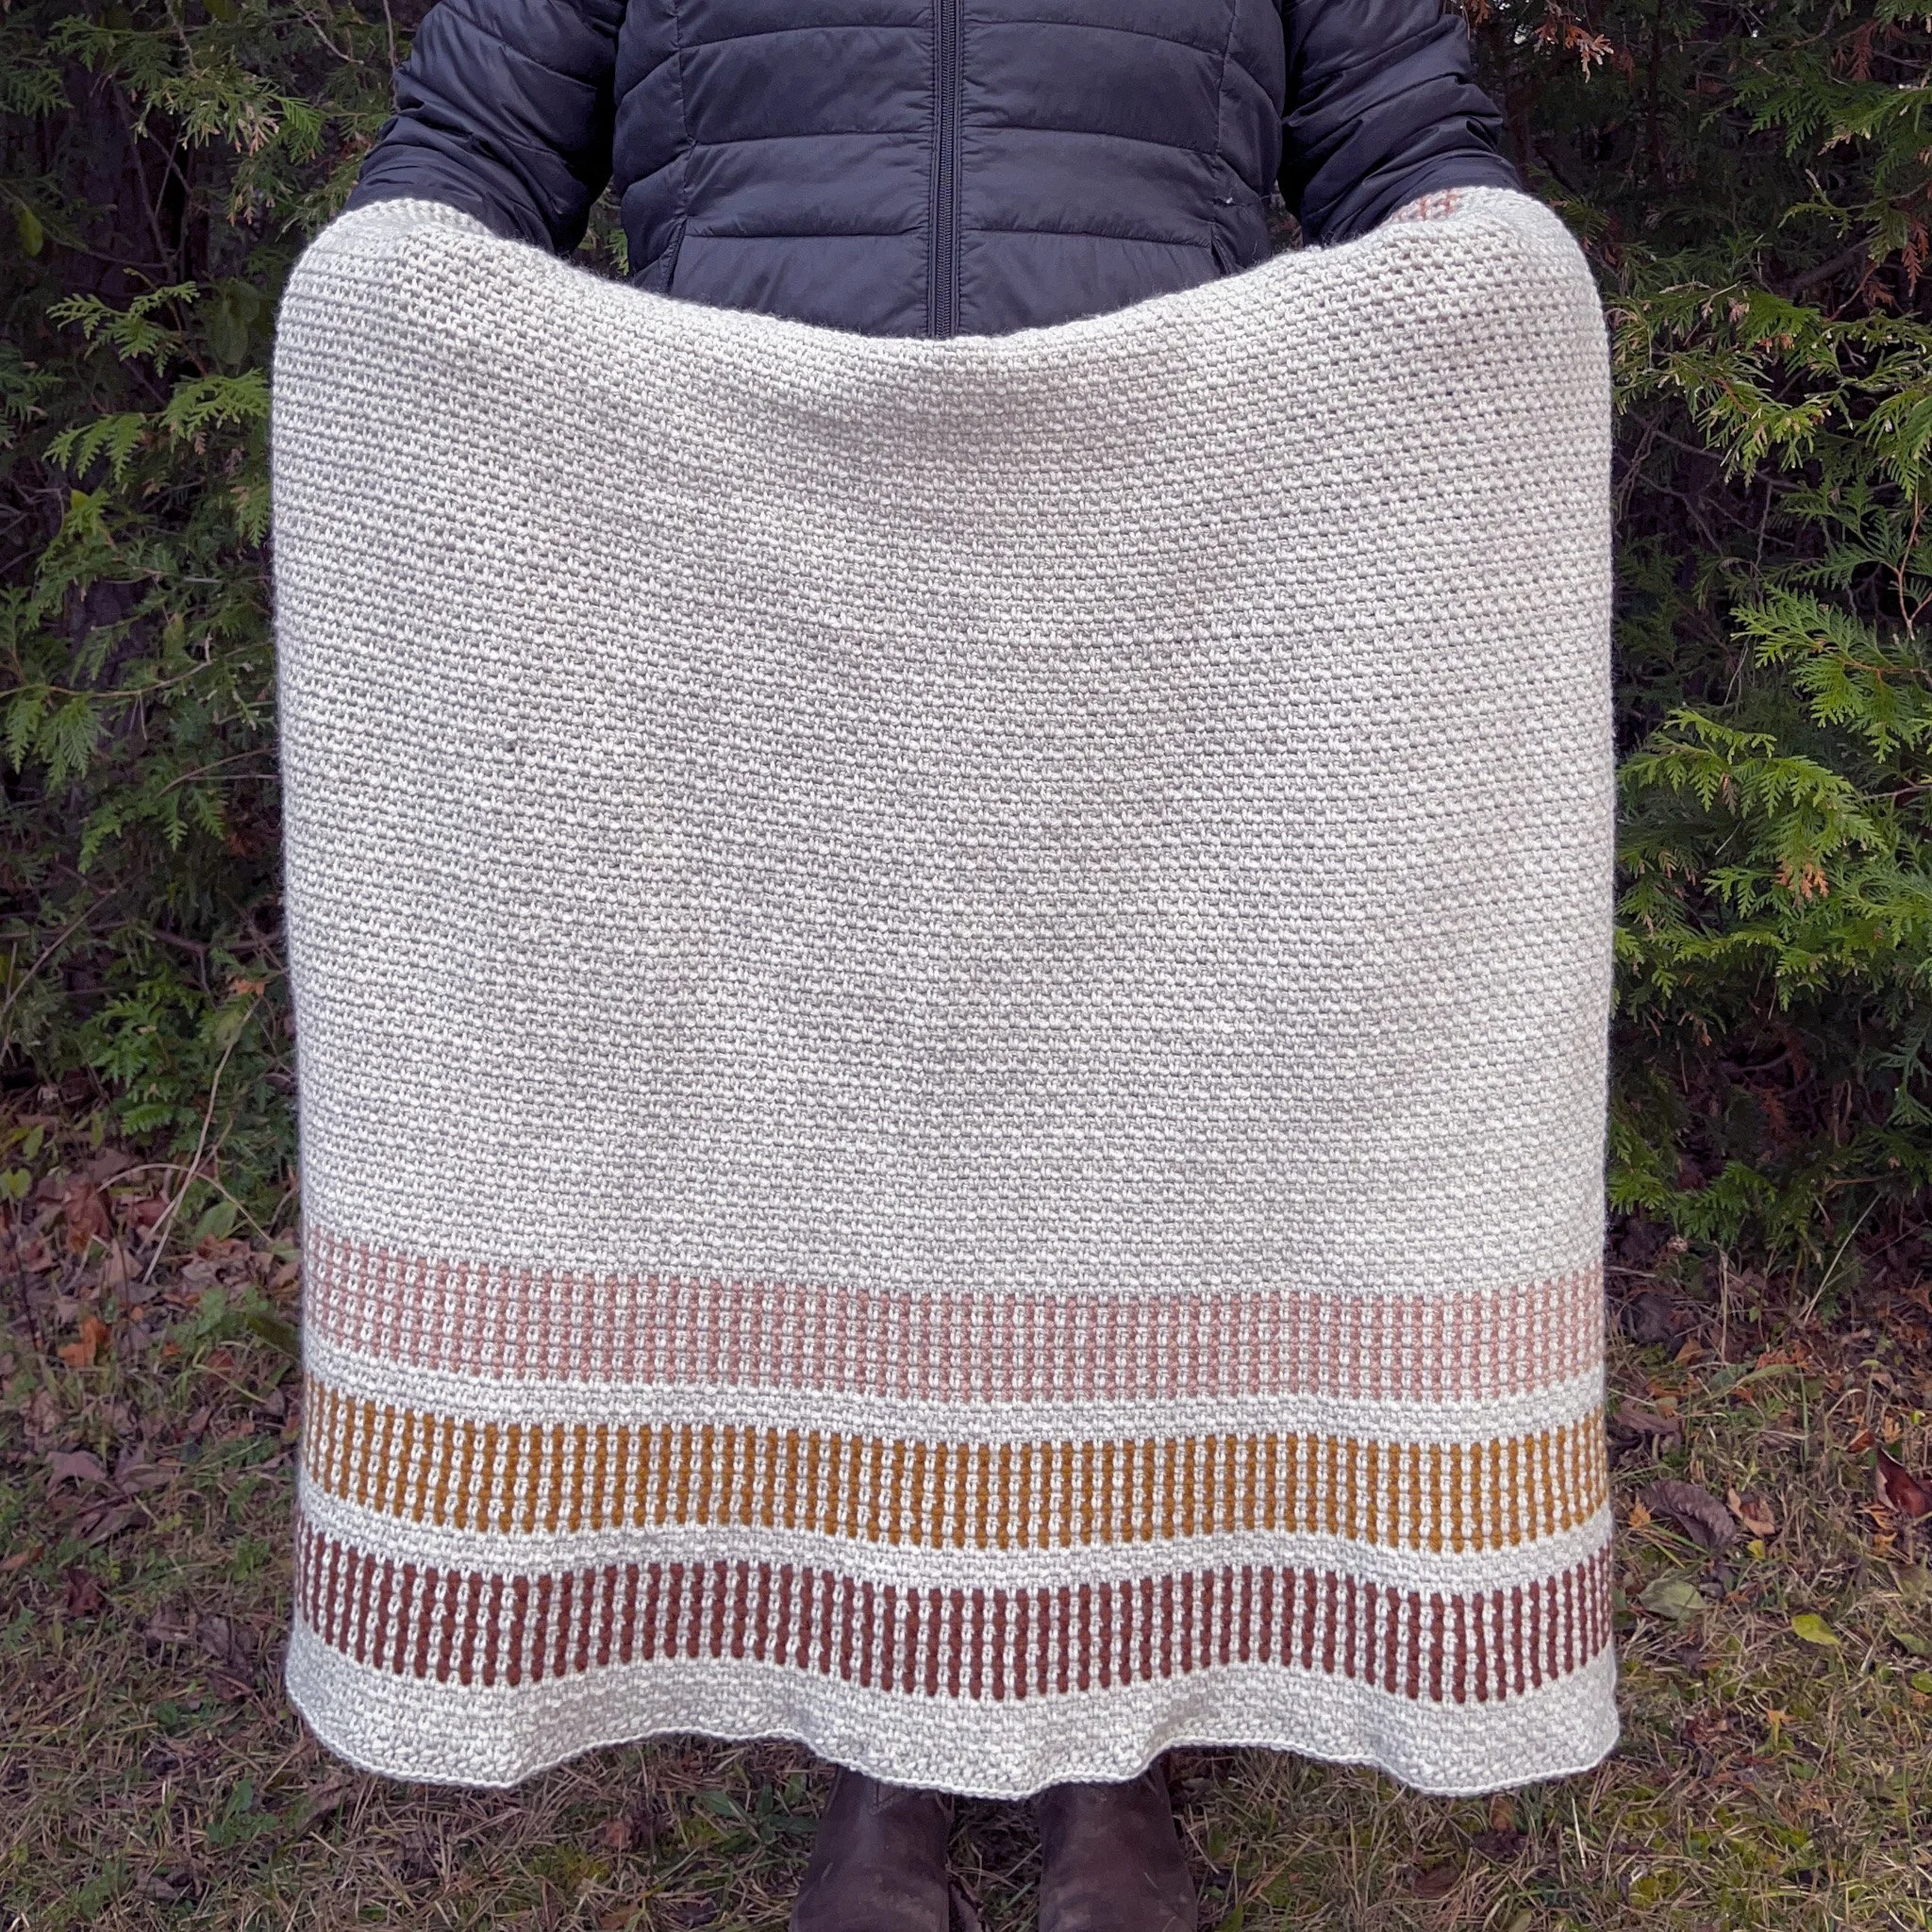
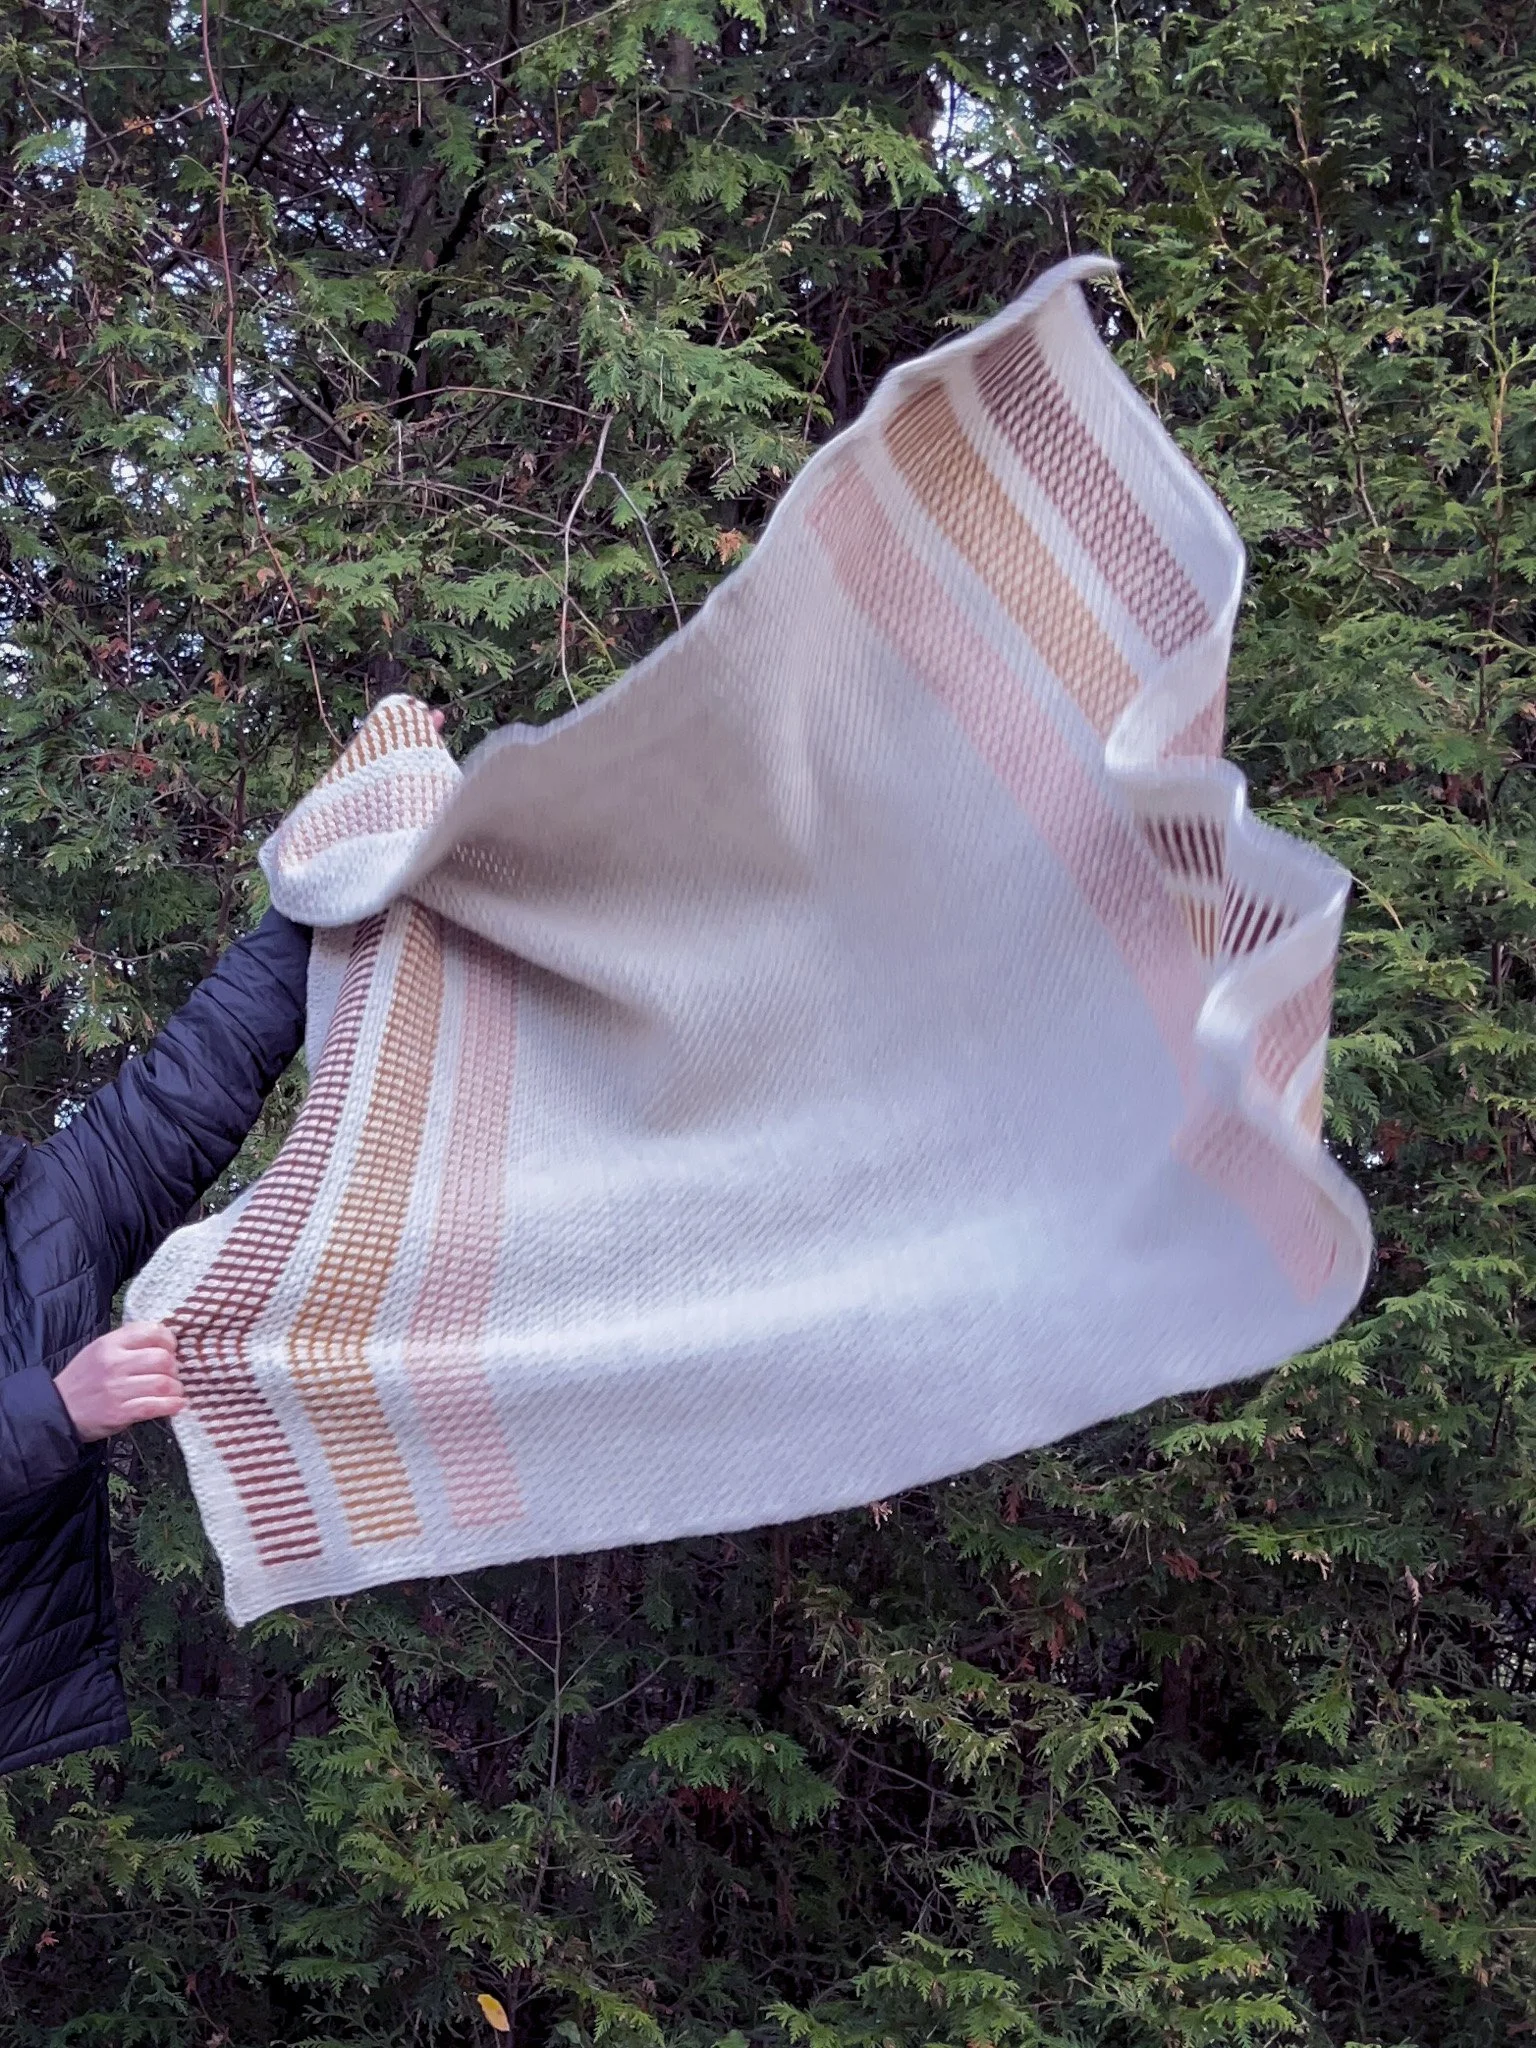
A cozy blanket is a must for this time of year, and the beauty of this one is that it adds just a wee little pop of colour. Sometimes bold and bright is the way to go (the Retro Stripes Blanket, for example), but sometimes you just want something neutral with a little hint of colour to fit in nicely with your decor.
This easy-level pattern is also a kit available at Lion Brand Yarn. Get everything you need to make the blanket in one easy package!
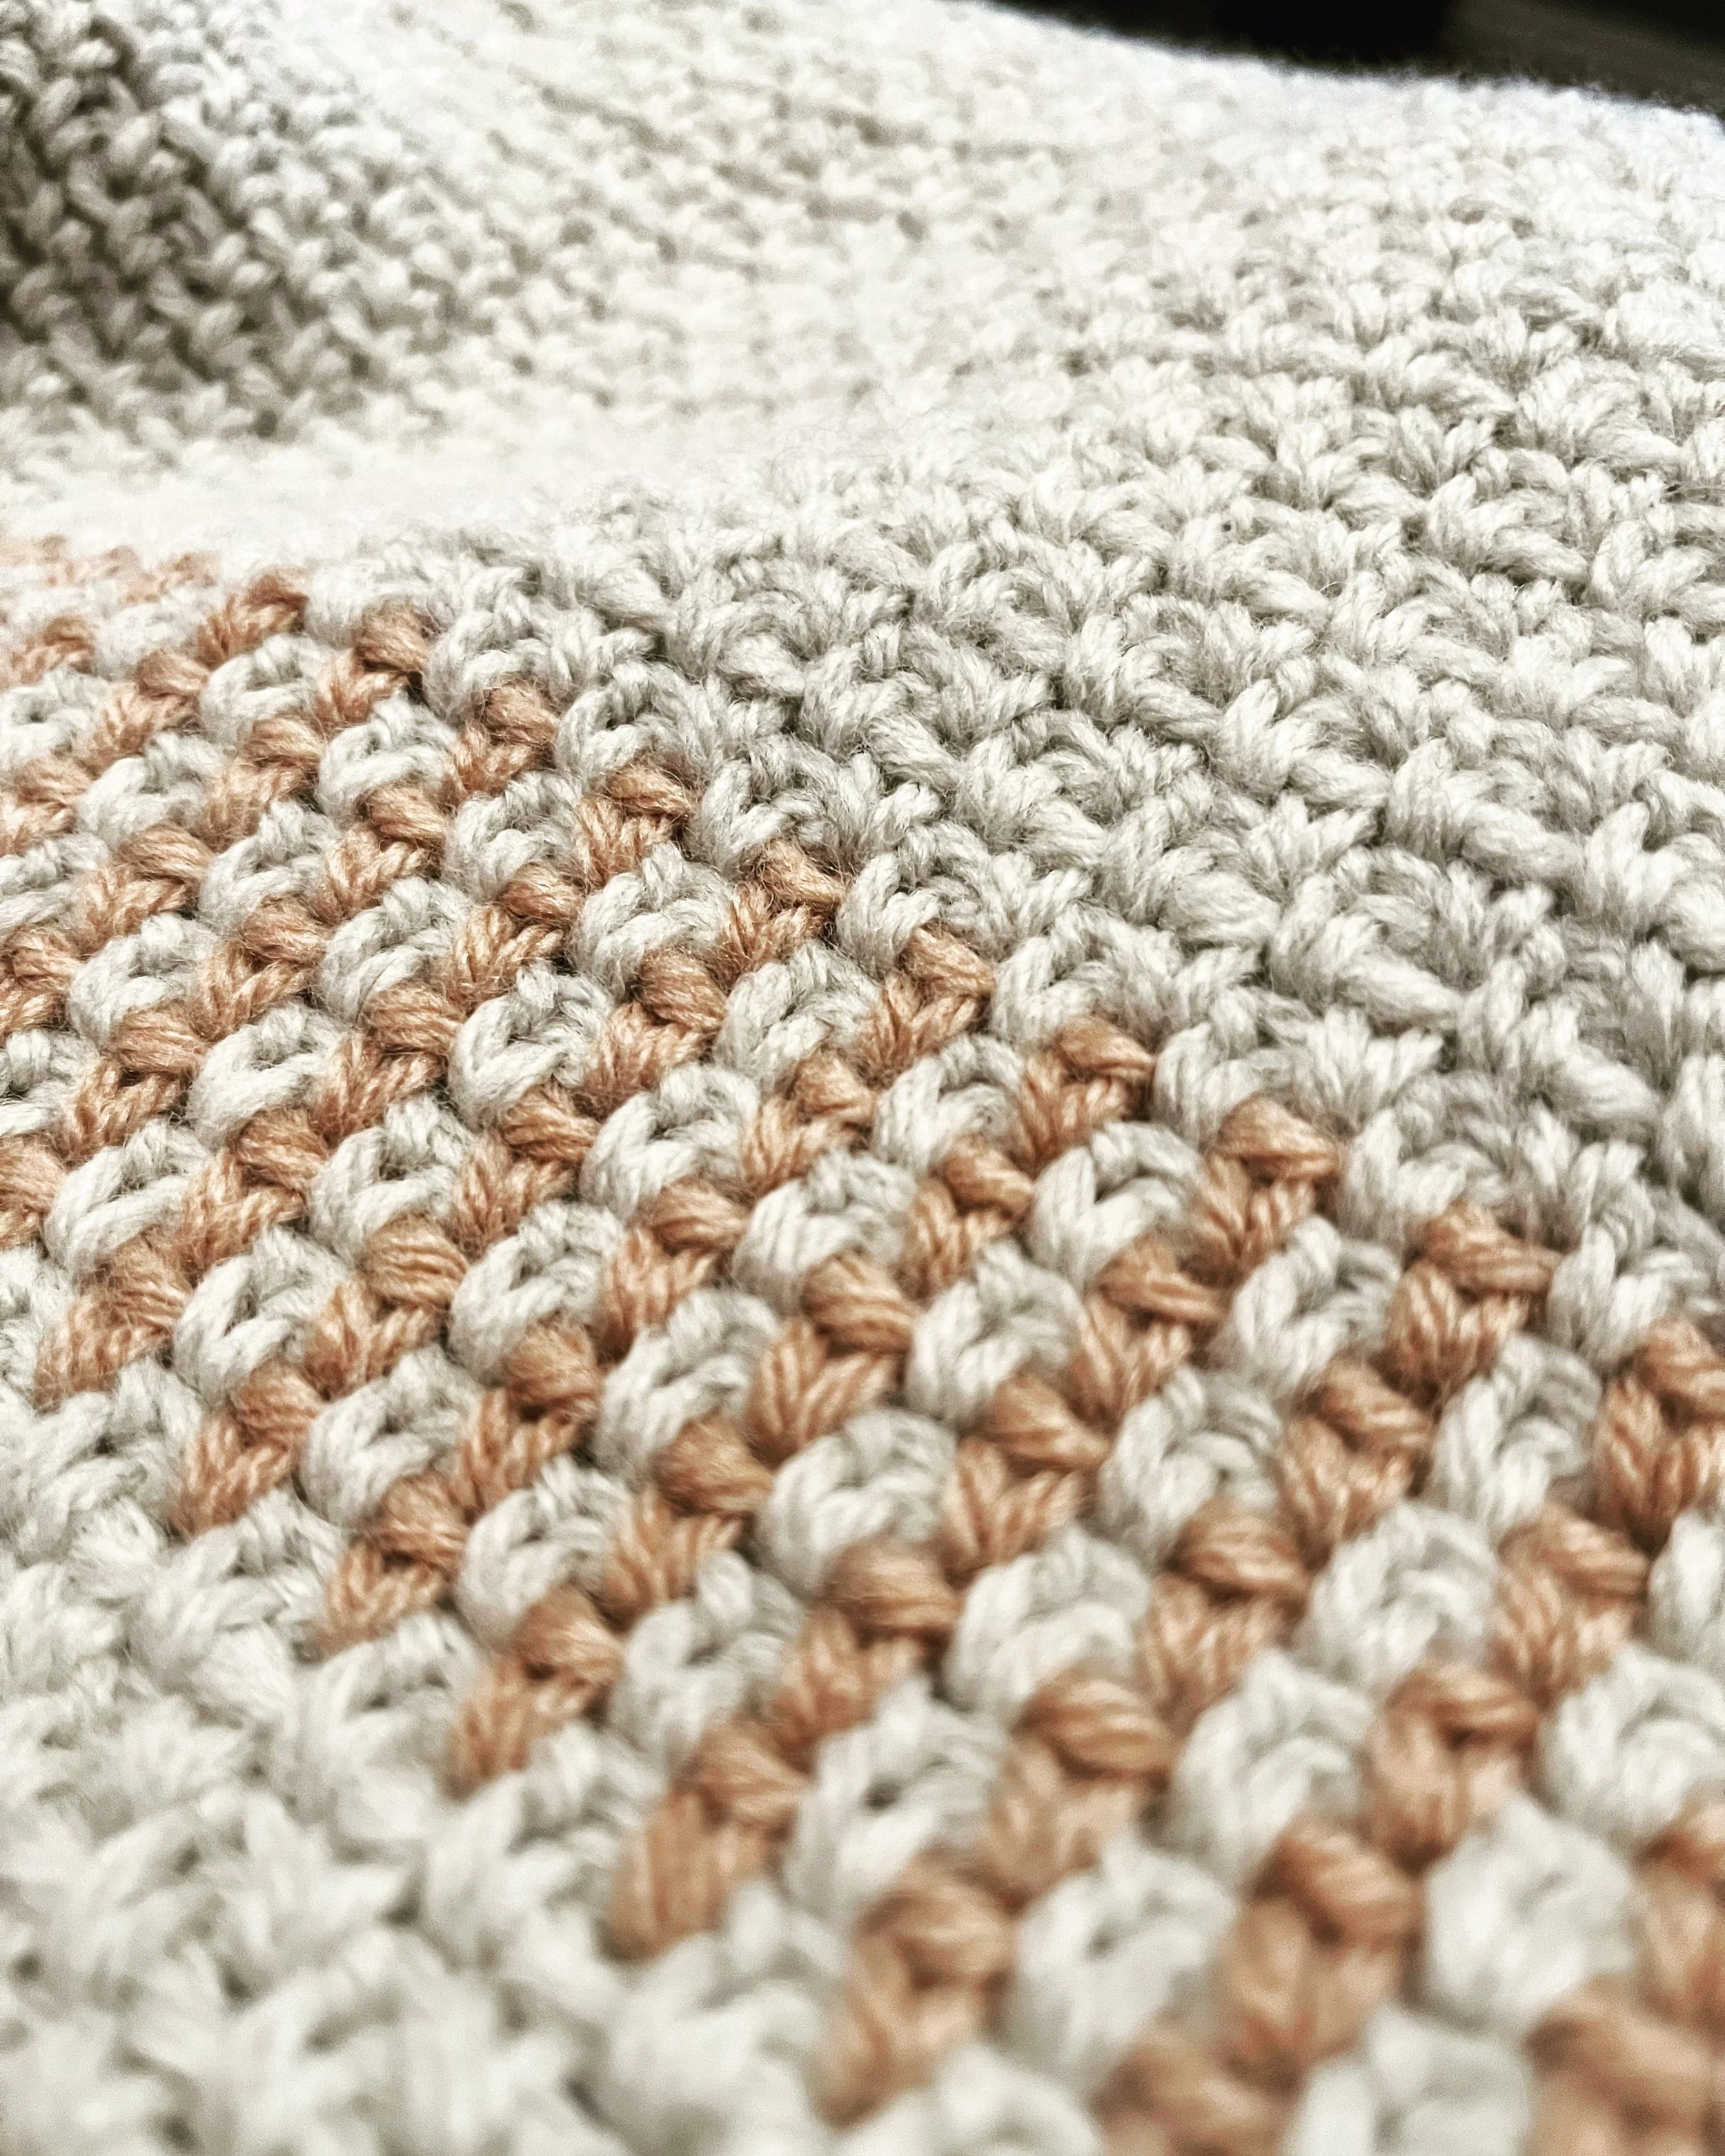
The neat lines in this blanket remind me of how crop fields look in the spring, with new seedlings poking up from the soil. Made with simple stitches, this pattern uses clever striping to create an understated pop of color that can either compliment or contrast your décor, depending on the look you’re going for.
I used Lion Brand Wool Ease for this pattern because it is durable and washable. For something that will get a lot of use, these qualities are so important (especially in house with kids and pets, like mine!). I even find that the yarn softens up and gets even cozier after a few washes.
It also offers a big range of colours, so you can choose the perfect combo for you or the person you’re making this for!
If you don’t want to use this yarn, I do suggest a yarn with some acrylic content for durability and ease of use. Check out yarnsub.com to find something comparable that is available near you.
Materials
Yarn: Lion Brand Yarn Wool-Ease (Worsted (4), 80% acrylic/20% wool, 197 yds/180m, 85g), four colours total, approx. 1650 yds/1509m of Main colour and 120yds/110m of each contrast colour
Main Color (MC): Natural Heather – 9 skeins
Color A: Umber – 1 skein
Color B: Arrowwood – 1 skein
Color C: Canyon Sunset – 1 skein
Hooks: US J/6mm hook (or size needed to meet gauge); US I/5.5mm hook (1 to 2 sizes down from hook that meets gauge)
Notions: measuring tape, scissors, yarn needle
Sizing
Gauge: 18 sts x 17 rows = 4”/10cm in moss stitch (each st and ch counts as 1 st)
Finished Measurements: 43”/109cm wide x 45”/114cm long
See the Variations section below for instructions on how to easily modify the size.
Terminology/Abbreviations
This pattern uses standard US terms as detailed by the Craft Yarn Council:
Ch: chain
Chsp: chain space
Fsc: Foundation single crochet
MC: Main Color
RS/WS: right side/wrong side
Sc: single crochet
Sk: skip
Sl st: slip stitch
St(s): stitch(es)
Difficulty
Easy: this pattern uses a combination of single crochet and chain stitches known as Moss Stitch, Granite Stitch or Linen Stitch. There are simple colour changes as well.
Notes
Ch 1 to start each row does not count as a stitch.
Keep all of your yarn tails/color changes to the WS. They will be in the back when working a RS row, and in the front when working a WS row. This will keep everything neat and tidy, and will make weaving in the ends a lot easier.
I recommend cutting the yarn with each yarn change. It makes for more ends to weave in, but also means you won’t need several skeins of yarn on the go at once. Carrying the MC through the colors will make it visible and will ruin the clean striping effect.
To change colors, work the ch by pulling through with the new color.
You may wish to work your foundation stitches in Row 1 and final row of stitches with the smaller hook as well. If you are a looser crocheter, you may want to try this so that your top and bottom edges don’t flare.
I did not block my finished blanket, but a gentle steam blocking can help to even things out if required. Take care to keep the color change areas neat by maintaining even tension and don’t pull too tightly when weaving in the ends.
Pattern Instructions
SET UP SECTION
Start with MC and the larger hook.
Row 1 (RS): Fsc 193. < 193 sts >
Row 2 (WS): Ch 1, sc in first st, *ch 1 sk 1, sc in next st. Repeat from * to end of row, turn.
Row 3: Ch 1, sc in first st, sc in chsp, *ch 1 sk 1, sc in next chsp. Repeat from * until one st remains, sc in last st, turn.
Rows 4-8: Repeat Rows 2 and 3, ending with a repeat of Row 2. Keep MC attached.
STRIPE SECTION 1
Row 9 (RS): Ch 1, sc in first st, sc in chsp. Ch 1, sk 1, sc in next chsp. Change to color A (this counts as the ch 1), sk 1, sc in next chsp. *Ch 1 sk 1, sc in next chsp. Repeat from * until 2 chsp remain. Change to MC (this counts as the ch 1), sk 1, sc in next chsp, ch 1 sk 1, sc in next chsp, sc in last st, turn.
Row 10 (WS): Ch 1, sc in first st, *ch 1 sk 1, sc in next st. Repeat from * to end of row, turn.
Rows 11-17: Repeat Rows 9 and 10, ending with a repeat of Row 9.
Rows 18-22: Repeat Rows 2 and 3, ending with a repeat of Row 2.
Rows 23-36: Repeat instructions for Rows 9-22, using color B.
Rows 37-45: Repeat instructions for Rows 9-17, using color C.
MIDDLE SECTION
You should have MC attached after finishing off the last section.
Rows 46-144: Repeat Rows 2 and 3, ending with a repeat of Row 2.
STRIPE SECTION 2
Rows 145-181: Repeat instructions for Rows 9-45, starting first with color C, then B, then A. The colors of the stripes should be reversed from Stripe Section 1.
END SECTION
You will finish with another solid section of MC.
Rows 182-188: Repeat Rows 2 and 3, ending with a repeat of Row 2.
Row 189: Ch 1, sc in each st and chsp across. Do not turn, and leave MC attached.
BORDER
Using smaller hook, ch 1 and rotate your blanket to work down the side edge. Sc into each row end until you reach the corner. 3sc into the corner st and rotate to work along the bottom edge. Sc into each st along the bottom edge until you reach the corner. 3sc into the corner and rotate to work up the side edge. Sc into each row end until you reach the corner. 3sc into the corner and rotate to work along the top edge. Sc in each st across. Join with a sl st to the first st of the border round.
Fasten off and weave in all ends to the WS of the blanket using your yarn needle. Voila, you’re done!
VARIATIONS
To adjust the width of the blanket, work fewer or more sts in Row 1 (making sure to work an odd number).
To adjust the length of the blanket, work fewer or more rows (in multiples of 2) in the Middle Section.
Remember that any alterations to the stitch or row counts will adjust the yardage required.
Save this pattern to your Ravelry queue, or add a project to the pattern page!

Congratulations on finishing your Color Crop Blanket! This pattern proves that colour work in crochet doesn’t have to be complicated to be beautiful, and I hope you enjoyed this methodical and meditative pattern as much as I did.
I’d love to see your blankets (in finished or WIP form!) and the colours you chose. Share your blanket on Instagram using the hashtags #ColorCropBlanket and and tag me, @capital.crochet!
You may sell finished items made from this pattern, and I would really appreciate credit to me as the designer by linking back to this blog post.
Thank you so much for your support! If you’d like to be the first to know about new patterns and other blog posts, make sure to subscribe to my newsletter below.
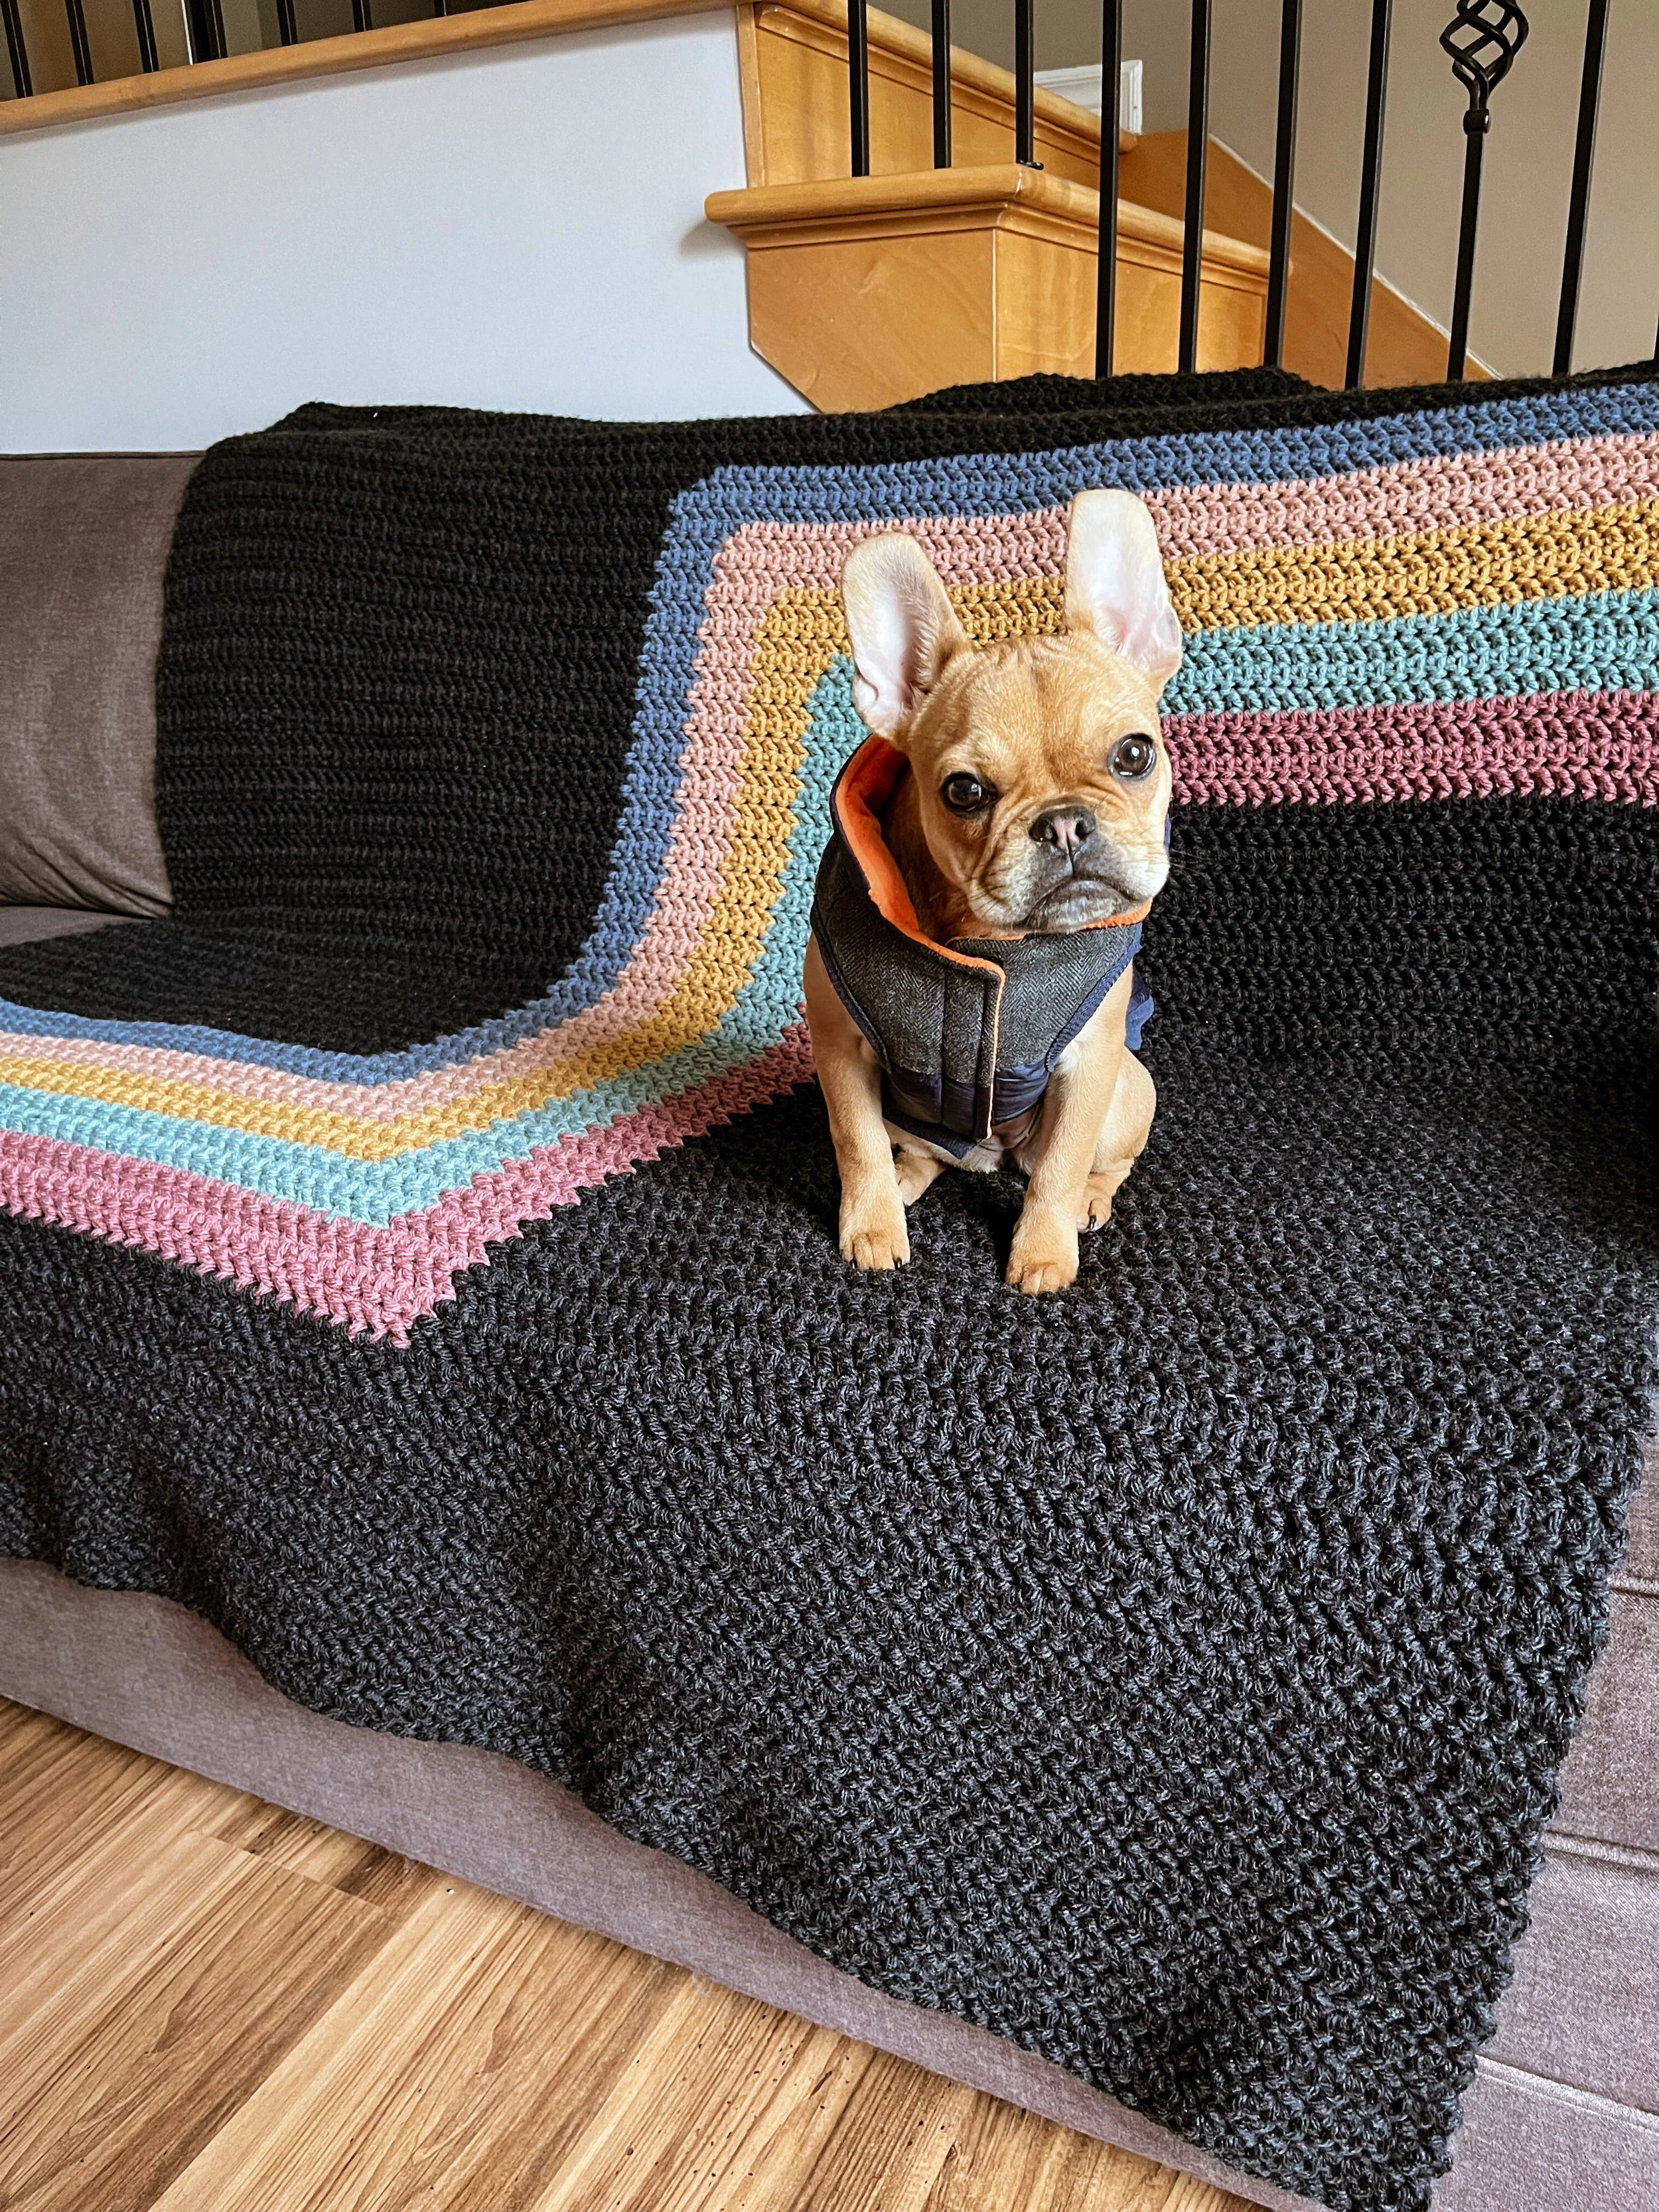
Pssst… blanket lovers, I’ve got a few more patterns you may be interested in!
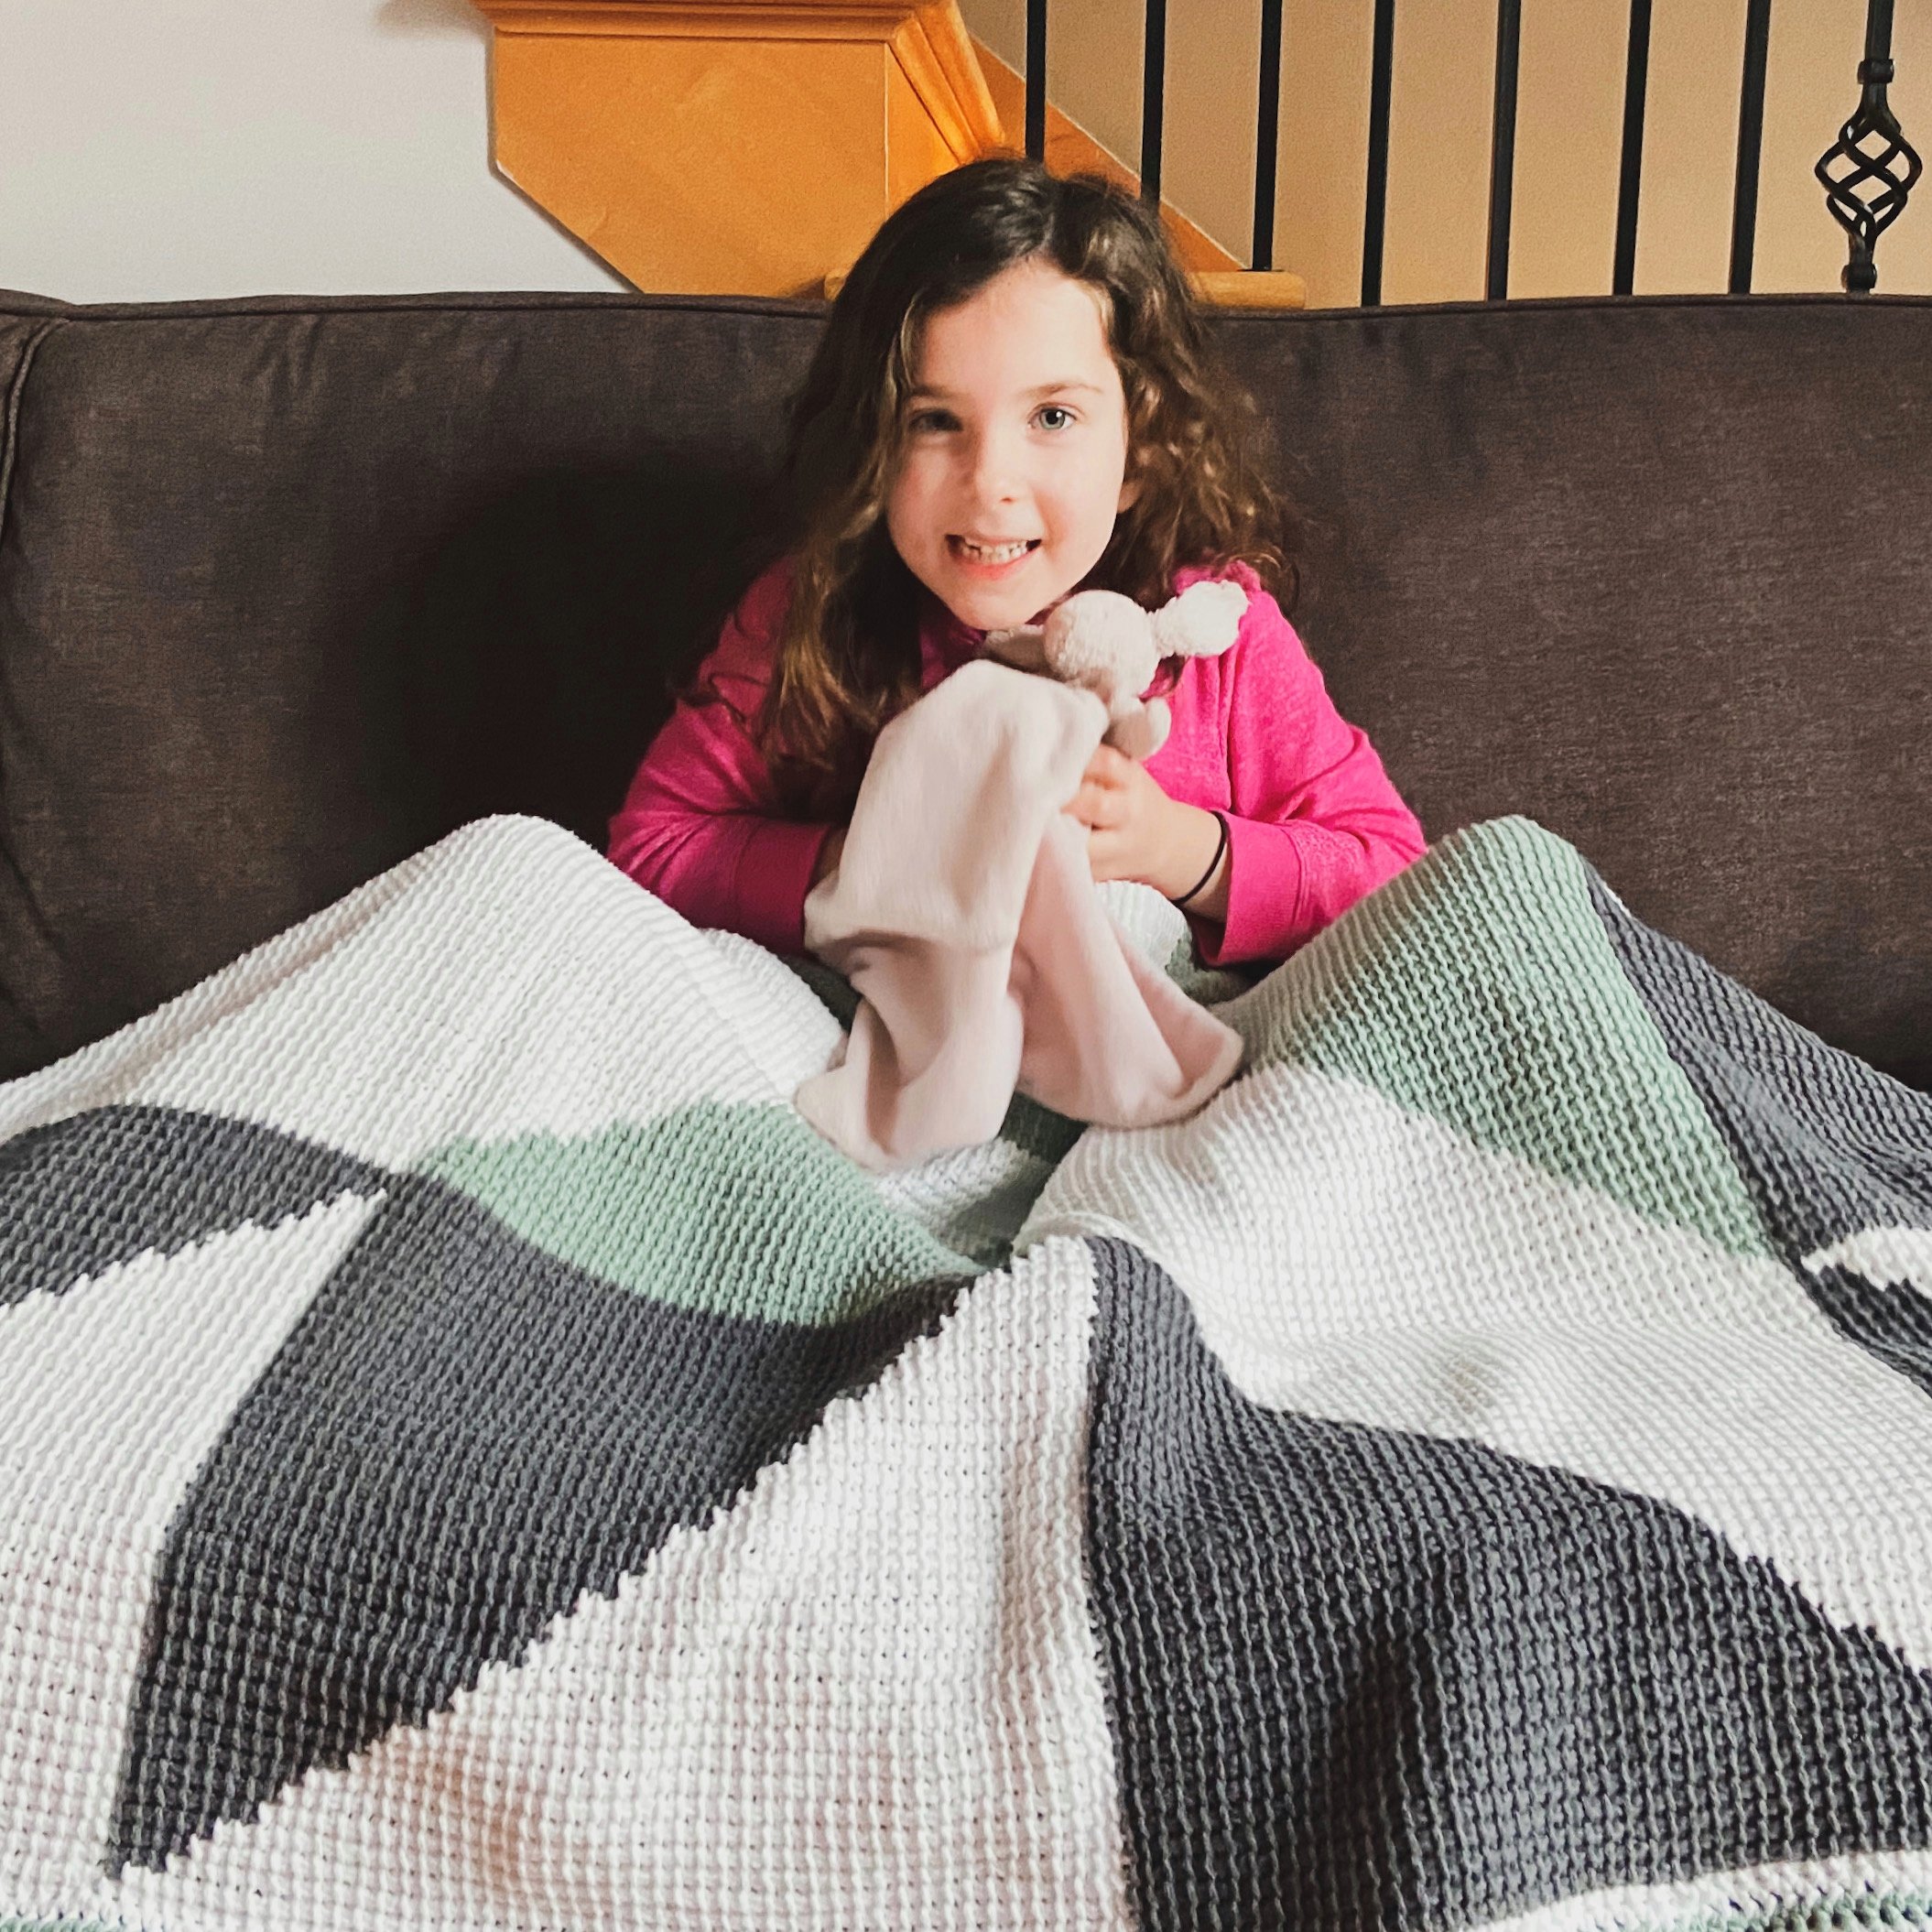
The Lisse Throw Blanket is a meditative make that brings warmth and comfort to your decor (also available as a kit via Lion Brand Yarn).
The Retro Stripes Blanket is a bold, chunky crochet pattern that works up quickly. Get the Lion Brand kit, or see the free pattern on the blog.
The Stashdown Blanket is perfect for using up your super bulky scraps (and it’s a FREE pattern!).
Annie’s Afghan offers a bit of a challenge for the more experienced Tunisian crocheters, using intarsia to create a colourful motif inspired by barn quilts.