Cozy Clusters Infinity Scarf - a FREE Scarftober pattern

This post contains affiliate links, meaning that if you click through and make a purchase, I earn a small commission at no extra cost to you. This helps support my business and makes it possible for me to bring you free content.


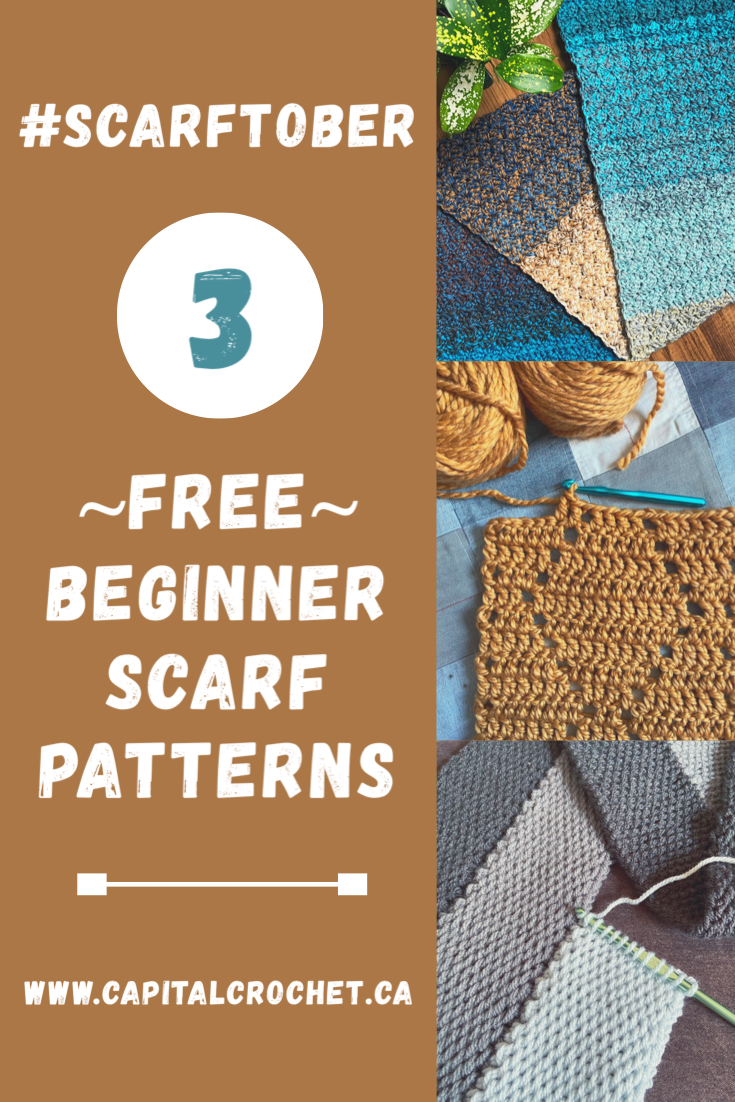
Welcome to SCARFTOBER, my friends! October is a beautiful month of seasonal shift. It usually starts out with fairly warm temperatures, but by the end of the month, there may just be snow on the ground! Scarves are always one of the first things I reach for when the temperatures drop, so I thought it would be a great idea to feature a few easy but beautiful patterns this month. You’ll be able to whip up these patterns in no time, so when the snow really flies in November and December, you’ll be prepared!

Untitled Design.PNG

Scarves don’t just provide warmth when bundling up for the outdoors. You can wear a scarf indoors too, which is awesome if your office is perpetually cold, or if you (or your spouse!) REFUSES to turn on the furnace until a certain date. The same can’t really be said for other winter wear like toques or mitts - I mean, you could, but these items just don’t have the same aesthetic effect as wrapping a beautiful scarf around your neck and shoulders.

Scarves make great gifts, too! And there are so many different styles and yarns to choose from - the options are endless. My goal this month is to bring you three beautiful scarf patterns that are A. easy to whip up, B. have lots of customizing options, and C. make great handmade gifts - cuz that season is juuuuuuust around the corner!

Without further ado, I present to you the first pattern in my Scarftober series - The Cozy Clusters Infinity Scarf!

Yellow Journalism Photo Pinterest Graphic (1).png

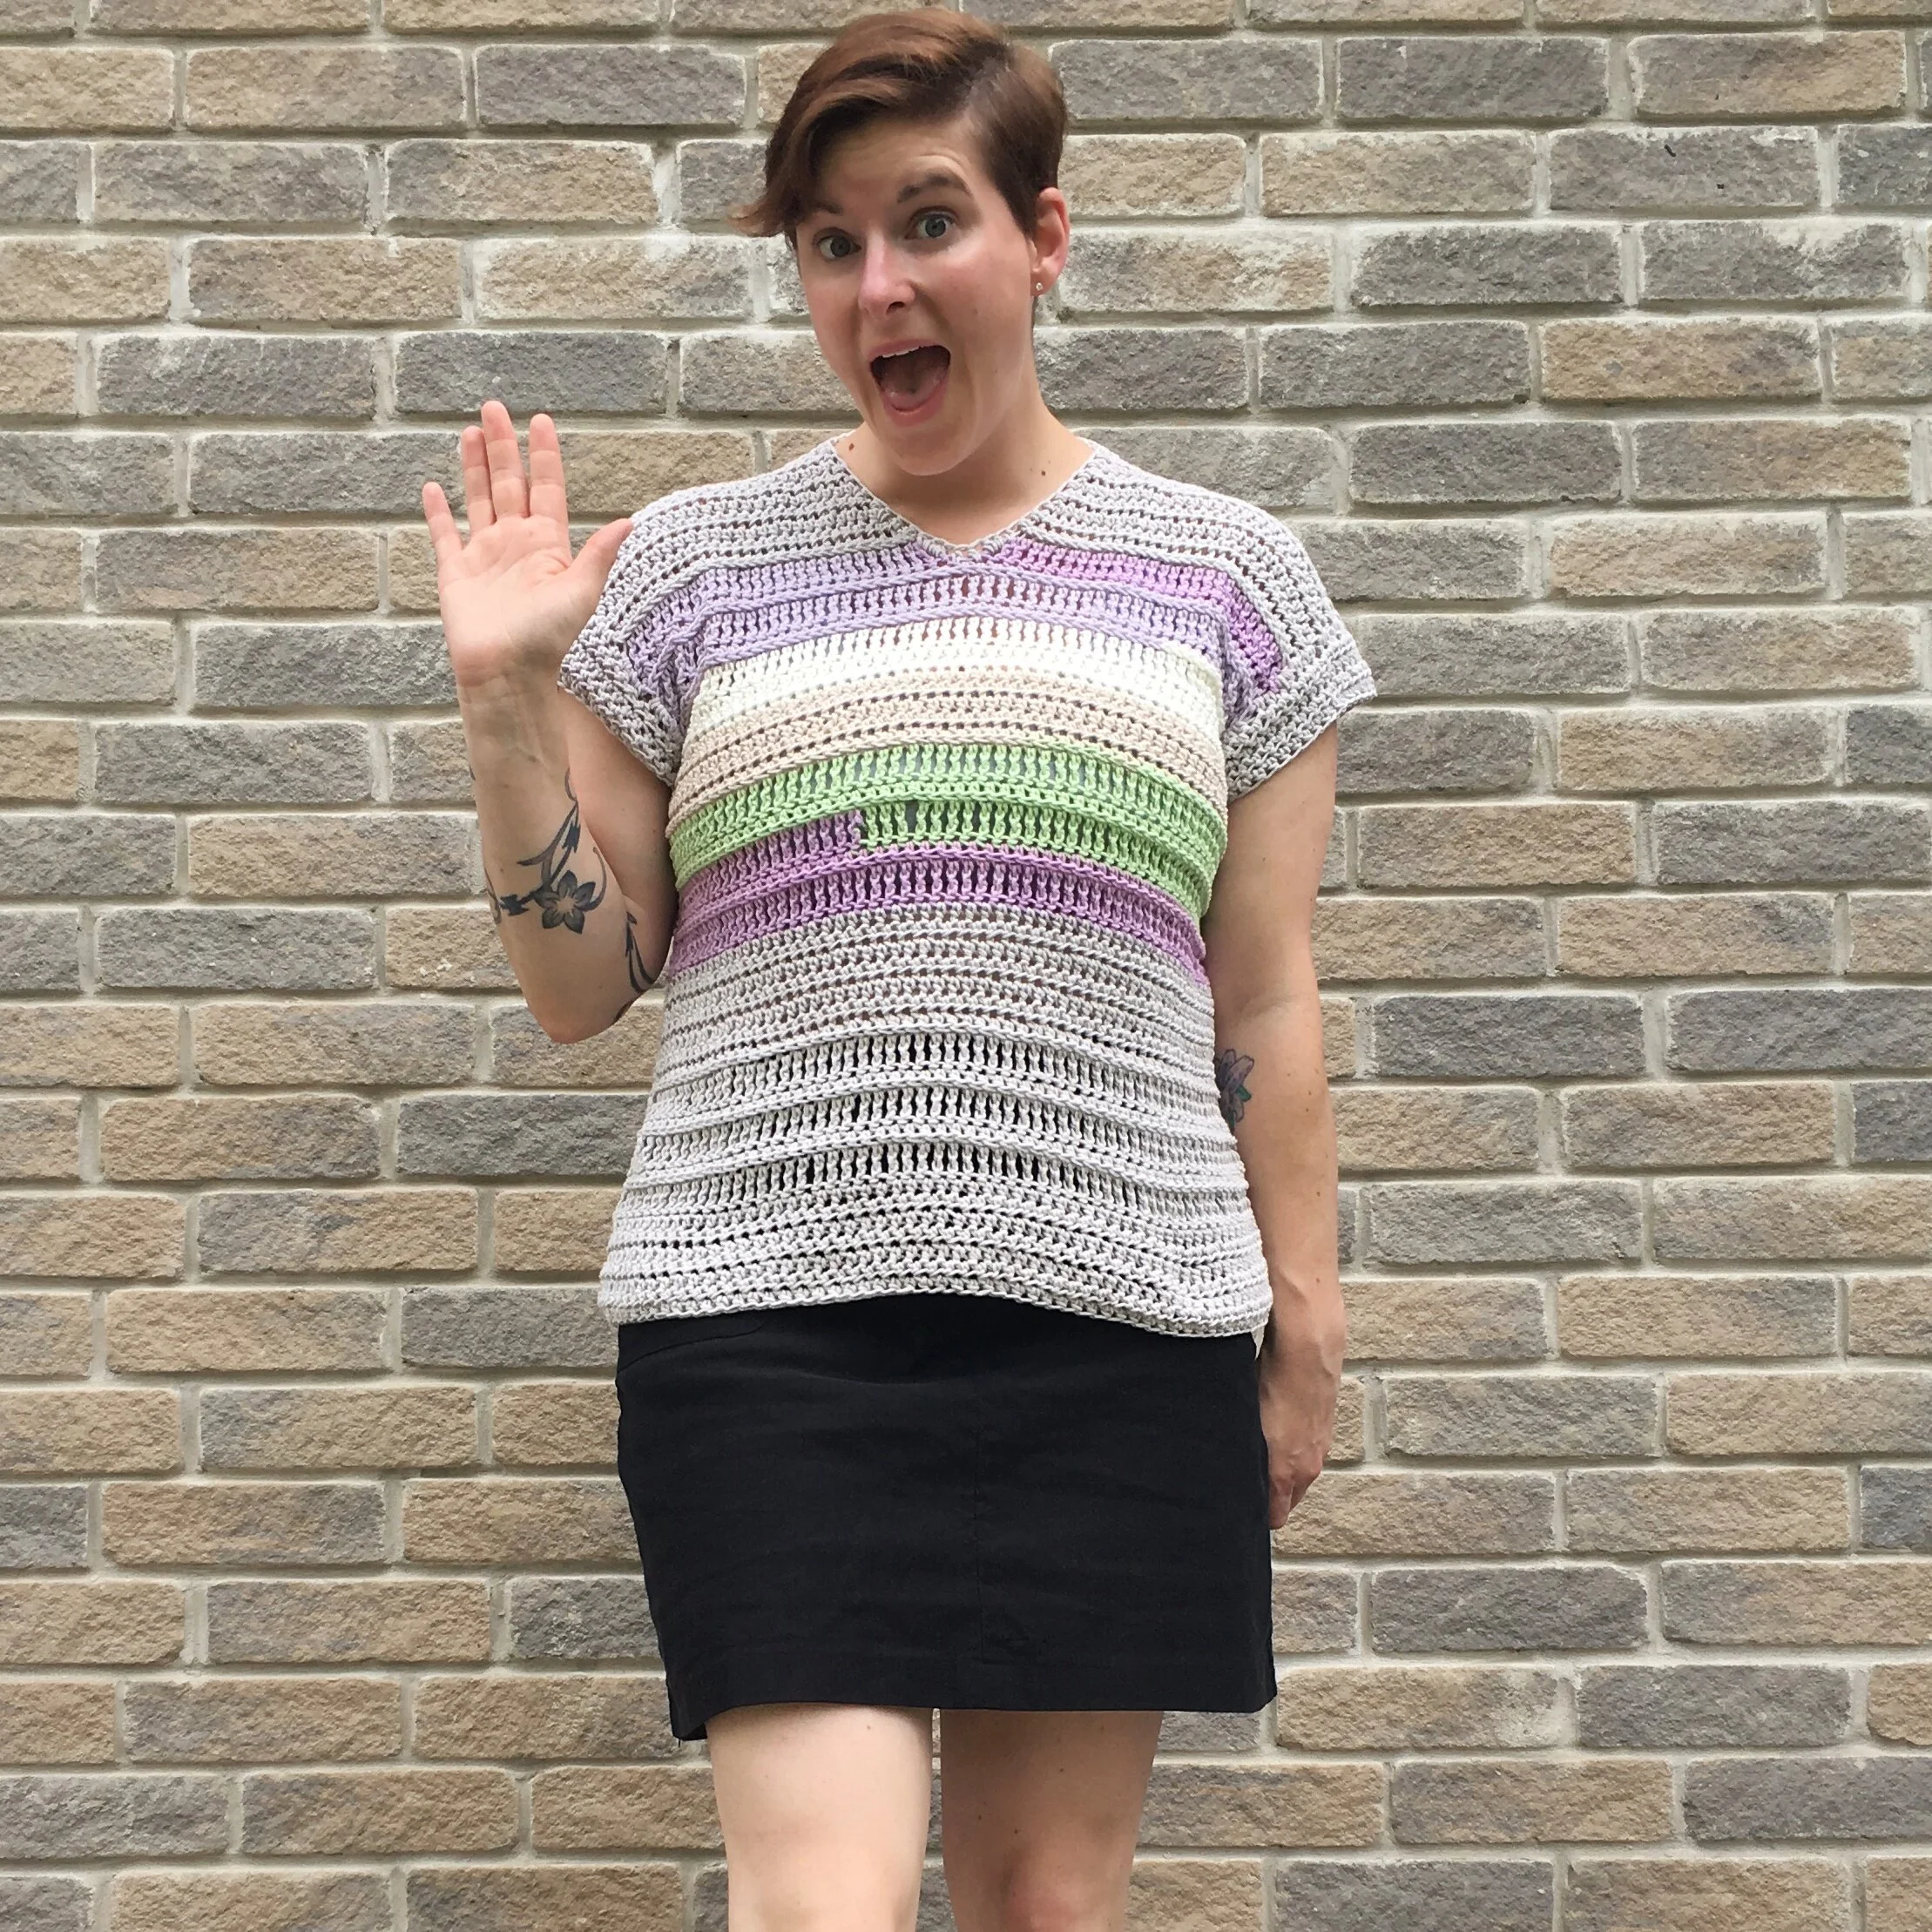
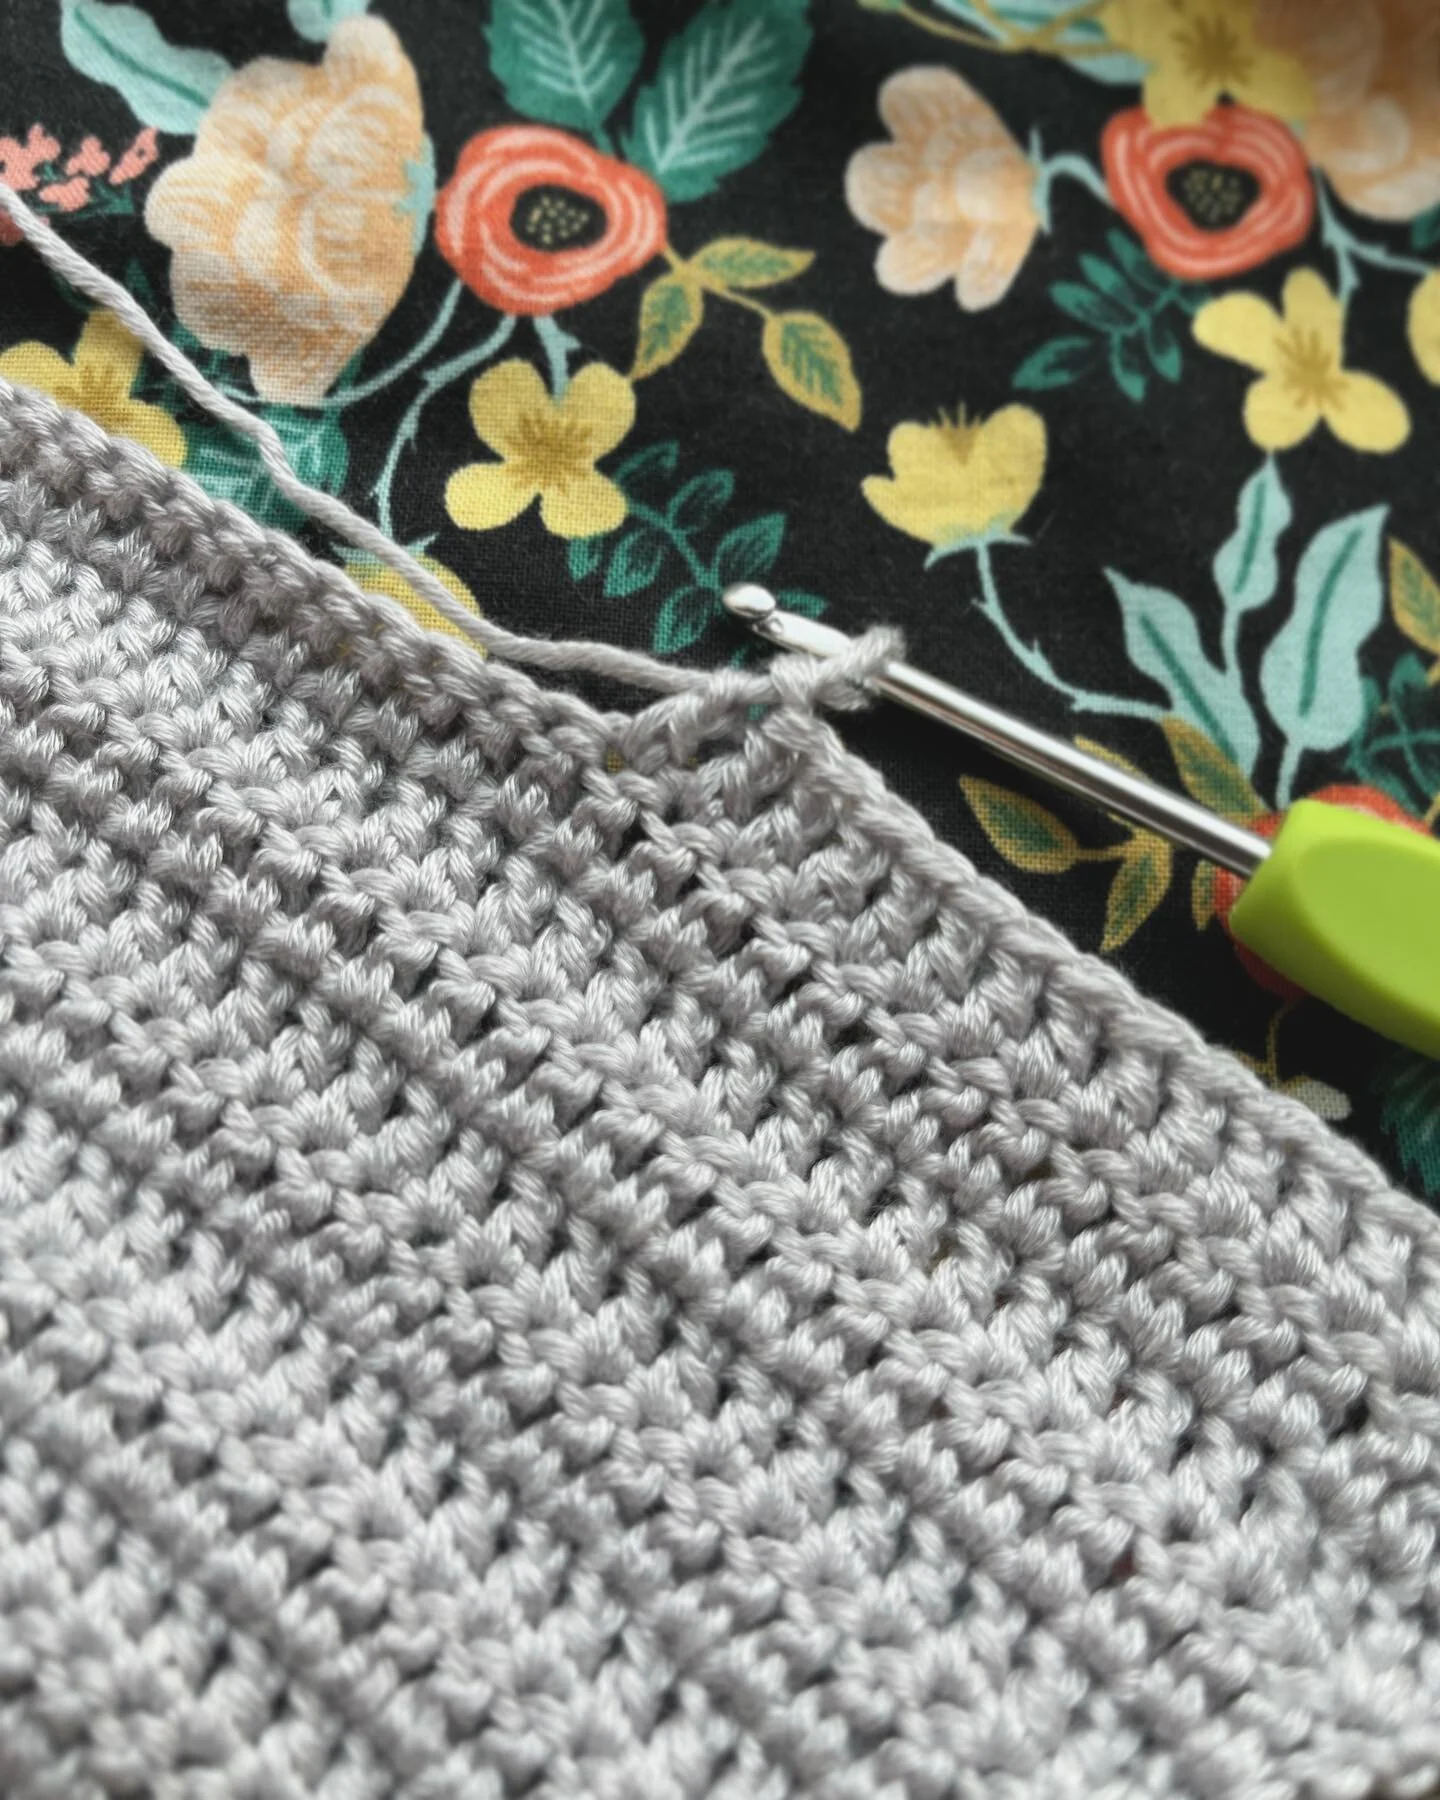
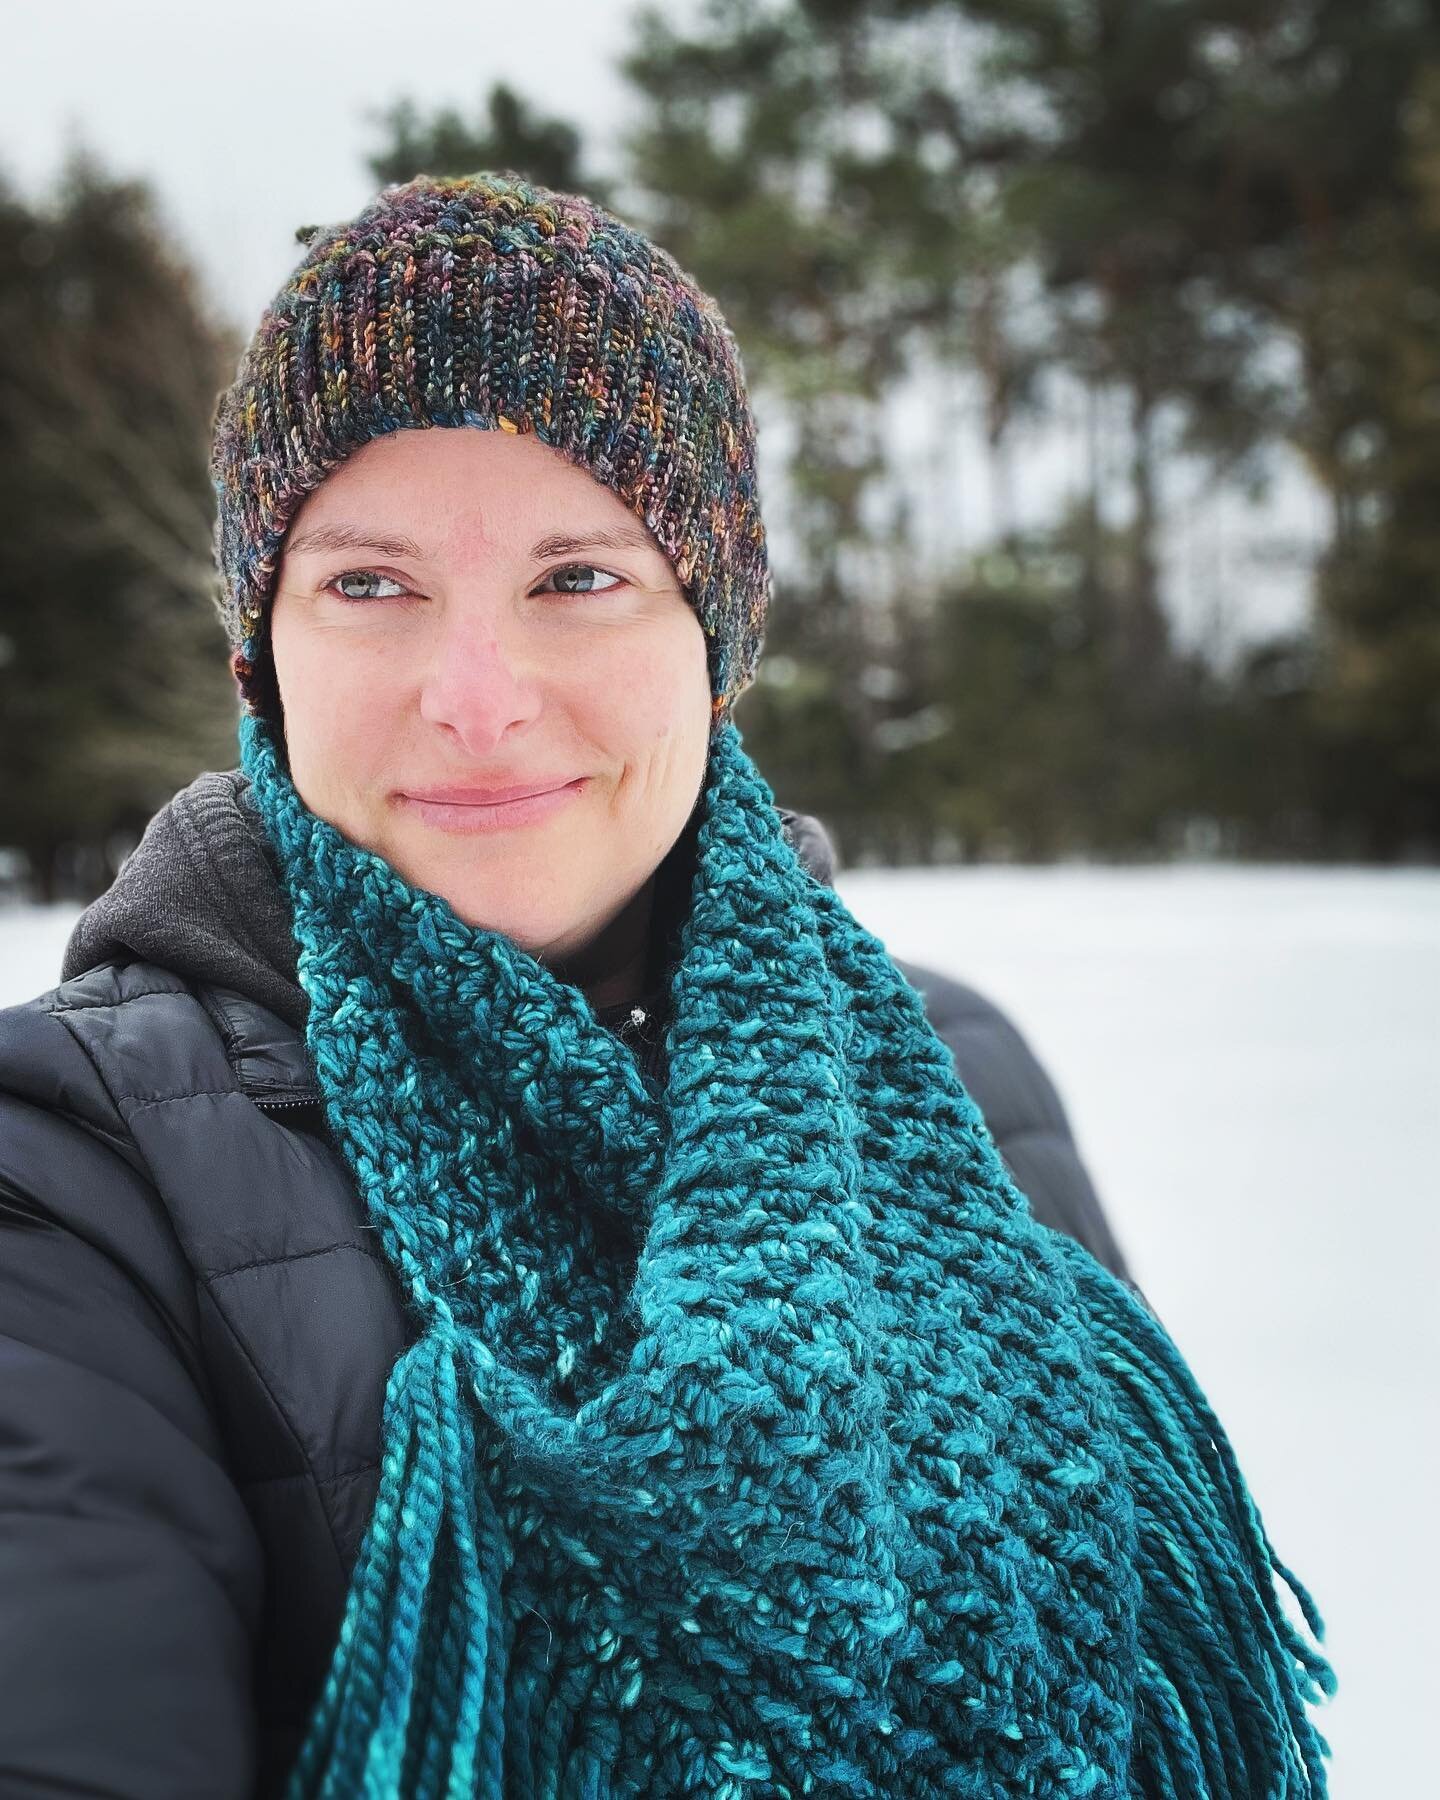
Isn’t she a beaut? The scarf, I mean… not me! I wanted to create a pattern that was relaxing and meditative, but still scored high on gorgeous texture and I think this pattern accomplishes all that. I was able to settle in for some super Netflix-able stitches, and this Lion Brand Yarn Mandala Tweed Stripes has the perfect colours and texture to really give this piece some pizzaz!

I do plan to offer an ad-free, printable pdf version of the pattern very soon, but for now, follow along below for the beginner-friendly directions, and get started on your very own Cozy Clusters Infinity Scarf today!


Materials

Hook - US J/6mm crochet hook, or size needed to obtain gauge.

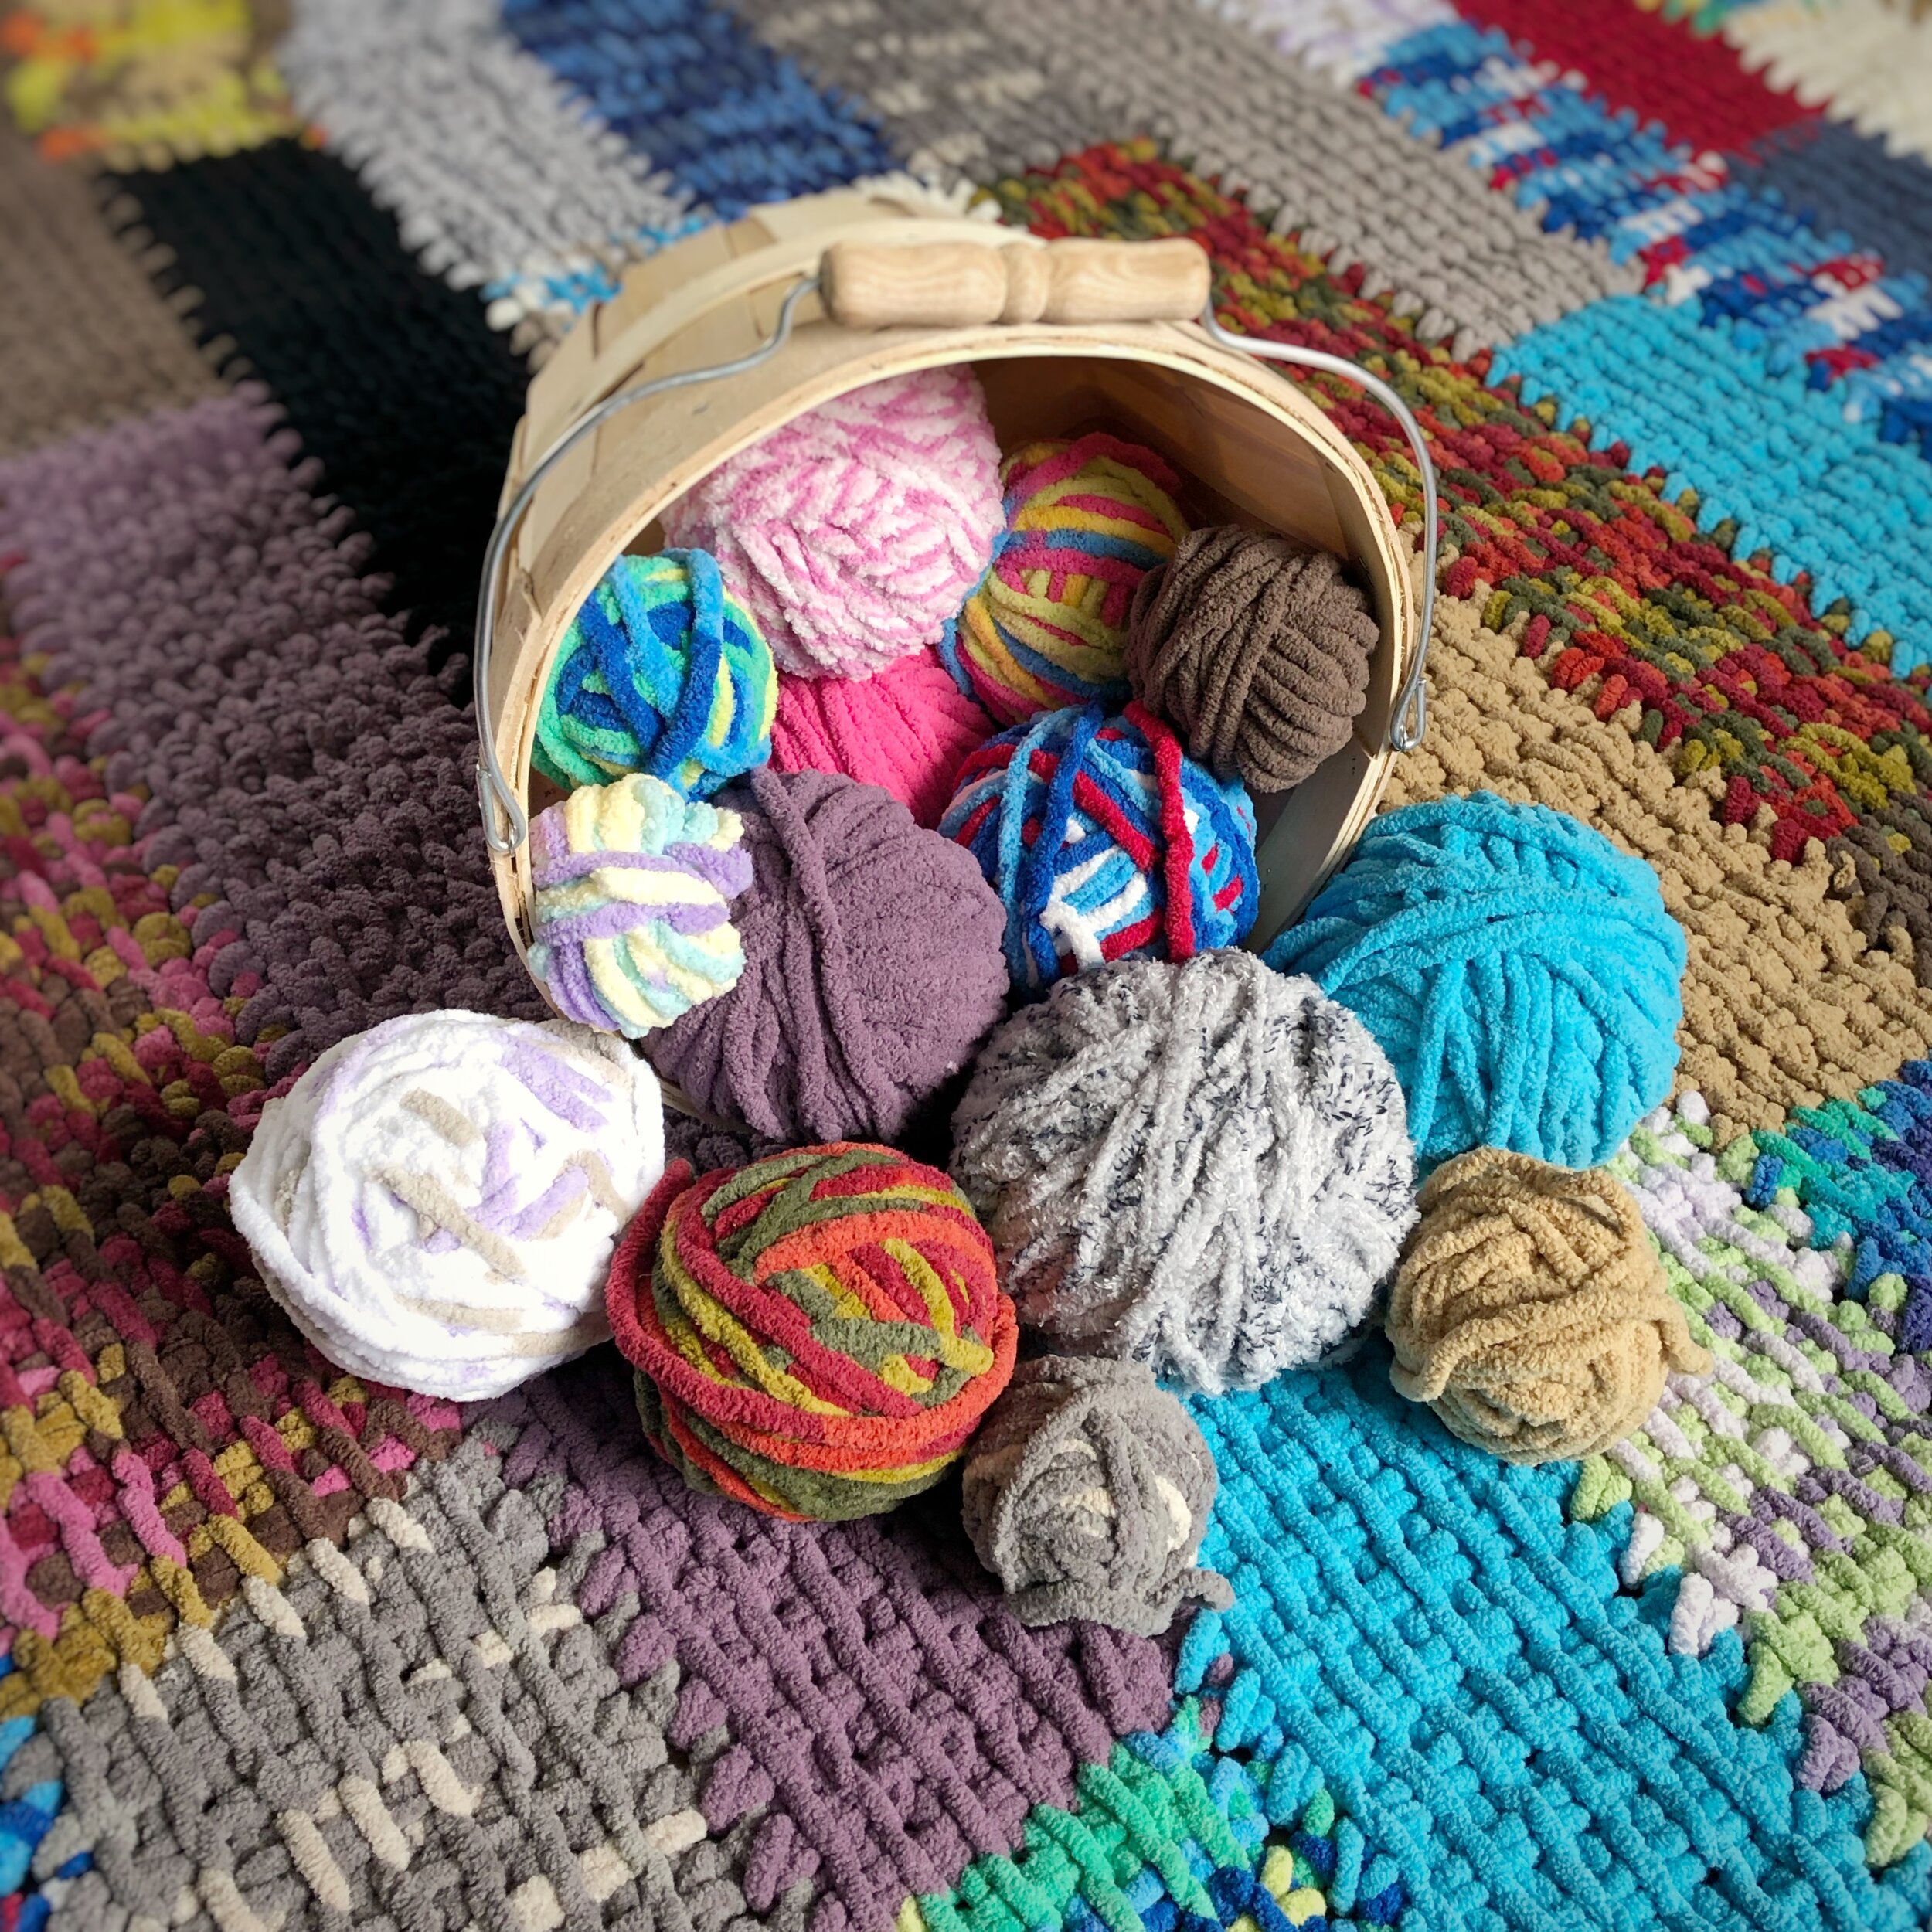
Yarn - Lion Brand Yarn Mandala Tweed Stripes 100% Acrylic, 150 g/5.3 oz, 426 yds/390 m (I used 2 balls of the Horseshoe colourway) or approximately 775 yds of a comparable worsted (4) weight yarn.

Notions - scissors, tape measure, yarn needle.

Sizing

Gauge - 5 clusters x 4.5 rows = 4” in pattern stitch.

Gauge is not super important for this pattern, however, I have used it to measure yardage.

Finished measurements - approximately 76” long x 9” wide (before seaming).

Terminology/Abbreviations

This pattern uses standard US terms as detailed by the Craft Yarn Council:

Ch - chain

St(s) - stitch(es)

Sc - single crochet

Dc - double crochet

Cluster - [sc, 2dc] worked into the same stitch

* * - repeat the directions inside the asterisks

Notes

Ch 1 to start each row does not count as a stitch.

This pattern has been designed to use a worsted (4) weight yarn, but please feel free to experiment with other yarn weights!

DSC_0648.JPG

Pattern Instructions

Row 1.  Ch 35 and turn. Starting in the second ch from hook, *cluster and skip next 2 chs.* Repeat from * to * until 1 ch remains. Sc in the last ch st and turn. (11 clusters)

Row 2. Ch 1, cluster into the first sc and skip 2 dc, *cluster in next sc, skip 2 dc.* Repeat from * to * until 1 sc remains. Sc in last sc and turn.

Repeat Row 2 until your scarf measures approximately 76” long.

Finishing

Fold your scarf so that the two short ends match up, and seam them together using your preferred seaming method. Weave in your ends, and voila, you’re done!

Variations

If you want your scarf to fit a little tighter to your neck, stop around 70”, and for a much looser (or a TRIPLE wrap infinity scarf!), go until it measures 82” long. These are just recommendations; the nice thing about a pattern like this is that you can totally customize it to the length that is perfect for you! Keep in mind that working more rows will require additional yardage.

You can also leave the short ends unseamed for a traditional-style scarf - and add some fringe if you want to really take it to the next level!

Adjust the width of the scarf by starting with a foundation chain in a multiple of 3 + 2 chs.

IMG_8453.JPG

Congratulations on finishing your Cozy Clusters Infinity Scarf! Now, wrap that bad boy around your neck, cozy up with your favourite cold weather beverage, and wait for the snow to fly… While you’re waiting, why not snap a few pics and share them on Instagram! Tag me @capital.crochet and use the hashtag #CozyClustersInfinity.

You may sell finished items made from this pattern, but please credit me as the designer by linking back to this blog post, to my Instagram profile or to my Ravelry store.

Thank you so much for your support! Stay tuned for the next instalment of SCARFTOBER, coming at you on 16 October. I hope you’ll pop back over to the blog to celebrate, especially because that’s also my birthday - see you then!


Hey fellow scarf lover, I thought you might enjoy these other patterns, too! Shown below are the Rachel Super Scarf and the Colour Block Triangle Scarf, both available in my pattern shop, or on Etsy and Ravelry.

IMG_1296.JPG
Snapseed.jpg

Stashdown Blanket - a FREE Tunisian crochet pattern

Anyone else have an enormous stash of Bernat Blanket yarn? I literally had a drawer full of odds and ends - leftovers from my many Homebody Slippers that I’ve made as gifts and to sell at markets over the years. Since 2020 is the Year of the Stashdown, I decided to put all those balls into play in a fun and colourful pattern that can be completely customized to suit your stash!

Stashdown Blanket.png

My love affair with Tunisian crochet began around this time last year. It is so cool to see the world of new textures that opens up to you, and I promise it is much easier than it looks. This pattern uses the Tunisian Simple Stitch, which is the basic stitch technique and the easiest for a beginner to learn. If you need a tutorial on the Tunisian Simple Stitch, there are many available for free on youtube!

Below, you’ll find the free written pattern to make your very own Stashdown Blanket. If you prefer a printable pdf, a low-cost version of this pattern is available for download on Ravelry.


Materials

Size Q/16.00mm standard crochet hook (no special hooks required!)

Yarn – Bernat Blanket yarn, yardage varies from 550 for Baby size to 5200 for King size

Scissors

Tape Measure

Yarn Needle

Terminology/Abbreviations

This pattern uses standard American (US) terms:

Ch - chain

St(s) - stitch(es)

Sl st - slip stitch

Tss - Tunisian Simple Stitch

Slip stitch bind off - insert hook into next st, pull up a loop and pull through 1 loop on the hook. Repeat across the row and fasten off.

Sizing

Gauge – 7 sts x 5.5 rows = 4” in Tss

Gauge is not super important for this pattern, however, I have used it as the standard for all the different blanket sizes.

Standard Blanket Sizes

Here are some standard sizes and approximate row and strip counts to achieve them. Of course, you may make this a truly scrappy stashbuster by just making until all your yarn is used up!

STANDARD BLANKET SIZES.png

Notes

This pattern uses the Join-As-You-Go method. If you are not familiar with this technique, TL Yarn Crafts has a great tutorial!

The return pass is worked as follows: *yarn over and pull through 2 loops. Repeat from * until 1 loop remains on the hook.

I prefer to change colours at the end of a return pass. To do it this way, pull through the last two sts of the return pass with the new colour yarn. Feel free to change colours whenever you please to get a colour pattern that is totally unique!

If you’re working your blanket with scraps and doing many colour changes, I recommend weaving in your ends after each strip. I learned the hard way that waiting until you’ve made 7 strips makes for SO MANY ENDS to weave in all at once!

This pattern has been designed to use Bernat Blanket yarn which is a 100% polyester Super Bulky (6) weight yarn. Using a different brand or fibre content may produce different results and measurements.

DSC_0035.JPG

Pattern

First Strip

Row 1.  Ch 7 and turn. Starting in the second ch from hook, pull up a loop in the back bumps of each st (7 loops on hook). Ch 1 and work a return pass.

Row 2. Tss in each st across (7 loops on hook). Ch 1 and work a return pass.

Repeat row 2 to the desired length (see chart above for standard blanket sizes and approximate row counts), making colour changes whenever you please. Tip: I prefer to make my colour changes at the end of a return pass to keep the rows neat and tidy.

 When you’ve got your strip to the desired length, work a slip stitch bind off row.

Second and Subsequent Strips

Now it’s time to start your next strip.

Row 1. Join your yarn to the bottom of the first row of your first strip. Ch 7 and turn. Starting in the second ch from hook, pull up a loop in the back bumps of each st (7 loops on hook). Sl st into the side of the first row on your first strip to join (this counts as your ch 1) and work a return pass.

Row 2. Tss in each st across (7 loops on hook). Sl st into the side of the next row on your previous strip (this counts as your ch 1) and work a return pass.

Repeat row 2 for the same number of rows as your previous strip. Work a slip stitch bind off row to finish off and start again on your next strip. Refer to the sizing chart for number of strips to work to achieve the desired size.

Variations

My Stashdown Blanket uses scraps and tidbits, but you can certainly make this blanket with more of a plan. You can plan each colour change after a certain number of rows (I’m picturing a checkerboard!), or work full strips in solid colours for bold stripes. You can even change the number of stitches in each row to create wider or narrower strips! The creative possibilities are endless and I would love to see what you come up with.

Make sure to use #StashdownBlanket and tag me @capital.crochet when you share your blankets on Instagram! You can also add your project to Ravelry HERE.

IMG_7240.jpg

If you like working with this yarn, I invite you to check out my Homebody Slippers and Cozy Spa patterns. They also use smaller amounts of Bernat Blanket yarn, and are great instant gratification projects.

Untitled design (1).png

I hope you enjoy this stashbusting project, and thank you so much for crocheting along!

In Bloom Spring Blanket CAL - Springtime Stripes

Mid-April already - I don’t know about you but I am absolutely ecstatic about the winter being over and gone. I am ok with the cold and snow until about 27 December, so by the time March/April rolls around I am SO READY for some warmth and sun!

Are you following along with the In Bloom Spring Blanket Crochet-Along (CAL), which features a new crocheted square every day in April? The CAL is hosted by my friend Claire of Bear Rye, and features some of my favourite crochet designers. You might remember my Tulip Twins Square that I shared recently. Today I’m sharing another square that can be used as a filler in your blanket, the Springtime Stripes square.

Springtime Stripes (1).png

Before you get started, head to the main landing page HERE to check out the other squares, read about the yarn we are using, and join the Facebook group!

This square is designed to compliment the rest of the squares in your blanket. Feel free to use one, two or three colours (or more!) to create beautifully textured stripes that can be placed between the main squares. The samples shown are just a few ideas on how to use the leftover yarn from this CAL to make your blanket even bigger.

Special thank you to WeCrochet for providing the yarn support for this project!

Untitled design.png

Below, you’ll find the free written pattern. If you prefer a printable pdf, a low-cost version of this pattern is available on Ravelry, and you can grab it for FREE today (14 April) only. You’ll need to check out the main landing page for the code, then head to Ravelry to get your copy.

When sharing your square on social media, use the hashtags #InBloomBlanketCAL and #SpringBloomsBlanketCAL, and don’t forget to tag me @capital.crochet on Instagram so I can see all the lovely colourful stripes!


Materials

Size G/4.00mm crochet hook (or size needed to obtain gauge)

Yarn – 75 yds of Mighty Stitch from WeCrochet, or similar worsted weight (4) yarn

Scissors, yarn needle and tape measure

Sizing

Gauge – 12 sts x 7.5 rows = 4” in DCC

Your finished square will be approximately 8” x 8”. You should aim to meet gauge as closely as possible, but to achieve exact measurements, you can block your finished square.

Terminology/Abbreviations

This pattern uses standard American (US) terms:

Ch – chain

St(s) – stitch(es)

DCC - double crochet cluster (see Special Stitch)

Special Stitch - Double Crochet Cluster

Yarn over, insert hook into next st. Yarn over and pull up a loop (3 loops on hook). Yarn over and pull through two loops, leaving two loops on the hook. Yarn over and insert hook into the same st. Yarn over and pull up a loop (4 loops on hook). Yarn over and pull through two loops, then yarn over and pull through the remaining 3 loops. Tip: the pdf pattern includes a picture tutorial to show you exactly how to do this stitch!

Notes

Ch 2 to start each row does not count as a st.

This square may be worked in a solid colour, or with stripes. When changing colours, finish the last st of the previous colour with the next colour, and cut your previous colour yarn.  This will create a clean colour change. It does mean you’ll have lots of ends to weave in, but the edges of your stripes will be neat and tidy.

There is no defined right side or wrong side for this pattern, and you’ll notice that the unique texture created by the clusters has a different look on each side. When you are finished, choose one side to be the wrong side and weave all your ends in on this side. That way if any come loose or poke out, they won’t show on the right side of your square.

Pattern

Row 1.  Loosely ch 25 and turn. In the third ch from hook, work a DCC. DCC in each ch st and turn. (23 DCC)

Row 2. Ch 2, DCC in each st across and turn. (23 DCC)

Rows 3-15. Repeat Row 2.

 Fasten off, and weave in the ends.  Block your square to 8” x 8” if necessary, and voila! It’s ready to be sewn into your blanket!

IMG_7009.jpg

Make sure to follow along each day in April on the main CAL page to get all the beautiful patterns for this CAL.

If you missed a few days, or just want to grab all the square patterns at a super discounted price, we’ve got a deal for you! You may purchase the pdfs for all 30 square patterns in one convenient bundle for $7 via my affiliate link below - that’s a savings of $23!

IMG_7022.jpg

My favourite part of a CAL like this is how all the squares are designed to go together. You can see how well the Springtime Stripes compliment the Tulip Twins!

Thank you so much for crocheting along!

In Bloom Spring Blanket CAL - Tulip Twins Square

Spring has finally arrived! Although we still have a wee bit of snow left on the ground, the robins pulling worms in the backyard confirm that warmer days are definitely on the way. I’m so happy to be part of the In Bloom Spring Blanket Crochet-Along (CAL), which runs all this month and features a new square every day. The CAL is hosted by my friend Claire of Bear Rye, and features some of my favourite crochet designers.

Flower Photo Spring Pinterest Graphic.png

Before you get started, head to the main landing page HERE to check out the other squares, see the yarn requirements, and join the Facebook group! There are also prizes to be won, so make sure to play along.

I’m so excited to introduce my first square, the Tulip Twins Square. Initially, I had planned for just one tulip, but as I worked it up it looked so lonely. And really, you never see just one solitary tulip in a garden. I love a good alliteration, so the Tulip Twins idea came really easily.

Special thank you to WeCrochet for providing the yarn support for this project!

Below, you’ll find the free written pattern. If you prefer a printable pdf with an easy-to-follow colour chart, a low-cost version of this pattern is available on Ravelry, and you can grab it for FREE today (5 April) only. You’ll need to check out the main landing page for the code, then head to Ravelry to get your copy of the pattern.

When sharing your square on social media, use the hashtags #InBloomBlanketCAL and #SpringBloomsBlanketCAL, and don’t forget to tag me @capital.crochet on Instagram so I can see your lovely Tulip Twins!


Materials

Size G/4.00mm crochet hook (or size needed to obtain gauge)

Yarn – Mighty Stitch from WeCrochet, or similar worsted weight (4) yarn - Colour A: Cream; Colour B: Alfalfa; Colour C: Wisteria

Scissors, yarn needle and tape measure

Sizing

Gauge – 14 sts x 15 rows = 4” in sc

Your finished square will be approximately 8” x 8”. You should aim to meet gauge as closely as possible, but to achieve exact measurements, you can block your finished square.

Terminology/Abbreviations

This pattern uses standard American (US) terms:

Ch – chain

St(s) – stitch(es)

Sc – single crochet

Fsc – foundation single crochet

Sl st – slip stitch

RS – right side of your work (the front of the square)

WS – wrong side of your work (the back of the square)

Notes

Ch 1 to start each row does not count as a st.

Start your project with Colour A.  When changing colours, finish the last st of the previous colour with the next colour.  This will create a clean colour change.

When carrying your main colour yarn under your contrast colour sts, try to edge it toward the WS of the square.  On RS rows, edge it to the back, and on WS rows, keep it at the front.  This will help hide it when you look at the RS of the square.

IMG_6813.jpg

Pattern

Row 1 (RS).  Fsc 35, ch 1 and turn.  If you prefer, you may ch 36 and turn, then work 35 sc into your chain.

Rows 2-4.  Sc 35, ch 1 and turn.

Row 5.  Sc 8.  Switch to Colour B, sc 2.  Switch to Colour A, sc 14.  Switch to Colour B, sc 2.  Switch to Colour A, sc 9.  Ch 1 and turn. 

For clarity, the remaining rows will be simplified to the following format:  A: 7.  Where A indicates the colour of yarn to use, and the number indicates the number of sc sts to work. TIP: the pdf version of this pattern has an easy-to-follow, colour-coded chart!

Row 6.  A: 7.  B: 4.  A: 12.  B: 4.  A: 8.  Ch 1 and turn.

Row 7.  A: 7.  B: 6.  A: 10.  B: 6.  A: 6.  Ch 1 and turn.

Row 8.  A: 6.  B: 7.  A: 9.  B: 7.  A: 6.  Ch 1 and turn.

Row 9.  A: 5.  B: 5.  A: 1.  B: 3.  A: 7.  B: 5.  A:1.  B: 3.  A: 5.  Ch 1 and turn.

Row 10.  A: 4.  B: 3.  A: 2.  B: 1.  A: 2.  B: 3.  A: 5.  B: 3.  A: 2.  B: 1.  A: 2.  B: 3.  A: 4.  Ch 1 and turn.

Row 11.  A: 4.  B: 2.  A: 3.  B: 1.  A: 2.  B: 3.  A: 5.  B: 2.  A: 3.  B: 1.  A: 2.  B: 3.  A: 4.  Ch 1 and turn.

Row 12.  A: 4.  B: 2.  A: 3.  B: 1.  A: 3.  B: 3.  A: 4.  B: 2.  A: 3.  B: 1.  A: 3.  B: 3.  A: 3.  Ch 1 and turn.

Row 13.  A: 3.  B: 2.  A: 4.  B: 1.  A: 3.  B: 3.  A: 3.  B: 2.  A: 4.  B: 1.  A: 3.  B: 3.  A: 3.  Ch 1 and turn.

Row 14.  A: 3.  B: 2.  A: 4.  B: 1.  A: 4.  B: 2.  A: 3.  B: 2.  A: 4.  B: 1.  A: 4.  B: 2.  A: 3.  Ch 1 and turn.

Row 15.  A: 3.  B: 1.  A: 5.  B: 1.  A: 4.  B: 1.  A: 4.  B: 1.  A: 5.  B: 1.  A: 4.  B: 1.  A: 4.  Ch 1 and turn.

Row 16.  A: 4.  B: 1.  A: 4.  B: 1.  A: 5.  B: 1.  A: 4.  B: 1.  A: 4.  B: 1.  A: 5.  B: 1.  A: 3.  Ch 1 and turn.

Rows 17-18.  A: 9.  B: 1.  A: 15.  B: 1.  A: 9.  Ch 1 and turn.

IMG_6901.jpg


We are now finished with Colour B, so you can fasten off and weave in that end to keep your work neat and tidy.  Starting in Row 19, we will be working with Colours A and C.

Row 19.  A: 7.  C: 5.  A: 11.  C: 5.  A: 7.  Ch 1 and turn.

Row 20.  A: 6.  C: 7.  A: 19.  C: 7.  A: 6.  Ch 1 and turn.

Rows 21-22.  A: 5.  C: 9.  A: 7.  C: 9.  A: 5.  Ch 1 and turn.

Rows 23-25.  A: 4.  C: 11.  A: 5.  C: 11.  A: 4.  Ch 1 and turn.

Row 26.  A: 4.  C: 3.  A: 1.  C: 3.  A: 1.  C: 3.  A: 5.  C: 3.  A: 1.  C: 3.  A: 1.  C: 3.  A: 4.  Ch 1 and turn.

Rows 27-28.  A: 4.  C: 2.  A: 2.  C: 3.  A: 2.  C: 2.  A: 5.  C: 2.  A: 2.  C: 3.  A: 2.  C: 2.  A: 4.  Ch 1 and turn.

Rows 29-30.  A: 4.  C: 1.  A: 4.  C: 1.  A: 4.  C: 1.  A: 5.  C: 1.  A: 4.  C: 1.  A: 4.  C: 1.  A: 4.  Ch 1 and turn.

Rows 31-34.  Using Colour A, sc in each st across, ch 1 and turn.

Do not fasten off.  You will now work sc sts with Colour A around the edge of your square to finish it off nicely. You could also use one of the other colours if you prefer. 

With the RS facing, work 34 sc across the top of the square.  In the final st, work 3 sc to form the corner.   Sc 32 sts down the side of the square, placing a st in the end of each row.  In the final st, work 3 sc to form the corner.  Sc 33 sts across the bottom and work 3 sc in the final st on this edge.  Work 32 sc up the other side of the square.  In the same st as first st of the edging, place two more sc to finish the final corner, and join to the first sc to close off the edging.

 Fasten off, and weave in the ends.  Make sure to weave the ends toward the WS so they don’t show on the front. Block your square to 8” x 8” if necessary, and voila! It’s ready to be sewn into your blanket!

Make sure to follow along each day on the main CAL page to see all the beautiful patterns for this CAL. If you prefer to have each pattern automatically emailed to you, you can purchase all of the pdf patterns in one convenient bundle for a fraction of the cost! Follow the link below to purchase the bundle.

Thanks so much for crocheting along!

Stashdown Pillow Pattern

stashdownpillow.jpg

Hi friends!

I’m very excited about today’s post - I’m participating in the Easy Tunisian Crochet Blog Hop hosted by Noorain of Noor’s Knits! It’s my first time doing a blog hop, and I’ve learned so much.  All the patterns featured are Tunisian crochet, but you can make them with a regular crochet hook!  A new pattern is released EVERY day from Monday to Friday as a FREE download available for 24 hours only. The patterns featured are perfect projects to try your hand at Tunisian crochet.

Today’s featured pattern is my Stashdown Pillow. It’s the perfect project for using up all your worsted weight scraps! It’s worked with a regular crochet hook, using the Join-As-You-Go method. It may sound complicated, but once you get the hang of it you’ll be busting that stash in no time! You can download this pattern for FREE until 11:59 pm EST tonight on Ravelry using the code that can be found on the main blog post HERE.


This pattern is a special one for many reasons.  First, it’s Tunisian crochet which I am currently obsessed with.  It’s becoming so popular among yarnies, and I know it is on many of your “to try” lists.

stashdownpillow3.jpg

This pattern is a great way to try your hand at the “Join As You Go” method, meaning you don’t need a long cord or special hook to make a bigger project.  It’s also a great stashbuster, and as you can see I’ve chosen a bunch of different yarns from my stash. 

I kept it consistently random (if that makes sense!) meaning I varied the size of each colour block but spaced out all the colours so that they seem fairly evenly distributed.  I’d love to see you put your own spin on this project, maybe choosing a rainbow of colours, going for a monochrome look, working solid stripes or whatever genius idea you can think of!  Make sure to tag me on Instagram and use the hashtag #StashdownPillow.

pin it for later!

Participant List Instagram Square.png

I’m not going to lie, Tunisian crochet tends to eat up more yarn than similar-sized regular crochet patterns.  But that means you can put to use a good portion of your stash while making a beautiful and useful piece of home décor.  I’m all about stashbusting lately, and if you’re taking part in #Stashdown2020 (read more about that HERE), this is an excellent pattern to have in your library.

Be sure to follow along with Noorain’s blog Noor’s Knits to see the newest featured pattern for this month’s blog hop and don’t forget to use #EasyTC And tag @noorsknits to share your projects on Instagram for a chance to win some great prizes! Thanks so much for following along and I hope you really enjoy these beginner Tunisian projects.